
KeePass is a free and open-source password manager, which encourages you to manage your passwords in a safe manner. It supports almost every operating system including Windows, Linux, MacOS and other Unix Like operating systems. It scrambles and stores every one of your passwords in a single database, which can be gotten to with a master key. So you need to memorize only a master key to unlock the whole database of your personal passwords.
Is it safe to use KeePass?
Keepass appears to be secure, in light of the fact that it is open-source and the code is analyzed by a great deal of free individuals. You can download the source code and build it yourself. Besides the database which holds all passwords is put away any place the client needs it to be.
Installation
First of all , add KeePass repositories to your Linux system. Type the following,
Now run the following command to update apt.
After updating your machine Now KeePass repository is available . Run the following command to Install KeePass.
Now to check which version of KeyPass is installed run the following command
If the above command gives you the version of Keepass ,it means the installation has been successful. Or you can search KeePass in applications.
How to use KeePass2
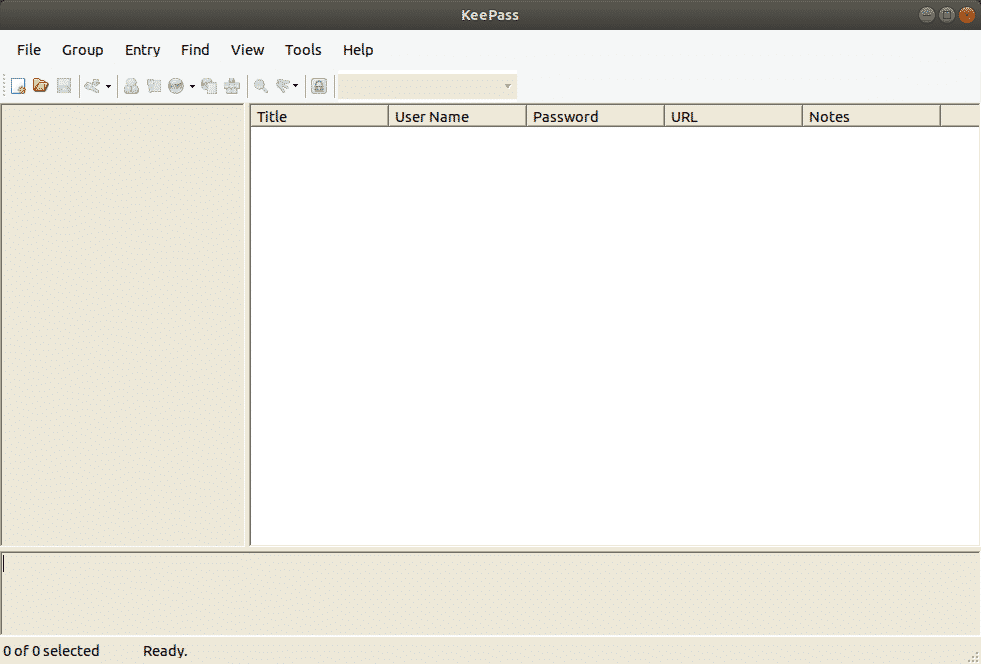
Here is how main Screen of KeePass looks like:
First, you need to make a database with your passwords. Set your master password carefully because if you lose this password, you lose all of your passwords
Create a new database and set master Password by clicking on New on Top Left Corner .
Setting the Database Password
What stands between the Hacker trying to get into your password database and your password database is the Password you give to your KeePass database. To make it strong, you should make it as complicated as possible by using special characters ,Punctuation and numbers. As soon as you start typing Password ,the yellow line will tell you Keepass’ opinion of your decision.The higher it goes,the better.

Here you go,Now you have a database and you can start generating passwords. On the left side ,there are login categories. These are categories that come by default in KeePass, which can be deleted or edited.New ones can be made as many as one wants to. Two default entries are also present which can be deleted or renamed easily.

Generating Your First Password
In order to generate a password,, click on the little yellow key at right most off the top of the password database.

Now a new window will open , fill in the desired fields .The title will be the name of the website or software or whatever you want .The user name, well that is of your own choice. The URL would be the link of the site or to the software or whatever you typed in the title field .None of these fields are mandatory but it helps.
By clicking the key icon, you can generate a new password. You will get this menu, pick Open Password Generator. At that point pick the length of your password (a length of least 25 characters is alright). At that point pick the sorts of characters you need in your password.
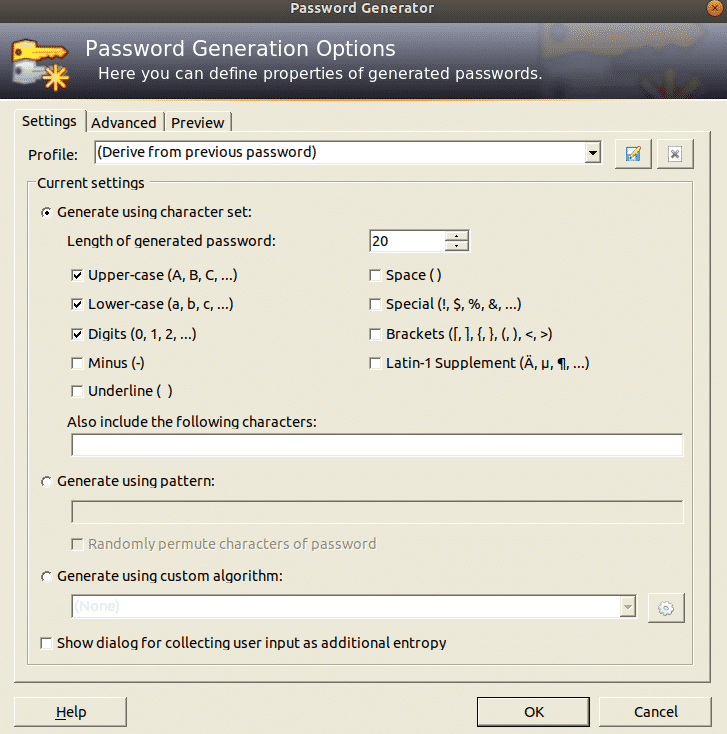
Click OK and the password box will be loaded up with the password. Click on the button to see the password. You can try Password Generator for another spin in case you don’t like it.
Exporting Passwords from a Browser
In order to create a KeePass passwords database we have to import passwords .
Chrome’s password management system is very good. Passwords go to password.google.com and your whole password database goes to Chrome. This works for the vast majority, yet in case you’re hoping to escape from Google, and proceed onward to KeePass2, here’s the place to begin
First, go to the address bar and search for “ chrome://flags/”
.Now what you have to do is to find Password Importing feature. You can do it by scrolling a whole day OR
Find it by pressing “Ctrl + F” and typing “Import ”

Turn on the “Password Import” feature .Now , find “Enable Material Design Settings” from the list and change it to “Disabled”. It will ask you to relaunch the browser.Relaunch it , Presently when the program re-opens, open settings and search for chrome://settings/passwords?search=passwords in the address bar. Now clicking the export button will save the password database file as a CSV file on your system .
Importing Passwords
First of all create a database as mentioned above.
Import the Password Database file by clicking on the Import button in File menu.
For importing Chrome’s password database ,click on the CSV file where you stored it.
Syncing Passwords
On the off chance that you have various PCs, the most ideal approach to synchronize the passwords database is to introduce Dropbox. By moving the password database file and key inside the dropbox folder, every single change made to the passwords database (including and expelling new passwords, and so forth) will in a split second match up across PCs..
Utilizing KeePass in Google Chrome
The KeePass game plan works fine isolated, however in the event that you need to solidly coordinate your local database with your program, here’s how :
First, enter the KeePass directory:
Inside the KeePass2 folder, make a plugins folder, and then download the HTTP plugin.
sudo wget https://passifox.appspot.com/KeePassHttp.plgx
Now we just have to install a browser extension which is easily available for Chrome and Firefox.
Logging In
At the point when you need to sign into that site, right-click the section in KeePass and pick Copy Username. Then click in the username box on the website and CTRL + V to paste the username I. Right-click on the entry again and do the same process with the Password box.
Conclusion:
KeePass makes creating and overseeing troublesome passwords as simple and easy as could be. Now there is no longer any excuse to say that maintaining unique and strong passwords is tiresome and stressful. KeePass makes it as easy as it could be. Now you only have to remember one Password and you can unlock the password database with it .After reading this blog, you will be able to use KeePass easily.