
Tested on: Ubuntu 18.04 LTS and Ubuntu 20.04 LTS.
Setting Up Static IP Address:
Before you get started, you should set up a static IP address on your Ubuntu 20.04 LTS machine. If you need any assistance on that, check my article Setting Up Static IP Address on Ubuntu 20.04 LTS.
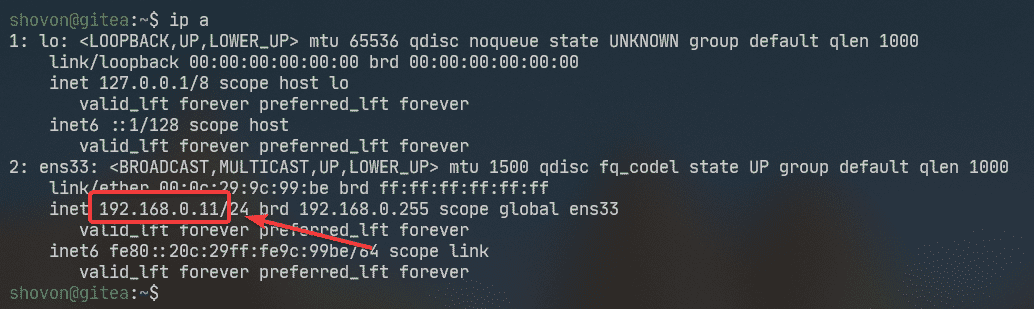
I have set up a static IP address 192.168.0.11 on my Ubuntu machine where I am installing Gitea. So, make sure to replace it with yours from now on.
Updating APT Package Repository Cache:
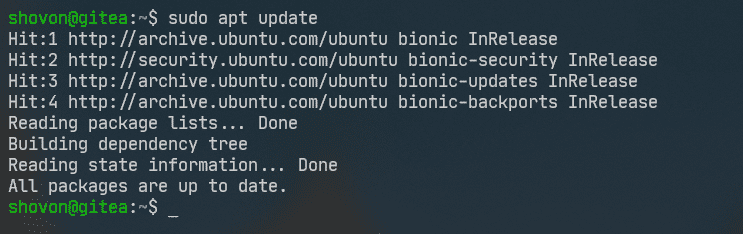
Now, update the APT package repository cache with the following command:
Installing wget:
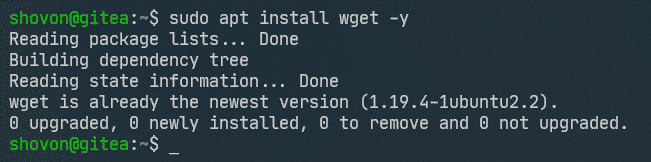
To download Gitea binary from the command line, you need either wget or curl. In this article, I will use wget.
You can install wget with the following command:
Installing Git:
You also need to have git installed on your computer for Gitea to work.
You can install git with the following command:

Installing and Configuring MySQL for Gitea:
Gitea can work with MySQL, PostgreSQL, SQLite3 and MSSQL databases. In this article, I will configure Gitea to use the MySQL database.
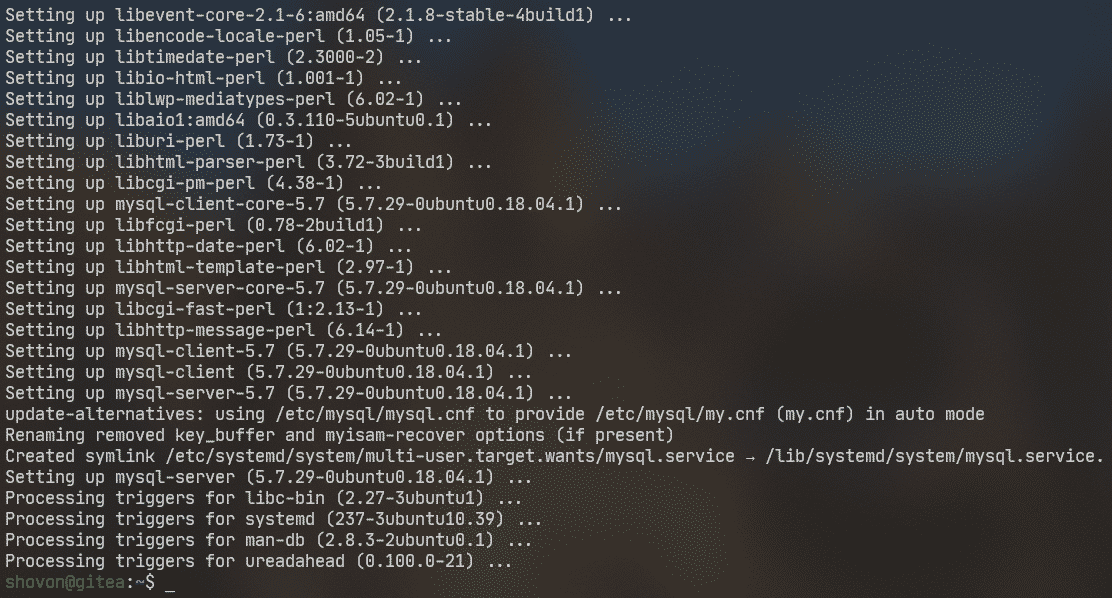
You can install MySQL on your Ubuntu 20.04 LTS machine with the following command:
![]()
MySQL should be installed.
Now, login to the MySQL console as root with the following command:
![]()
Now, type in your MySQL root password and press <Enter>.
By default, no password is set for the root user. So, if you’re following along, just press <Enter>.

You should be logged in to the MySQL console.

Now, create a new MySQL user gitea with the password secret with the following SQL statement:

Now, create a gitea database for Gitea with the following SQL statement:

Now, allow the gitea user full access to the gitea database with the following SQL statement:

For the changes to take effect, run the following SQL statement:

Now, exit out of the MySQL shell as follows:

Installing Gitea:
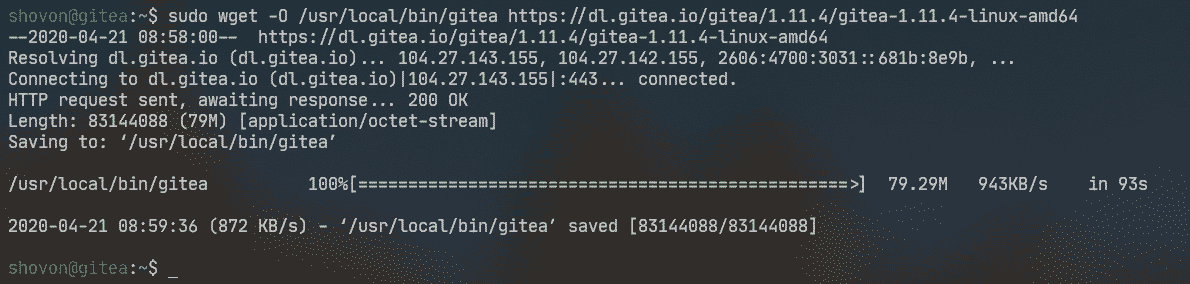
Now, download Gitea binary from the official website of Gitea with the following command:
gitea-1.11.4-linux-amd64
![]()
Gitea binary is being downloaded.

At this point, Gitea should be downloaded.
Now, give execute permission to the Gitea binary /usr/local/bin/gitea with the following command:
![]()
Now, you should be able to access Gitea as shown in the screenshot below.

Now, create a new user git for Gitea as follows:
--group --disabled-password --home /home/git git
![]()
Here, the git repositories will be stored in the HOME directory of the git user /home/git.
The user git should be created.

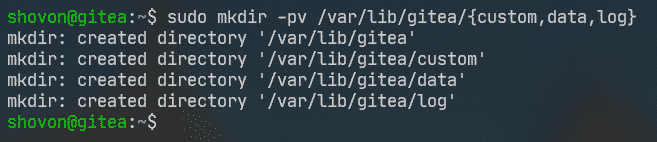
Now, create all the required directories for Gitea as follows:
Now, change the user and group of the directories you have just created to git as follows:

Now, set correct permissions to the /var/lib/gitea/ directory as follows:

Now, create a Gitea configuration directory /etc/gitea/ as follows:

Now, change the user to root and group to git of the Gitea configuration directory /etc/gitea/ as follows:

Now, set correct permissions to the /etc/gitea/ directory as follows:

Configuring Gitea Service:
Now, you have to create a systemd service file gitea.service for Gitea in the /etc/systemd/system/ directory.
To create a service file for Gitea, run the following command:
![]()
Now, type in the following lines in the gitea.service file.
Description=Gitea (Git with a cup of tea)
After=syslog.target
After=network.target
Requires=mysql.service
[Service]
LimitMEMLOCK=infinity
LimitNOFILE=65535
RestartSec=2s
Type=simple
User=git
Group=git
WorkingDirectory=/var/lib/gitea/
ExecStart=/usr/local/bin/gitea web --config /etc/gitea/app.ini
Restart=always
Environment=USER=git HOME=/home/git GITEA_WORK_DIR=/var/lib/gitea
CapabilityBoundingSet=CAP_NET_BIND_SERVICE
AmbientCapabilities=CAP_NET_BIND_SERVICE
[Install]
WantedBy=multi-user.target
Once you’re done, save the gitea.service file by pressing <Ctrl> + X followed by Y and <Enter>.

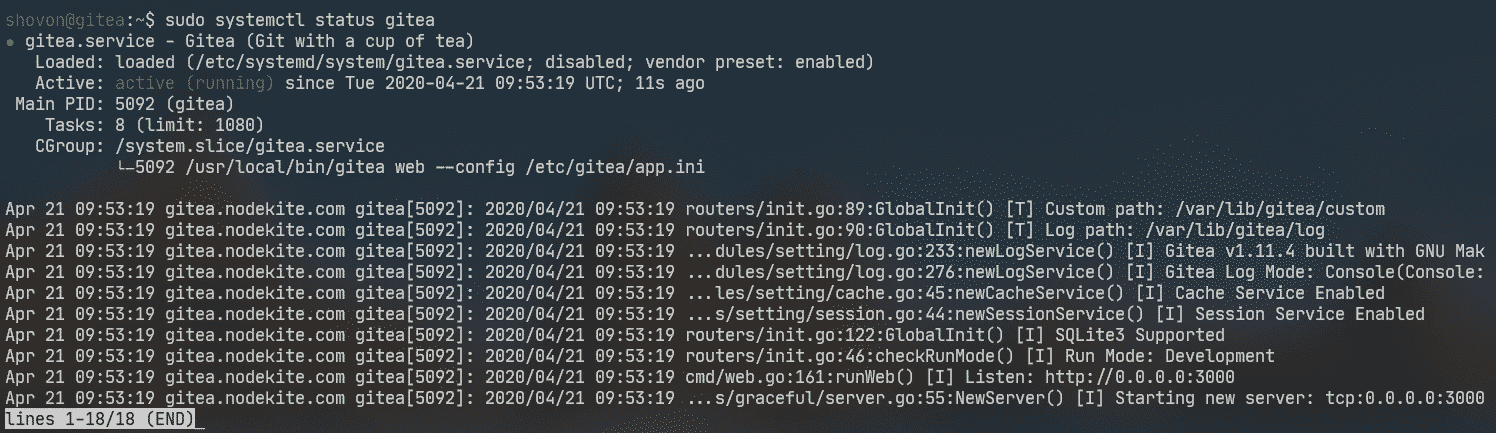
Now, start the gitea service with the following command:
![]()
As you can see, the gitea service is running.
Now, add gitea service to the system startup of your Ubuntu 20.04 LTS machine. So, it will automatically start on boot.

Initial Configuration of Gitea:
Now, you have to configure Gitea from the web browser.
First, find the IP address of your Ubuntu 20.04 LTS machine as follows:
In my case, the IP address is 192.168.0.11. It will be different for you. So, replace it with yours from now on.

Now, open a web browser and visit http://192.168.0.11:3000. You should see the following page.
NOTE: Gitea runs on port 3000 by default.

Now, click on any of the Register or Sign In link.

Gitea initial configuration page should be displayed. You have to configure Gitea from here.

Type in your MySQL database information in the Database Settings section. Make sure that the database settings are correct before moving on.
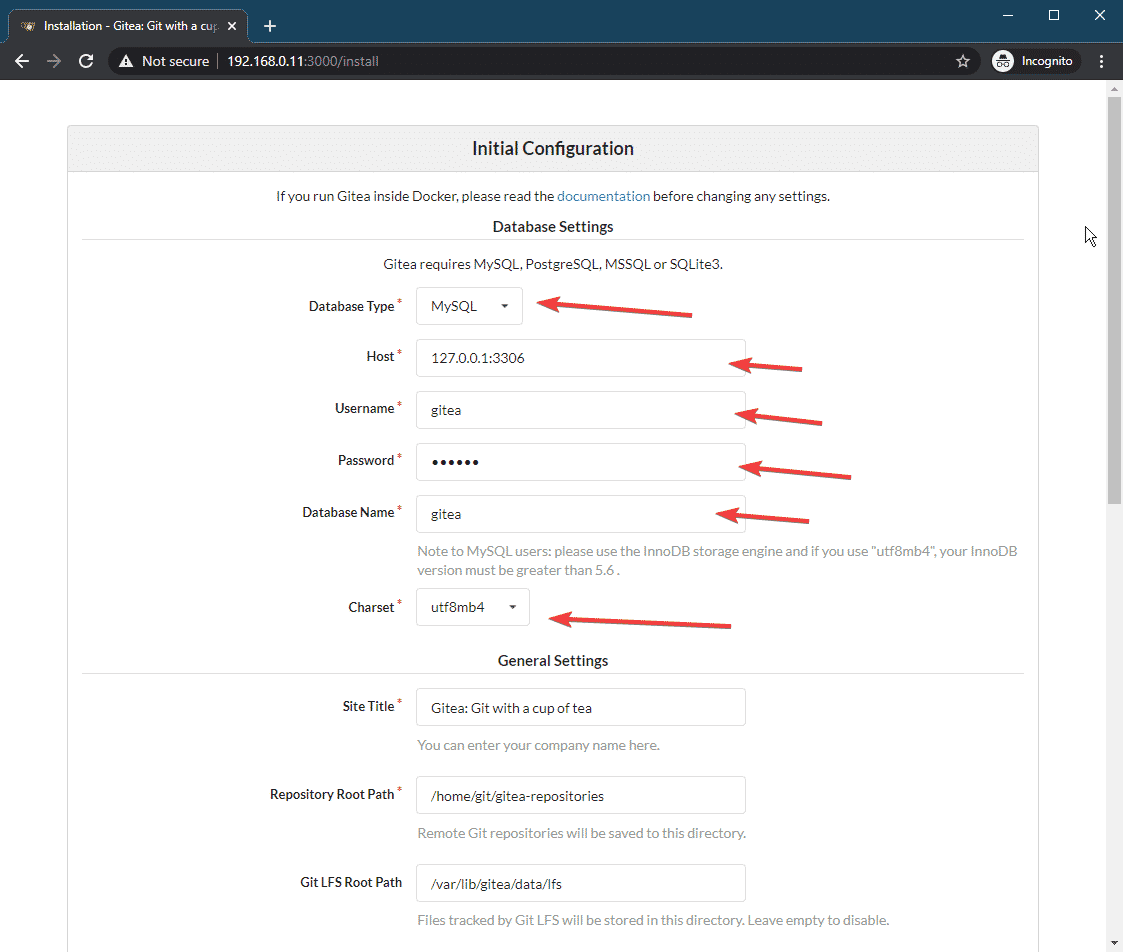
In the General Settings section, you can configure many things of Gitea.
You can change the default site title (Site Title), the directory where git repositories will be stored (Repository Root Path), the Git LFS Root Path, Gitea run user (Run As Username), Gitea Log Path, Gitea port (Gitea HTTP Listen Port), HTTP/HTTPS clone URL (Gitea Base URL), SSH clone URL (SSH Server Domain), and SSH clone port (SSH Server Port).
You can pretty much leave everything the default if you want. But, make sure to change the SSH Server Domain and Gitea Base URL to a Fully Qualified Domain Name (FQDN) or the IP address of your Ubuntu machine. Also, adjust the SSH Server Port if you have changed the SSH port on your Ubuntu machine.
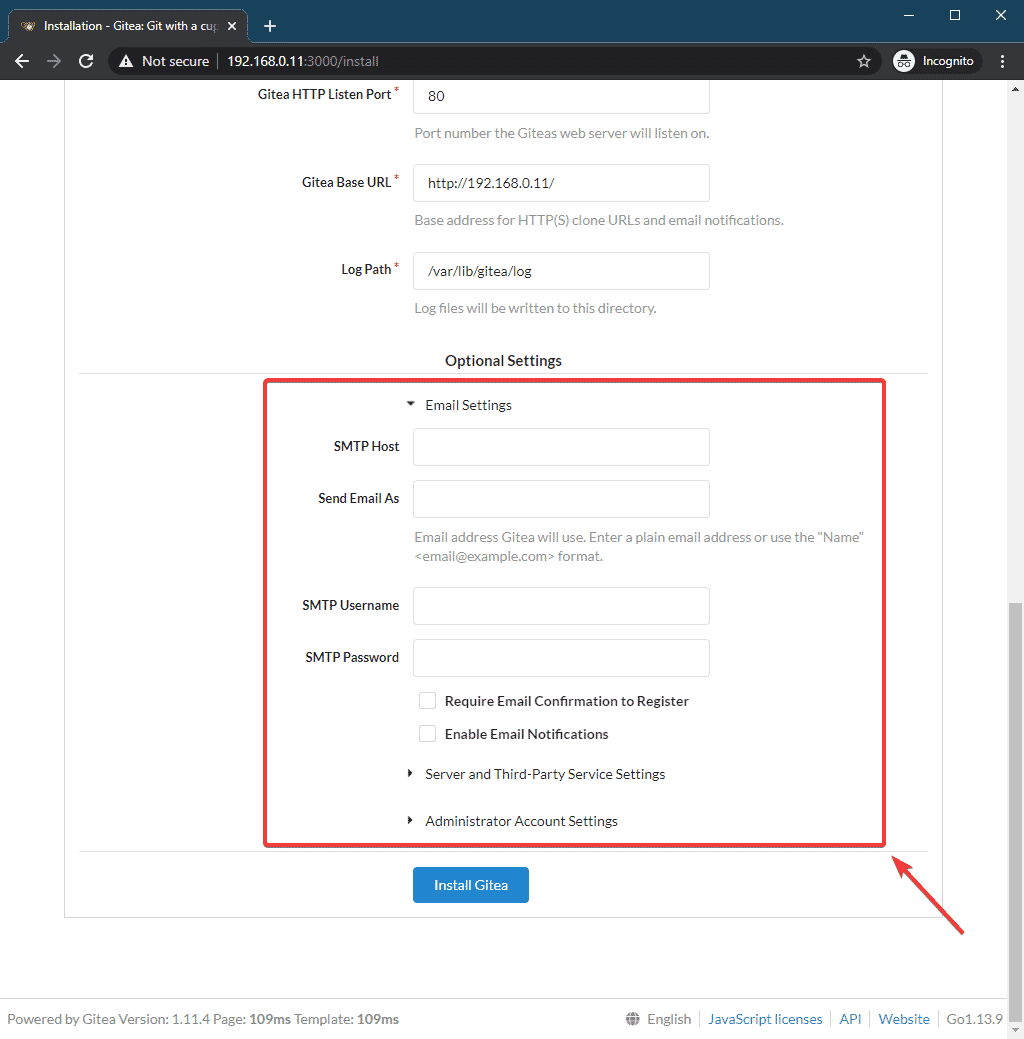
I have changed the SSH Server Domain to 192.168.0.11, Gitea HTTP Listen Port to 80 and the Gitea Base URL to http://192.168.0.11/.
NOTE: If you set Gitea HTTP Listen Port to 80, then you don’t have to include port 80 in the Git Base URL section. You can just set http://192.168.0.11/ as your Git Base URL.
But if you use any port like 8080, then you should include it in the Git Base URL. i.e. http://192.168.0.11:8080/

There are also optional Email Settings (if you want to send email from your Gitea server), Server and Third-Party Service Settings (for Third-part service integration with Gitea) and Administrator Account Settings (for creating a Gitea administrator account). Just click on the arrow to expand these if you want.
I am not going to configure these in this article.

Gitea Email Settings.
Gitea Server and Third-Party Service Settings.

Gitea Administrator Account Settings.
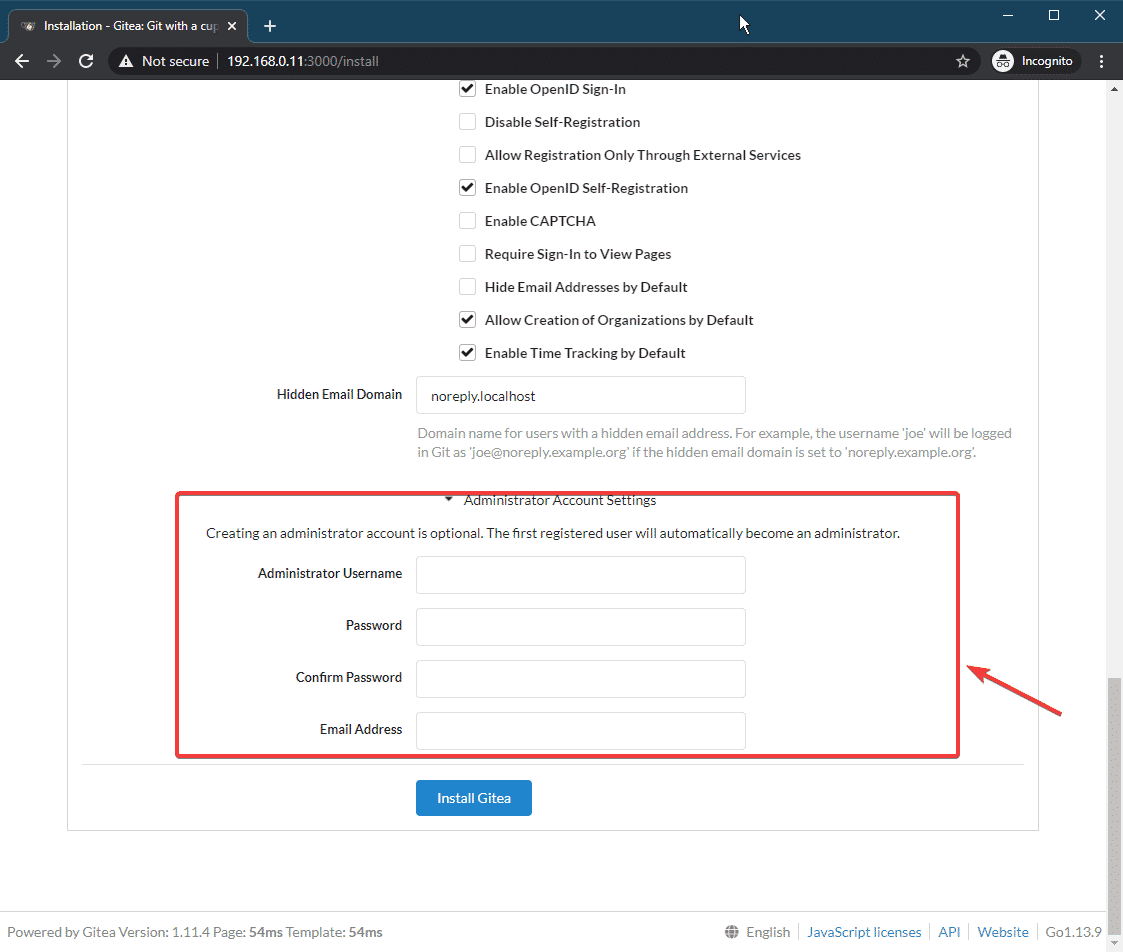
Once you’re done setting up Gitea, click on Install Gitea.

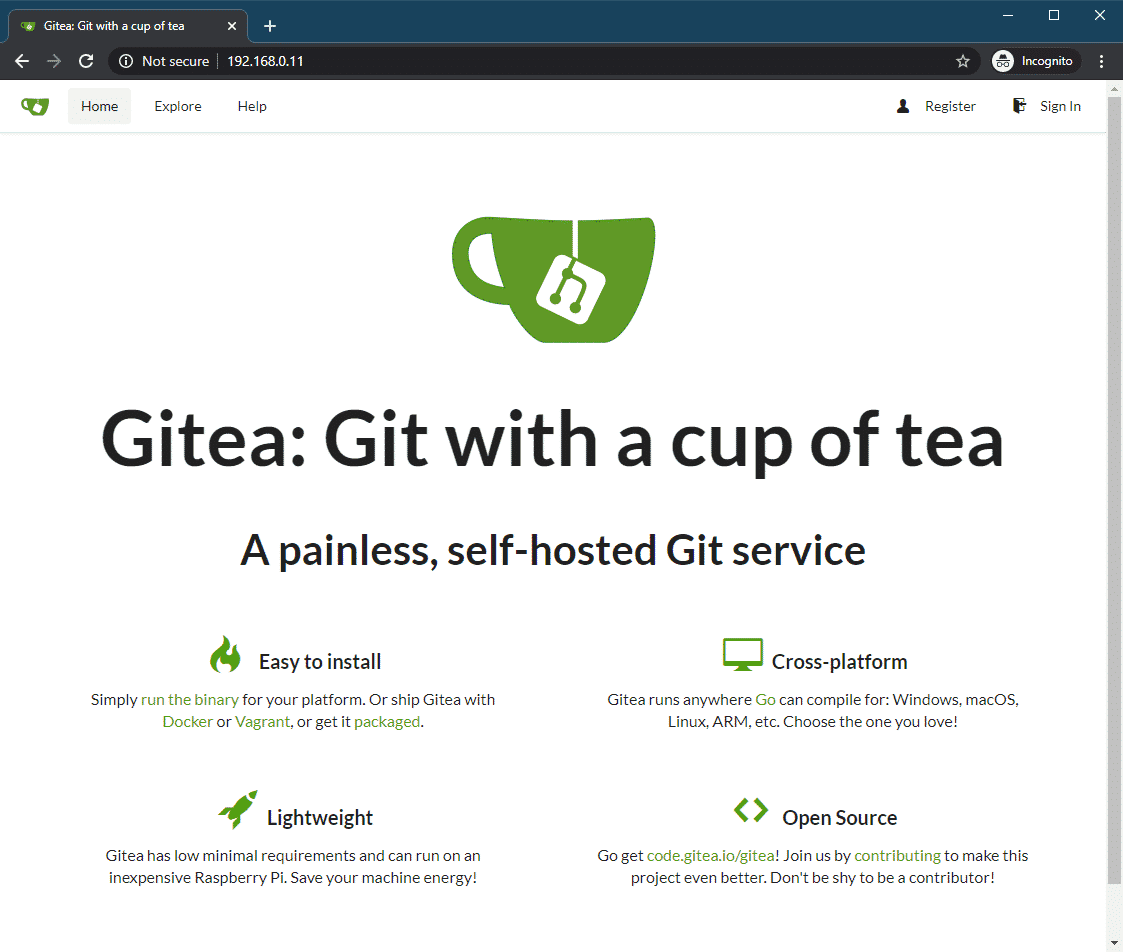
Gitea should be installed and your browser should redirect you to the Gitea homepage.
If you have changed the Gitea HTTP port (as I did), then you may see the following error message. It’s very easy to fix.

To fix that, all you have to do is to restart the gitea service with the following command:
![]()
Once you restart the gitea service, you should be able to access Gitea from the web browser as usual.
Using Gitea:
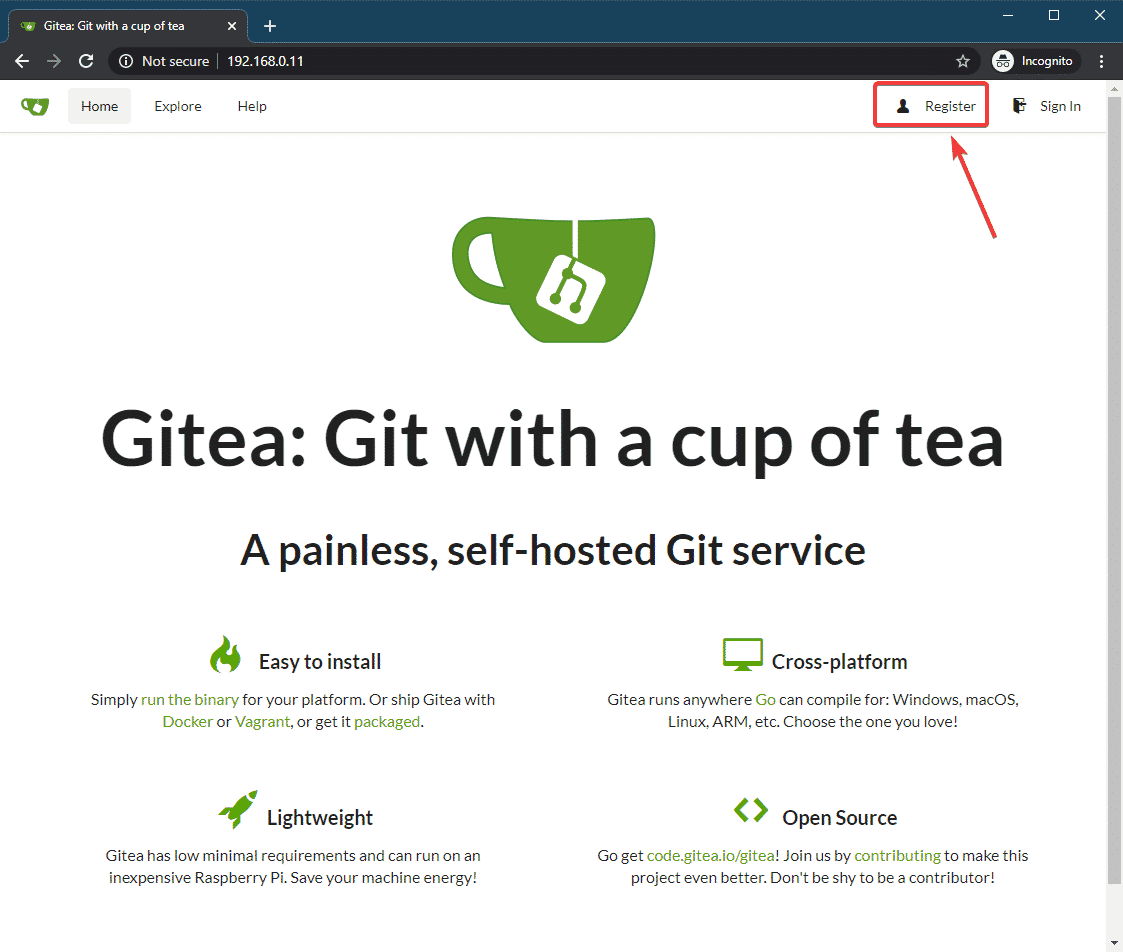
In this section, I am going to show you how to use Gitea.
First, click on Register.
Now, type in your personal information and click on Register Account to create a new Gitea account.
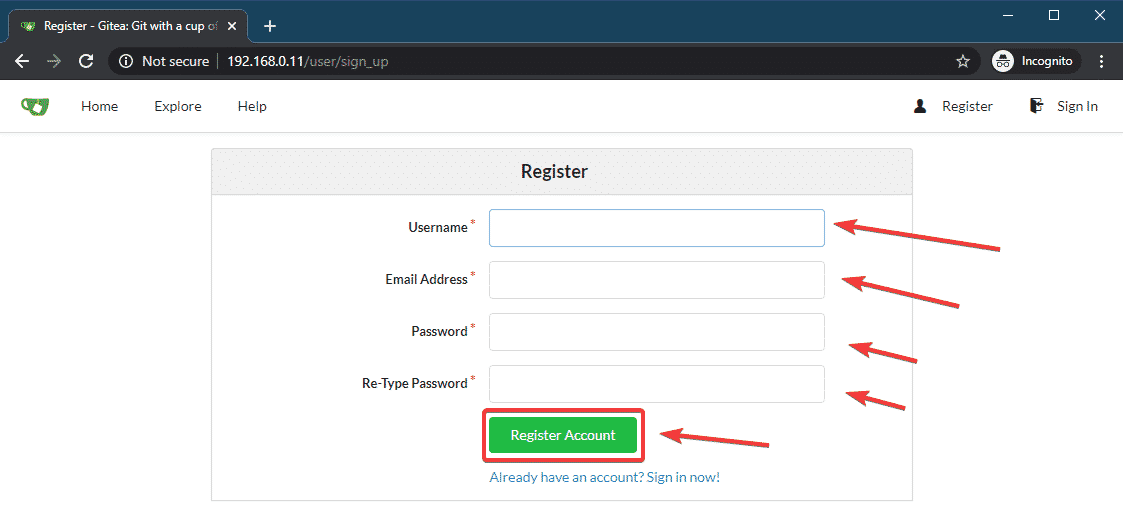
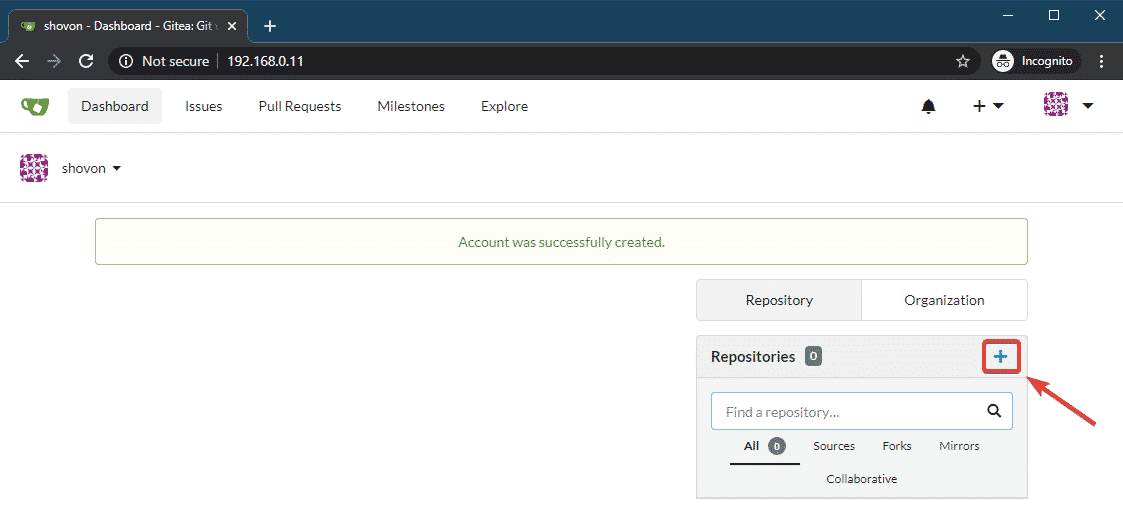
A new Gitea account should be created and you should be logged in to your account.
Now, click on the + button to create a new Git repository.
Type in a Repository Name and other repository information. Then, click on Create Repository.

A new Git repository (test in my case) should be created as you can see in the screenshot below.
Gitea should also instruct you on how you use this repository.
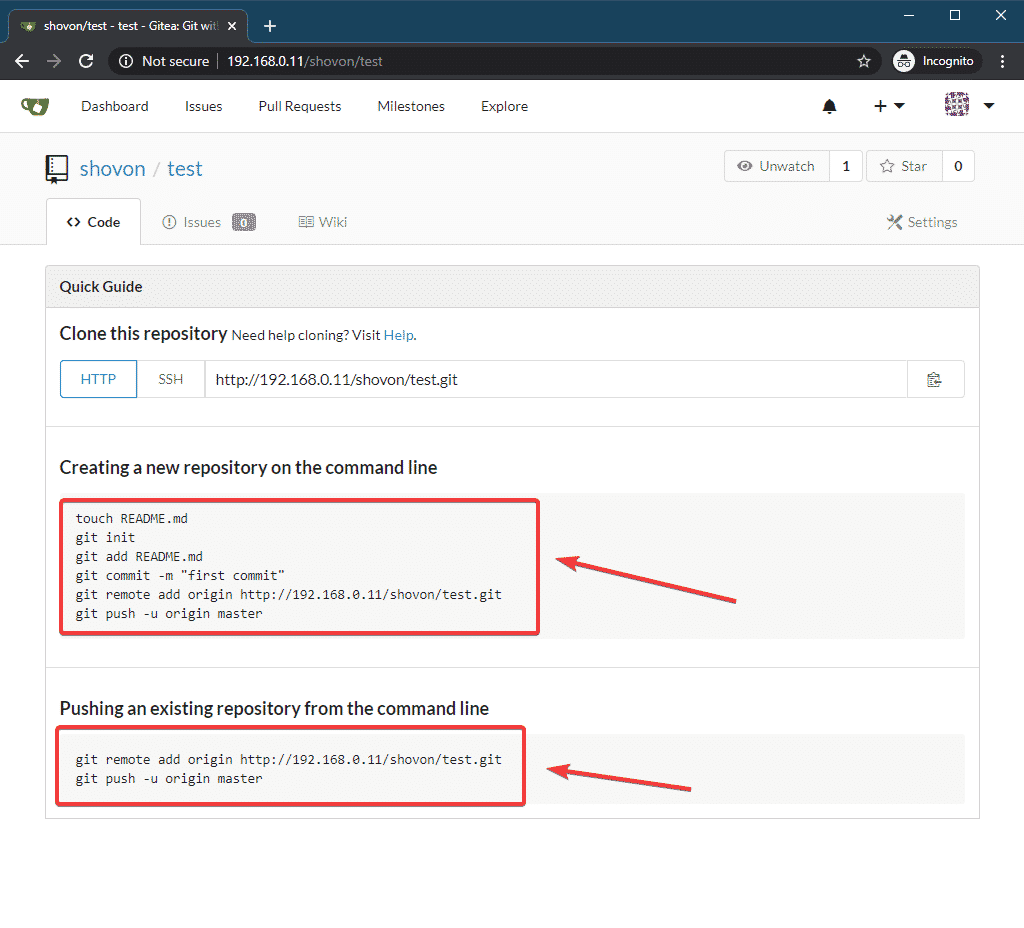
Now, create a directory test/ on your computer and navigate to that directory as follows:
$ cd test/

Now, create a new Git repository in the test/ directory as follows:

Now, create a simple README.md file as follows:

Now, make a commit as follows:
$ git commit -m 'initial commit'

Now, add the Gitea repository (test in my case) you have just created as a remote repository as follows:

Now, push the changes to the remote Gitea repository as follows:

Now, type in your Gitea username and press <Enter>.

Now, type in your Gitea password and press <Enter>.

Your git repository should be uploaded to your Gitea server.
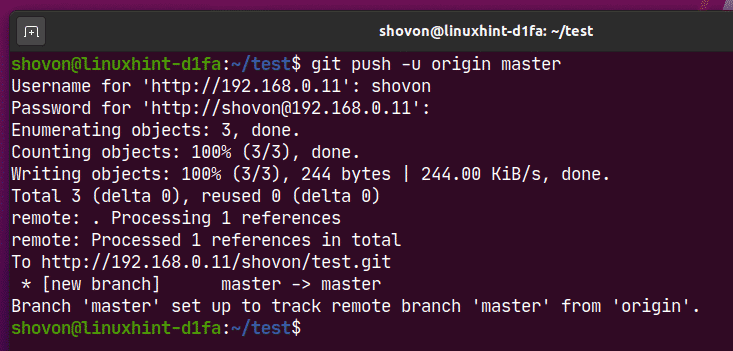
As you can see, the changes are applied to the test Git repository on my Gitea server.

So, that’s how you install and use Gitea on Ubuntu 20.04 LTS. Thanks for reading this article.