Genymotion is a cross platform Android emulator. Genymotion can run Android virtual devices on your computer. It has predefined virtual devices for different Android phones and tablets that you can use to test your Android app. You can use Genymotion with Android Studio as well to run your app while you develop them. Genymotion is a great tool for Android developers. It is also a great tool if you want to play Android games on your computer.
In this article, I am going to show you how to install Genymotion Android Emulator on Ubuntu 18.04 LTS. So, let’s get started.
Installing VirtualBox:
Genymotion uses VirtualBox to run the Android emulator on your computer. So, you must have hardware virtualization (VT-d/VT-x/AMD-v) enabled in your BIOS and VirtualBox installed in order to use Genymotion.
VirtualBox is available in the official package repository of Ubuntu 18.04 LTS. So, you can easily install it using the APT package manager.
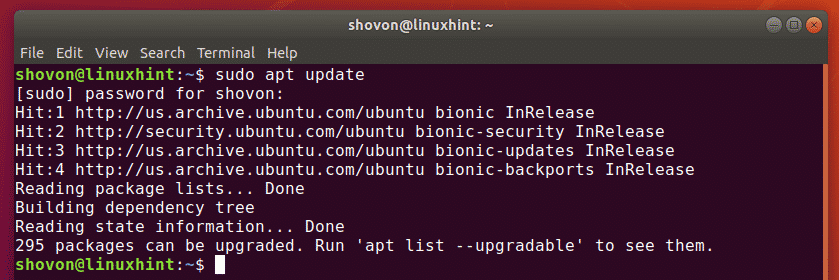
First, update the APT package manager cache as follows:
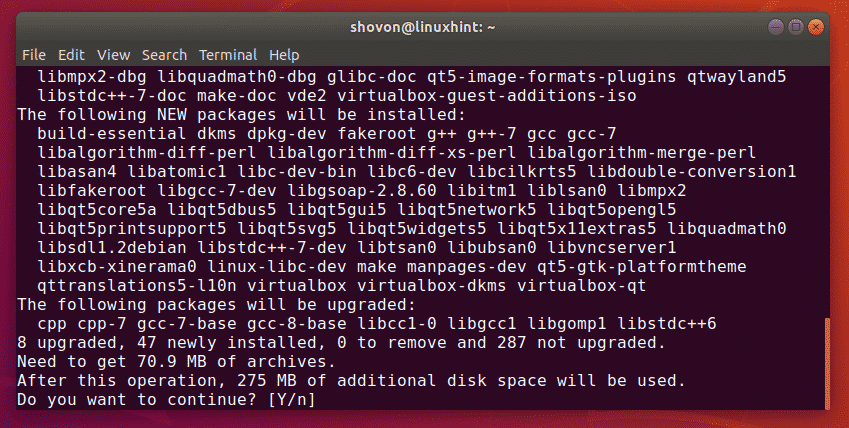
Now, install VirtualBox with the following command:

Now, press y and then press <Enter> to confirm the installation.
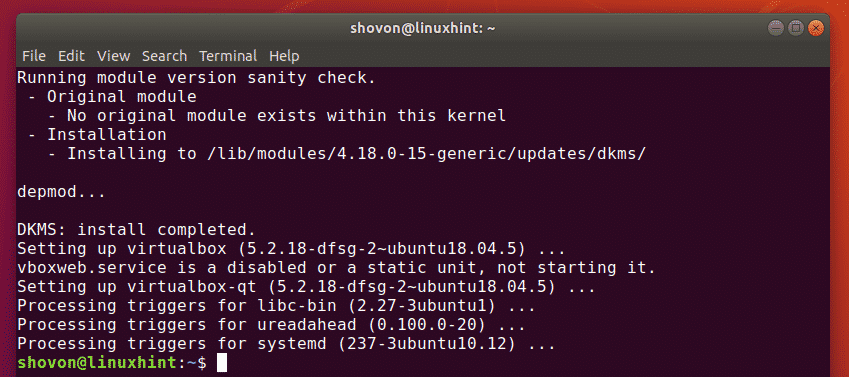
VirtualBox should be installed.
Downloading Genymotion:
Genymotion is not available in the official package repository of Ubuntu 18.04 LTS. But, you can easily download Genymotion from the official website of Genymotion and install it on your Ubuntu 18.04 LTS machine.
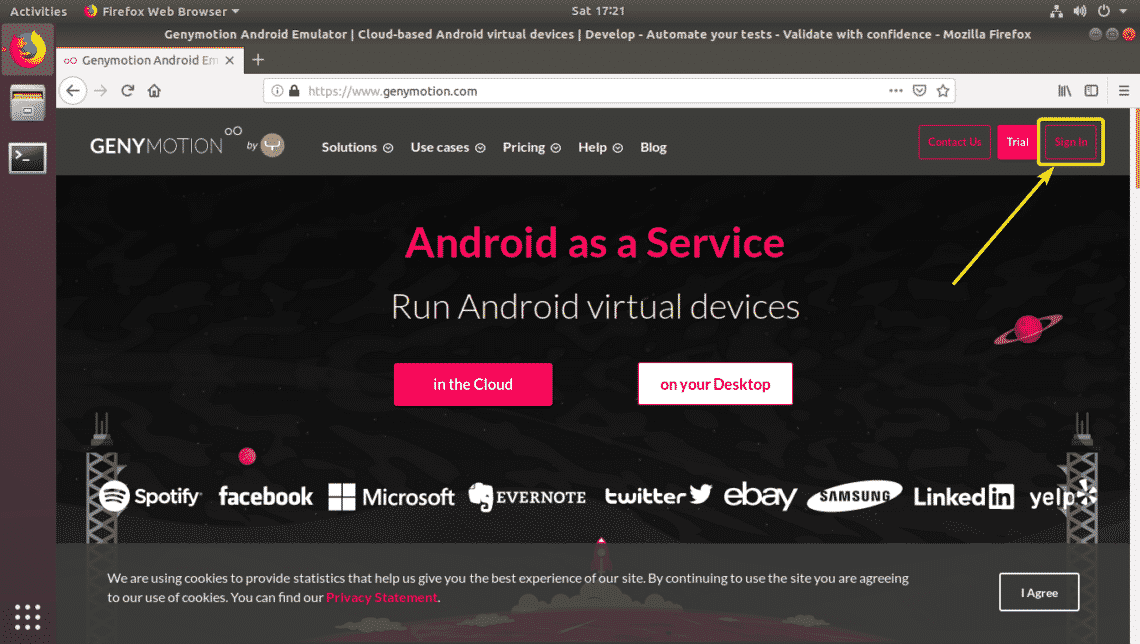
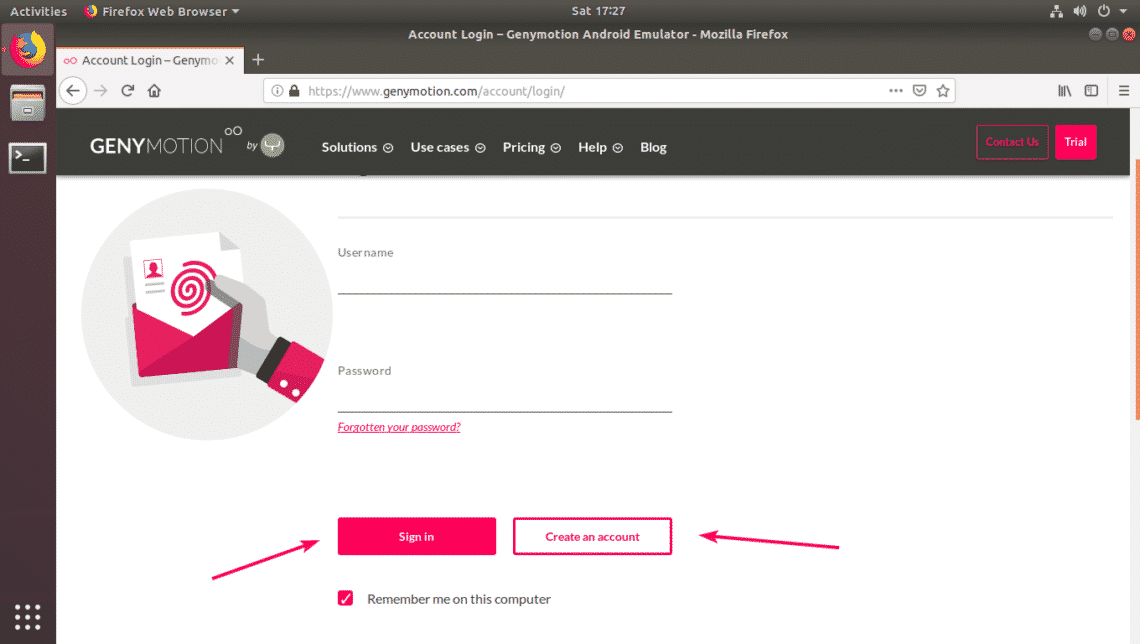
First, go to the official website of Genymotion at https://www.genymotion.com from your favorite web browser and click on Sign In.
If you have a Genymotion account, just Sign In with your account. If you don’t have one, just click on Create an account, create a new Genymotion account and sign in.
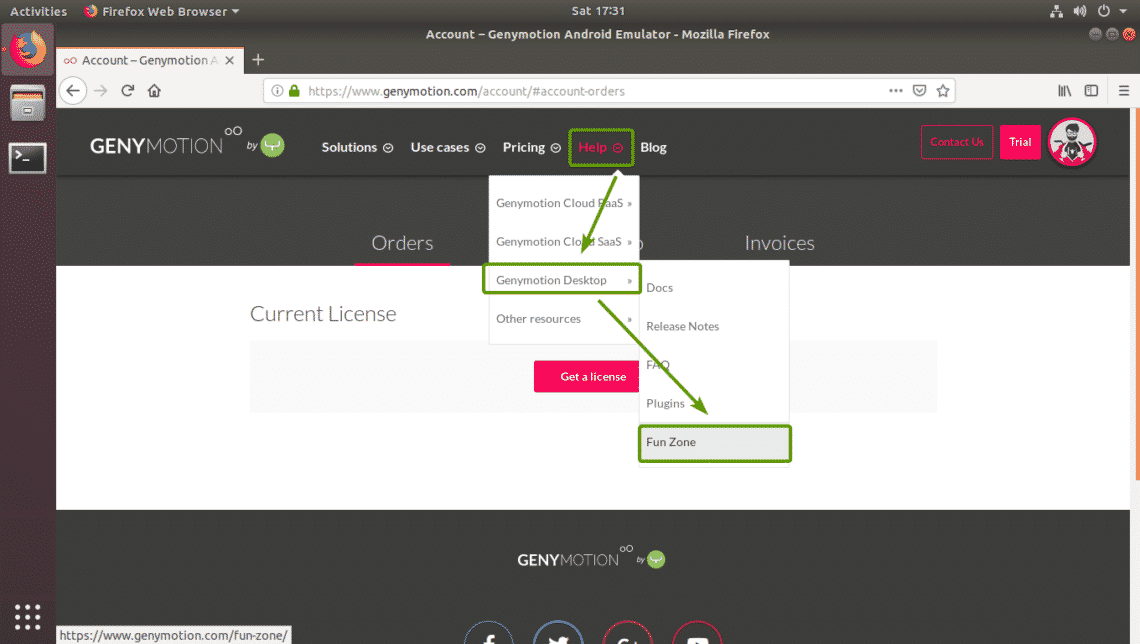
Once you’re logged in, go to Help > Genymotion Desktop > Fun Zone as marked in the screenshot below.
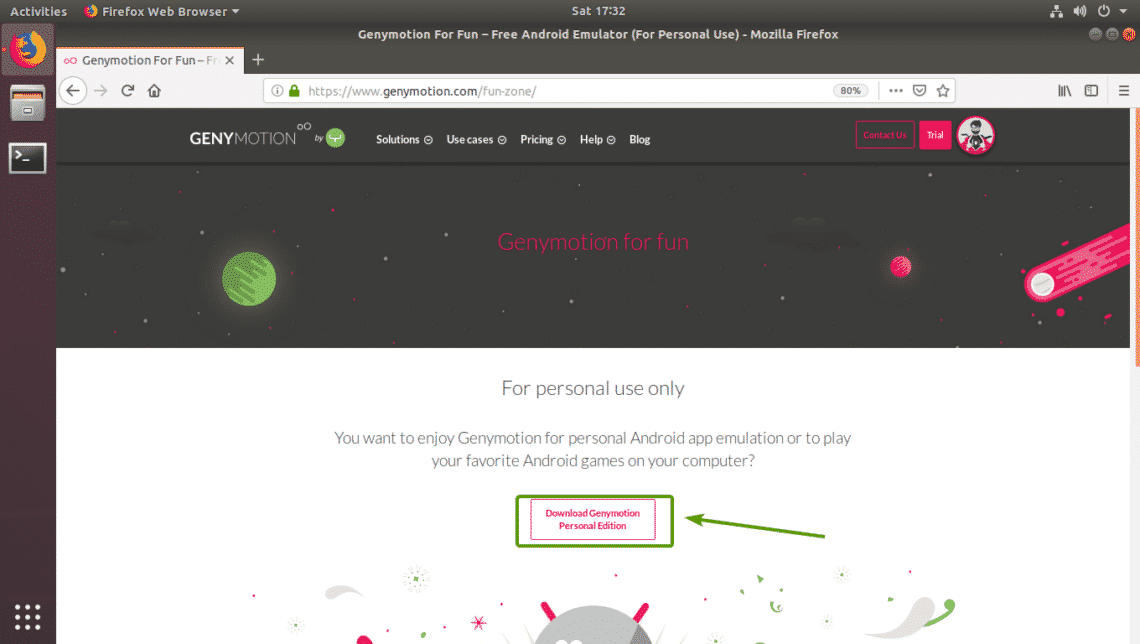
Now, click on Download Genymotion Personal Edition button as marked in the screenshot below.
Now, click on Download for Linux (64-bit) button as marked in the screenshot below.
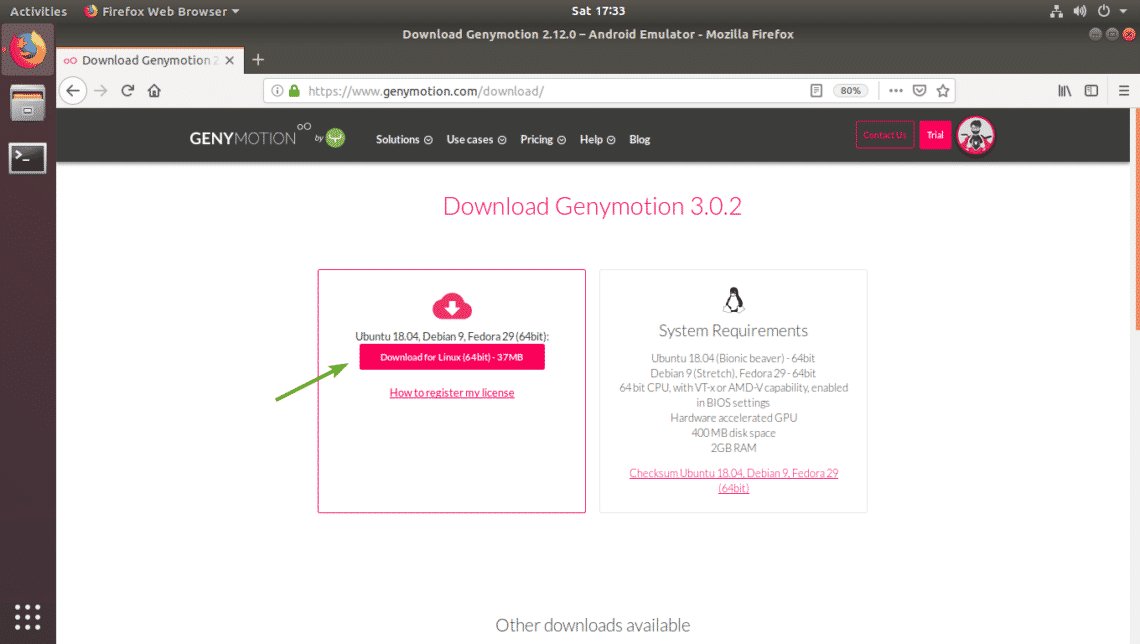
Your browser should prompt you to save the Genymotion installer file. Click on Save File to save it.
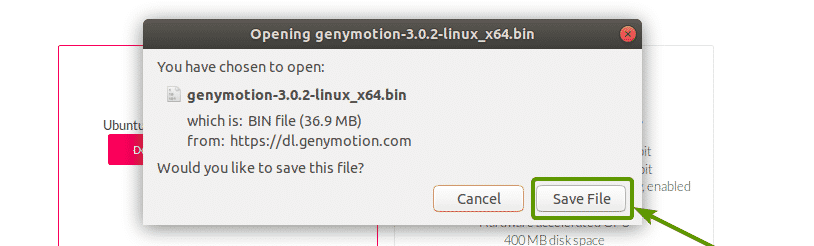
Your browser should start downloading Genymotion installer.

Install Genymotion:
Once Genymotion installer is downloaded, you should be able to find it in the ~/Downloads/ directory.

Now, make the installer executable with the following command:

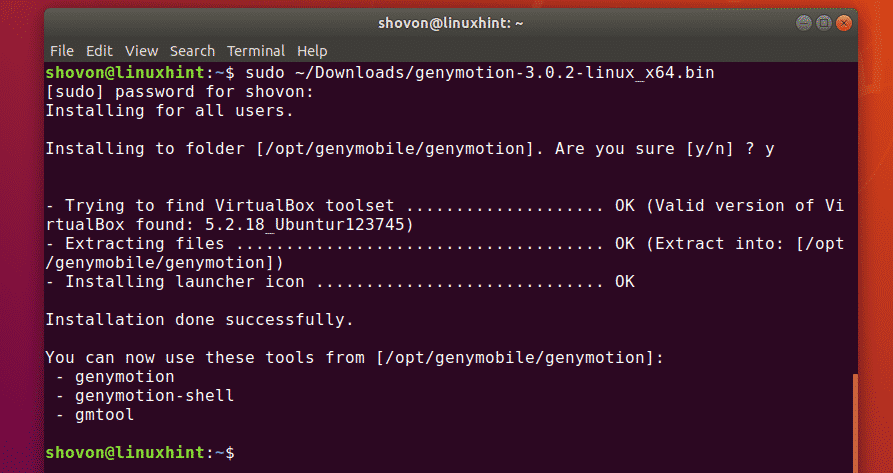
Now, run the Genymotion installer with the following command:

Now, press y and then press <Enter> to continue.

Genymotion should be installed.
Running Genymotion:
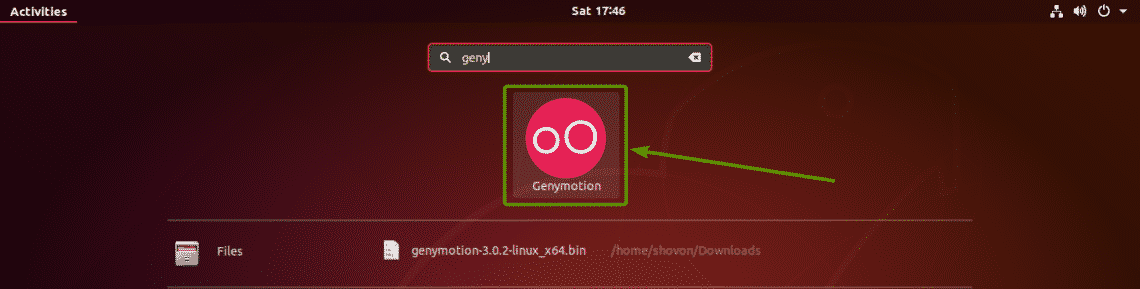
Now, you can find Genymotion in the Application Menu of Ubuntu 18.04 LTS.
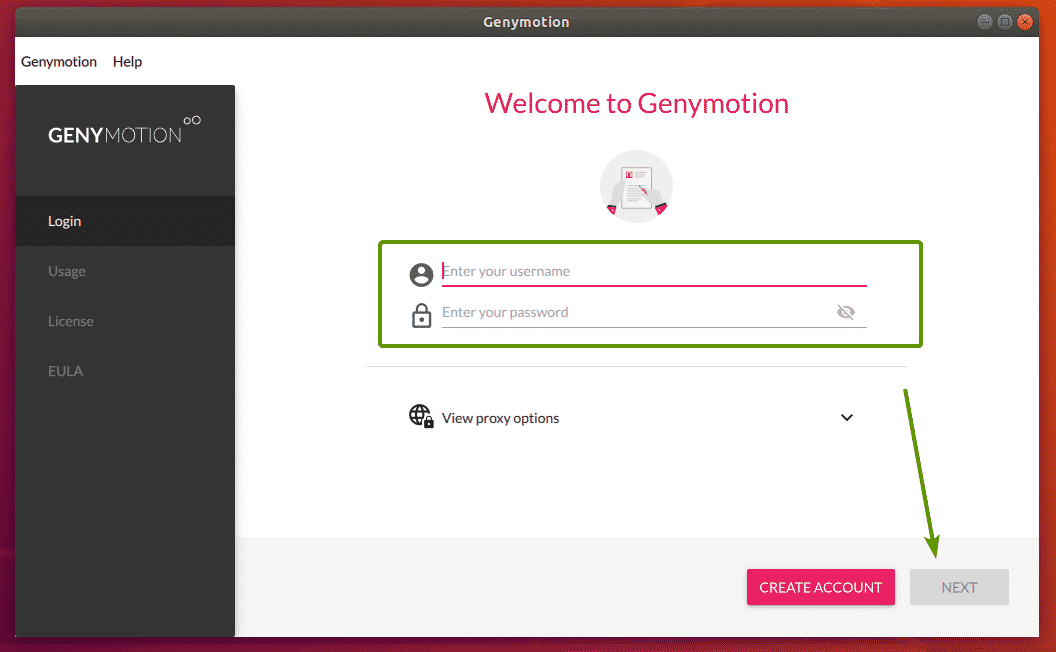
Now, type in your Genymotion login information and click on NEXT.
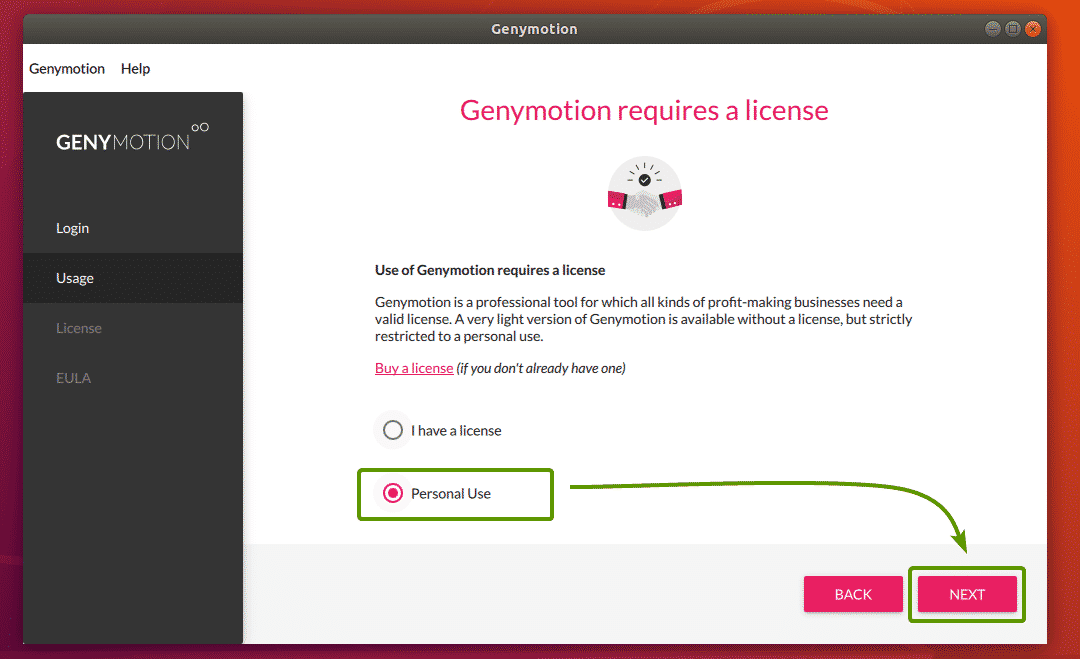
Now, select Personal Use and click on NEXT.
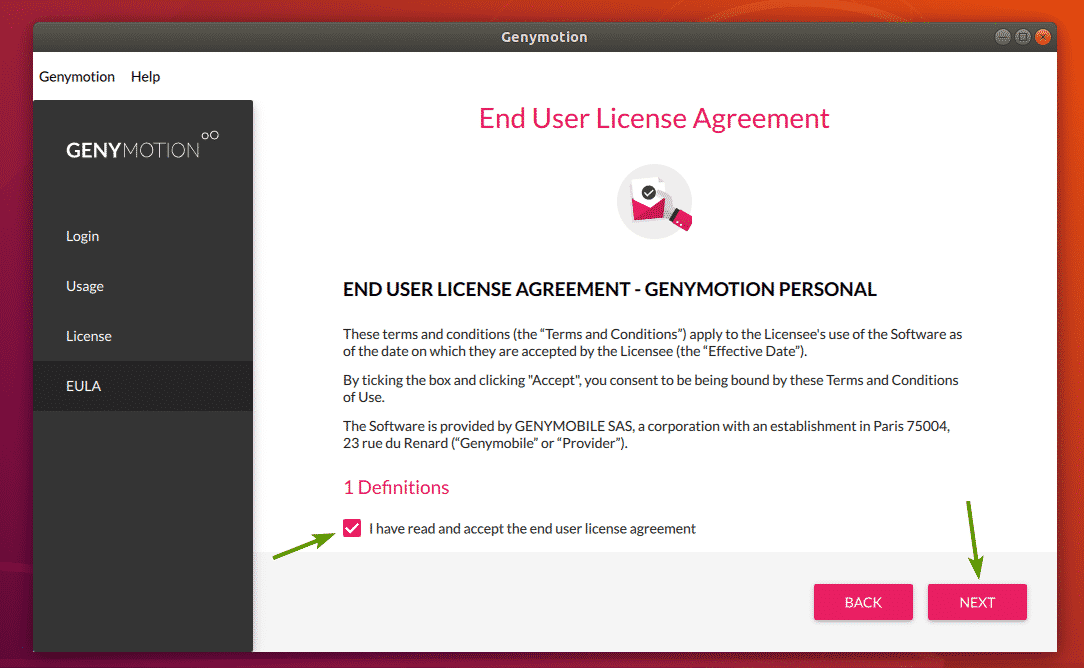
Now, check I have read and accept the end user license agreement and click on NEXT.
Genymotion should start.
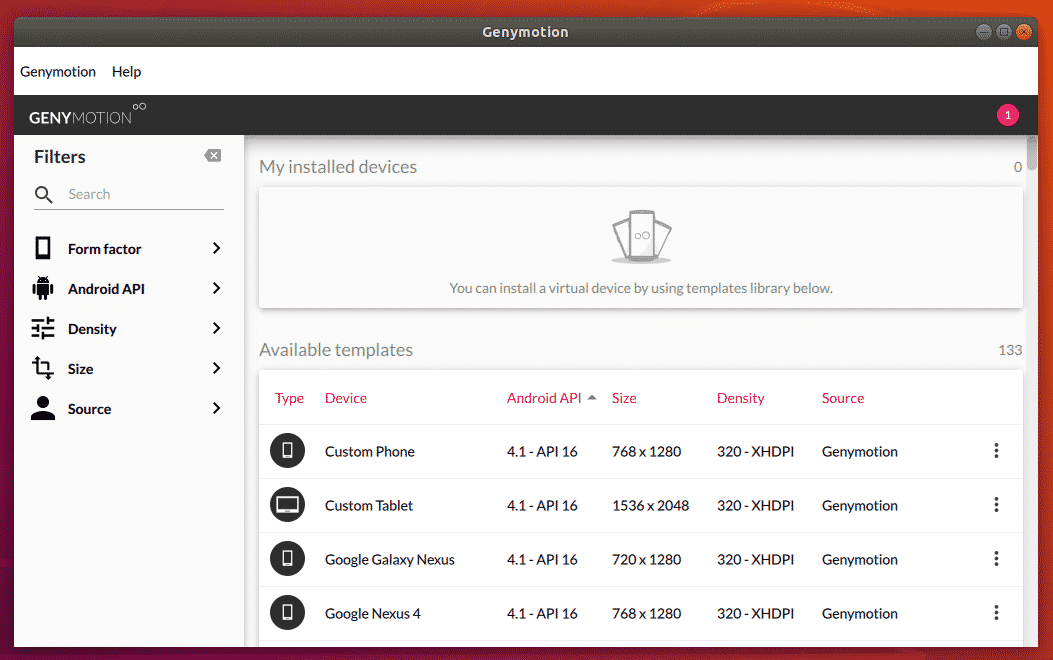
Creating Genymotion Android Virtual Devices:
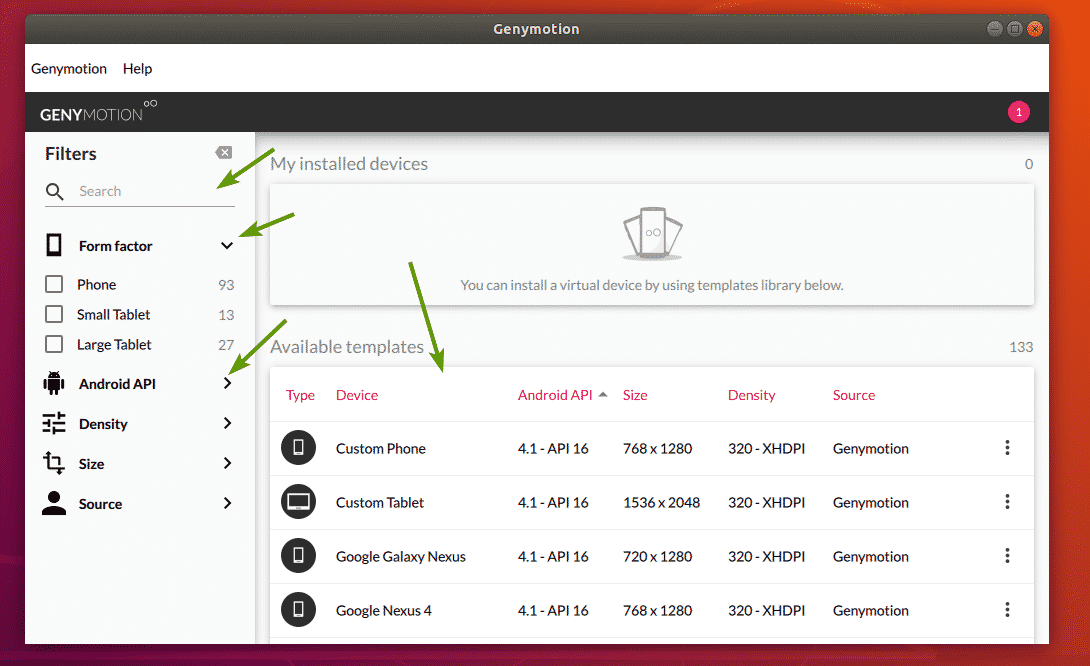
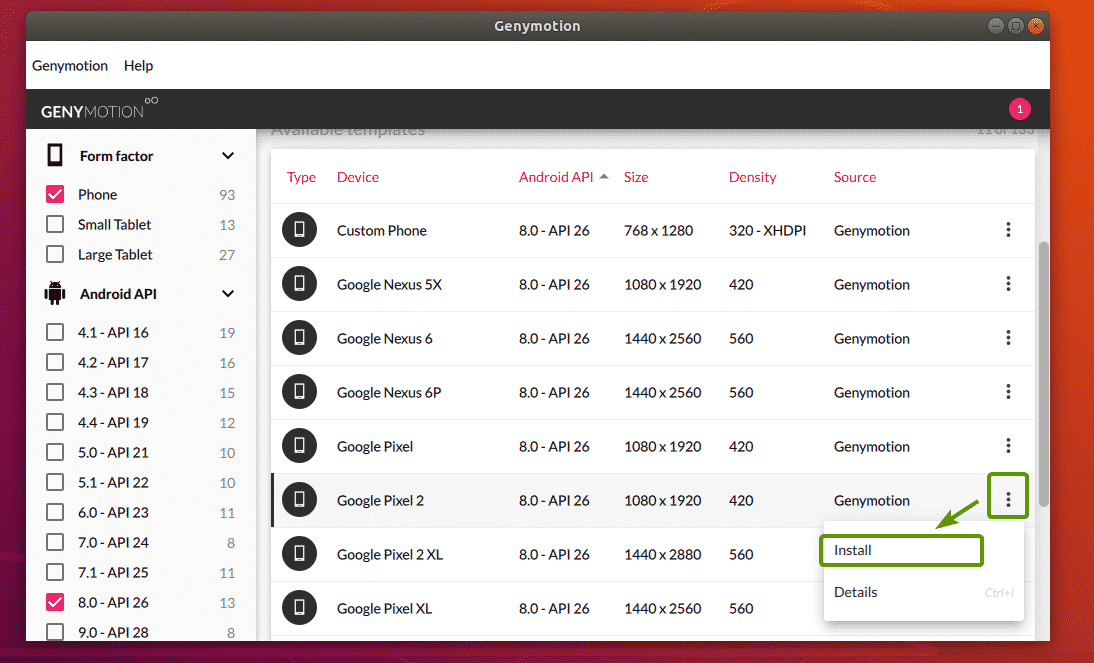
Genymotion has a lot of available Android virtual device templates to choose from. You can search for templates, filter them by the Form factor (Phone, Small Tablet, Large Tablet), Android API (Android 8, Android 9 etc), Density (screen pixel density) and Size (screen size/resolution).
Now, select a device that you like and click on the Menu icon and then click on Install.
Now, you can type in a name to your virtual device, select the display resolution and pixel density from some predefined ones, or set a custom display resolution and pixel density. If you want to start the virtual device in full screen mode, then check Start in full-screen mode checkbox.
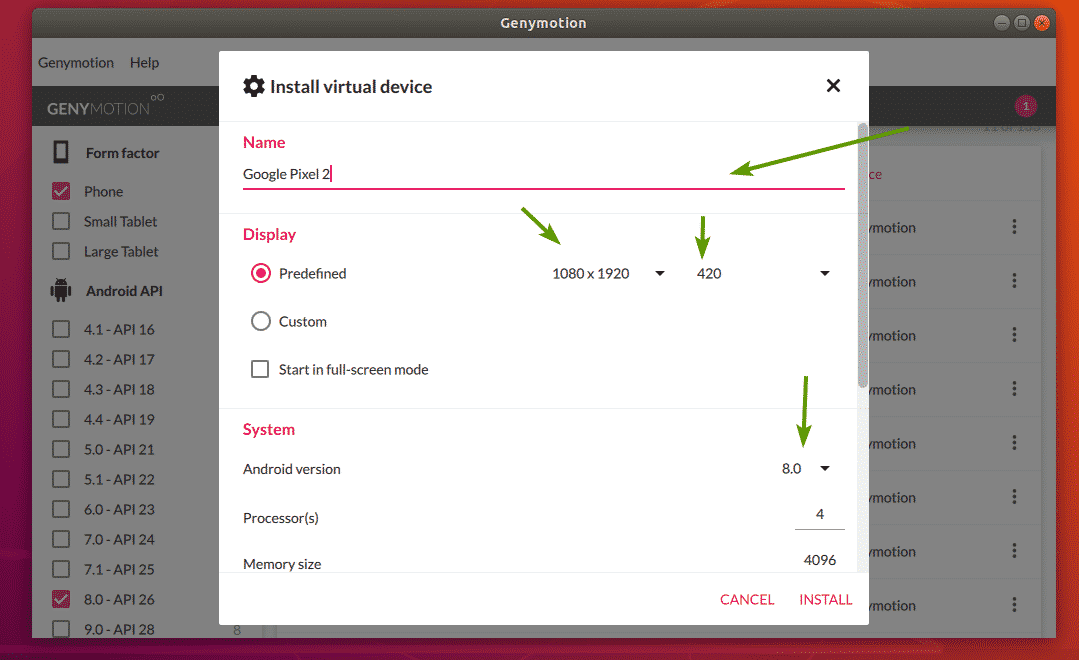
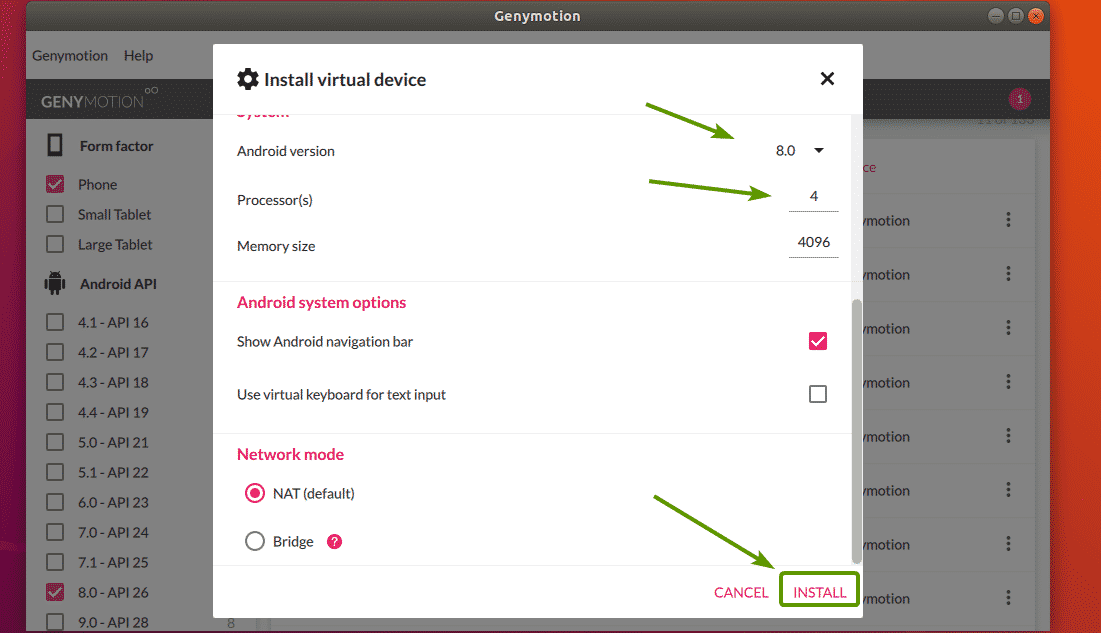
You can also select the Android version you want, select the number of processor core to assign to the virtual device, set the memory size etc. Once you’re done, click on INSTALL.
Genymotion should start downloading the required files to create the virtual device.
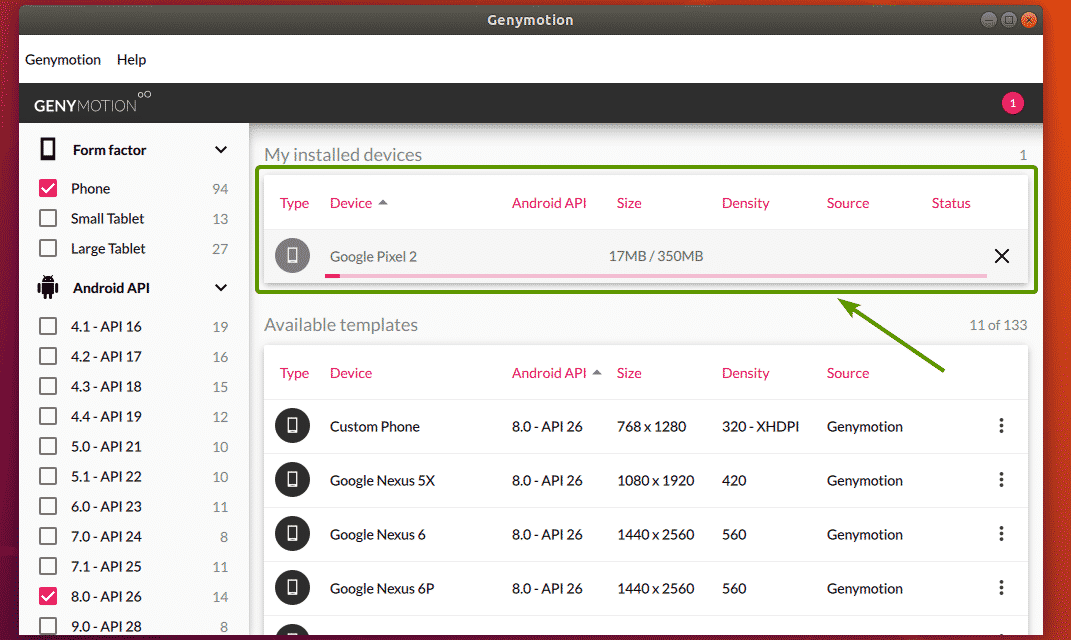
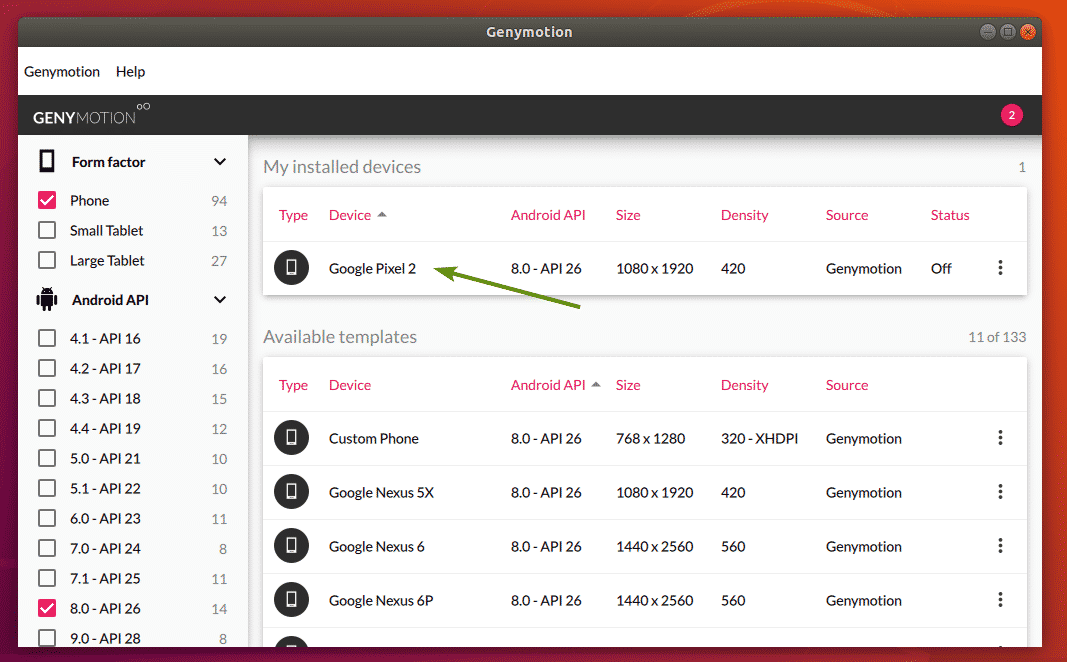
Once the virtual device is ready, it should be listed in My installed devices section.
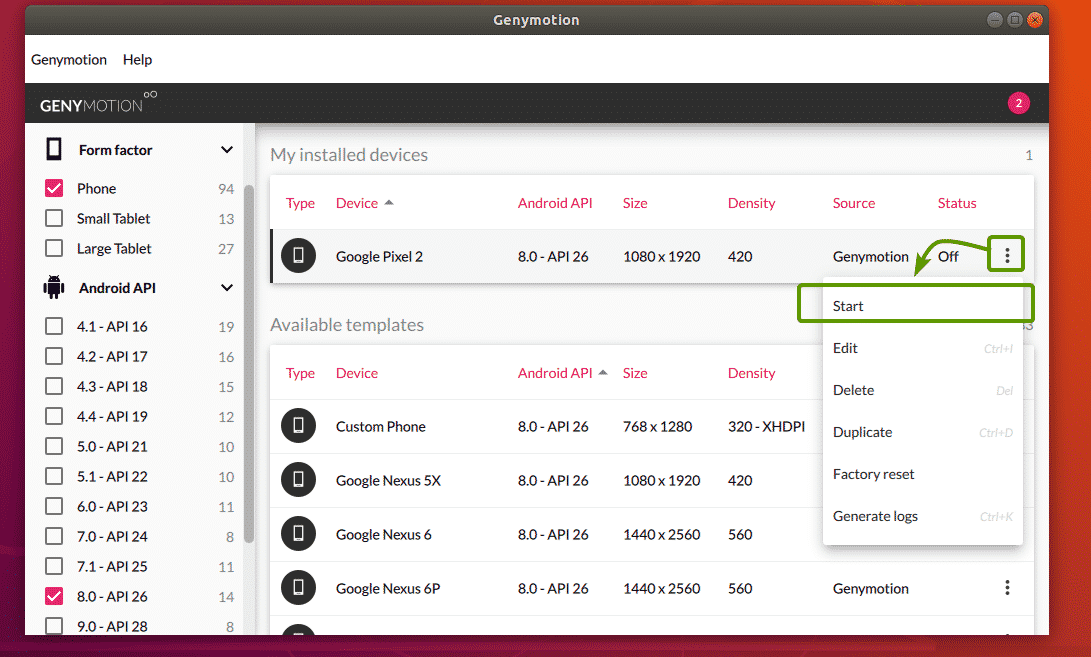
Now, to start the virtual device, click on the Menu icon and click on Start.
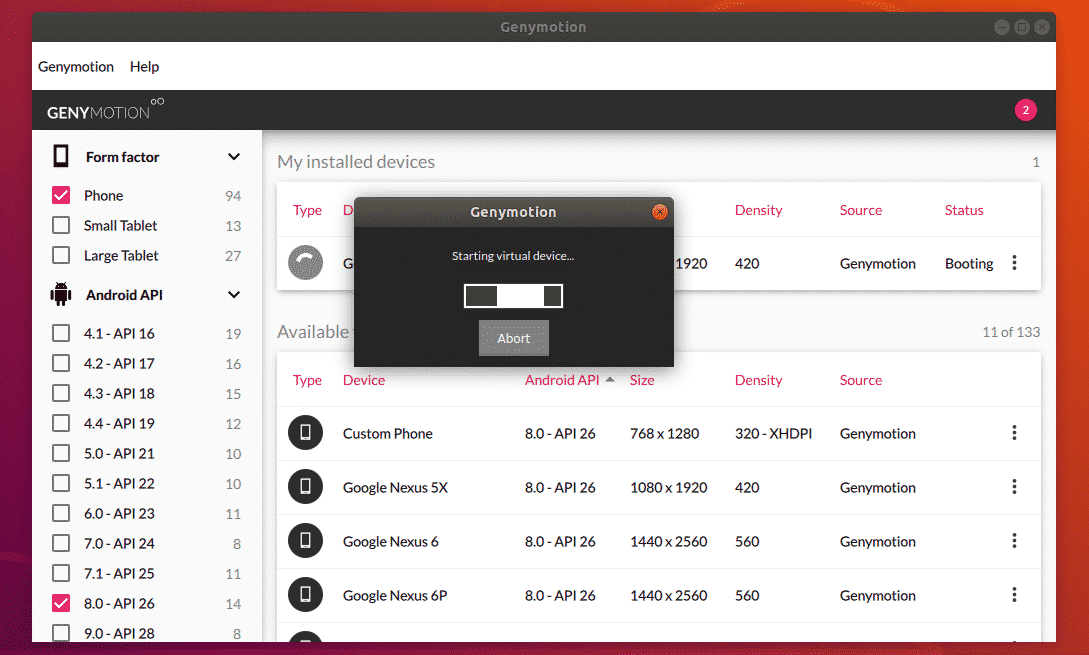
As you can see, Genymotion is starting the virtual device.
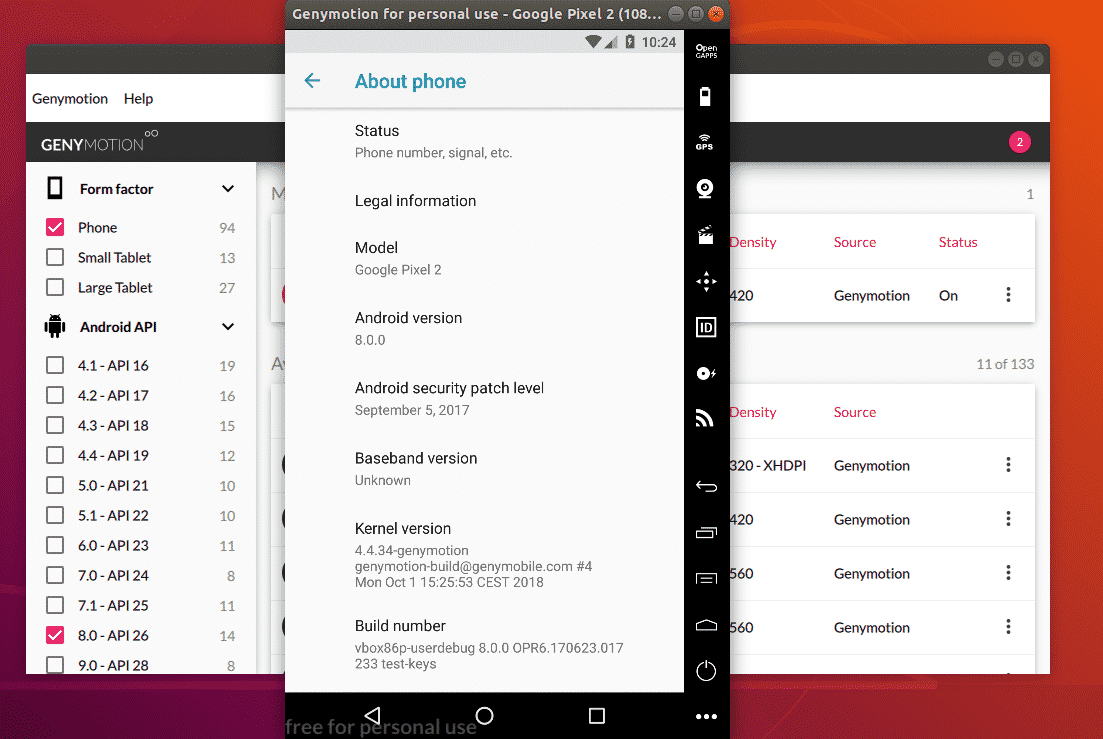
After a while, an Android virtual device should be started. Now, you can install android apps on it, run your favorite games and many more on this virtual device.4
You can create as many Android virtual devices as you want using Genymotion.
So, that’s how you install Genymotion Android emulator on Ubuntu 18.04 LTS. Thanks for reading this article.