
This guide will show you how to install and use FFmpeg in Ubuntu 20.04.
Installing FFmpeg in Ubuntu
There are two official ways of installing FFmpeg on Ubuntu: from the Ubuntu repo (v7.x) and from the snap (v4.x). Depending on your needs, you should choose the most appropriate method for you.
It is also possible to compile and install FFmpeg from the source. However, this method is a bit complex and it is recommended not to follow this method unless you have a specific reason to do so.
Installing FFmpeg from Ubuntu Repo
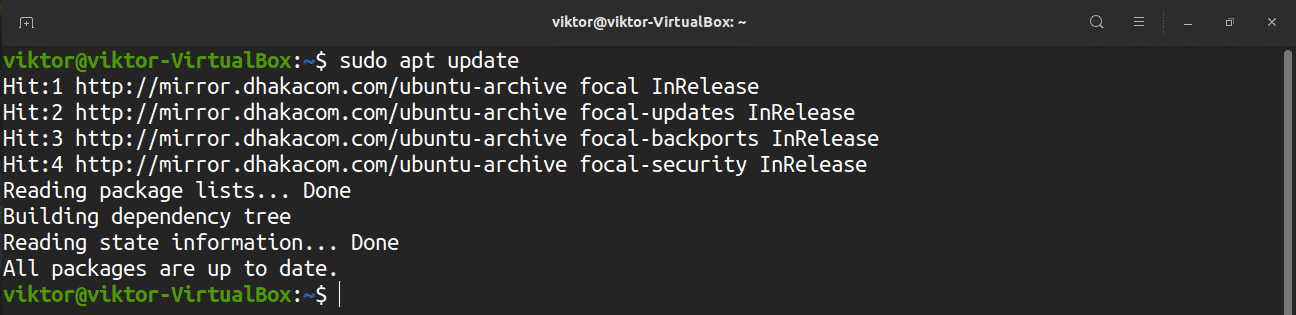
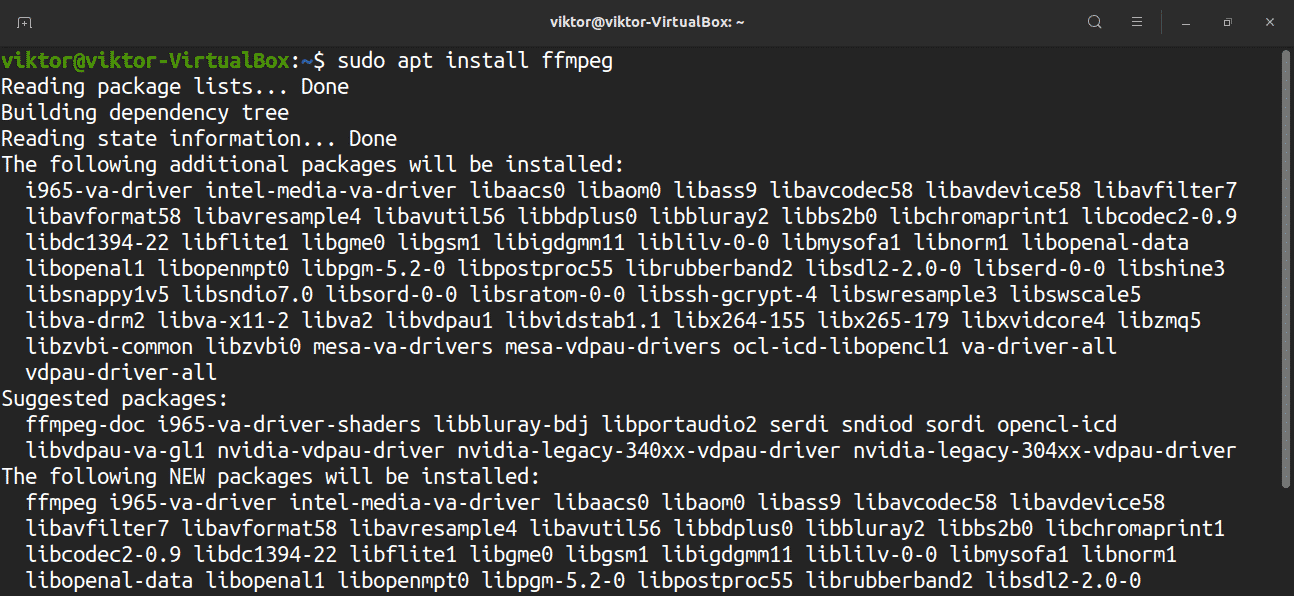
This is the default method for installing FFmpeg. All you have to do is tell APT to grab and install the program from the default Ubuntu software repo.
Fire up a terminal, update the APT cache, and install FFmpeg.
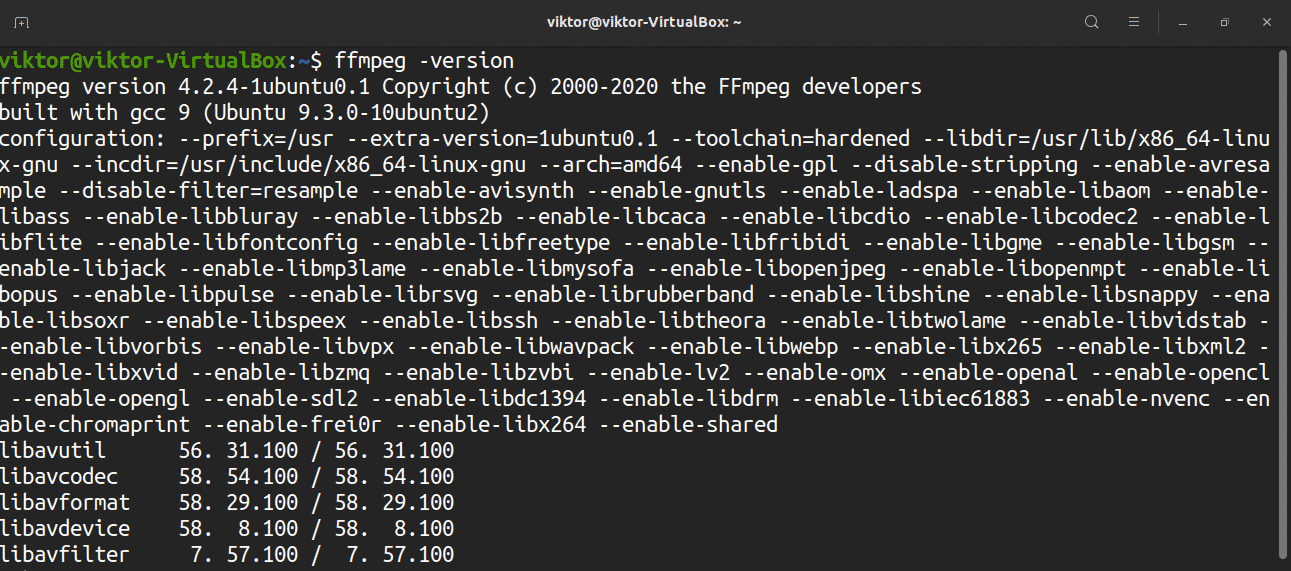
Let us verify whether the installation was successful. First, test the FFmpeg version via the following command:
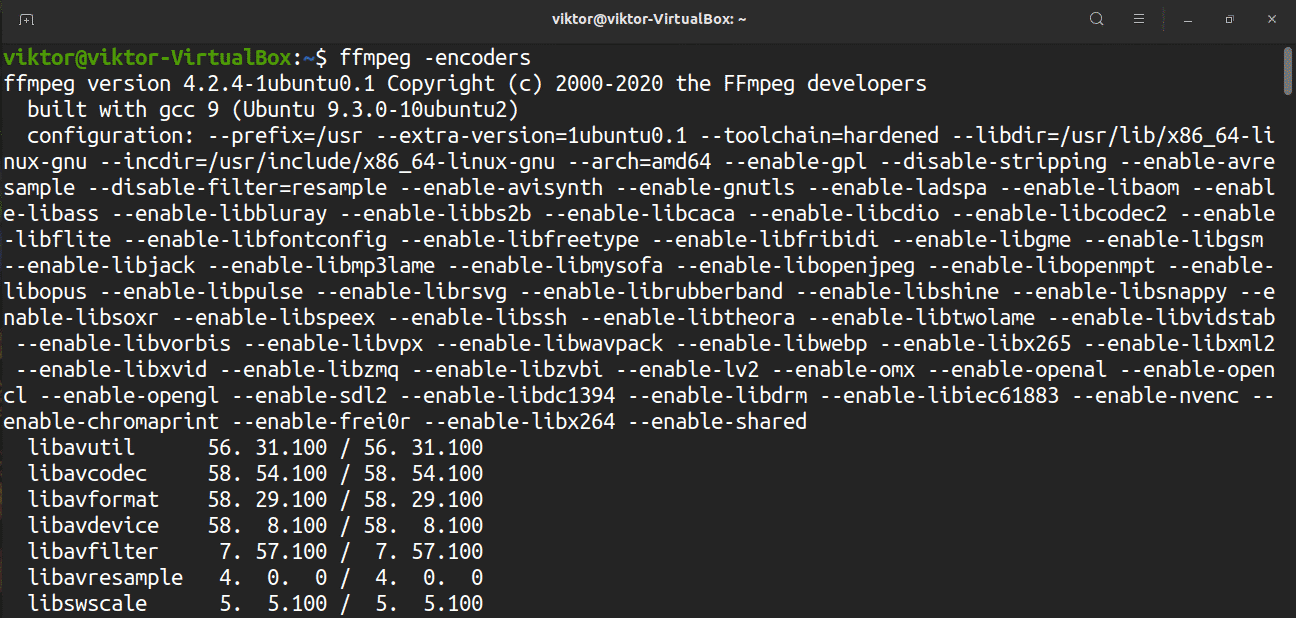
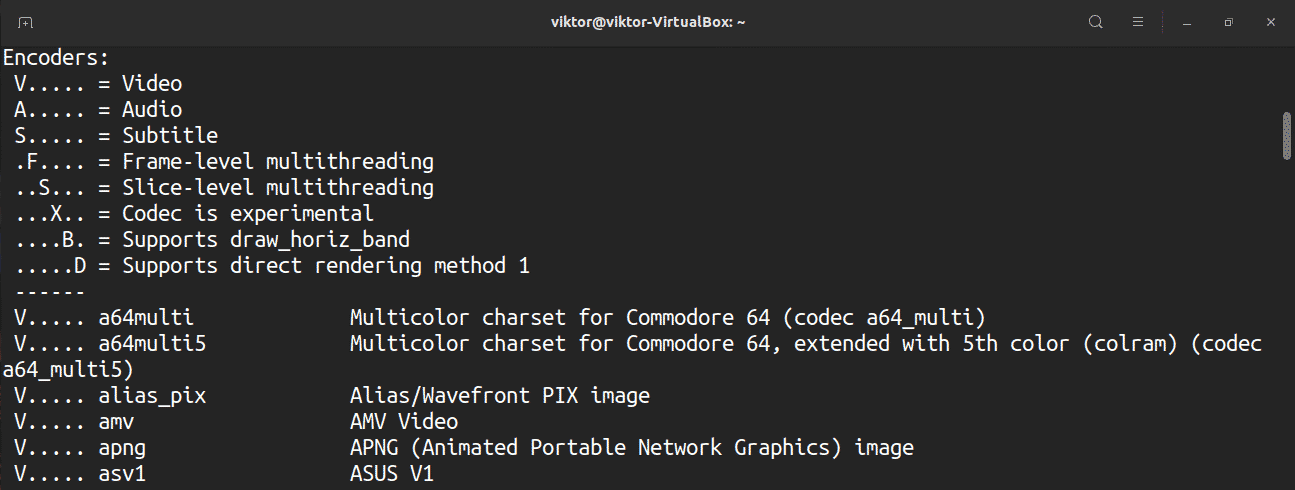
Do not forget to check the available encoders and decoders. Do so by entering the following command:
Installing FFmpeg from snap
FFmpeg is also available as a snap package. If you do not have snap configured, then you can install it right away by issuing the following command:

Now, your system should be ready to grab and install snap packages from the Snapcraft store. Check out FFmpeg on Snapcraft.

Test out the installation of FFmpeg by entering the following command:

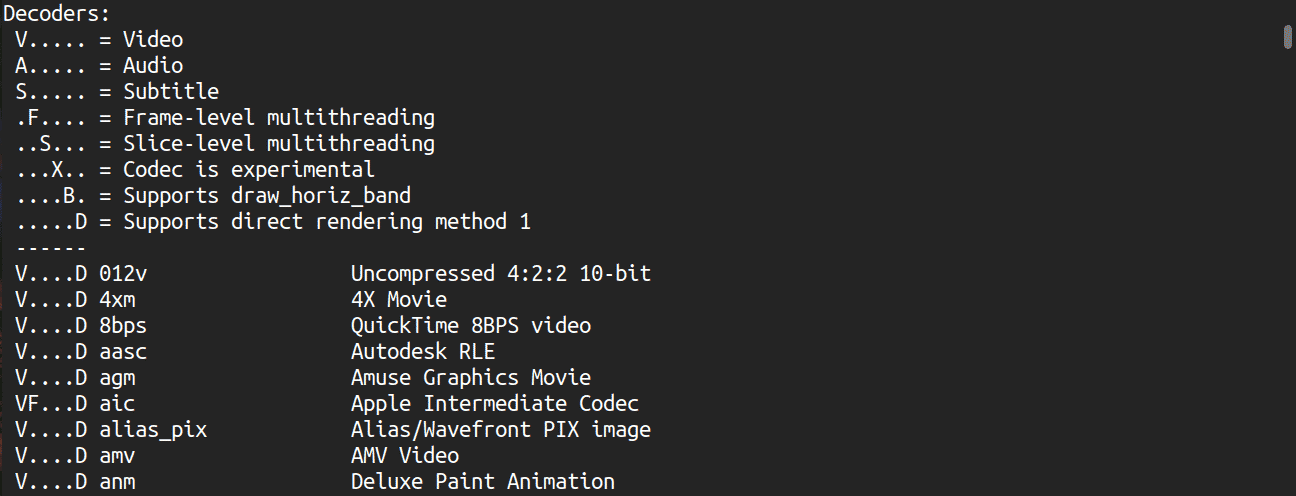
$ ffmpeg -decoders
Installing FFmpeg from the Source Code
FFmpeg is an open-source tool. It is therefore possible to manually build this program from the source code. This method is only recommended if you are willing to create a custom build, want to try out the latest version, or wish to test out a bug. For general use, follow the other methods instead to install this program. Check out the official FFmpeg compilation guide for Ubuntu.
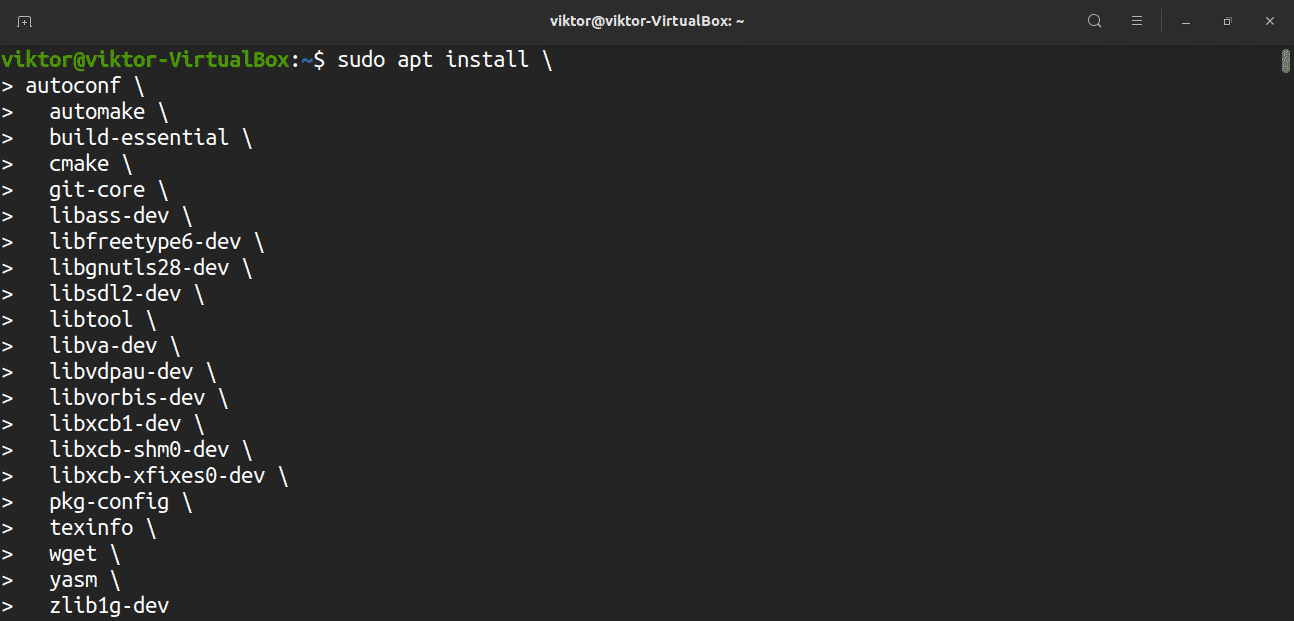
Building FFmpeg from the source requires several dependencies. Enter the following commands to download the dependencies:
$ autoconf \
$ automake \
$ build-essential \
$ cmake \
$ git-core \
$ libass-dev \
$ libfreetype6-dev \
$ libgnutls28-dev \
$ libsdl2-dev \
$ libtool \
$ libva-dev \
$ libvdpau-dev \
$ libvorbis-dev \
$ libxcb1-dev \
$ libxcb-shm0-dev \
$ libxcb-xfixes0-dev \
$ pkg-config \
$ texinfo \
$ wget \
$ yasm \
$ zlib1g-dev
Now, prepare a dedicated directory for storing the source code and the compiled binary files.

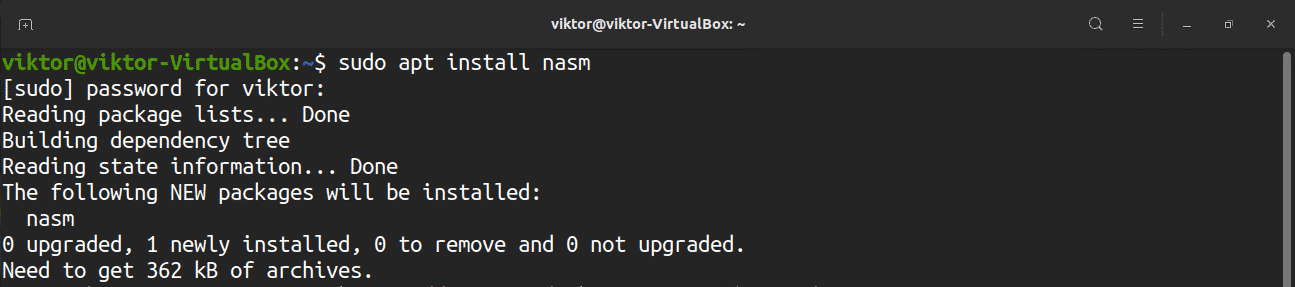
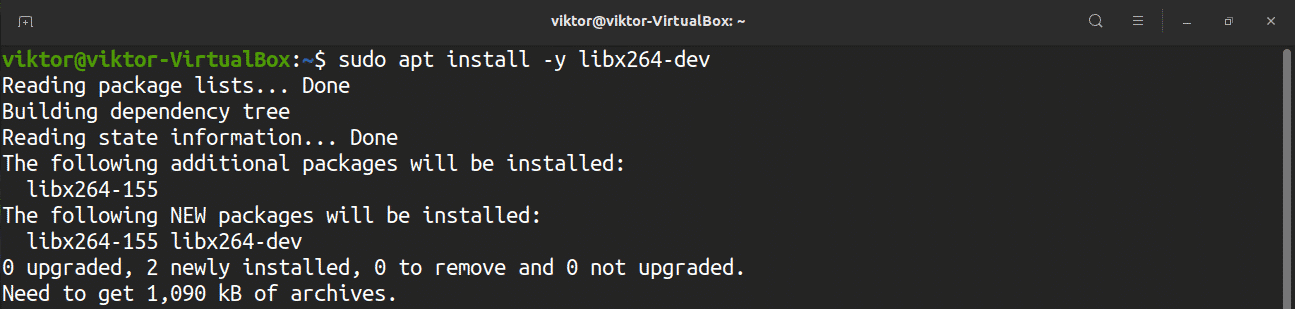
It is now time to prepare some third-party libraries. These are the most common ones used with FFmpeg. If you do not need one or more of these libraries, then skip the relevant part and ignore the associated ./configure option.
- NASM: An assembler that some libraries rely on.
- libx264: The H.264 video encoder.
- libx265: The H.265 video encoder (also known as HEVC).

- libvpx: The VP8/VP9 video encoder/decoder.

- libfdk-aac: The AAC audio encoder.

- libmp3lame: The MP3 audio encoder.
- libopus: The Opus audio encoder/decoder.
- libaom: The AV1 video encoder/decoder. Note that if you are going to use this one, the compilation may fail. According to the official FFmpeg wiki, it seems like this package does not have a stable API yet. It is recommended to avoid this one.

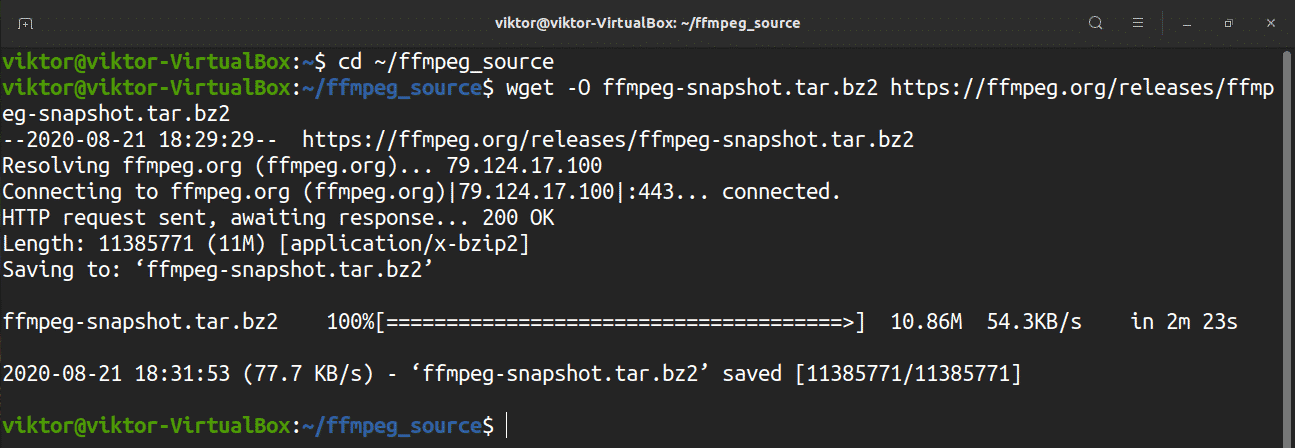
You are now ready to start building FFmpeg from the source. Grab the source code by issuing the following:
$ wget -O ffmpeg-snapshot.tar.bz2 https://ffmpeg.org/releases/ffmpeg-snapshot.tar.bz2

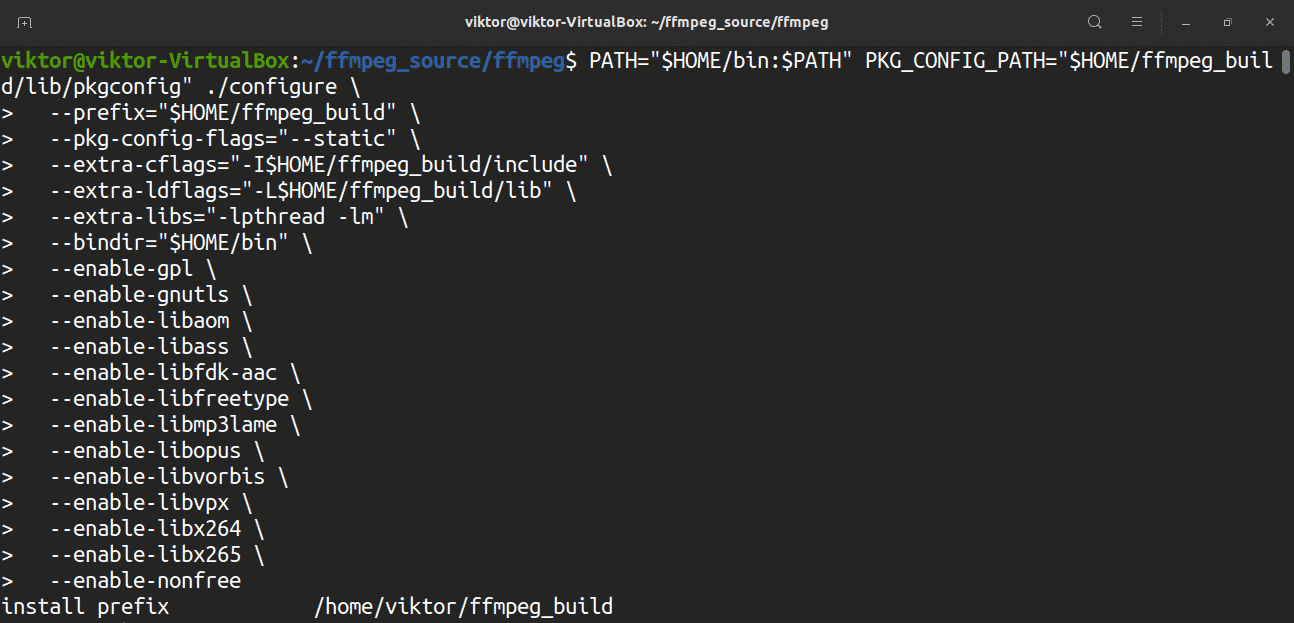
Update the PATH environment variable and run the configuration script.
$ --prefix="$HOME/ffmpeg_build" \
$ --pkg-config-flags="--static" \
$ --extra-cflags="-I$HOME/ffmpeg_build/include" \
$ --extra-ldflags="-L$HOME/ffmpeg_build/lib" \
$ --extra-libs="-lpthread -lm" \
$ --bindir="$HOME/bin" \
$ --enable-gpl \
$ --enable-gnutls \
$ --enable-libaom \
$ --enable-libass \
$ --enable-libfdk-aac \
$ --enable-libfreetype \
$ --enable-libmp3lame \
$ --enable-libopus \
$ --enable-libvorbis \
$ --enable-libvpx \
$ --enable-libx264 \
$ --enable-libx265 \
$ --enable-nonfree
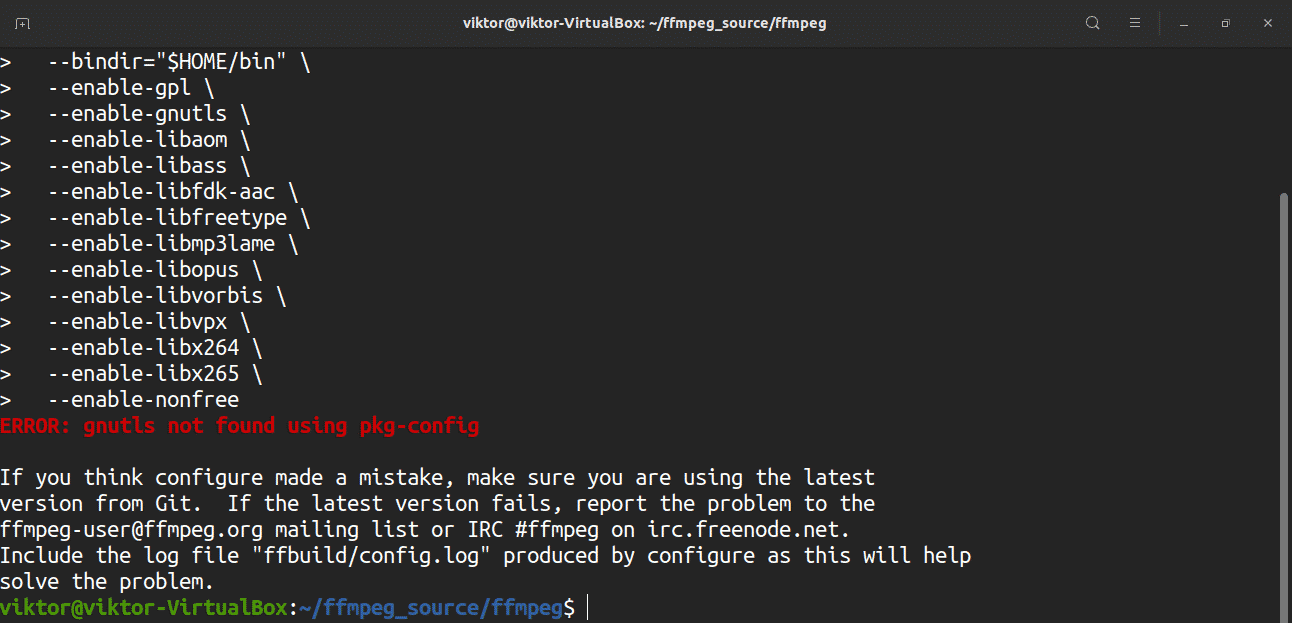
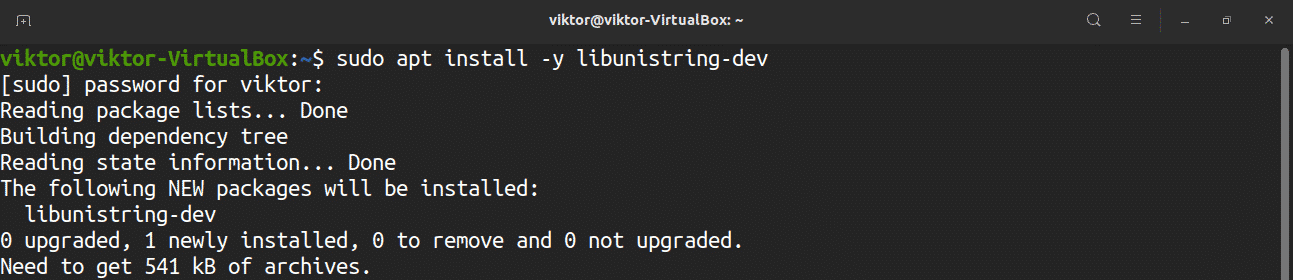
During this process, you may encounter the error “gnutls not found using pkg-config.” To solve this problem, a certain package must be present in the system. You can install the relevant package and fix this error by issuing the following command:
Now, run the configuration script again.
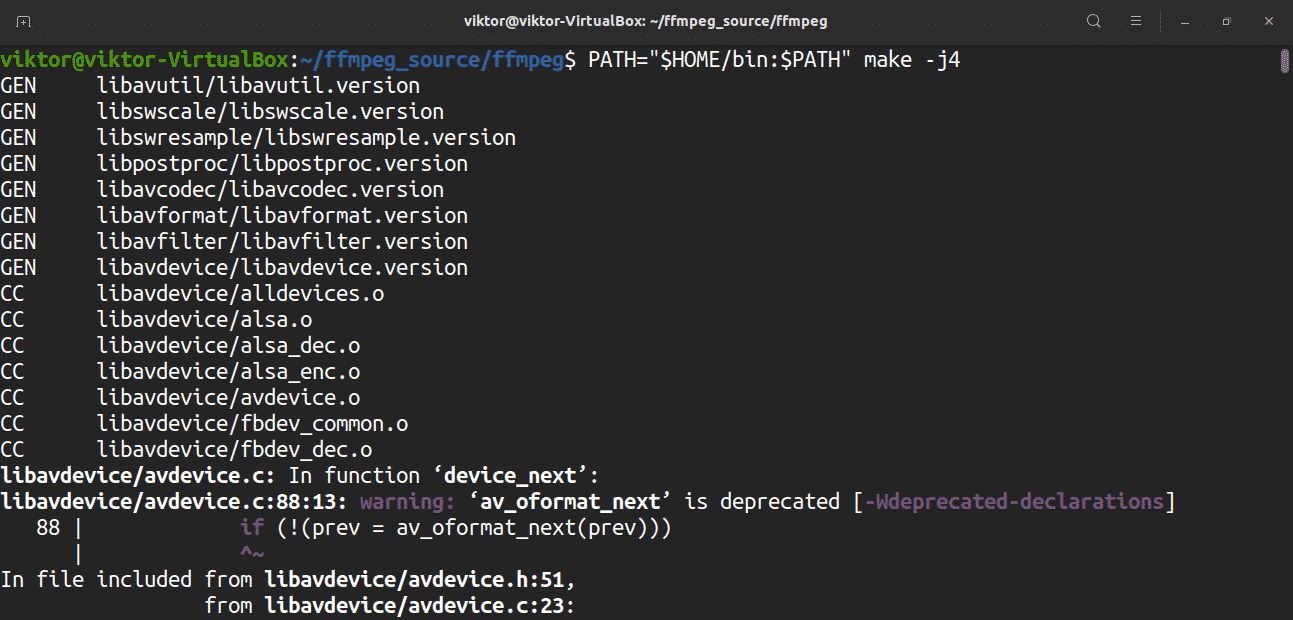
Run the make command to start compiling FFmpeg. Use the “-j” flag to run parallel compilation to speed up the process.
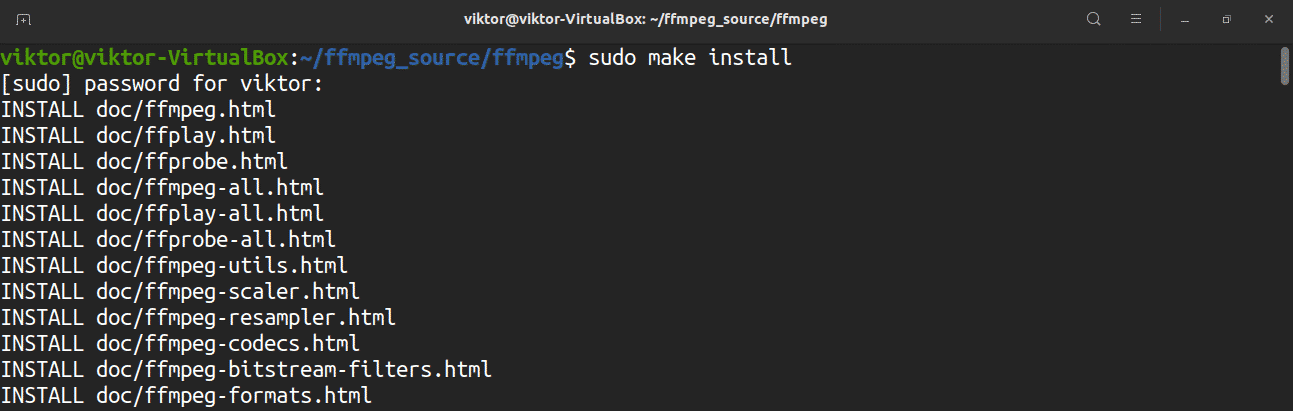
You can now install the FFmpeg version that you just built from the source via the following command:

Reload the bash shell to recognize the new FFmpeg binary location.

Test out the FFmpeg installation via the following commands:
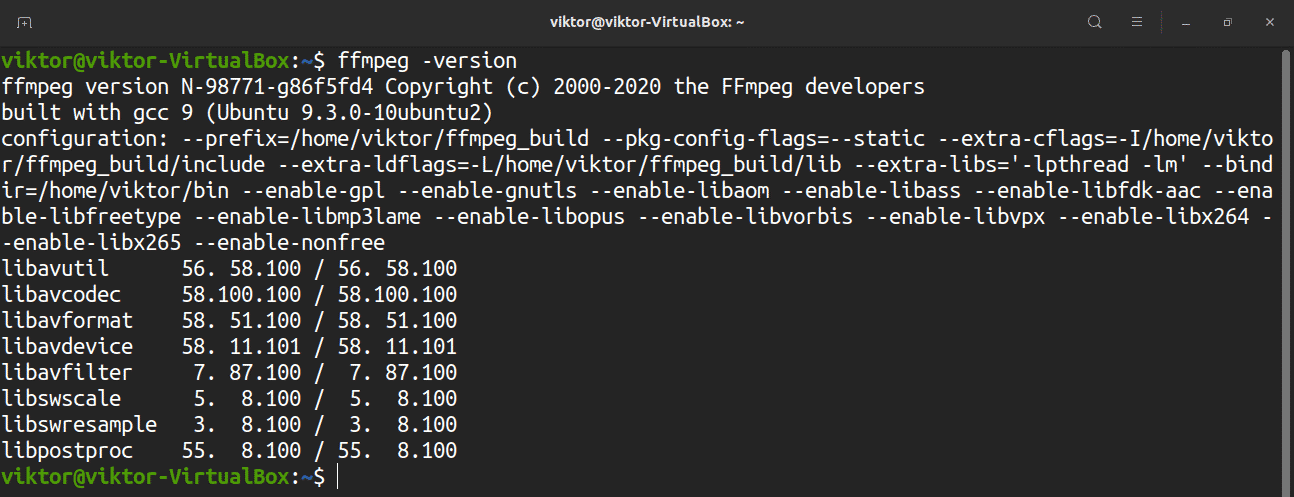
$ ffmpeg -decoders
Using FFmpeg
After following the steps above, you have now successfully installed FFmpeg. It is time to learn how to use it. This section will show you some of the most common uses of this tool.
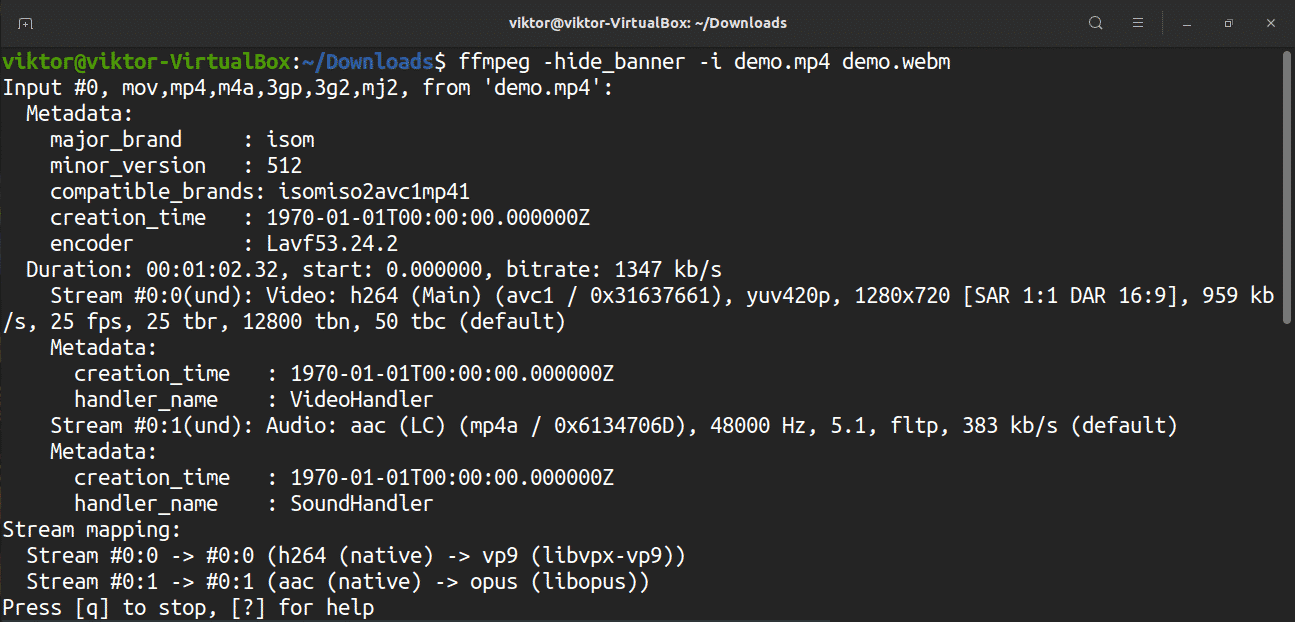
First, convert a video file from MP4 to WebM format. The beauty of FFmpeg is that you do not have to specify the input and output formats. FFmpeg will automatically detect the source and target format and act accordingly. Here, the “-hide_banner” flag is used to disable the configuration information that FFmpeg reports on each run.
Let us now take a look at converting audio files. Convert an MP3 to OGG.

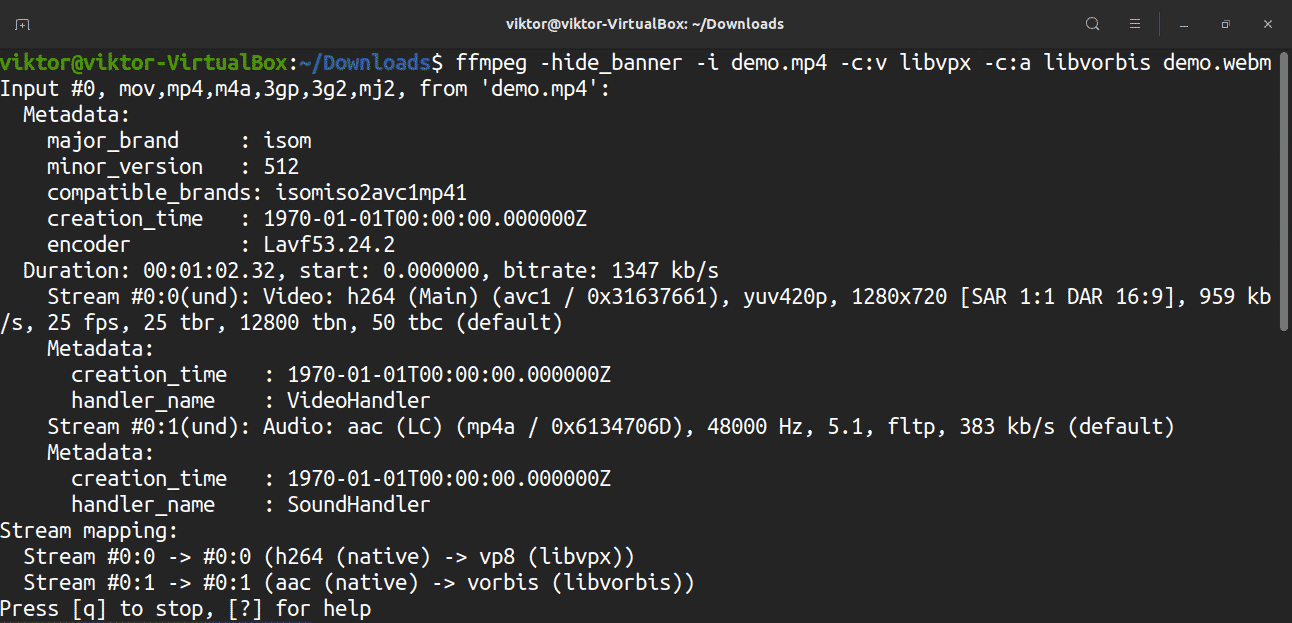
When converting files, it is also possible to specify the codec. Use the “-c” flag, followed by the name of any supported encoder/decoder, or a special value copy. For example, you can convert an MP4 into WebM format using the libvpx video codec and libvorbis audio codec.
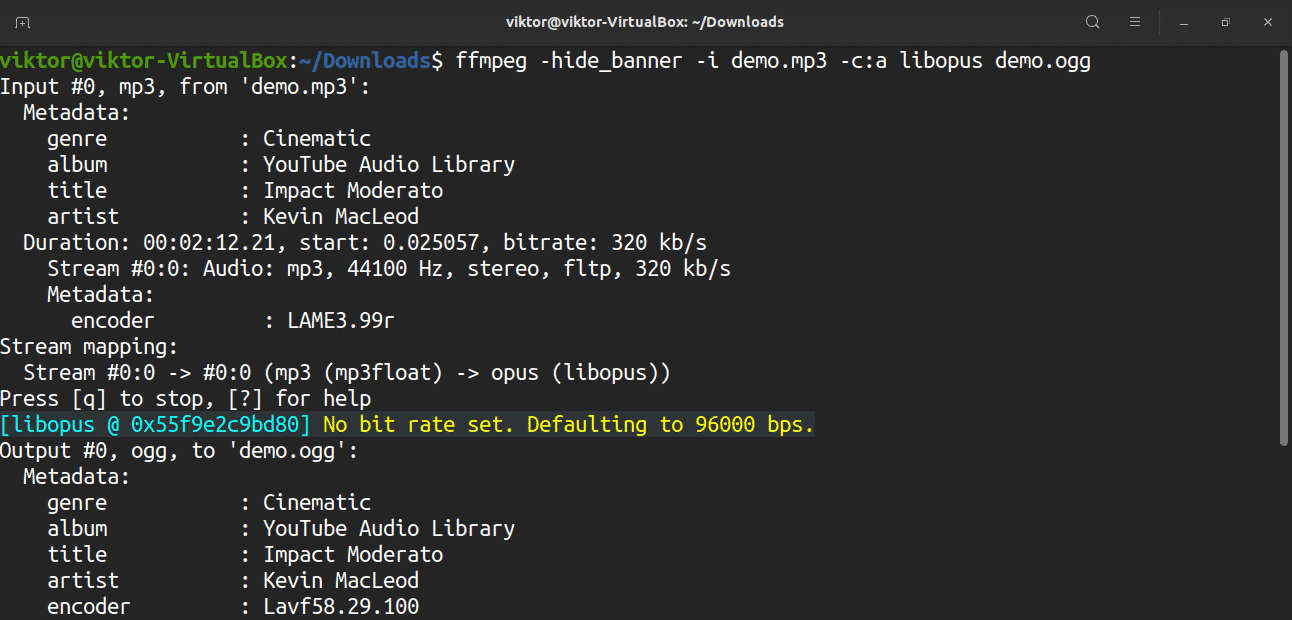
Similarly, it is also possible to convert the audio format using a specified codec. For example, you can convert an MP3 file to OGG using the libopus codec.
Final Thoughts
FFmpeg is a powerful tool for working with media files. There are plenty of tutorials on various features of FFmpeg and its uses. Feel free to explore more about this amazing tool. Grab a couple of demo media files and practice with them to master FFmpeg. Check out this interesting tutorial on how to transform multiple images into a video file.
Enjoy!