There is also CouchDB RESTful HTTP/JSON API available, which you can use to modify and draft new database files, such as documents. This has a relatively friendly interface that makes it easy to read and edit documents. As mentioned above, it’s a document-oriented database. The architecture of CouchDB was construed in the Erlang language, a general-purpose programming language that focuses on concurrency and also a garbage-collected runtime system.
This short tutorial shows you how to install Apache CouchDB on Ubuntu’s latest 20.04 LTS. The process for the installation is fairly simple. But, the instructions presented here require you to know some fundamentals of Linux and have a surface-level familiarity with its shell. You must also be able to host your site on a local VPS.
Step 1: Check for Updates
First, check to see if all the system packages installed are the newest available packages. Run the following apt command in the terminal:

NOTE: You may need to add sudo before each command throughout this article if you are not using the root account.
Step 2: Configuring the Server
In this step, you will install the software that allows you to configure the CouchDB package repository. To do so, enter the following:

Here, you can add a -y flag to get the apt-get command to speed up the process by automating the process of accepting all the prompts that pop up while the software is getting ready to start the installation. Not adding the -y flag means that you will have to answer each pop-up manually, which is highly recommended if you are not using a system that is preconfigured by you.
Step 3: Turn on Apache CouchDB Package Repository
Next, enable the Apache CouchDB package repository. Enter the following commands to do so:
sudo tee -a /etc/apt/sources.list
Be sure to get your PPA from an authentic source that can be trusted, as there are too many amateurishly-made PPAs available on the web. Here, we have used the official repository for the PPA, which is regularly attended to by the Apache Foundation team.
Having installed the latest PPA, you can now update your system and get the latest package information:
With that in place, you are now ready for the installation.
Standalone vs. Cluster Mode
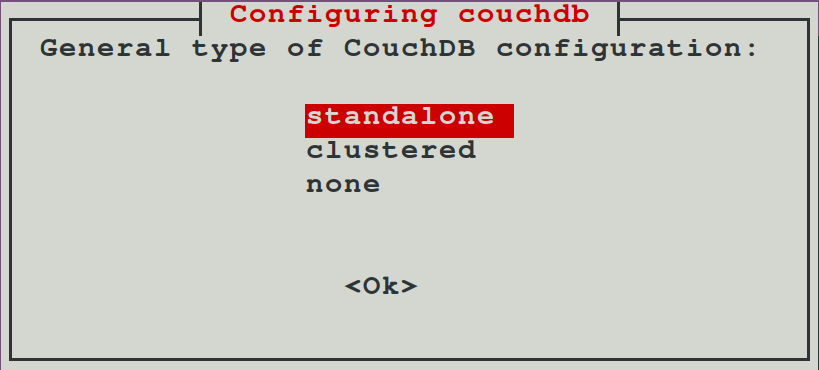
Now, you must choose whether you want CouchDB installed in either of the following modes:
- Cluster mode
- Standalone mode
In the cluster mode, there are more than two servers that are interconnected and they work together as a retrievable data depository.
In the standalone mode, only one server is involved. Since you are probably using just a single server, we will proceed with the installation in standalone mode.
Step 4: Installation
To begin the installation of Apache CouchDB, use the following command:
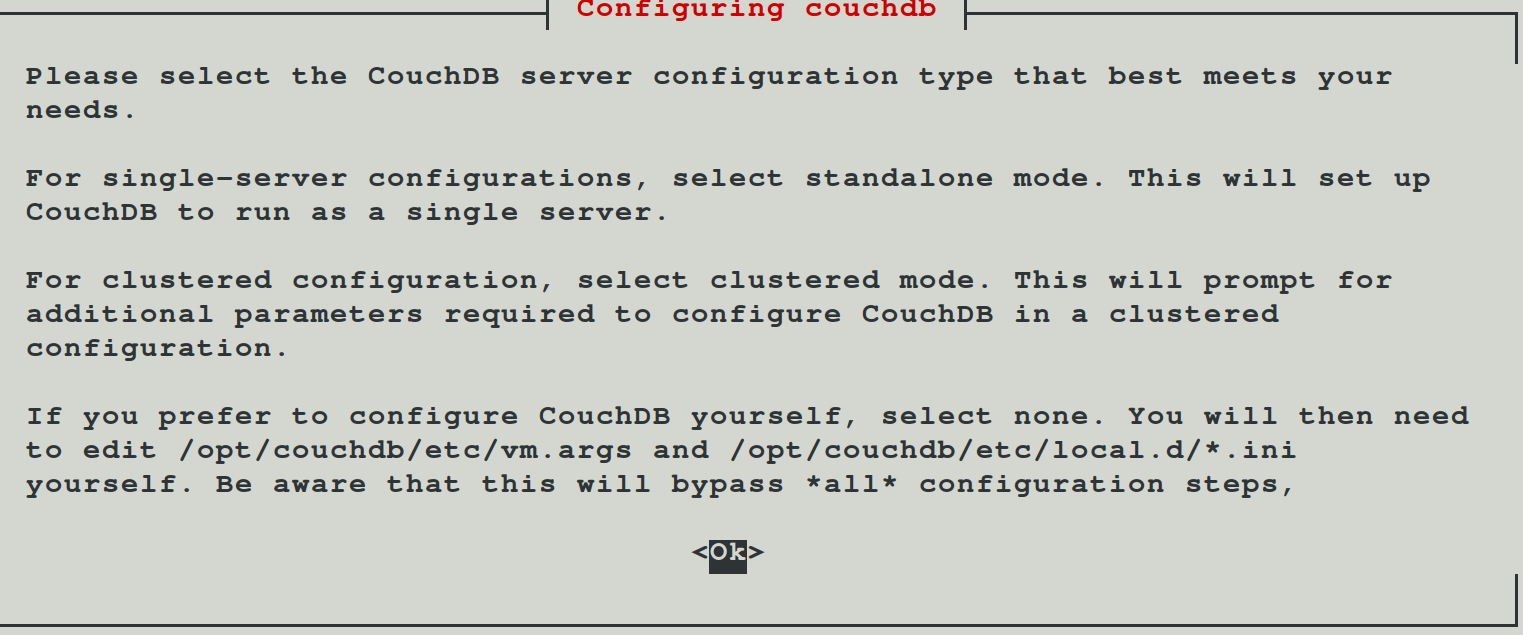
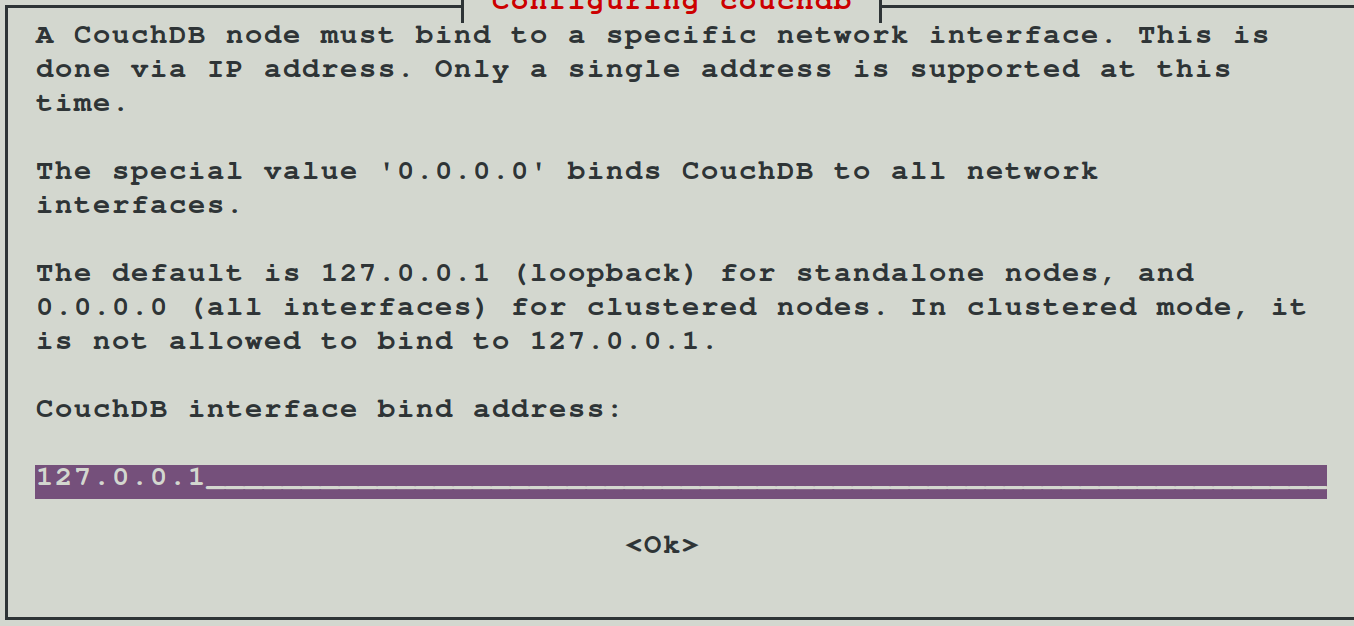
A prompt will pop up asking you to choose between the standalone and cluster modes. Select the standalone mode. Then, you will be asked to enter the target IP address of the network interface on which to make the installation. For a single-server standalone installation, we will not change the default address, which will be 127.0.0.1.
Next, you will enter a strong password to create an admin user. However, you do not need to create an admin user, as you will be able to continue with the admin party mode. This is not recommended, as admin party mode is open to be accessed by the web, and is therefore very insecure.
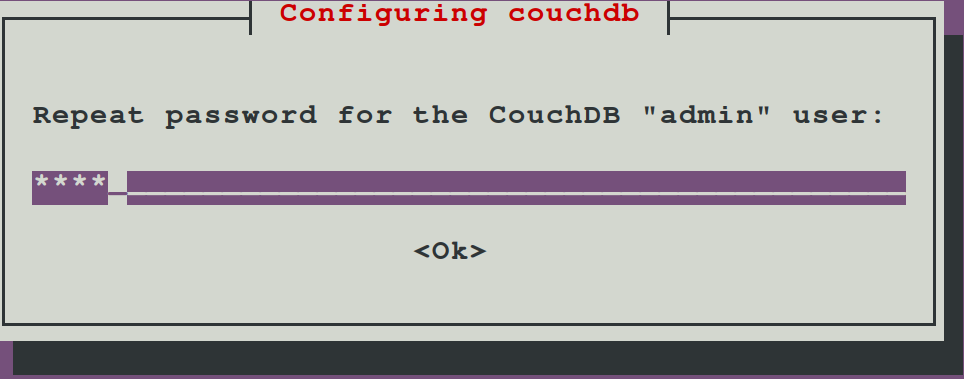
Upon entering the password, you will be asked to re-enter the password for confirmation. The installation will finish after some time.
Step 5: Verify the Installation
Make sure that the installation has gone smoothly by using the curl command. This command will display the relevant information revealing the status of CouchDB, and conforming to the installation. The CouchDB server will be running on localhost:5984.
Step 6: Creating a Database
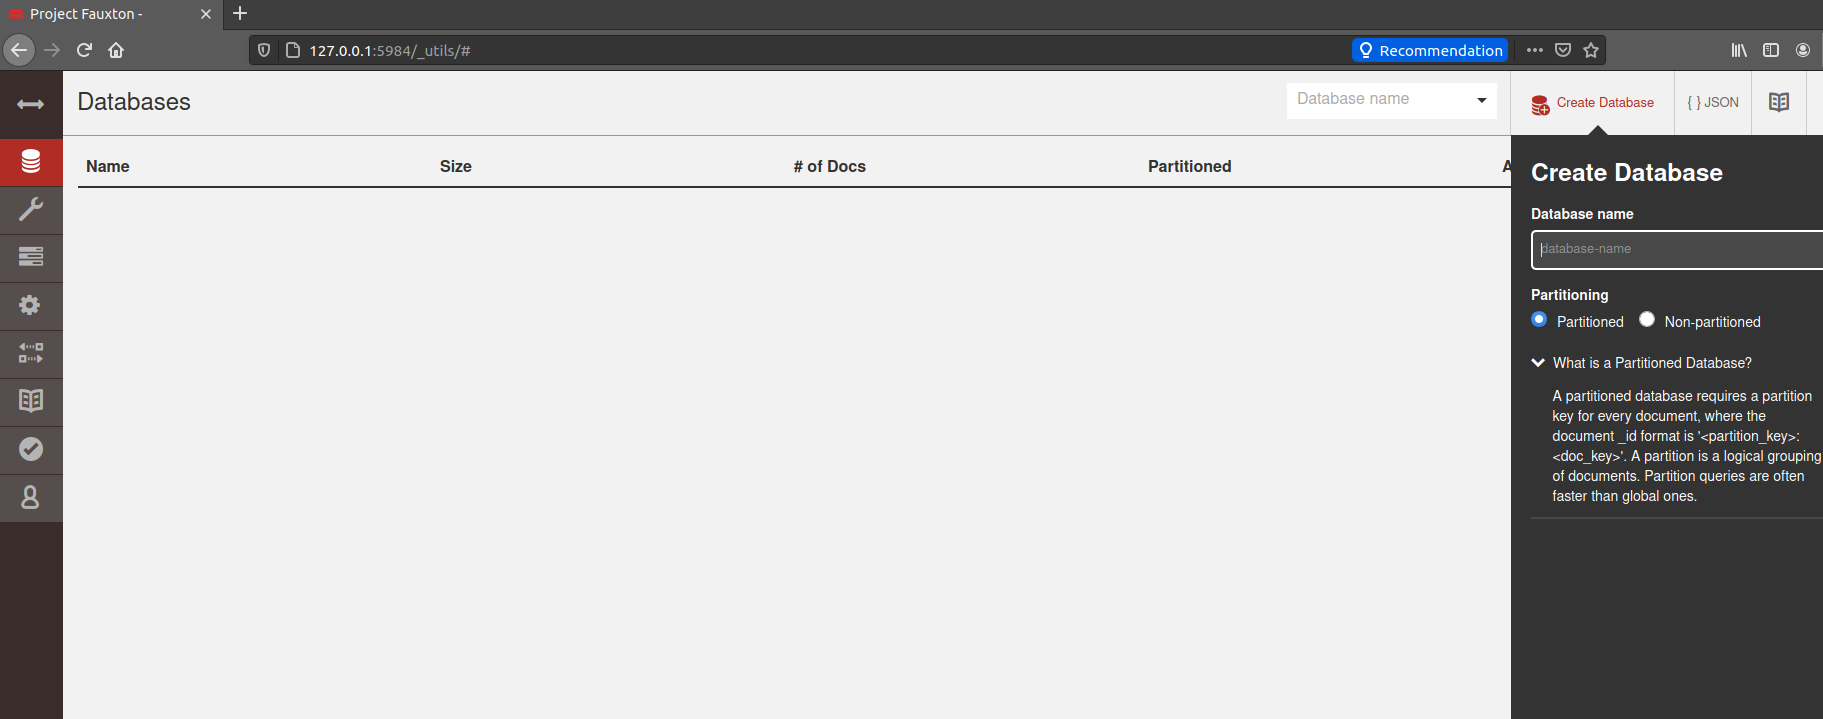
Log in to your Fauxton control panel at http://127.0.0.1:5984/_utils/ with your user credentials and create a new database with CouchDB.
Click the database icon located at the far left of the panel and hit the ‘Create Database’ button at the top-right of the screen.
In Summary
Installing CouchDB on your single-server machine is very simple. To do so, ensure that your system is updated to the latest system packages. Then, enable the Apache package repositories, and you are all set to install Apache CouchDB on your server.
CouchDB works seamlessly and is compatible with almost all the latest modern web applications, including those made for mobile phones, which makes it an excellent utility to read, create, edit, and modify database documents.
Hopefully, you have found this tutorial helpful. Stick around to see more tutorials on using CouchDB with the Fauxton control panel. Meanwhile, check out more content on installing other utilities on Unix systems.


