
This article shows you how to install and configure KVM on your ArchLinux system.
Part 1: Installing KVM
The installation procedure for KVM is a bit complicated, as you must first check the system for the necessary prerequisites.
Step 1: Check for Virtualization Support
To check whether virtualization is enabled on your PC, issue the following command:

The hardware specs to run KVM is VT-x for Intel processors and AMD-V for AMD processors. As such, if your system has the hardware to create virtual machines, you will see the following within the text you are displayed:
Virtualization: VT-x
or
Virtualization: AMD-V
If neither of these is displayed, it means that either your system cannot support virtualization, or it is disabled on the machine by the developers. If that is the case, you can enable virtualization upon restarting your system and entering the BIOS.
Step 2: Search for Kernel Module
To see whether your system has the kernel module to run KVM, enter the following command:
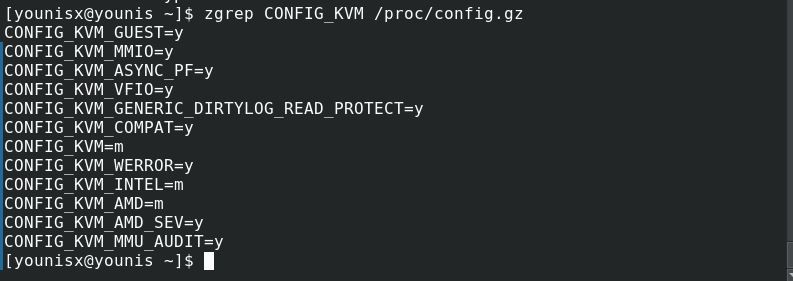
If you are using an AMD processor, you should see CONFIG_KVM_AMD (or CONFIG_KVM_INTEL if you are using intel) followed by =y or =m, then you are good to go.
Step 3: Install KVM for ArchLinux
Fire up the terminal and run the following code for a direct install of KVM:

This should install KVM on your system.
Step 4: Activate and Launch KVM
Issue the following command to activate KVM:

Next, enter the following:

Then, go to /applications and launch the VM manager.
Part 2: Configuring KVM
To continue using KVM with your standard Linux account, you can do so by modifying the libvirtd.conf file. Access the file by entering the following:
$ sudo vim /etc/libvirt/libvirtd.conf
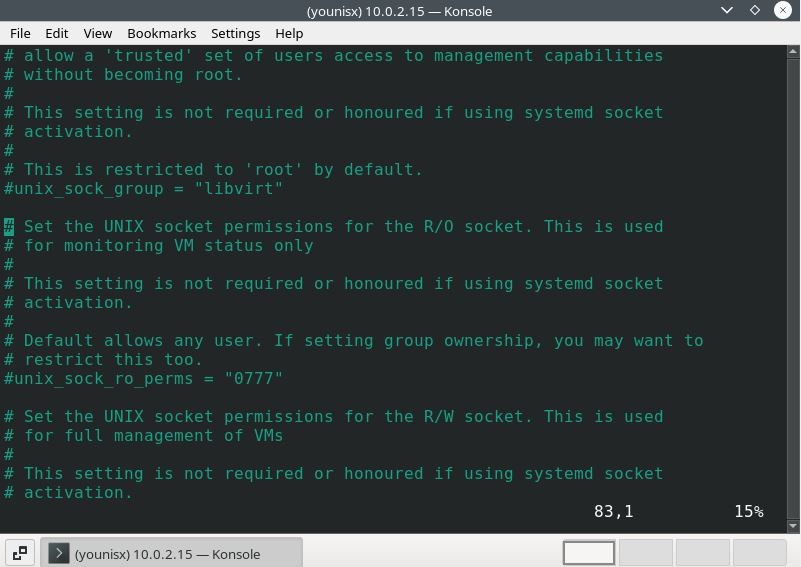
Between line 80-90, there should be the term “lineabout unix_sock_group.” You will change this to libvirt.
Jump to the lines between 100-110 and change the unix_sock_rw_perms to = 0770
Then, issue the following code to include your standard Linux account with libvirt.


Reboot the libvirt service to apply changes. To do so, issue the following code:

You can now use your Linux account to use KVM.
To create virtual machines within a virtual machine, enable Nested Virtualization by entering the following:
$ sudo modprobe kvm_intel nested=1
![]()
To apply these changes, enter:

Conclusion
This tutorial covered the installation and configuration of KVM on ArchLinux systems. If you have followed the instructions properly, you should have KVM set up on your system and ready to run Virtual Machines.