Usually, when detected the presence of a rootkit the victim needs to reinstall the OS and fresh hardware, analyze files to be transferred to the replacement and in the worst-case hardware replacement will be needed.It is important to highlight the possibility of false positives, this is the main problem of chkrootkit, therefore when a threat is detected the recommendation is to run additional alternatives before taking measures, this tutorial will also briefly explore rkhunter as an alternative. It is also important to say this tutorial is optimized for Debian and based Linux distributions users, the only limitation for other distributions users is the installation part, the usage of chkrootkit is the same for all distros.
Since rootkits have a variety of ways to achieve its goals hiding malicious software, Chkrootkit offers a variety of tools to afford these ways. Chkrootkit is a tools suite which include the main chkrootkit program and additional libraries which are listed below:
chkrootkit: Main program which checks operating system binaries for rootkit modifications to learn if the code was adulterated.
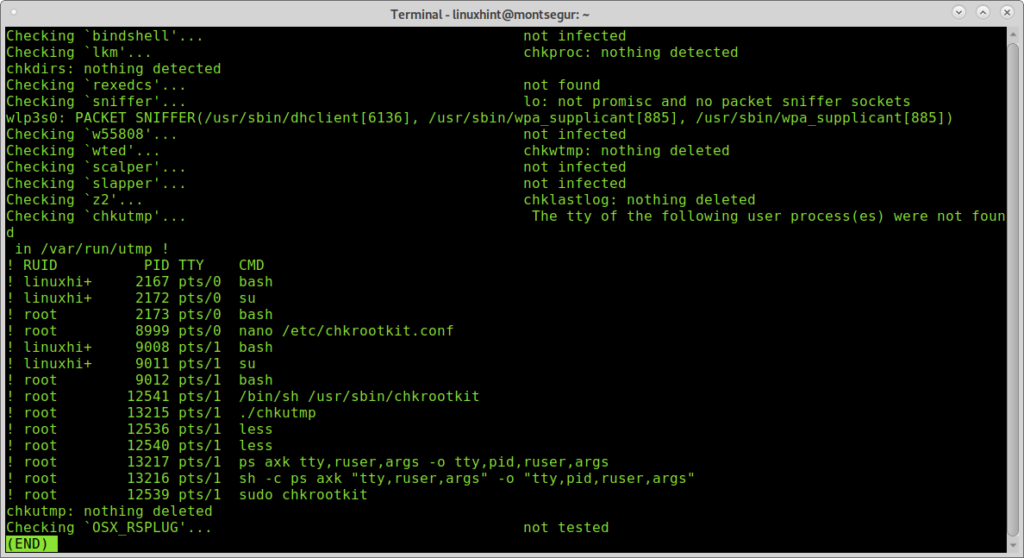
ifpromisc.c: checks if the interface is in promiscuous mode. If a network interface is in promiscuous mode, it can be used by an attacker or malicious software to capture the network traffic to later analyze it.
chklastlog.c: checks for lastlog deletions. Lastlog is a command which shows information on last logins. An attacker or rootkit may modify the file to avoid detection if the sysadmin checks this command to learn information on logins.
chkwtmp.c: checks for wtmp deletions. Similarly, to the previous script, chkwtmp checks the file wtmp, which contains information on users’ logins to try to detect modifications on it in case a rootkit modified the entries to prevent detection of intrusions.
check_wtmpx.c: This script is the same as the above but Solaris systems.
chkproc.c: checks for signs of trojans within LKM (Loadable Kernel Modules).
chkdirs.c: has the same function as the above, checks for trojans within kernel modules.
strings.c: quick and dirty strings replacement aiming to hide the nature of the rootkit.
chkutmp.c: this is similar to chkwtmp but checks the utmp file instead.
All the scripts mentioned above are executed when we run chkrootkit.
To begin installing chkrootkit on Debian and based Linux distributions run:
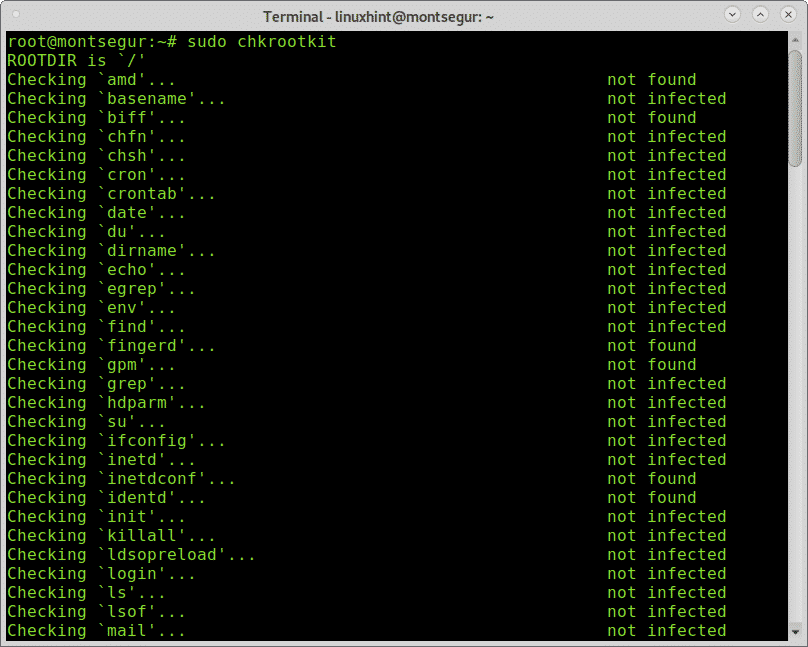
Once installed to run it execute:
During the process you can see all scripts integrating chkrootkit are executed doing each its part.
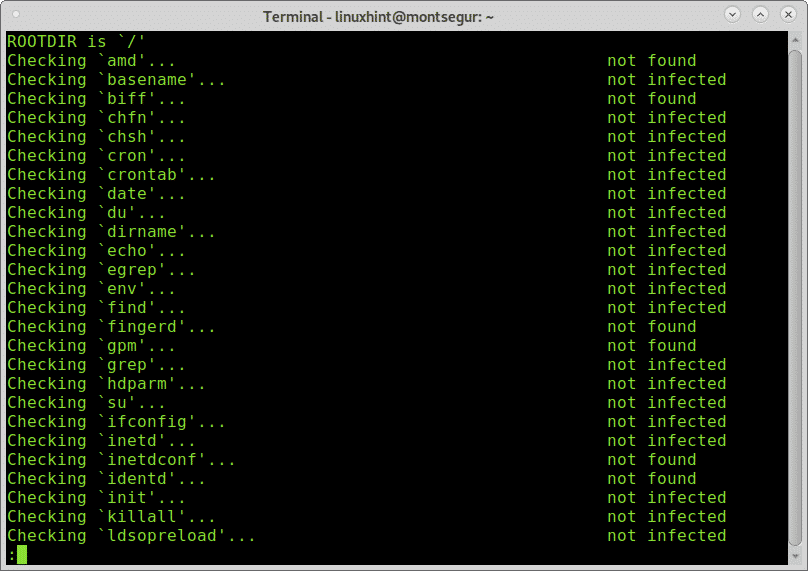
You can get a more comfortable view with scrolling adding pipe and less:
You can also export the results to a file using the following syntax:
Then to see the output type:
Note: you can replace “results” for any name you want to give the output file.
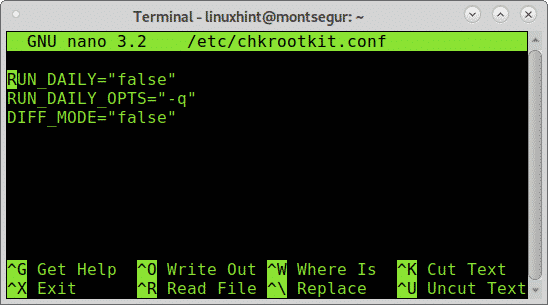
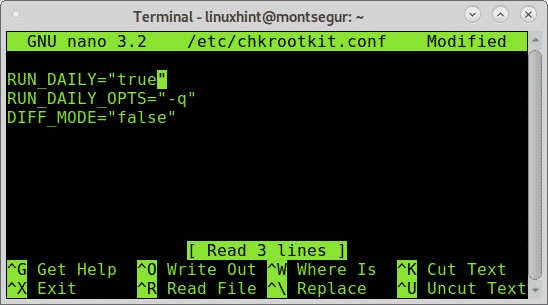
By default you need to run chkrootkit manually as explained above, yet you can define daily automatic scans by editing chkrootkit configuration file located at /etc/chkrootkit.conf, try it using nano or any text editor you like:
To achieve daily automatic scan the first line containing RUN_DAILY=”false” should be edited to RUN_DAILY=”true”
This is how it should look:
Press CTRL+X and Y to save and exit.
Rootkit Hunter, an alternative to chkrootkit:
Another option to chkrootkit is RootKit Hunter,it is also a complement considering if you found rootkits using one of them, using the alternative is mandatory to discard false positives.
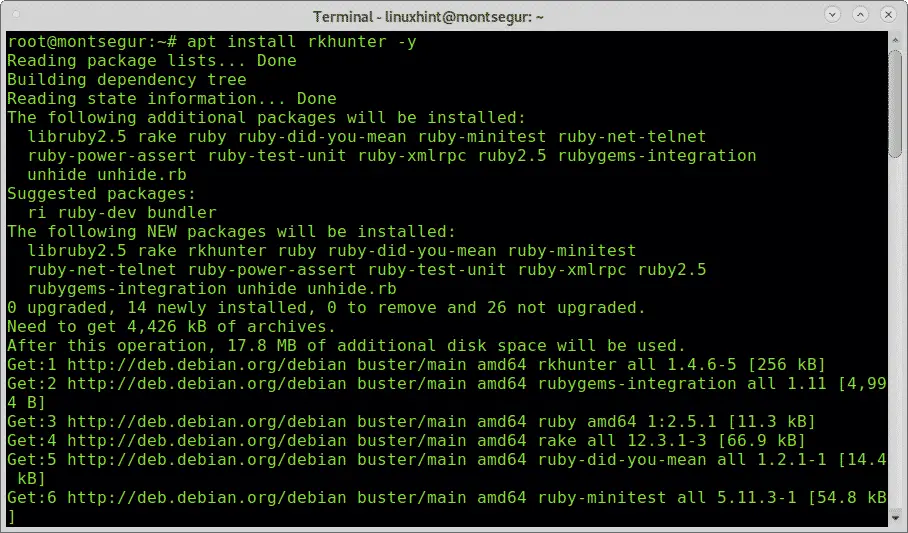
To begin with RootKitHunter, install it by running:
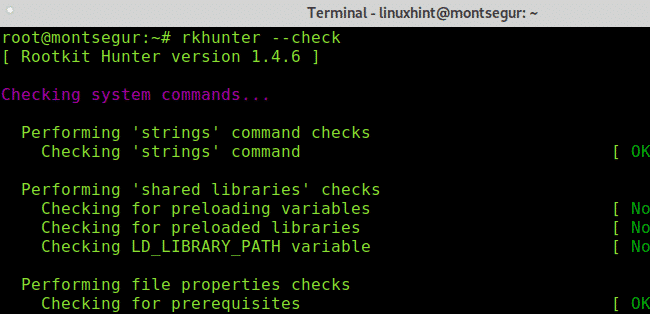
Once installed, to run a test execute the following command:
As you can see, like chkrootkit the first step of RkHunter is to analyze the system binaries, but also libraries and strings:
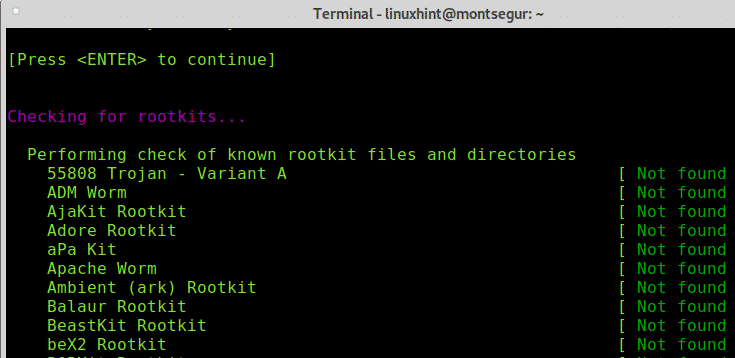
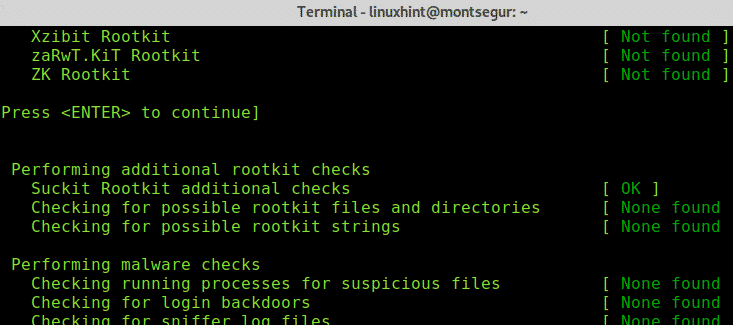
As you will see, contrary to chkrootkit RkHunter will request you to press ENTER to continue with next steps, previously RootKit Hunter checked the system binaries and libraries, now it will go for known rootkits:
Press ENTER to let RkHunter to go ahead with rootkits search:
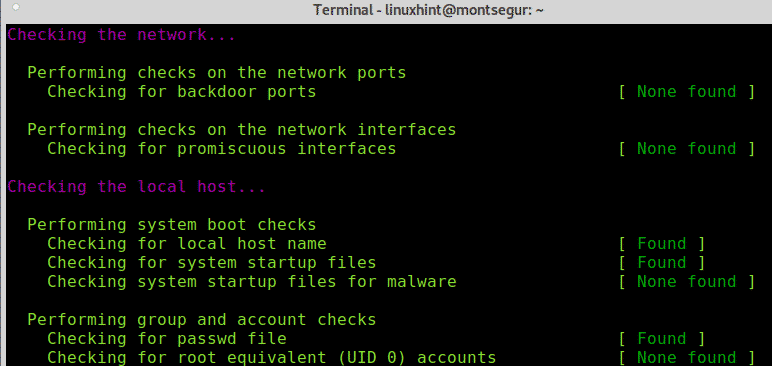
Then, like chkrootkit it will check your network interfaces and also ports known for being used by backdoors or trojans:
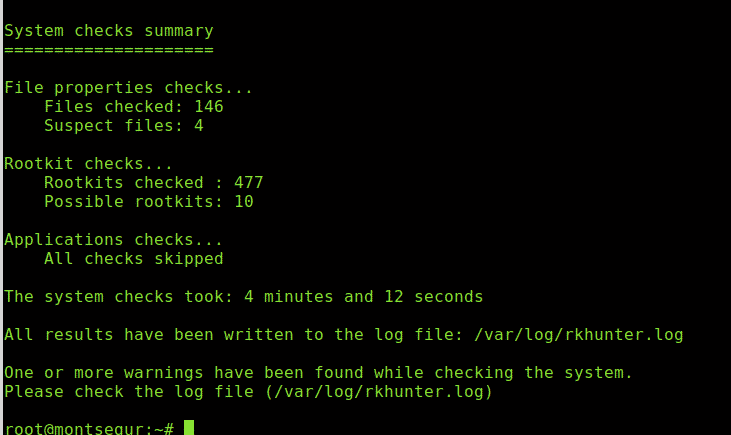
Finally it will print a summary of the results.
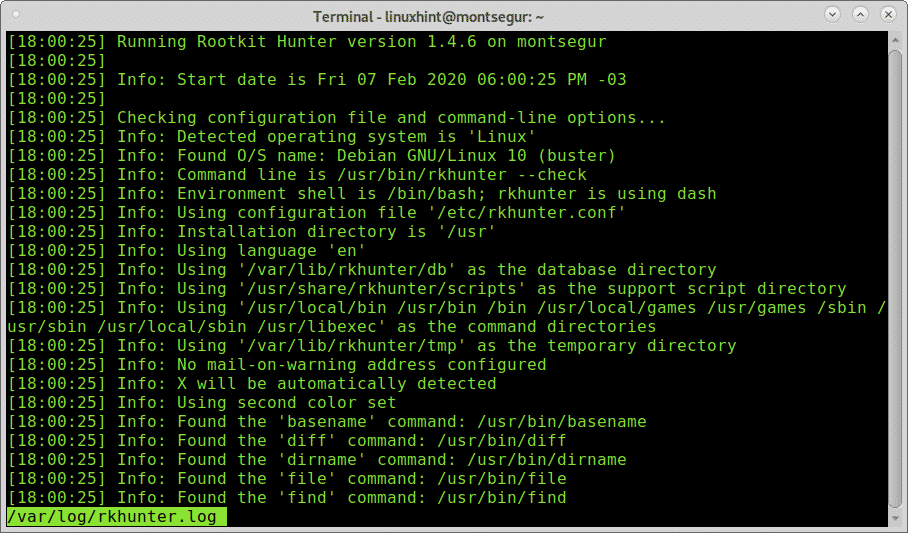
You can always access results saved at /var/log/rkhunter.log:
If you suspect your device may be infected by a rootkit or compromised you can follow the recommendations listed at https://linuxhint.com/detect_linux_system_hacked/.
I hope you found this tutorial on How to install, configure and use chkrootkit useful. Keep following LinuxHint for more tips and updates on Linux and networking.


