
[adthrive-in-post-video-player video-id=”pJshDEq7″ upload-date=”2020-03-04T14:55:36.000Z” name=”Install Ansible on CentOS 8″ description=”How to install Ansible on Centos 8″ player-type=”collapse” override-embed=”true”]
Installing Ansible:
Ansible is available in the EPEL repository of CentOS 8. So, you can easily install Ansible on CentOS 8.
First, update the DNF package repository cache with the following command:

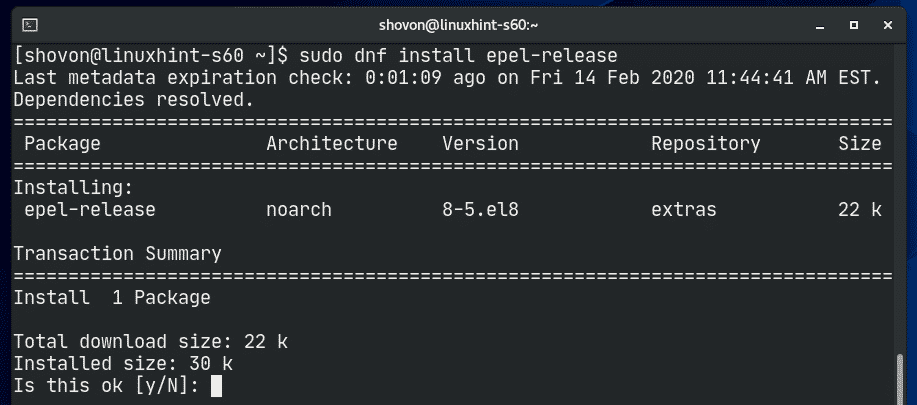
Now, to enable EPEL repository, install the epel-release package with the following command:

To confirm the installation, press Y and then press <Enter>.
epel-release package should be installed and EPEL repository should be enabled.

Now, update the DNF package repository cache again with the following command:

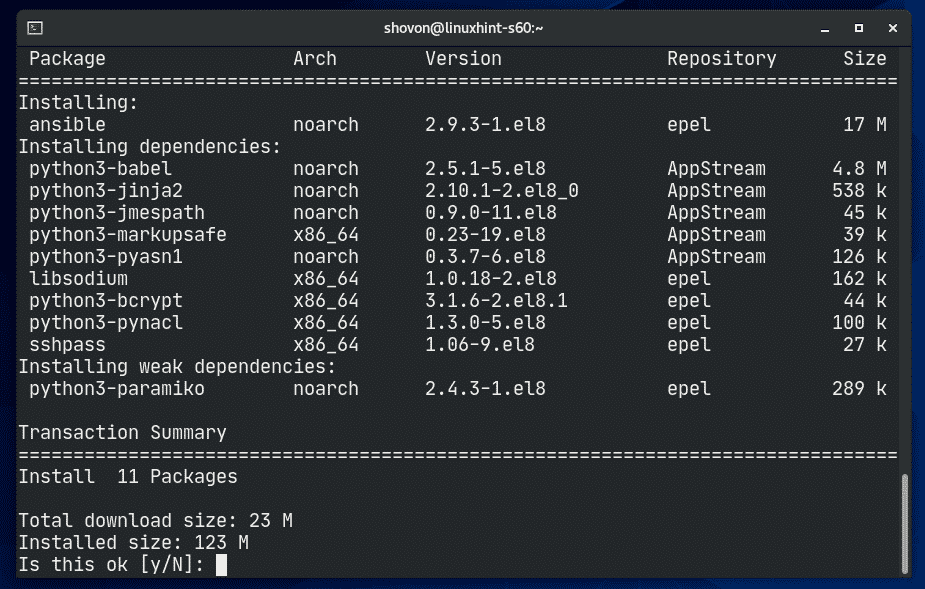
Now, install Ansible with the following command:

To confirm the installation, press Y and then press <Enter>.
DNF should start downloading all the required packages from the internet.

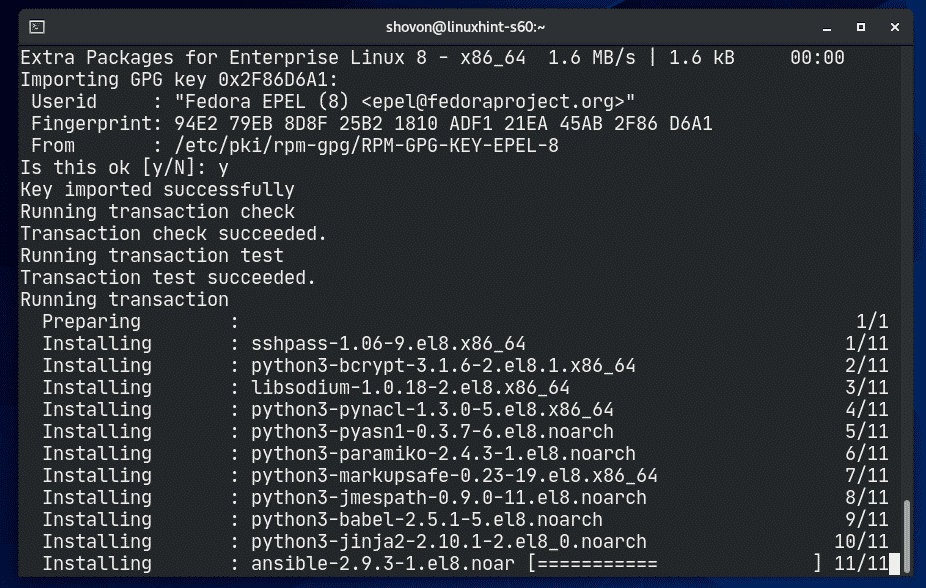
You may be asked to accept the GPG key of the EPEL repository. Press Y and then press <Enter> to accept it.

DNF should start installing all the downloaded packages.
At this point, Ansible should be installed.

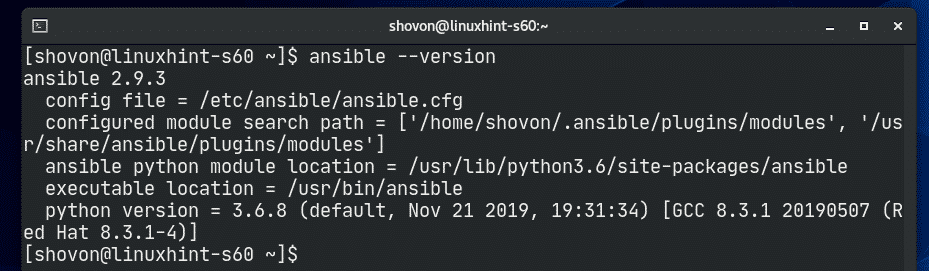
Now, run the following command:
As you can see, I am running Ansible 2.9.3 and it’s working just fine.
Configuring Servers for Ansible:
For managing or administering servers with Ansible, you must have SSH server installed and running on the servers. The servers SSH port must be open and the servers should be accessible from the Ansible host. That’s the only requirement of using Ansible.
In this article, I am going to use 4 virtual machines (VMs) (2 Ubuntu Server 18.04 LTS VMs and 2 Debian 10 VMs) for demonstrating the basics of Ansible server management and administration.
The 4 VMs are:
linuxhint-8ee7a – 192.168.20.166
linuxhint-s40 – 192.168.20.171
linuxhint-s41– 192.168.20.170
You can use the IP addresses of the servers to manage or administering them with Ansible. You can also use DNS names of the servers as well.
In this article, I will use the /etc/hosts file for DNS resolution of the VMs IP addresses.
If you want to follow along, open your /etc/hosts file with vi text editor as follows:

Now, add the lines as marked in the screenshot below and save the file.

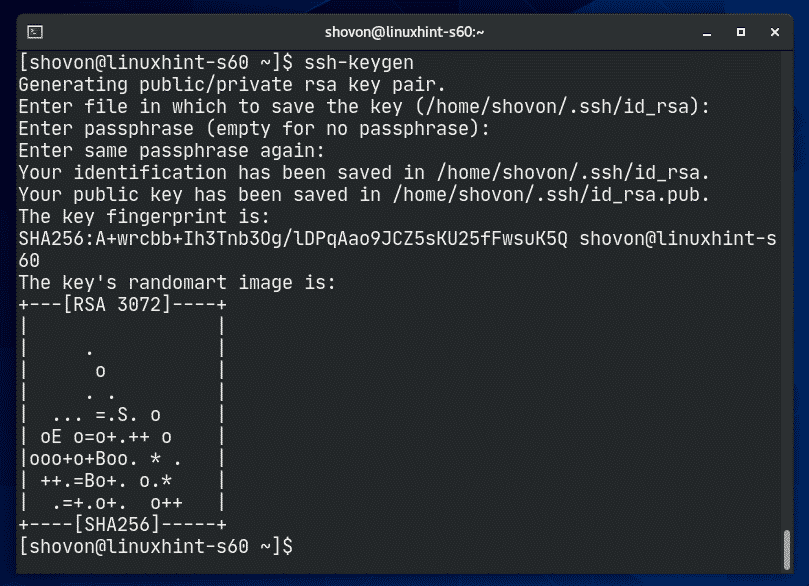
Now, generate an SSH key on your CentOS 8 Ansible host as follows:

Press <Enter>.

Press <Enter>.

Press <Enter>.

The SSH key should be generated.
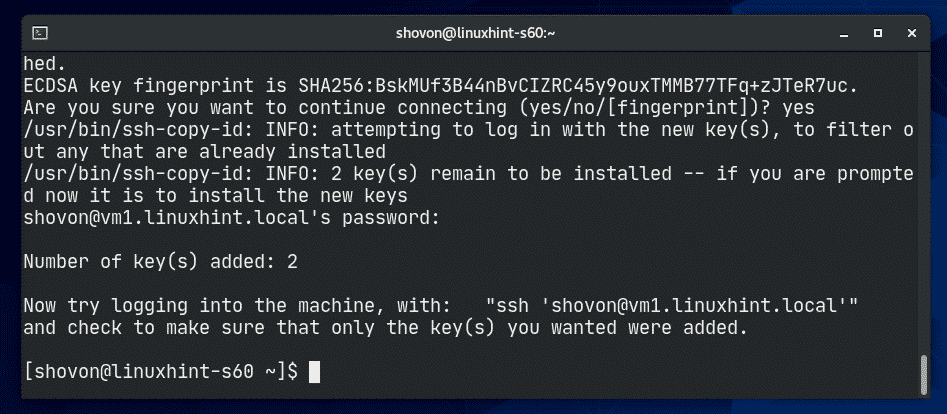
Now, you have to upload the SSH key to all the servers which you want to manage with Ansible.
To copy the SSH key to the vm1.linuxhint.local server, run the following command:

Now, type in yes and then press <Enter>.

Now, type in the login password of the vm1.linuxhint.local VM and press <Enter>.

The SSH key should be copied.
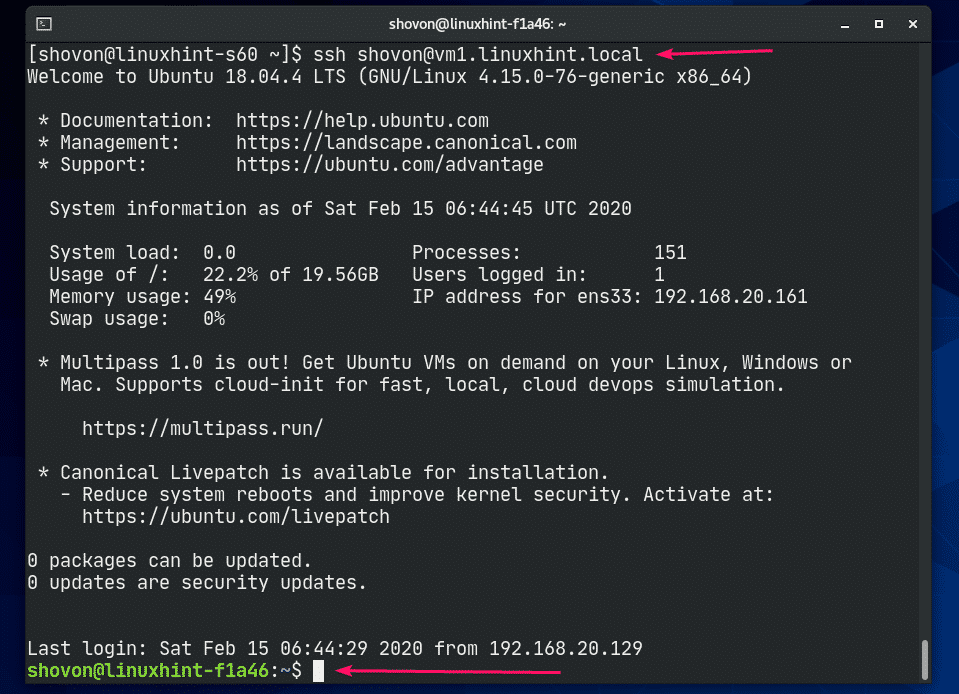
Do the same thing for the vm2.linuxhint.local, vm3.linuxhint.local and vm4.linuxhint.local server.


Once you’ve copied the SSH key to the VMs, you should be able to SSH into it without any password as you can see in the screenshot below.
Now, run the following command on each server to allow sudo access without password for the login user. This is required for Ansible to run any root commands.
![]()


All the servers are now ready to be configured or managed from Ansible.
Using Ansible:
Ansible keeps a list of all the hosts it manages in a file called inventory file. Ansible inventory file is just a simple plain text file.
Let’s create a new Ansible project directory ~/ansible/ first, then we will create our inventory file.

Now, navigate to the ~/ansible directory.

Now, create an Ansible inventory file as follows. You can call this file anything. I will call it hosts.

Now, you can add your servers as follows. Here, ansible_user option is used to define the user which Ansible will use to run commands on these servers. It is usually the login user of the server.

You can also mix IP addresses and DNS names of the servers in the inventory file as well.

You can also group servers. Here, I have 2 groups, webserver and dbserver.
In the webserver group, I’ve added vm1 and vm2 servers. In the dbserver group, I’ve added vm3 and vm4 servers.

Once the inventory file is created, you can use the inventory file using the -i option of Ansible.
You can list all the hosts from the inventory file as follows:
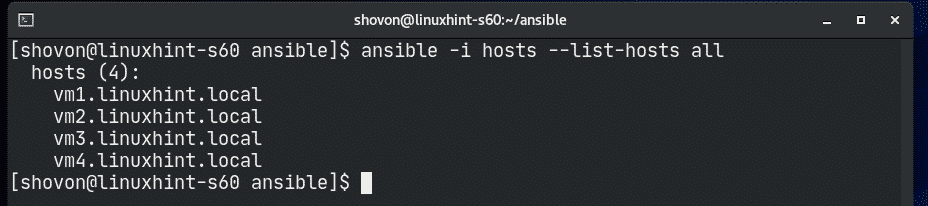
You can check if all the hosts are active as follows:

As you can see, all the hosts are active.
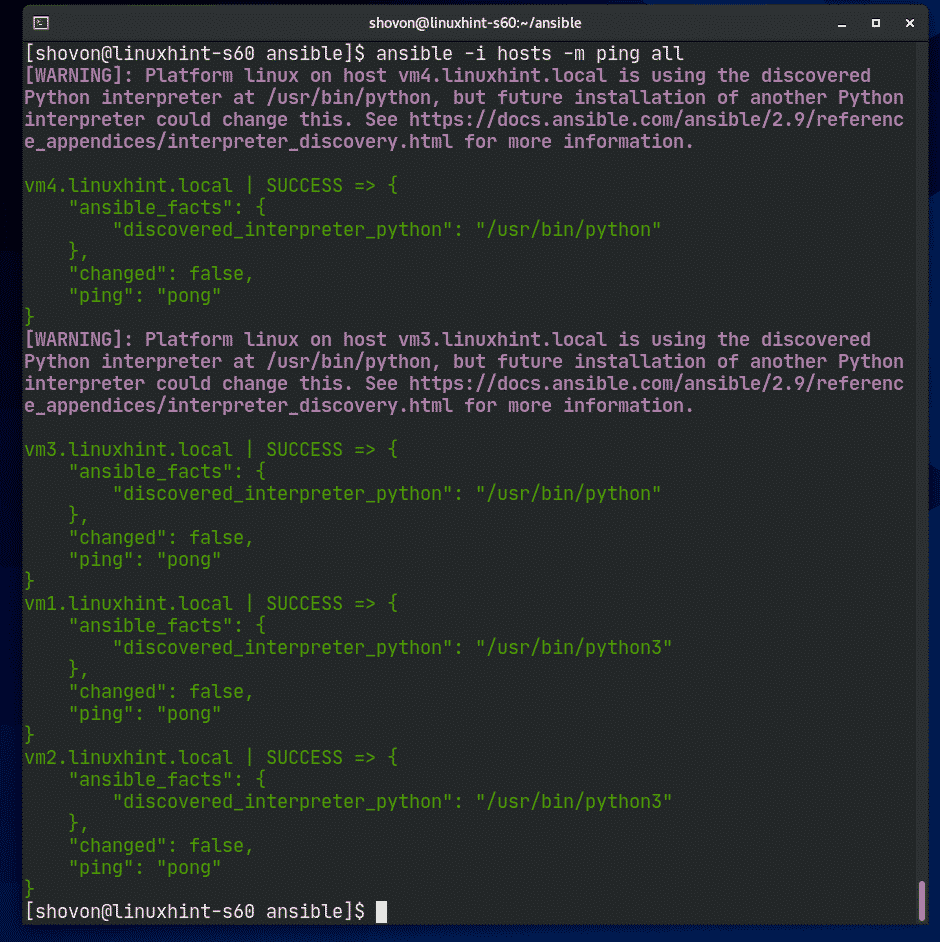
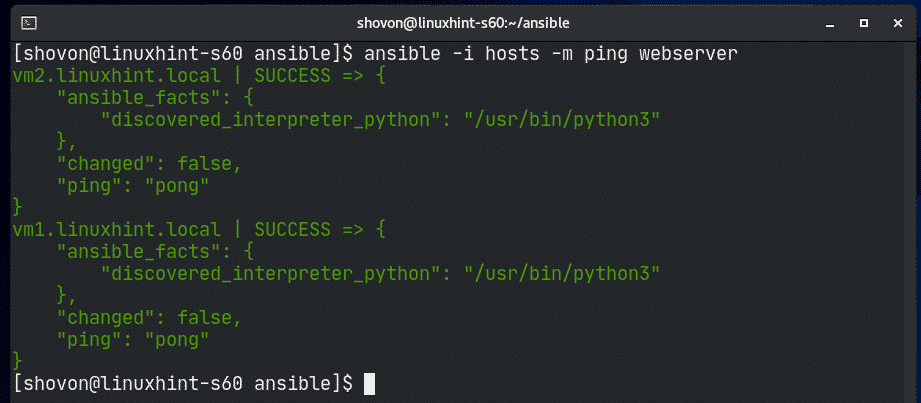
You can also ping all the hosts in a single group as well.
You can run shell commands using Ansible as follows:
You can also run shell commands (with sudo privileges) as follows.
|groupName>
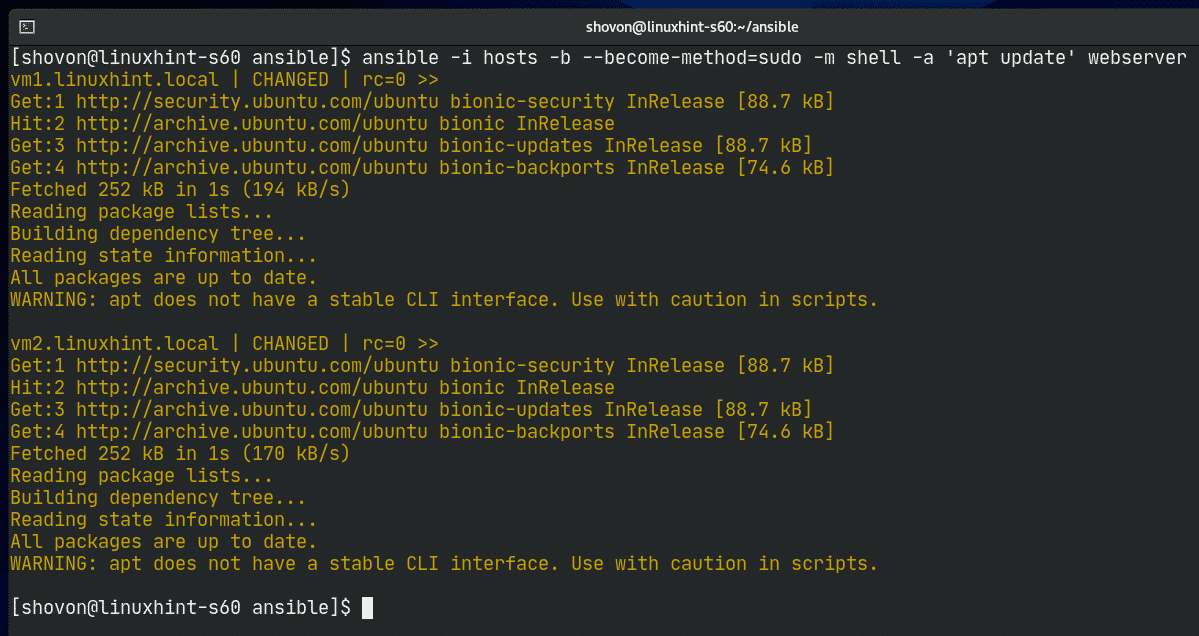
For example, you can update the APT package repository cache on the hosts in webserver group using Ansible as follows:
![]()
As you can see, the APT package repository cache is updated for all the hosts in the webserver group.
Let’s try to install Apache 2 web server on all the hosts of the webserver group.
'apt install -y apache2' webserver
![]()
Apache webserver should be installed in all the hosts of the webserver group.

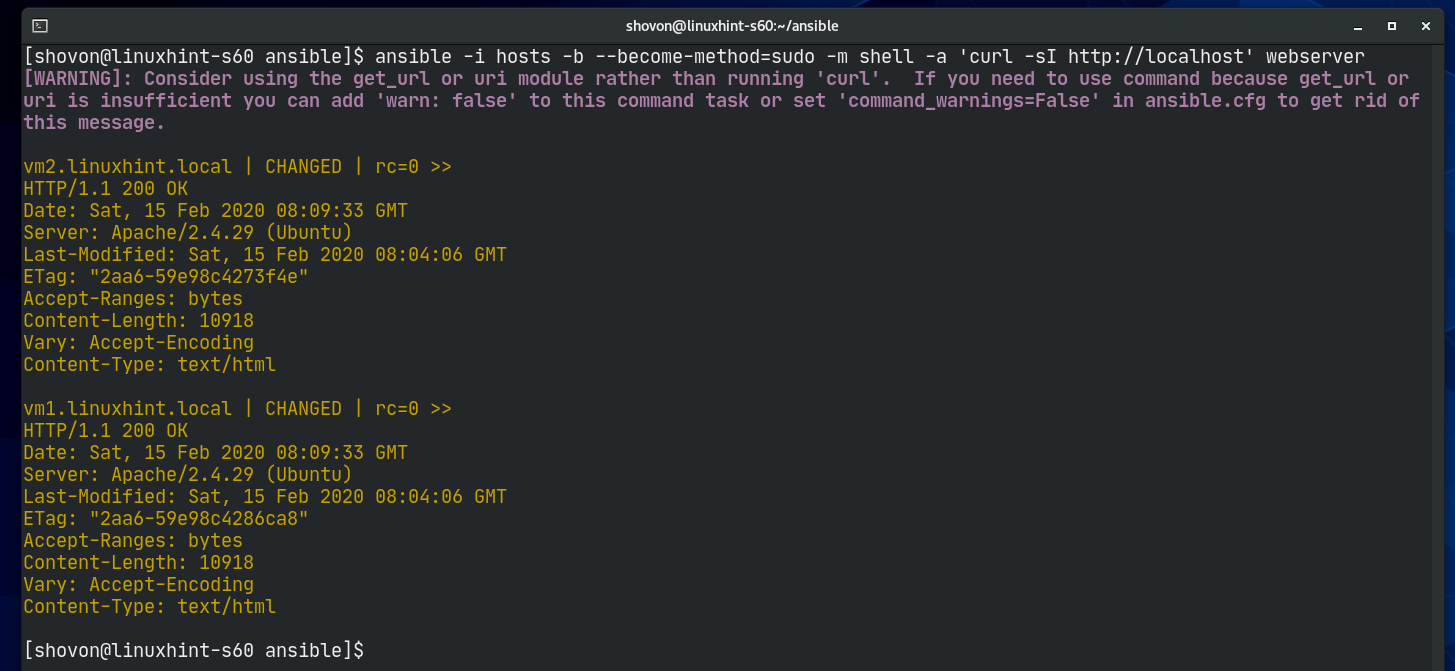
As you can see, Apache web server is working on all the hosts in webserver group.
http://localhost' webserver
The same way, you can run any command on all the hosts in dbserver group.

You can also use Ansible Playbook to manage your servers more easily. Ansible Playbook is out of the scope of this article. Read the documentation of Ansible for more information on Ansible Playbook.
Thank you for reading this article.