Android Studio is an Integrated Development Environment (IDE) developed by Google that is used for mobile application development. Android Studio is built on JetBrains IntelliJ IDEA software and is specifically designed for Android application development. Android studio can install on all types of operating systems, including Windows, Mac, and Linux OS. Android Studio was introduced as the replacement for the Eclipse tool, which was the primary IDE used for Android development. Some of the most well-known Android applications were built in Android Studio IDE. This software also features more built-in features that support stability and fast application development.
This article will show you how to install Android Studio in Ubuntu 20.04. Android Studio can be installed in Ubuntu 20.04 via the command line through two different methods:
- Using the Android official repository
- Using the snap application
1. Installing Android Studio with the Official Android Repository
You can install Android Studio by adding the Android official repository to the source list in your Ubuntu 20.04 system. Before starting the installation, you must first make sure that all the prerequisite Java packages are installed on your system. If these are not installed, then you will need to install the necessary Java JDK packages on your system. Follow the steps below to install Java JDK on your system.
Android Studio development depends on Java JDK packages. Check whether Java is already installed on your system via the following command.
If Java is installed on your system, then skip this step. Here, Java is already installed on the Ubuntu 20.04 system. Therefore, we do not need to install it on this system again. However, if Java is not installed on your system, you can install Java JDK-11 on your system with the following command:
Once installation is complete, move on to the next step.
Add Official Android Repository
In this step, you will need to add the official Android repository to the source list of your system. To do this, enter the following command in the terminal window:
When adding the repository, you will be prompted to press Enter to continue and Ctrl+c to cancel adding the required repository to your system.
Update apt System Cache
When you have successfully added the Android repository to the source list, then, you will update the apt cache of your system by executing the following command:
Installing Android Studio
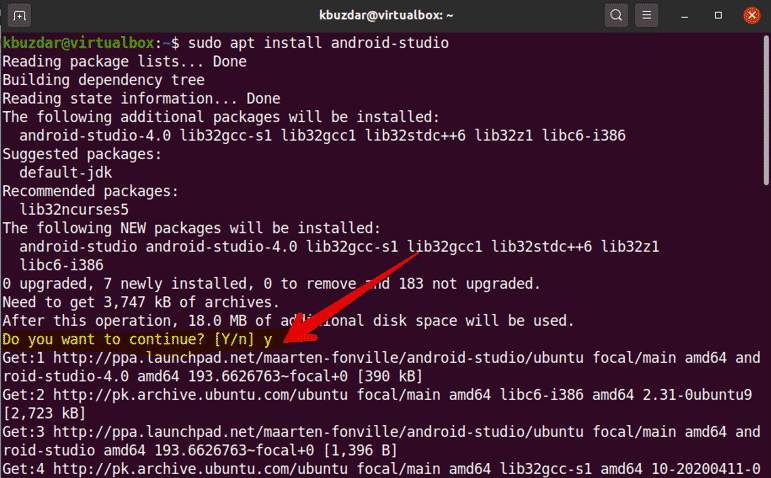
Next, install Android Studio on your system. You can install Android Studio by executing the following command:
After entering the above command, it will take time to completely install Android Studio and all its dependencies.
Launch Android Studio
After successfully completing installation of Android Studio, it is now time to launch this tool on your system to verify that the installation has worked. Click on ‘Activities’ and then type ‘android’ in the application launcher bar. You will see the Android Studio icon appear under the search bar.
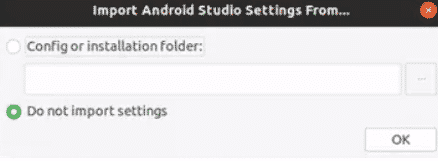
Next, you will need to configure the Android Studio components in your system. Click on the Android Studio icon and the following dialog will appear on your desktop.
You will select ‘Do not import settings’ from the displaying dialog and click ‘OK.’
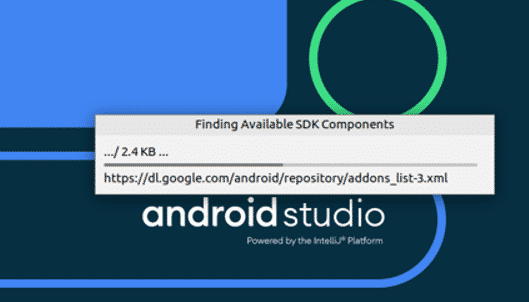
After you select this option, the program will find all available important SDK components.
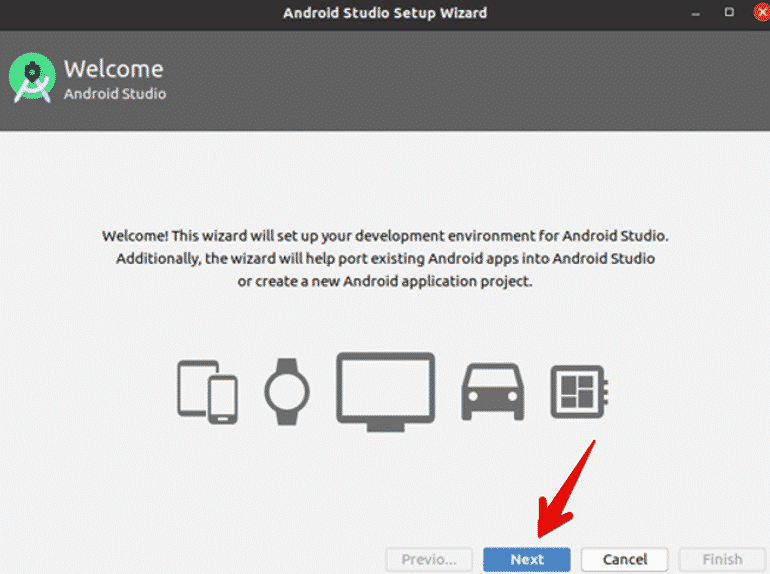
Now, the Android Setup Wizard will start up on your system. Click the ‘Next’ option.
In the following dialog, you will need to select the install type. Choose the ‘Standard’ option for the install type and click ‘Next.’
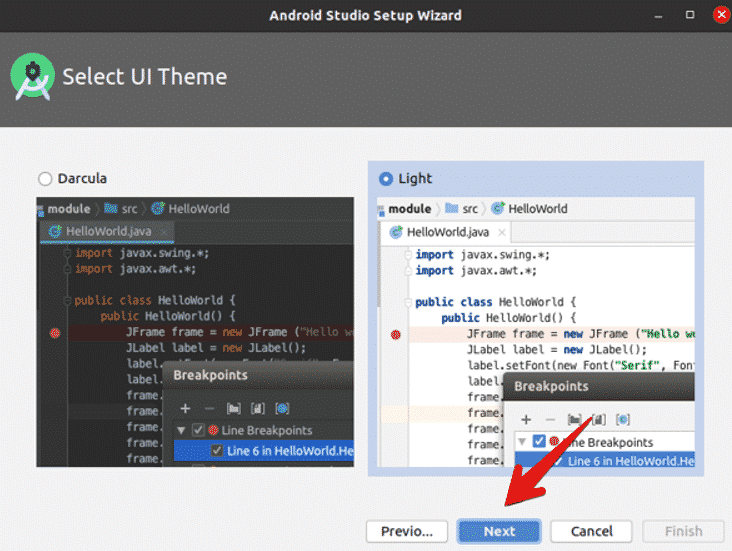
Next, you will select the user interface theme for Android Studio. The most popular theme among users is ‘Light.’ Therefore, you might want to choose the ‘Light’ UI theme. Continue by clicking ‘Next.’
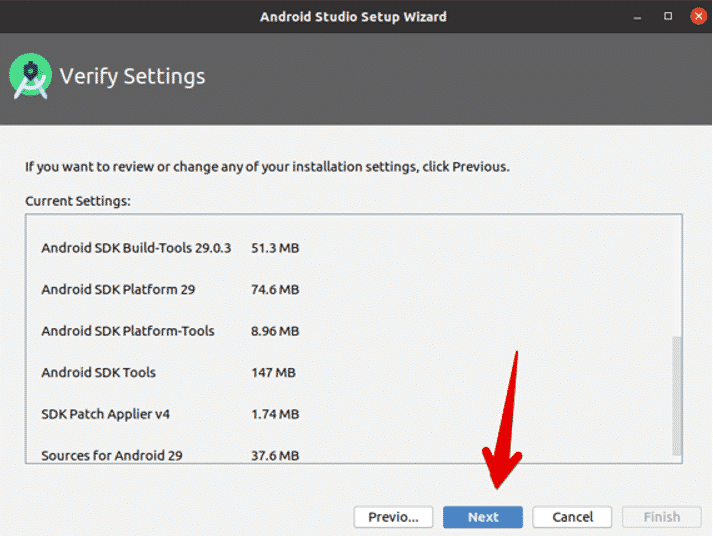
Now, you will be asked to verify or review the installation settings. Click ‘Next’ if you are okay with the installation settings. Otherwise, click ‘Previous’ to change the installation settings.
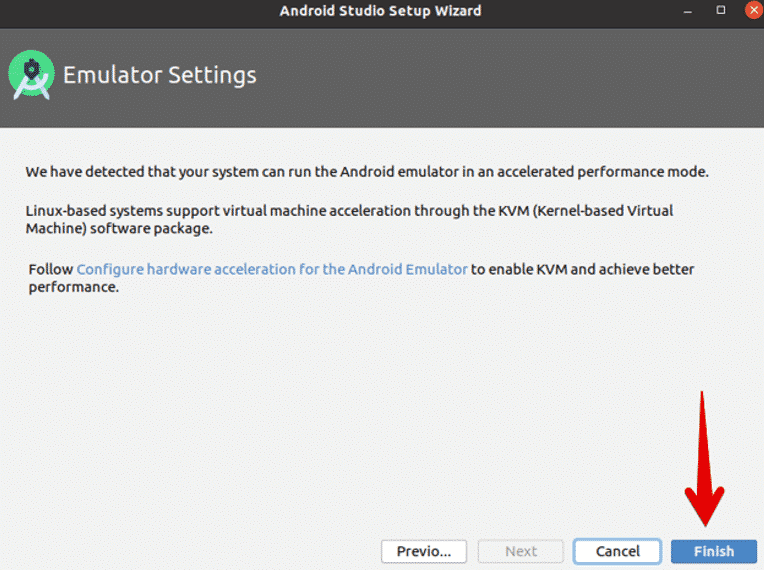
In the next dialog, the emulator settings will be displayed in the window. You are now at the end of the setup process, so you will click the ‘Finish’ option.
In the next dialog, all the necessary Android components will start to download on your system.
Once the download process is completed, click ‘Finish.’
You will see the following Android Studio window open on your system. Here, you can choose to create a new Android Studio project, open an existing project, or perform other tasks for the program.
Congratulations! The installation and configuration processes of Android Studio on your system are now complete.
2. Installing Android Studio with the snap application
You can also install Android Studio in Ubuntu 20.04 using the snap application manager, simply by executing the following command:
If you no longer wish to use Android Studio, you can also uninstall the program using the following command:
Conclusion
That is all on how to install and configure Android Studio in Ubuntu 20.04. You can use this tool to explore more features on Ubuntu 20.04 system. I hope this article expanded your knowledge of the Android Studio program.


