If you have been using a Linux distribution with a GNOME based desktop environment for a long time, you must be aware about the transition of GNOME 2 / GTK2 libraries to GNOME Shell / GTK3. With the advent of GNOME Shell, many useful settings that existed in GNOME 2 based desktop environments were removed, hidden or relocated, making it difficult for the average user to find these settings. This article will discuss a tool called “GNOME Tweaks” or “GNOME Tweak Tool” that reveals some of these settings to end users in GNOME Shell based Linux distributions like Ubuntu. These settings are usually not available in main system settings (also known as GNOME Control Center).
Install GNOME Tweaks
You can install GNOME Tweaks in Ubuntu by executing the command specified below:
GNOME Tweaks can be installed in other GNOME Shell based Linux distributions from the package manager. In some distributions, you may find it by the name of “GNOME Tweak Tool”.
You can launch GNOME Tweaks from application launcher or by running the command specified below:
Customize Top Panel
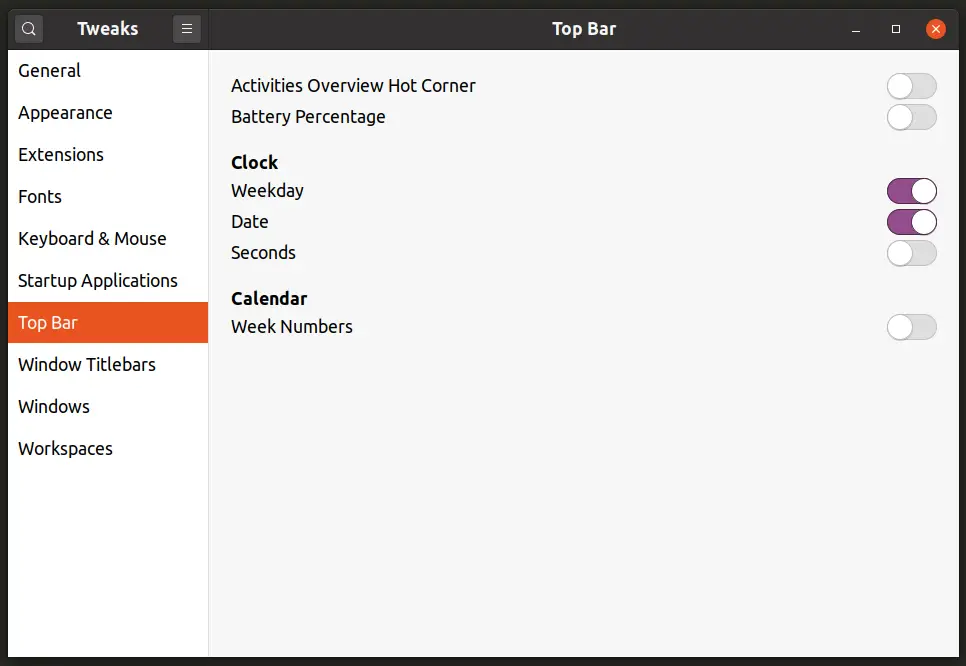
GNOME Shell consists of a panel located at the top edge of the screen. It houses a system tray, an activities trigger and a clock centered on the panel. No settings are available by default to customize the layout or elements of the top panel. However, in “Top Bar” section of GNOME Tweaks, you can disable the activities hot-corner trigger, enable remaining battery percentage and customize the behavior of clock applet, as shown in the screenshot below:
Manage GNOME Shell Extensions
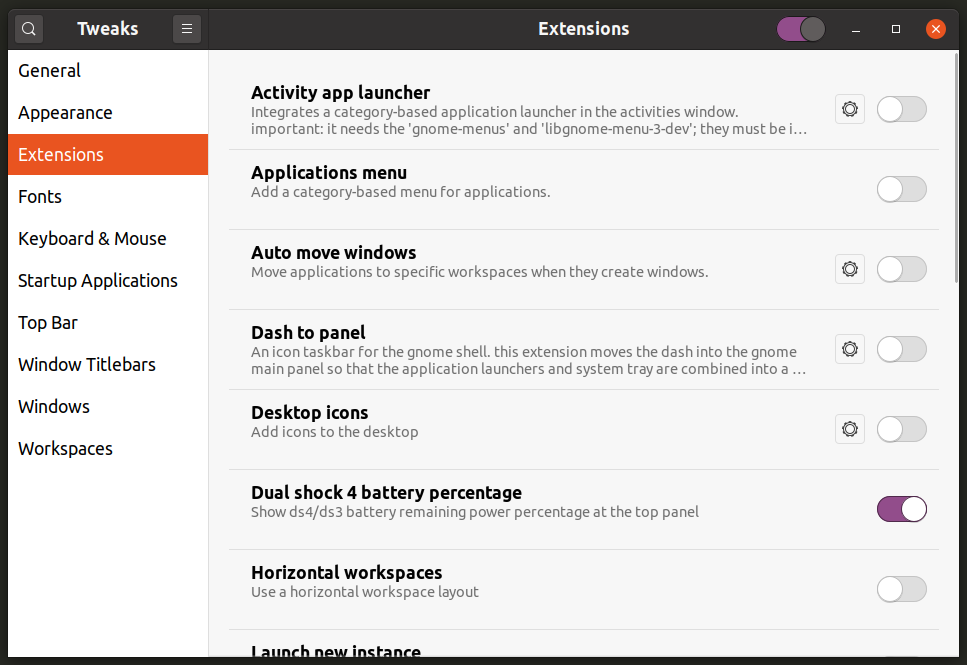
GNOME Shell extensions are official and third-party addons that extend the functionality of GNOME Shell. You can get these extensions from here. By default, extension settings are not revealed in GNOME Control Center. You can manage extensions from GNOME Tweaks instead, as shown in the screenshot below:
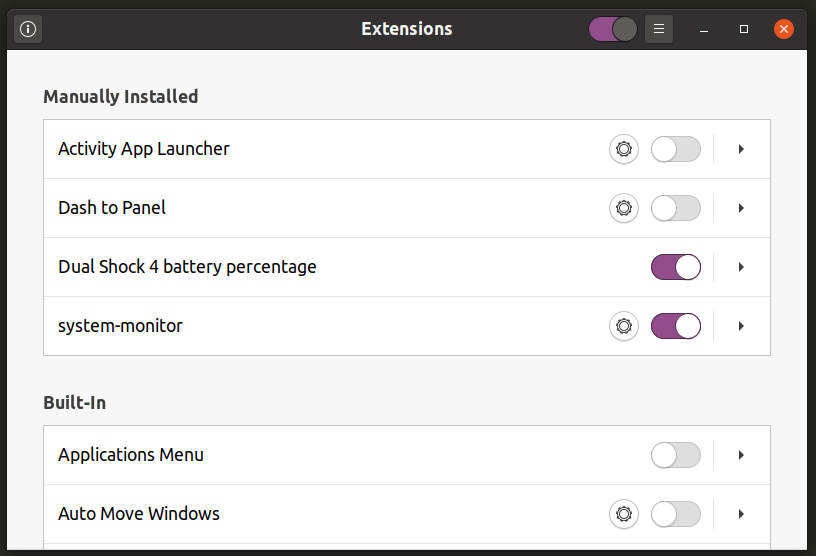
Latest versions of GNOME Shell now also include a new “Extensions” app that can be launched from the application launcher to manage installed extensions.
Manage Workspaces Settings
Workspaces are separate desktop areas where you can group running applications as per your needs. For instance, you can group a music player application and a video player application in a workspace dedicated for playing media or you can group a text editor application and a terminal emulator in another workspace intended for development of applications.
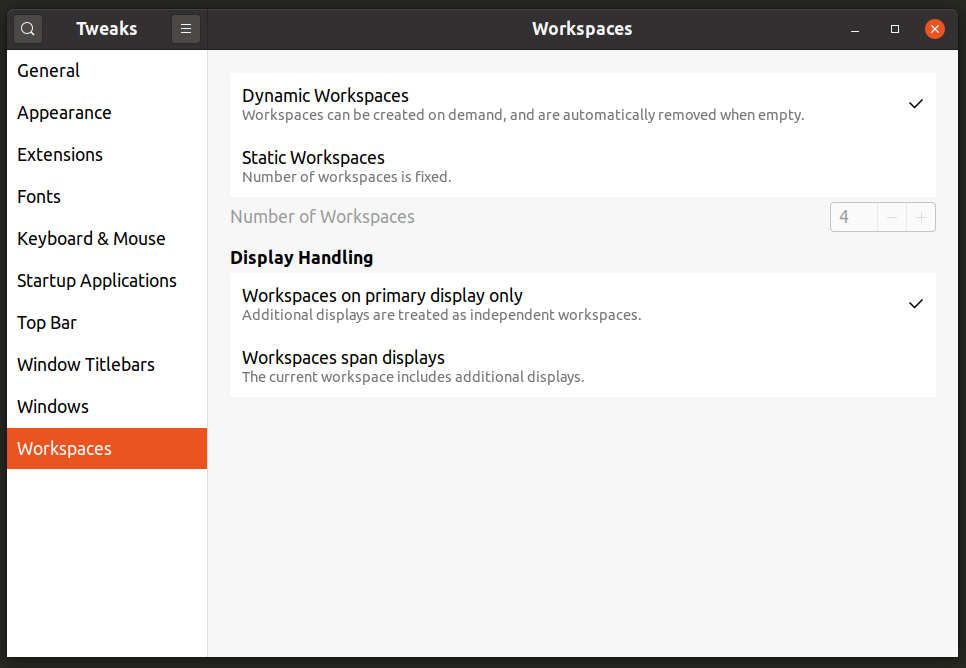
You can go to the “Workspaces” section of GNOME Tweaks to switch between on-demand dynamic workspaces or fixed number of workspaces. You can also configure workspaces to appear on primary display only or on all connected displays.
Change Behavior of Window Manager
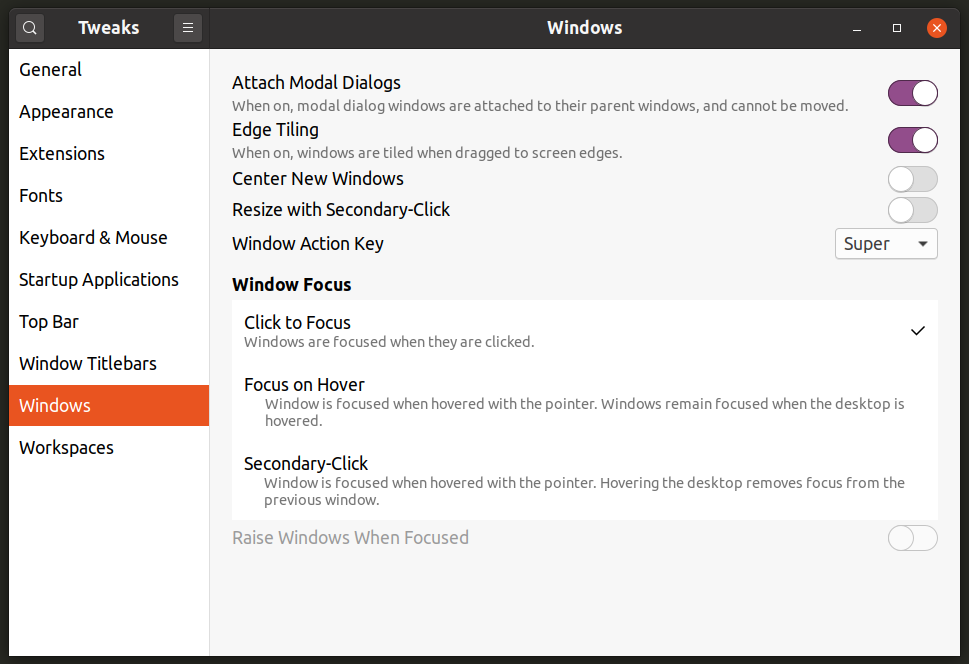
GNOME Shell includes mutter as its default window and compositing manager. You can change its behavior from the “Windows” section of GNOME Tweaks. You can attach or detach modal dialogs, enable or disable window snapping and edge tiling, customize window focus behavior, change super action key (usually the key with Windows icon on keyboard) etc.
Customize Window Titlebar Behavior
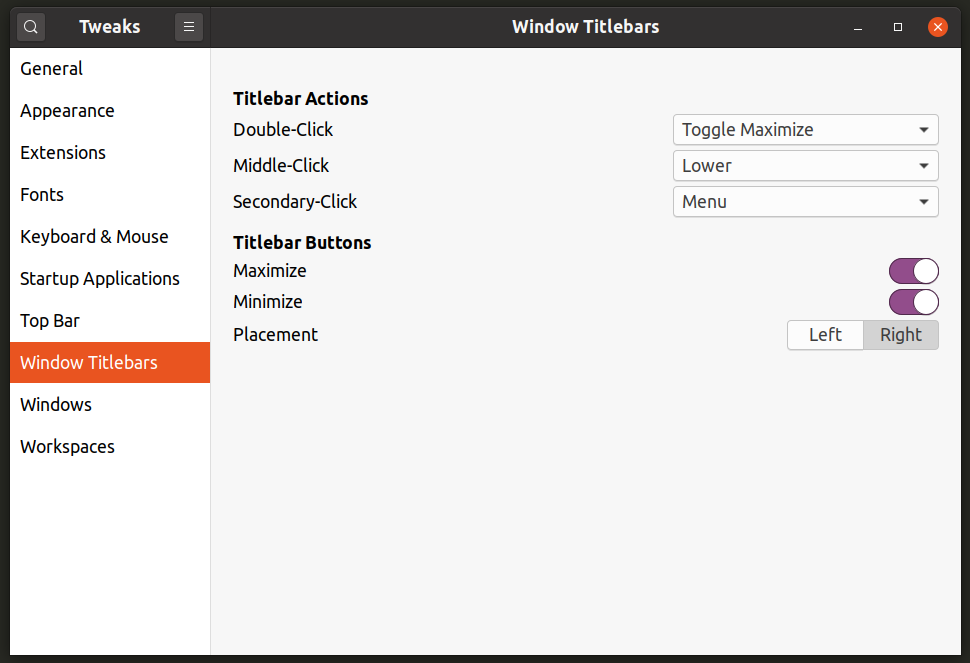
The “Window Titlebars” section in GNOME Tweaks allows you to toggle minimize and maximize buttons and their placement on an application window. You can also change behavior of mouse clicks on titlebars and various actions mapped to them.
Add or Remove Startup Applications
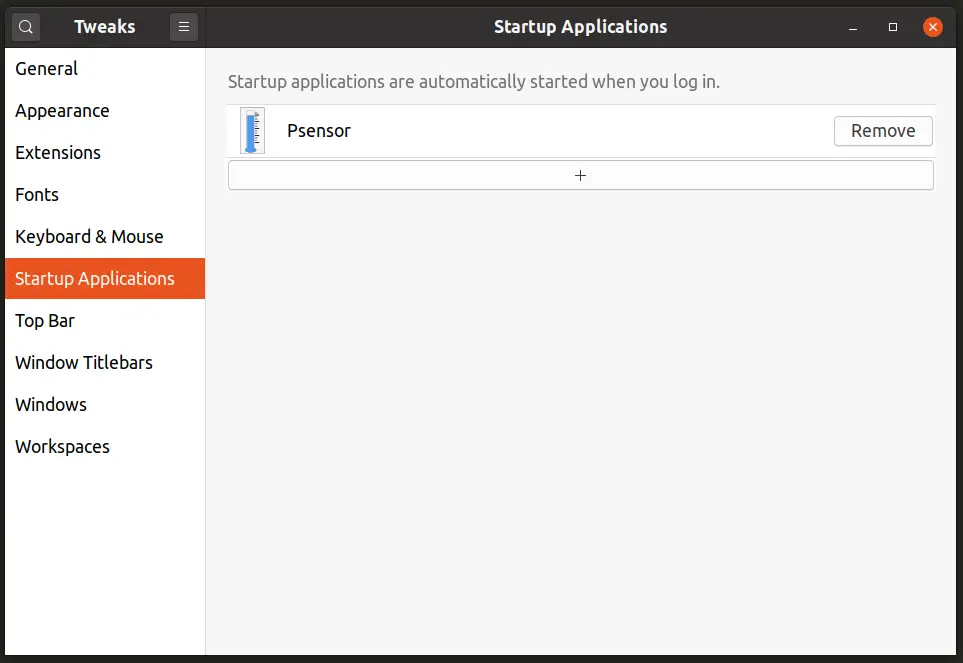
You can use the “Startup Applications” section in GNOME Tweaks to add or remove applications that will automatically launch on a fresh reboot or on a new login session.
Note that this section in GNOME Tweaks doesn’t allow you to enter custom commands. There is another standalone application simply called “Startup Applications” that can be used to define custom commands.
Change Settings of Input Devices
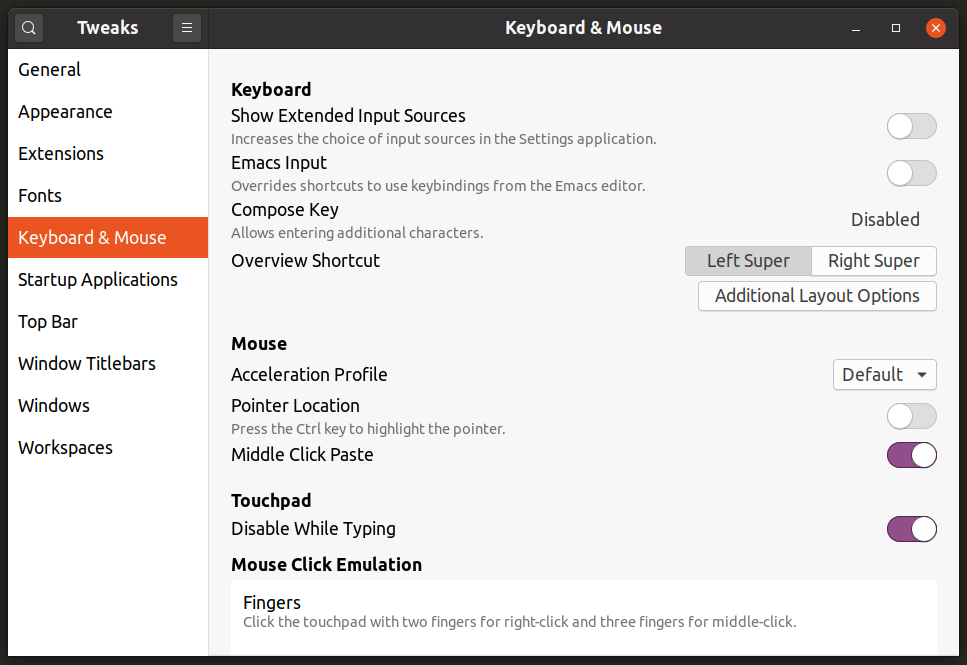
“Keyboard & Mouse” section in GNOME Tweaks can be used to change behavior of various input sources connected to the system. You can change acceleration speed, touchpad behavior, and toggle-on some accessibility features.
Change Font Configuration
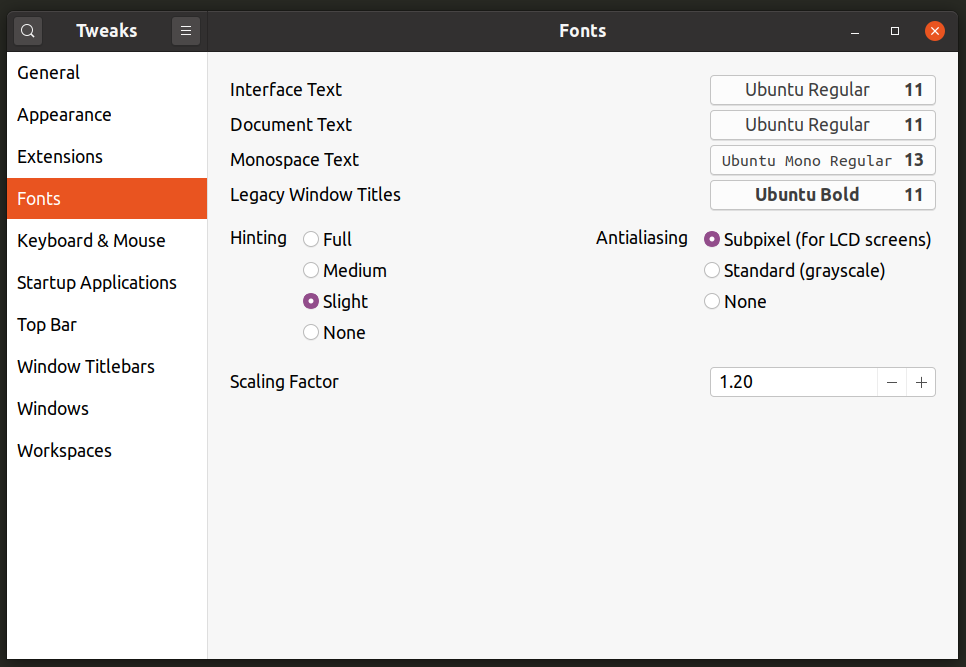
As font settings are not built into system settings, the only way to change font properties is to use the “Fonts” section in GNOME Tweaks. Here you can change font styles, their weights, and modify how they render by changing hinting, antialiasing, and scaling settings.
Change System Theme
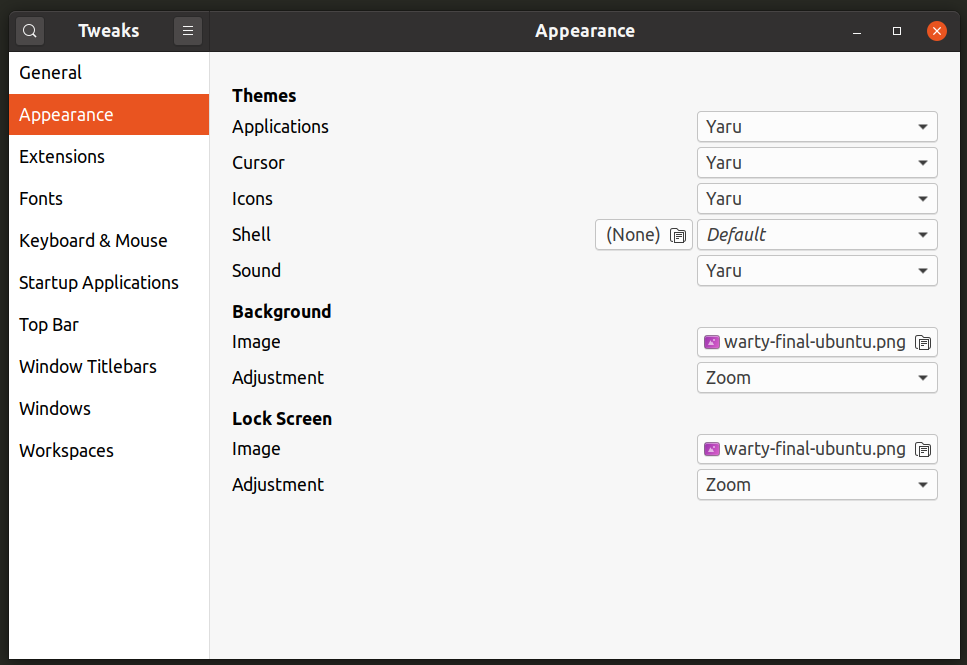
You can go to the “Appearance” section to change GTK3 theme, GNOME Shell theme, icon theme, cursor style, and sound theme. Note that to change GNOME Shell theme, you may need to install the “User Themes” extension available here.
Other Settings
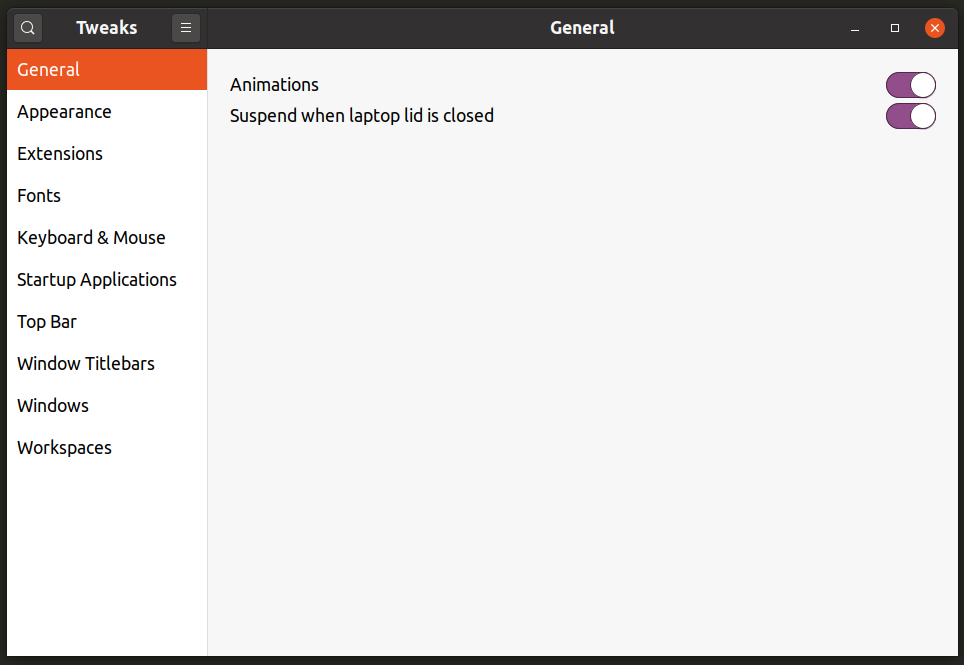
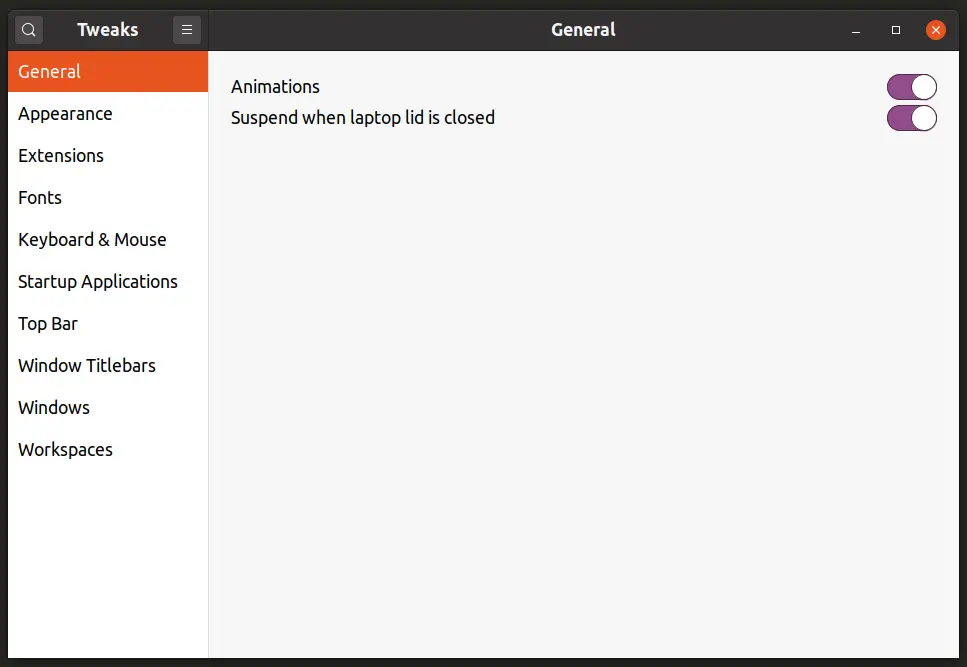
Lastly in the “General” section, you can change a few other settings to enable or disable system animations or change suspend behaviour when using battery powered devices.
More Advanced Settings
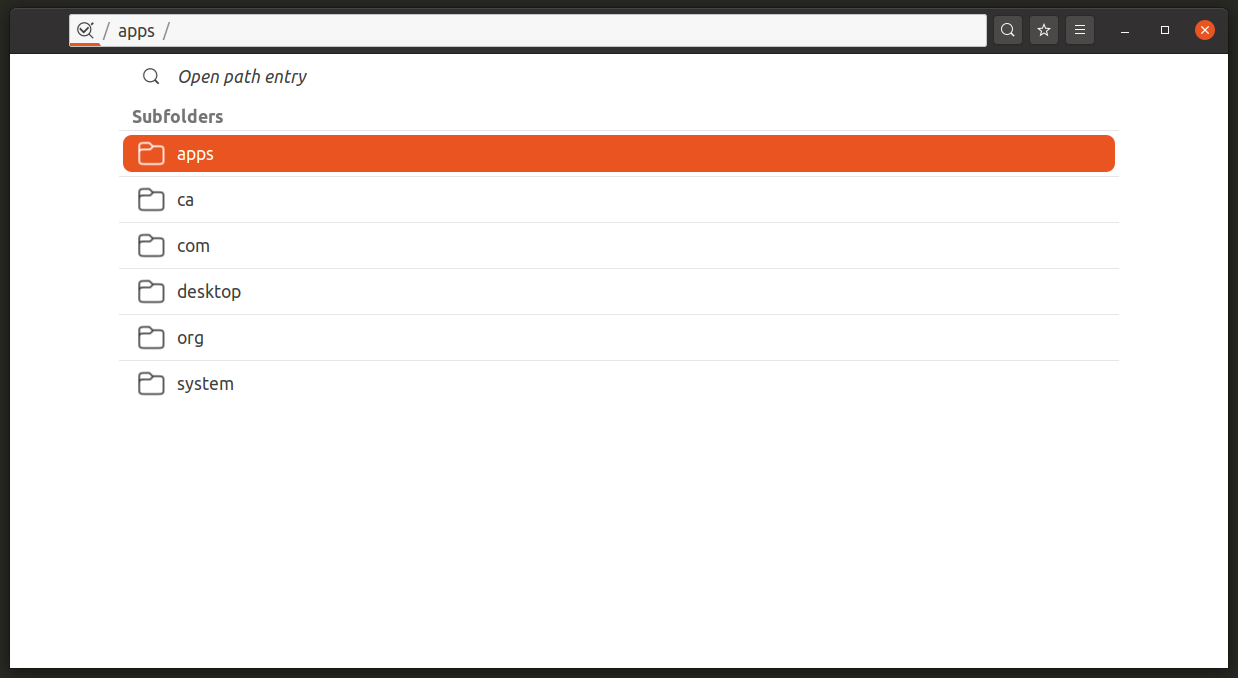
If you cannot find a particular setting in GNOME Tweaks, try using “Dconf Editor” to browse advanced settings. Dconf Editor is a central storehouse for managing settings of all modern applications based on GTK3 and GNOME 3. It is an extremely powerful tool and one wrong toggle or other change in settings can break your system. Tread carefully while using it, but if you know what you are doing, it is a pretty comprehensive tool to change almost every aspect of GNOME Shell based desktop environments.
You can install Dconf Editor in Ubuntu by executing the command specified below:
Dconf Editor can be installed in other GNOME Shell based Linux distributions from the package manager.
Conclusion
GNOME Tweaks is a pretty handy tool if you want to change some hidden settings without risking system breakage. End users trying GNOME Shell for the first time may not know about it. Linux distributions using GNOME Shell as their default desktop environment should have GNOME Tweaks pre-installed by default.

