Linux is an operating system that can run on almost any hardware. Thanks to its lower hardware resource requirement (depends on the distro, but on average, still lower), you can run it on even the most potato computer you can find in your attic.
In this guide, let me demonstrate to you just that. Of course, it’s not something crazy, but really fun.
Check out how to install an entire Ubuntu system on a USB flash drive.
Ubuntu on USB flash drive
Any Linux distro requires relatively low disk space to have a bare minimum installation. In this guide, that’s what we’re going to take advantage of.
Generally, a USB flash drive comes with relatively low storage capacity than an SSD or HDD. For Ubuntu, the basic installation requires at least 10-15GB of free space. In that sense, you need a minimum of a USB flash drive with 16GB storage capacity. For the most flexibility, however, it’s recommended to use a 32GB USB flash drive or higher.
Note that while it’s a fun and interesting way of carrying your own operating system in your back pocket, it’s not a good solution for long-term use. USB flash drives have a limited bandwidth to exchange data with the rest of the hardware. Moreover, the longer USB flash drives are in use, the faster they deteriorate. The overall durability of such a setup is less than installing Ubuntu in an SSD/HDD.
One way to circumvent the issue could be using an external HDD/SSD. While it’ll still face the bandwidth bottleneck because of USB connection, for less heavy workloads, it can be doable for a long time.
Installing Ubuntu on USB flash drive
With all the caution out of the way, let’s jump right into it. Installing Ubuntu on a USB flash drive is quite simple. All you have to do is while performing the installation, select the USB flash drive as the target.
Preparing bootable media
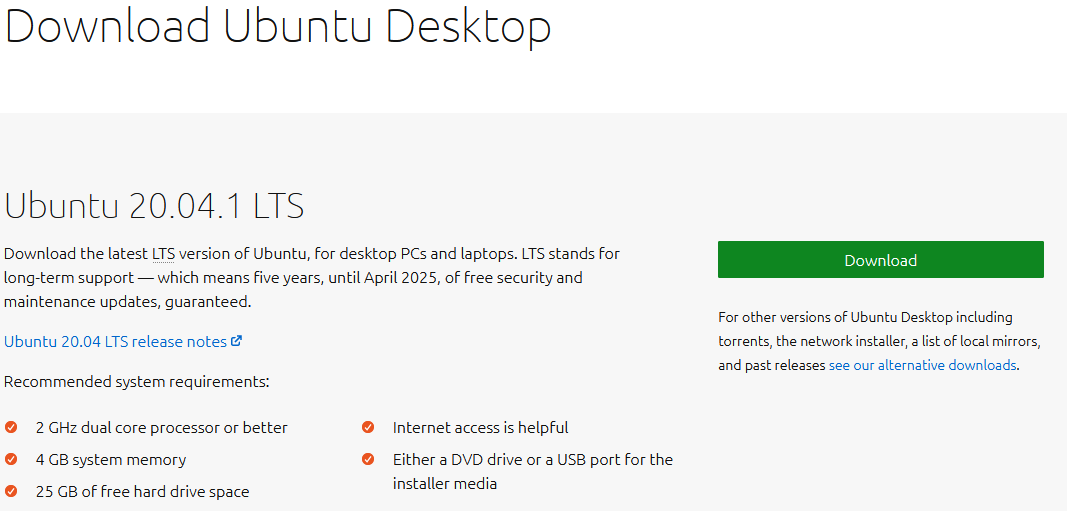
First, grab the latest version of Ubuntu ISO. I’ll be using Ubuntu 20.04.1 LTS.
Now, we have to create a bootable Ubuntu installation media. Learn how to make a bootable USB flash drive. Note that this USB drive will be a different one than the one on which we’re about to install Ubuntu.
Connect the bootable USB flash drive and boot into it.
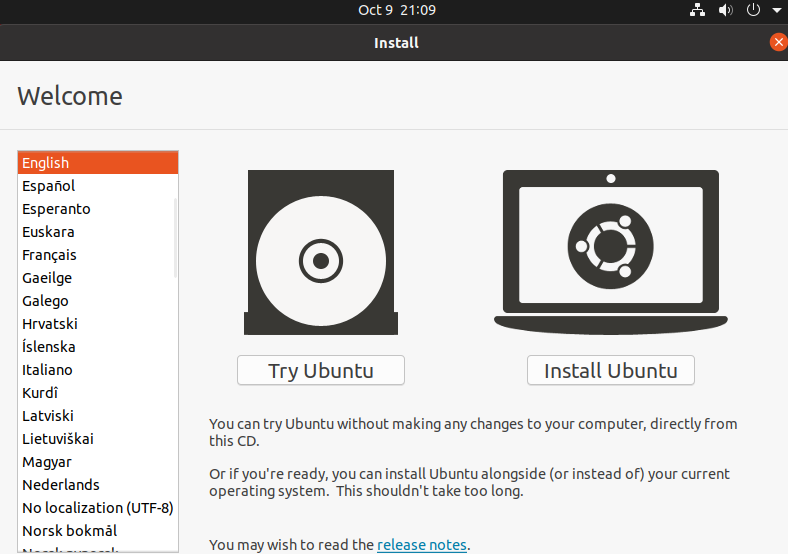
Select “Try Ubuntu” This will start the Ubuntu live session.
Installing Ubuntu
Now, connect the USB flash drive on which we’re going to install Ubuntu.
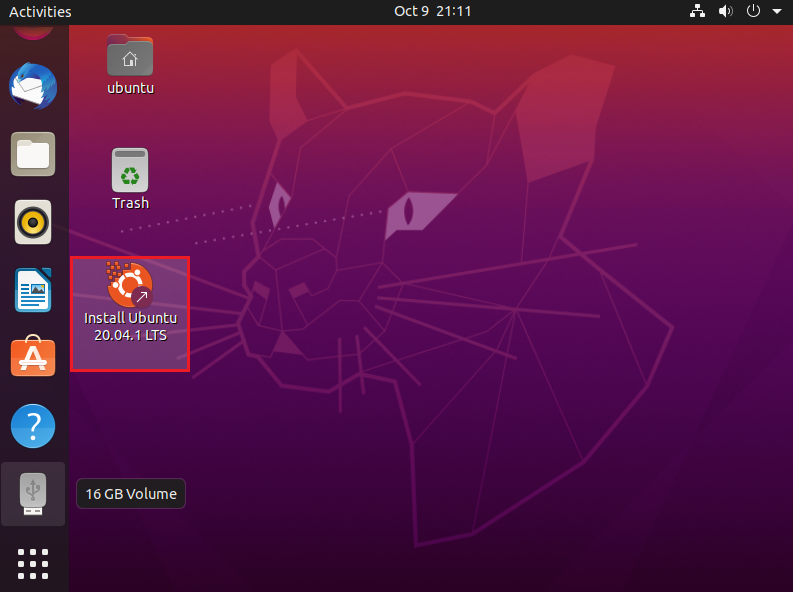
The system is recognizing the USB drive successfully. Double-click the installation shortcut on the desktop to start the Ubuntu installation process.
Click “Continue” to start the installation process.
Select the appropriate keyboard layout.
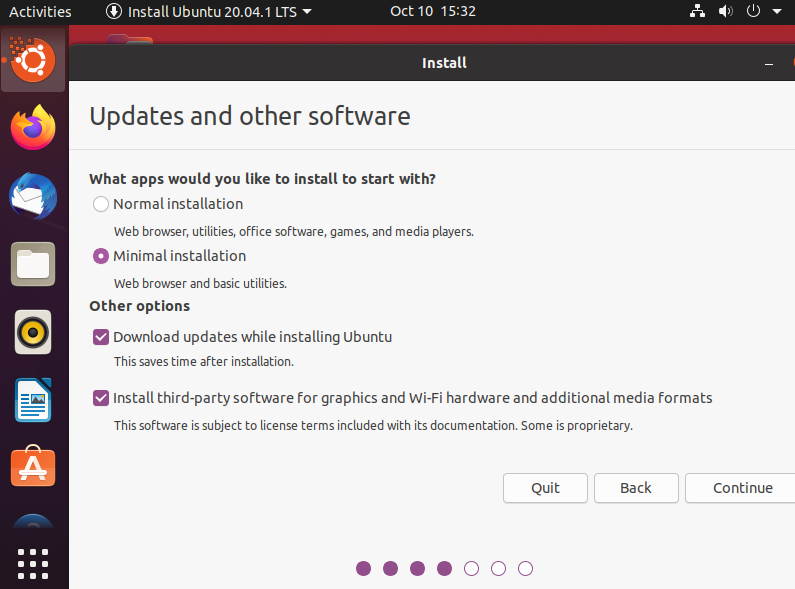
There’s a choice to make at this stage. The “Normal installation” will install Ubuntu with all the default software like web browsers, office apps, media players, and others. In the case of “Minimal installation”, it’ll only contain web browsers and some basic tools. Depending on the storage capacity of the USB flash drive, you may want to choose “Minimal installation”.
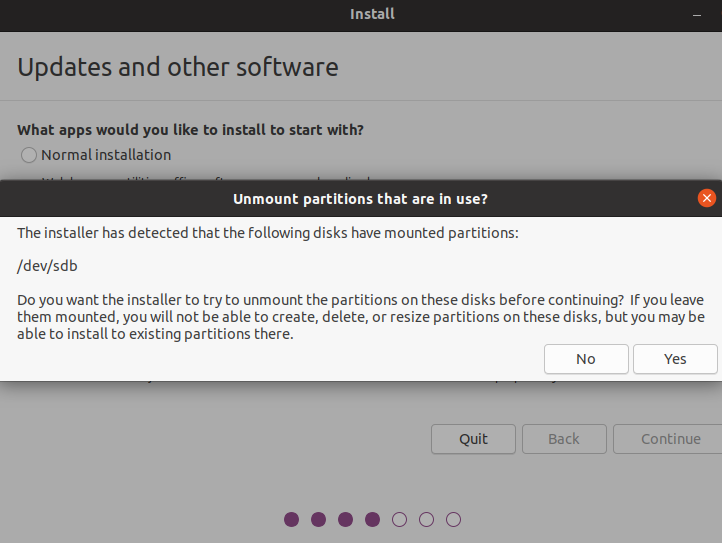
The installer may ask to unmount the USB flash drive. Click “No” because we’re about to perform the installation on the drive.
Here comes the most important part. We have to decide where to install the operating system. Select “Something else”, this will give us full control over partitioning.
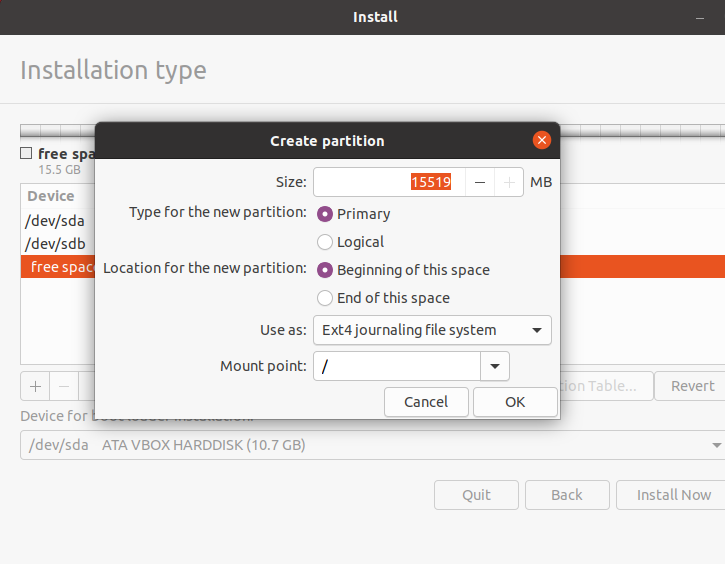
The installer will open up the partitioning tool. Here, the USB drive is identified as /dev/sdb. It’s recommended to delete all the partitions under the USB flash drive.
Create a new partition with ext4 filesystem. As for the mount point, select “/”.
Click “Install Now”.
The installer will show a warning whether you’d like to proceed with the changes. Click “Continue” to confirm.
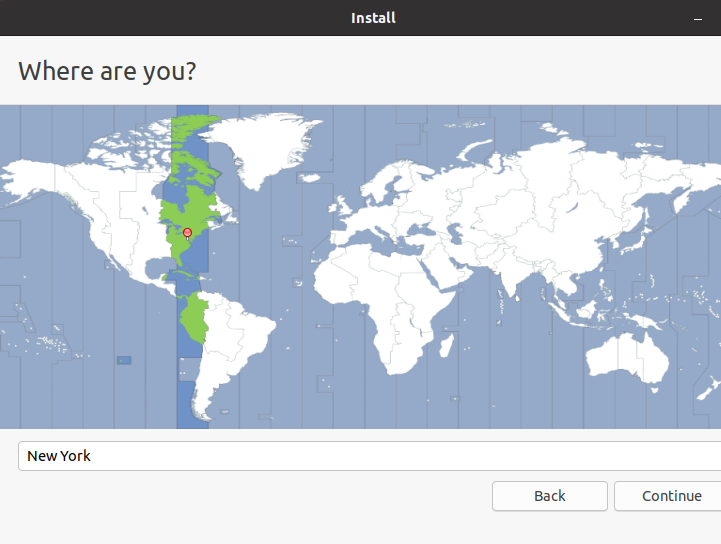
Select the time zone.
Enter the credentials. This will be the default administrator account of the system.
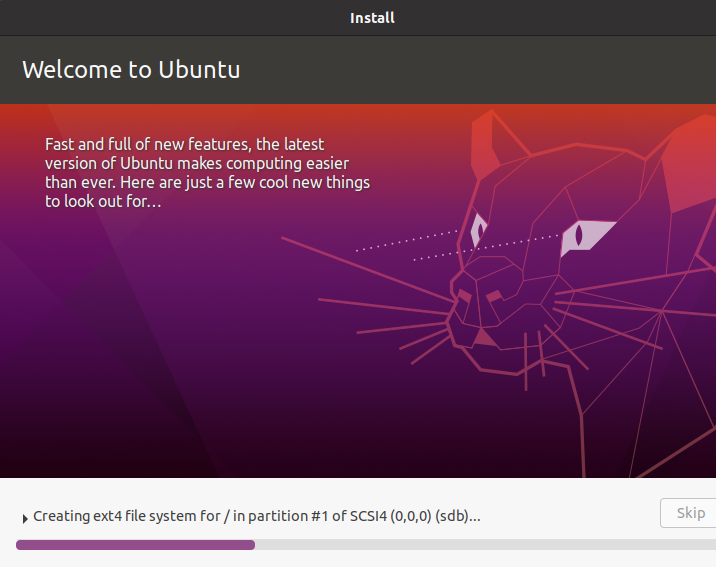
Wait for the installation to complete. Because we’re installing on a USB flash drive, it’ll take more time than installing on an HDD/SSD.
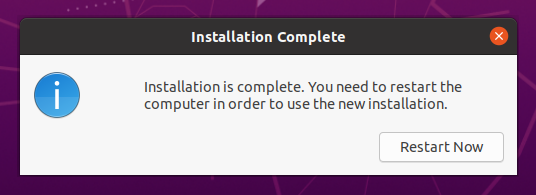
Once the installation is complete, the following message will pop up. You can decide to restart the computer or turn it off.
Voila! Ubuntu is successfully installed on the USB flash drive! To use the system, all you have to do is connect the USB flash drive to a computer, and during boot, select it as the boot media.
Final thoughts
Installing Ubuntu on a USB flash drive isn’t difficult. It’s a fun thing to try out. If you need to use the USB drive for something else, you can simply erase the partitions and format it using GParted. Learn how to use GParted.
The installation process has gone successful. We can polish the installation further to upgrade it. Check out 40 things to do after installing Ubuntu.
Happy computing!

