What is Zsh?
Z Shell also also known as Zsh is an enhanced version of Borne Again Shell(Bash) that comes with many additional features. One of the main features that set Zsh apart from Borne Again Shell (Bash) is customization; most notably themeable prompts, autocomplete, and spell correction.
How to install Zsh on Windows?
Getting Zsh on Windows is not a plain sailing process, as it requires a few additional operations to perform. To get Zsh on Windows you need some tweaks. A step-by-step guide to installing Zsh on Windows is mentioned below:
Step 1: Enable Windows Subsystem for Linux (WSL)
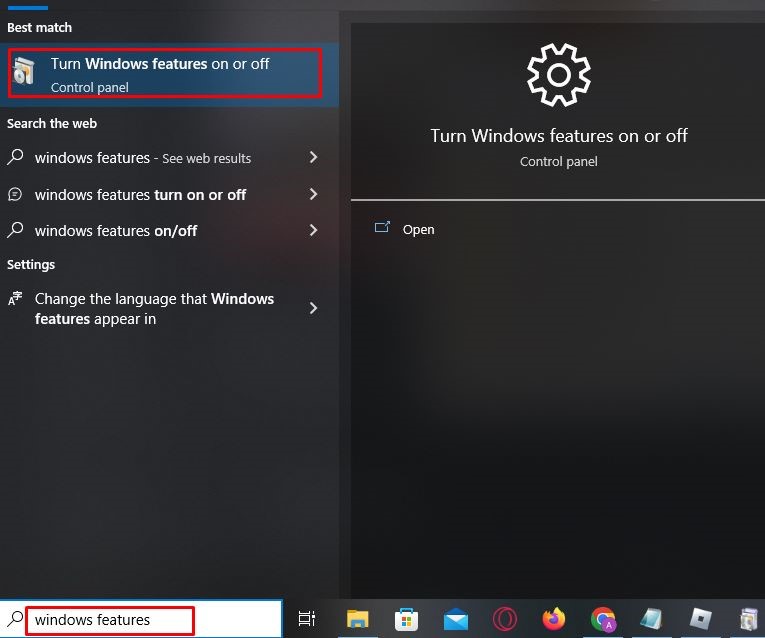
The first step is to enable the WSL on Windows for that click on Start then search Windows Features:
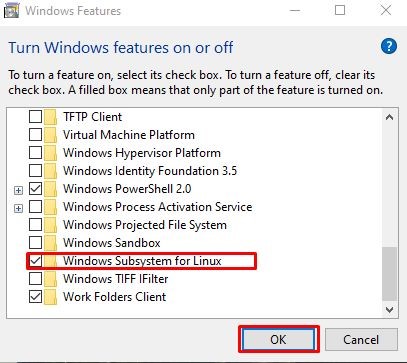
Find Windows Subsystem for Linux from the window that just appeared and enable it:
Now, restart the system.
Step 2: Install Linux from Microsoft Store
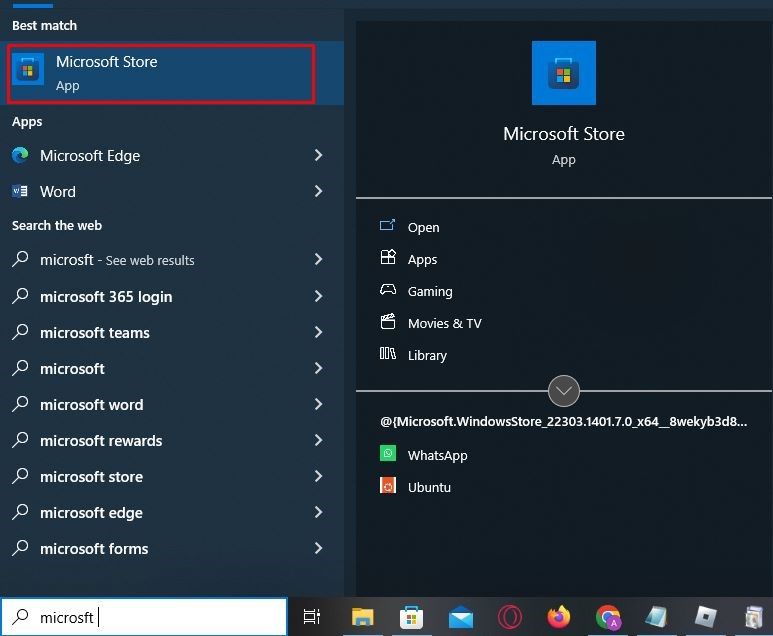
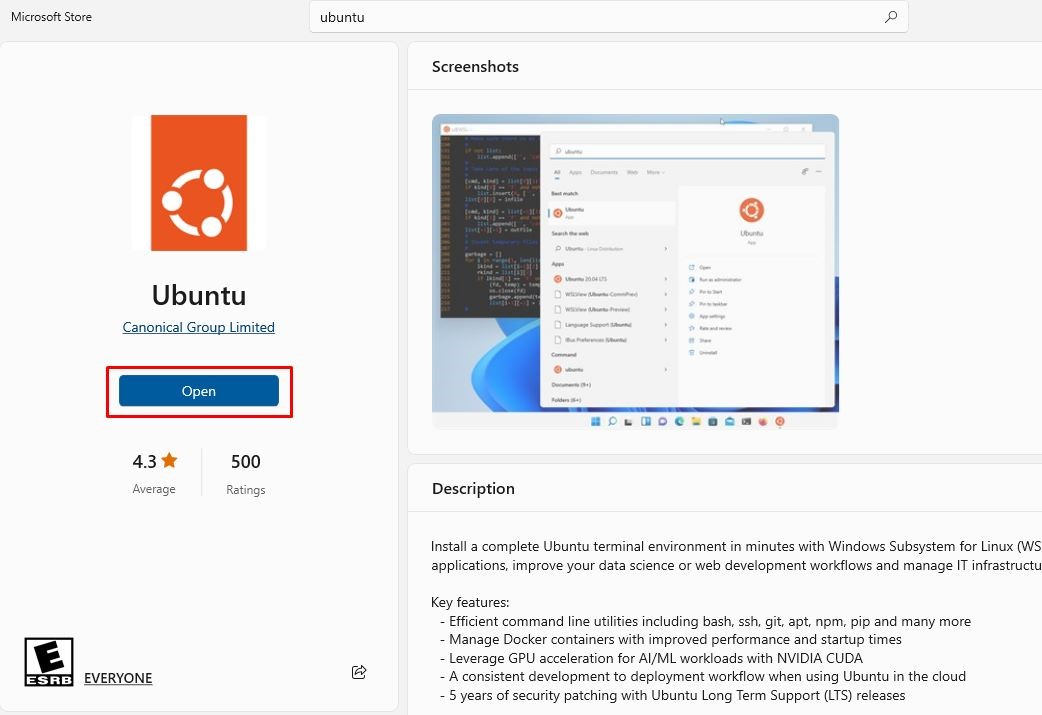
Open Microsoft Store then search Ubuntu:
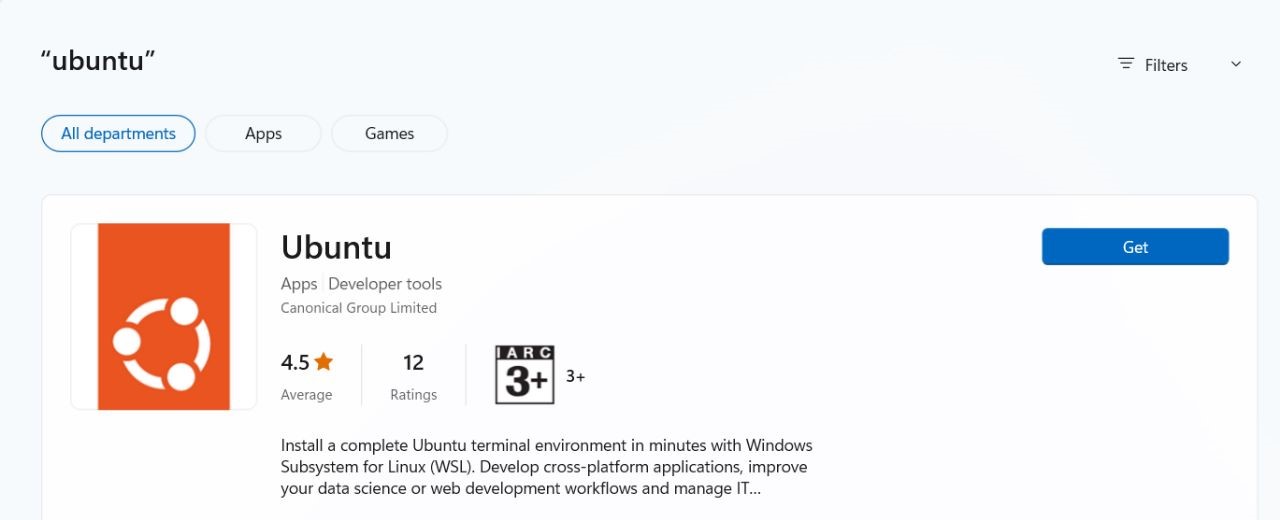
Click on Get to download and install it:
Once the download and installation of Ubuntu are completed launch it:
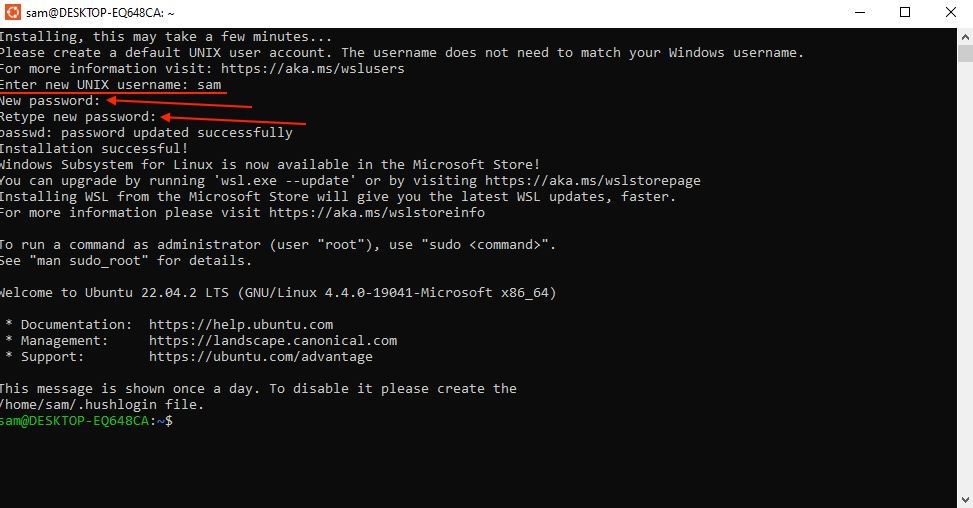
A terminal window will appear; it requires an initial setup, like a username and password:
Type the following command to update the repositories and packages:
Step 3: Install Z Shell (Zsh)
It’s time to install Zsh, for that run the command given below:
Now, make it the default shell using the command mentioned below:
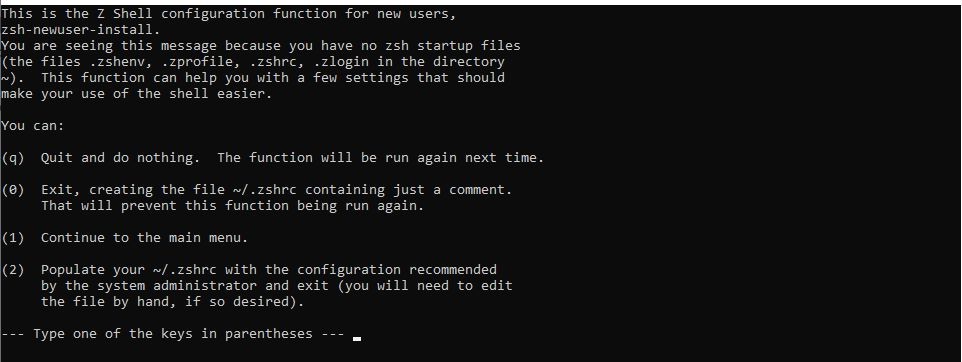
Now, restart the Ubuntu app, Zsh will be the default shell.
Conclusion
Zsh is an improved version of Bash, apart from supporting all the features of Bash it also supports many key functionalities of ksh and tcsh. Getting Zsh on Windows is a bit tricky process; you need Linux on Windows to use Zsh. For that enable WSL and install Ubuntu from the Microsoft store after that install Zsh using the terminal command.

