In this article, we will show you how to install the ZeroMQ Python library on Ubuntu 22.04 LTS using PIP. We will also show you how to write a basic ZeroMQ/ZMQ program in Python 3.
Topic of Contents:
- Installing the Required Build Tools on Ubuntu 22.04 LTS
- Installing PIP 3 on Ubuntu 22.04 LTS
- Installing the ZeroMQ Python Library on Ubuntu 22.04 LTS Using PIP
- Checking If the ZeroMQ Python Library Is Installed Correctly on Ubuntu 22.04 LTS
- Writing a Basic ZeroMQ Program in Python
- Conclusion
- References
Installing the Required Build Tools on Ubuntu 22.04 LTS
To compile ZeroMQ, you will need the necessary build tools to be installed on Ubuntu 22.04 LTS.
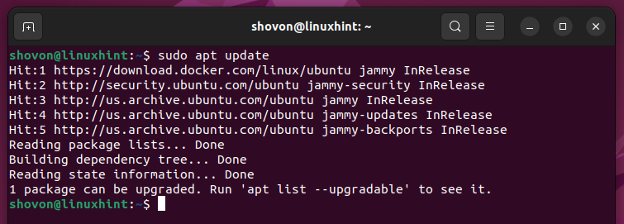
First, update the APT package repository cache with the following command:
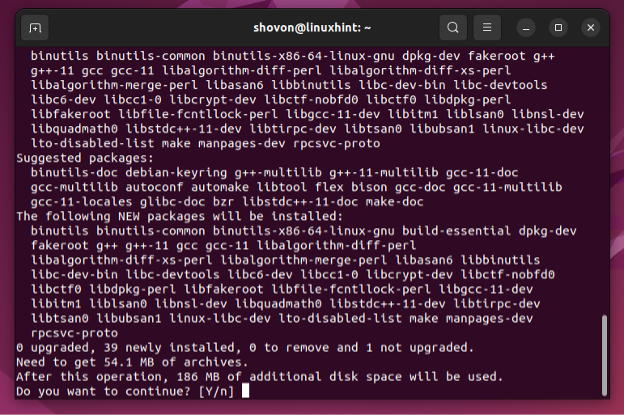
To install GCC and the required build tools on Ubuntu 22.04 LTS, run the following command:
To confirm the installation, press Y and then press <Enter>.
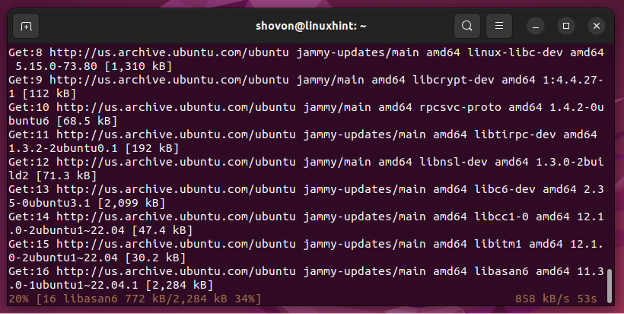
GCC and other build tools are being downloaded and installed. It takes a while to complete.
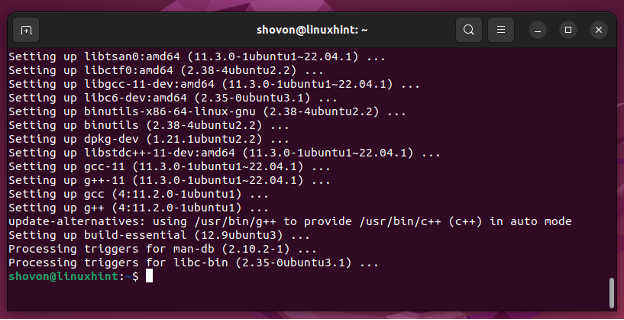
GCC and other build tools should be installed at this point.
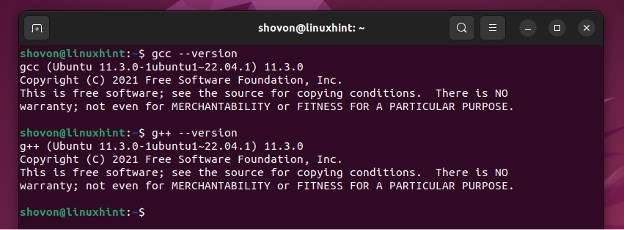
To check whether GCC is working, run the following commands. The version number of the installed GCC compilers should be printed.
$ g++ --version
Installing PIP 3 on Ubuntu 22.04 LTS
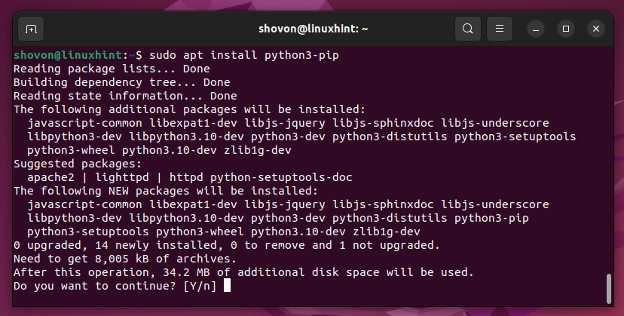
To install the Python 3 Package Installer PIP, run the following command:
To confirm the installation, press Y and then press <Enter>.
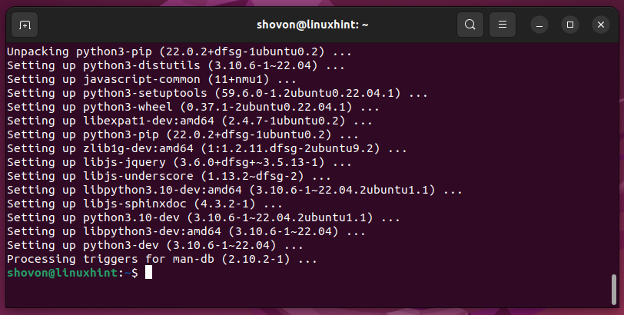
The Python 3 package installer PIP should be installed.
To verify whether PIP is accessible from the command line, run the following command:
Installing the ZeroMQ Python Library on Ubuntu 22.04 LTS Using PIP
To install the ZeroMQ Python library on Ubuntu 22.04 LTS using PIP, run the following command:
The ZeroMQ Python library should be installed on Ubuntu 22.04 LTS.
Checking If the ZeroMQ Python Library Is Installed Correctly on Ubuntu 22.04 LTS
To check whether the ZeroMQ Python library is installed correctly on Ubuntu 22.04 LTS and whether you can access it from Python, run the following command. The installed version number of the ZeroMQ or ZMQ Python library should be printed.
Writing a Basic ZeroMQ Program in Python
Before you write your first ZeroMQ program in Python, it’s a good idea to create a project directory so that you can keep all the project codes organized.
To create a project directory ~/projects/zmq-python (let’s say), run the following command:
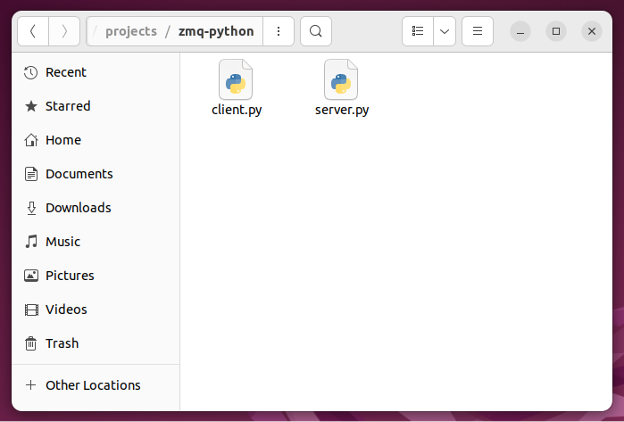
In the ~/projects/zmq-python project directory, we created two Python scripts: “server.py” and “client.py”.
The “server.py” runs a ZeroMQ server, listens for ZeroMQ client requests, and responds to requests.
The “client.py” is a ZeroMQ client program. It sends requests to the ZeroMQ server and receives response from the server.
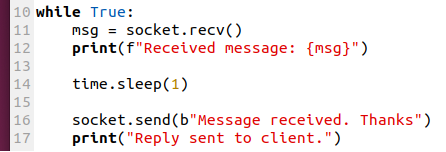
The source code of the “server.py” Python script is:
import zmq
context = zmq.Context()
socket = context.socket(zmq.REP)
socket.bind("tcp://*:5000")
print("ZeroMQ listening for requests...")
while True:
msg = socket.recv()
print(f"Received message: {msg}")
time.sleep(1)
socket.send(b"Message received. Thanks")
print("Reply sent to client.")
The “server.py” Python script opened in Gedit.
Here:
Line 1 and Line 2 import the “time” and “zmq” Python modules.
The zmq.Context() creates a ZeroMQ context.
The context.socket() is used to create a ZeroMQ socket. The zmq.REP is used to create a socket that responds to the ZeroMQ client requests.
The socket.bind() is used to start the ZeroMQ server on the TCP port 5000.
The “while” loop looks for ZeroMQ client messages, reads them, and responds to the ZeroMQ clients.
The socket.recv() is used to read the messages that are sent by the ZeroMQ clients.
The socket.send() is used to send responses to the ZeroMQ clients.
The time.sleep(1) provides an artificial delay of 1 second while responding to the ZeroMQ client requests. This signifies some works that are done by the ZeroMQ server.
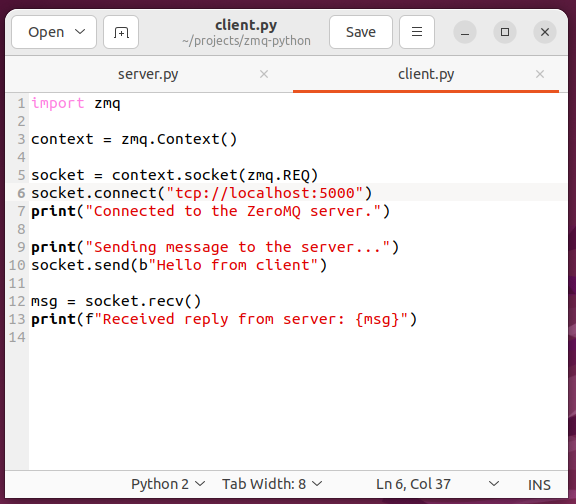
The source code of the “client.py” Python script is:
context = zmq.Context()
socket = context.socket(zmq.REQ)
socket.connect("tcp://localhost:5000")
print("Connected to the ZeroMQ server.")
print("Sending message to the server...")
socket.send(b"Hello from client")
msg = socket.recv()
print(f"Received reply from server: {msg}")
The “client.py” Python script is opened in Gedit.
Here:
Line 1 imports the ZeroMQ module and the zmq.Context() creates a ZeroMQ context in line 2 in the “client.py” script.
The context.socket() is used to create a ZeroMQ socket. The zmq.REQ is used to create a socket that sends requests to the ZeroMQ server.
The socket.connect() is used to connect to the ZeroMQ server that runs on port 5000.
The socket.send() is used to send a message to the connected ZeroMQ server.
The socket.recv() is used to receive messages from the connected ZeroMQ server.
To run the ZeroMQ Python program, navigate to the ~/projects/zmq-python project directory as follows:
The ZeroMQ Python programs “server.py” and “client.py” should be in the project directory.
You can start the ZeroMQ server as follows:
To run the ZeroMQ client program, execute the following command:
As you can see, the ZeroMQ client program that is connected to the ZeroMQ server sends a message to the ZeroMQ server program and receives a message from the ZeroMQ server.
As you can see, the ZeroMQ server receives a message from the ZeroMQ client and it sends a reply to the ZeroMQ client.
If you want to learn more about writing the Python ZeroMQ apps, you can read the article on How to Write a Client and Server Calculator App Using Python and ZeroMQ. In this article, we use ZeroMQ to create a calculator server. The ZeroMQ client takes two numbers and the arithmetic operation to perform on the numbers from the user as inputs and sends the numbers and arithmetic operation to perform to the ZeroMQ server. The ZeroMQ server performs the arithmetic operation on the numbers that are received from the ZeroMQ clients and sends the result back to the ZeroMQ client. I highly recommend you to try it out.
Conclusion
We showed you how to install the ZeroMQ Python library on Ubuntu 22.04 LTS using PIP. We also showed you how to write a basic ZeroMQ/ZMQ program in Python 3, explained how it works, and how to run it.

