Yarn is a popular JavaScript package manager that enables developers to speed up and automate the process of managing their JavaScript libraries and dependencies. It is an open-source project used to install and manage core packages for Node.js applications, as well as Java projects. With its numerous features, it is the most reliable and efficient package manager for JavaScript.
This article will cover detailed methods of installation of Yarn on Ubuntu systems.
Install Yarn on Ubuntu
There are two simplest methods to install Yarn on Ubuntu system, which are as follows:
Method 1: Through Apt Package Manager
The installation process of Yarn on Ubuntu consists of following steps:
Step 1: First update the apt packages list on Ubuntu from the following command:
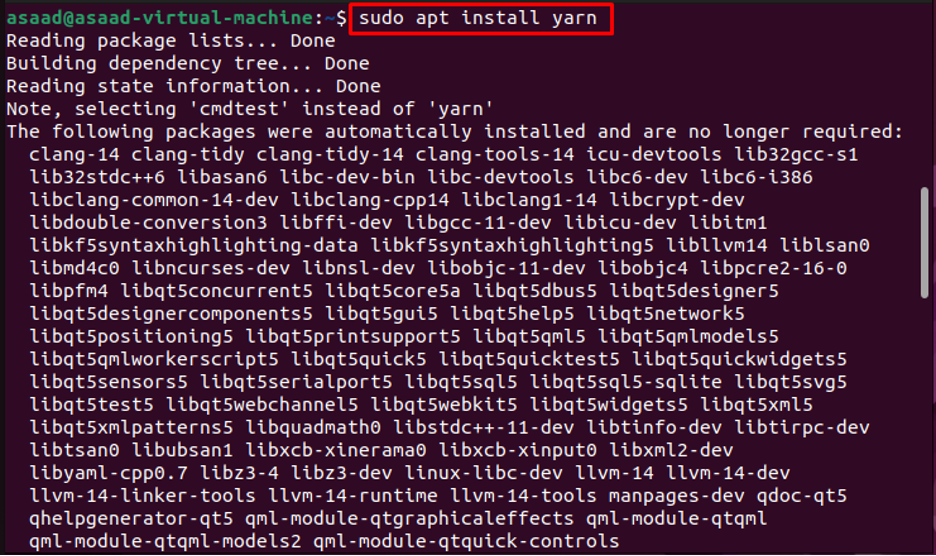
Step 2: Once the update command is executed, you can then type in this command to install Yarn on Ubuntu.
Step 3: To verify that the correct version of Yarn has been installed, you can type in the following command:
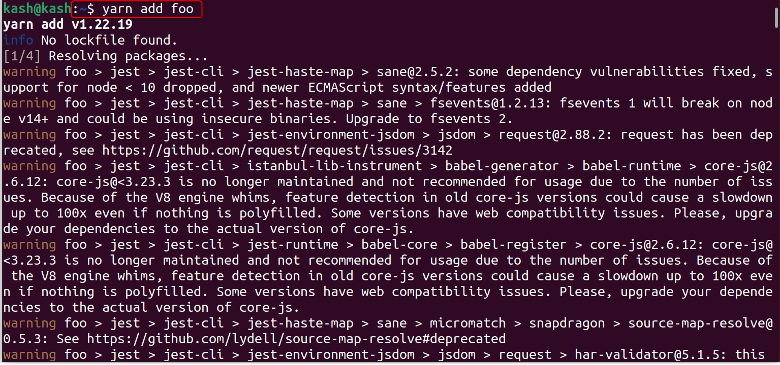
You can add packages using Yarn via this command.
Note: foo is the package name.
Remove Yarn from Ubuntu
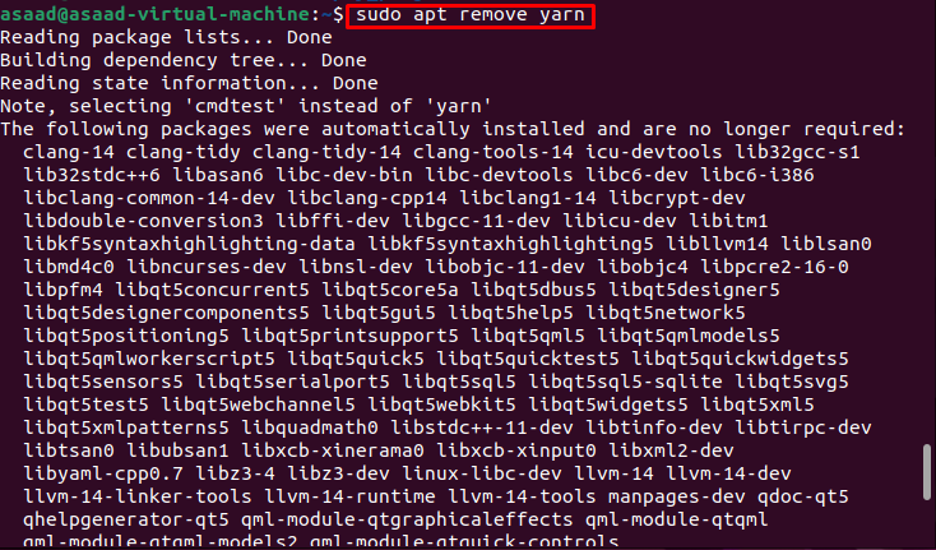
Yarn can be removed from Ubuntu using the ‘apt’ command.
Method 2: Through NPM
Yarn can also be installed in Ubuntu using Node Package Manager (NPM) using these below-given steps.
Step 1: To install Yarn, we need to first make sure that we have NPM and upgrade to its latest version.
Step 2: Execute this command to install Yarn via NPM.
Note: To remove yarn through NPM, just add uninstall in place of install.
Conclusion
Yarn is a powerful and reliable package manager used to install and manage JavaScript libraries and other dependencies. This article has covered the detailed procedure of installing Yarn on Ubuntu operating systems using the apt package manager or NPM. By following the above steps, developers can easily install Yarn on Ubuntu systems using any of the given methods.


