XFCE 4 is the latest version of the XFCE desktop environment at the time of this writing. In this article, I will show you how to install the XFCE 4 desktop environment on Arch Linux. So, let’s get started.
Table of Contents:
- Updating All Packages
- Creating a New User
- Configuring sudo for Newly Created User
- Installing the XFCE 4 Desktop Environment
- Installing a Display Manager
- Login to the XFCE4 Desktop
- Conclusion
- References
Updating All Packages:
Before you install the XFCE 4 desktop environment, it’s a good idea to update all the installed packages of your Arch Linux computer.
To update all the installed packages of Arch Linux, run the following command:
![]()
In my case, all the installed packages are up-to-date:

If you have any updates, you can press Y, and then press <Enter> to confirm the installation of updates.
Creating a New User:
Arch Linux does not create an ordinary user by default when you install Arch Linux on your computer. I highly recommend not running a graphical user interface as the root user.
So, create a new user <username> with the following command:
NOTE: In my case, <username> is shovon. Make sure to replace <username> with your desired username from now on:
![]()
To set a password for the newly created user <username>, run the following command:
![]()
Type in your desired login password and press <Enter>.

Type in your desired login password again and press <Enter>.
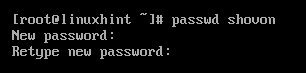
Your desired login password should be set:

Configuring sudo for Newly Created User:
Even when using an ordinary user, you will still need superuser privileges to run administrative commands. So, you should configure your user with sudo. This way, the user can run commands with superuser privileges when needed.
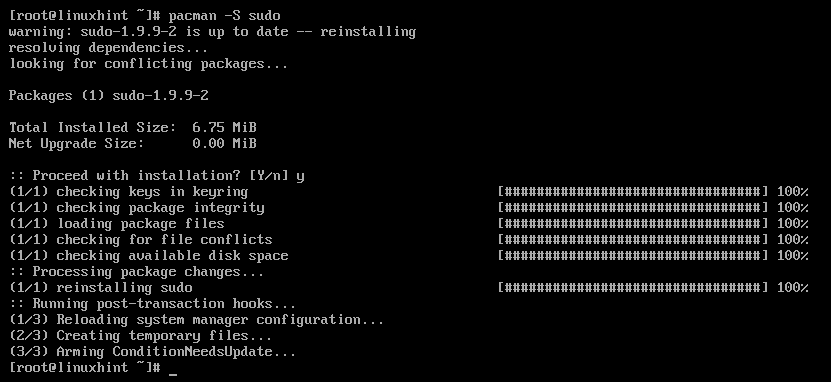
To install sudo, run the following command:
![]()
To confirm the installation, press Y and then press <Enter>.
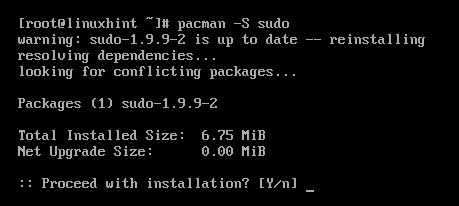
sudo should be installed:
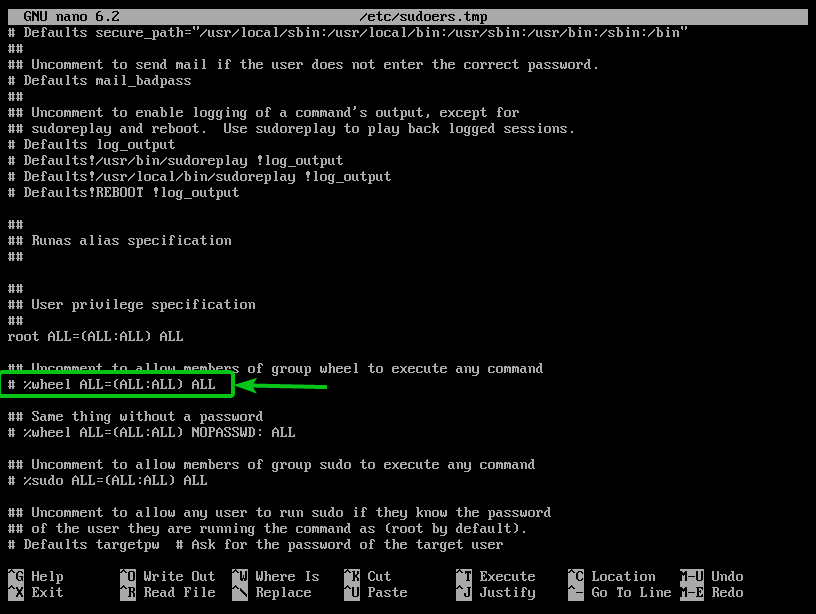
To configure sudo, run the following command to open the sudoers file with the nano text editor:
![]()
NOTE: You may not have the nano text editor installed. In that case, you can install nano with the following command:
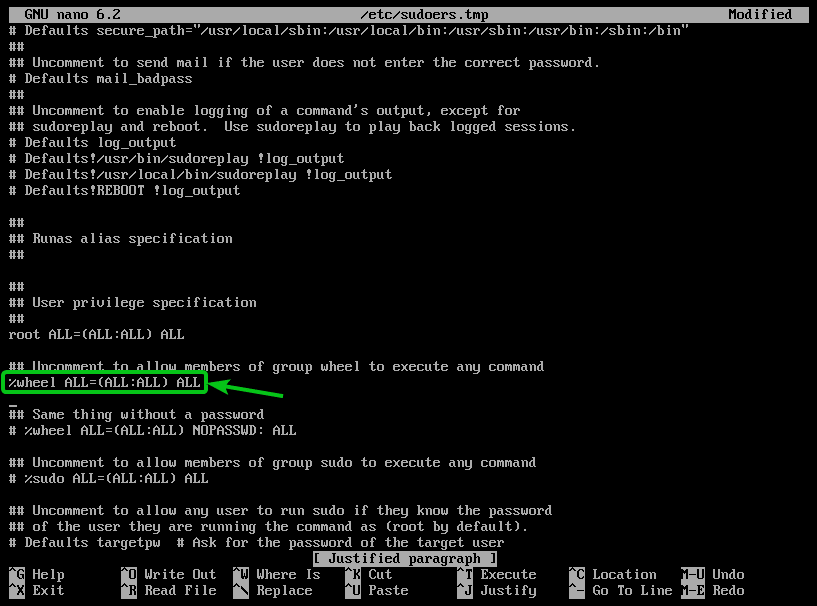
Find the marked line.
Remove the # sign from the beginning of the line to uncomment it. Once you’re done, press <Ctrl> + X followed by Y and <Enter> to save the sudoers file.
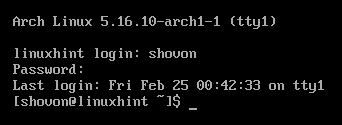
Now, add the newly created user <username> to the wheel group as follows:
![]()
Next, you should be able to log in as your newly created user, as you can see in the screenshots below:
![]()
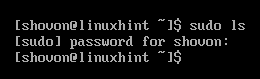
You should be able to run commands with superuser privileges with sudo:
Installing the XFCE 4 Desktop Environment:
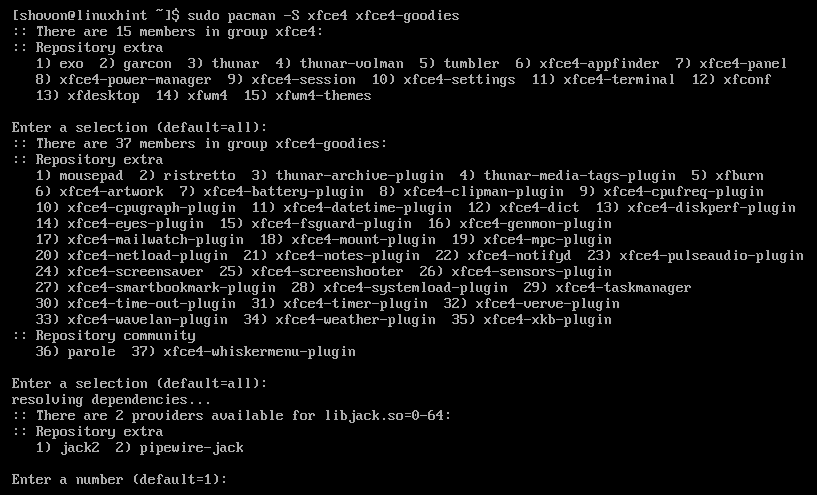
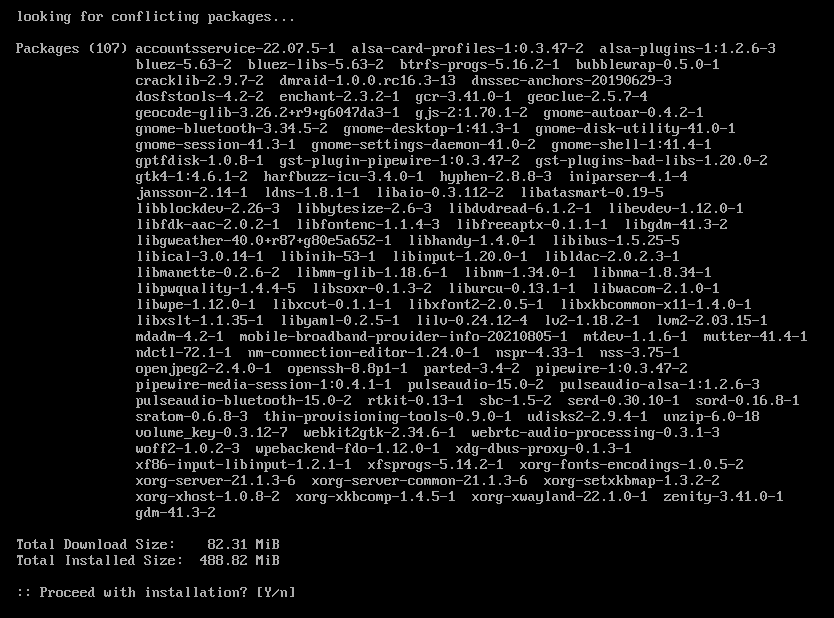
To install the XFCE 4 desktop environment, run the following command:
![]()
Press <Enter>.

Press <Enter>.
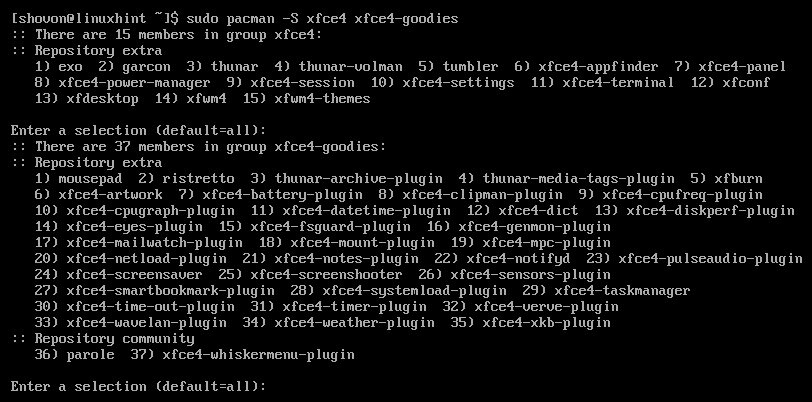
Press <Enter>.
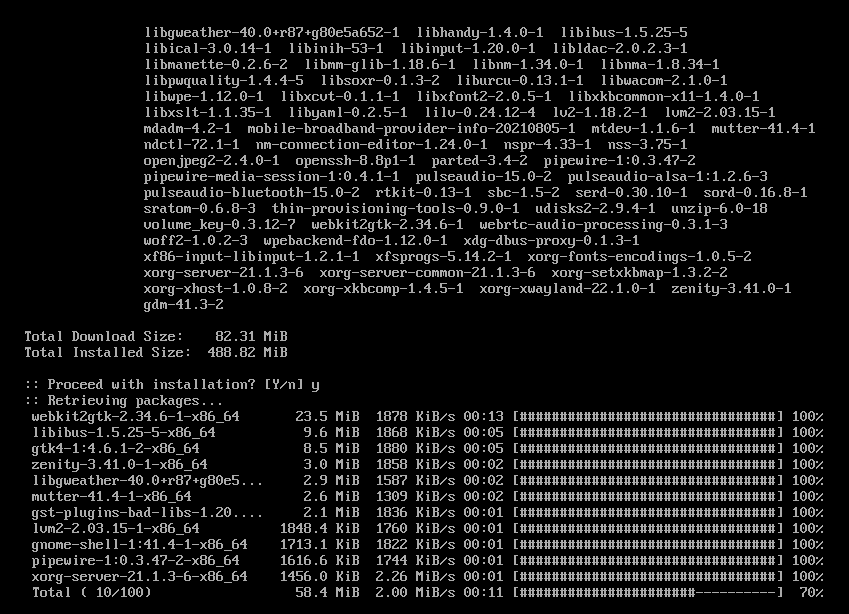
To confirm the installation, press Y and then press <Enter>.
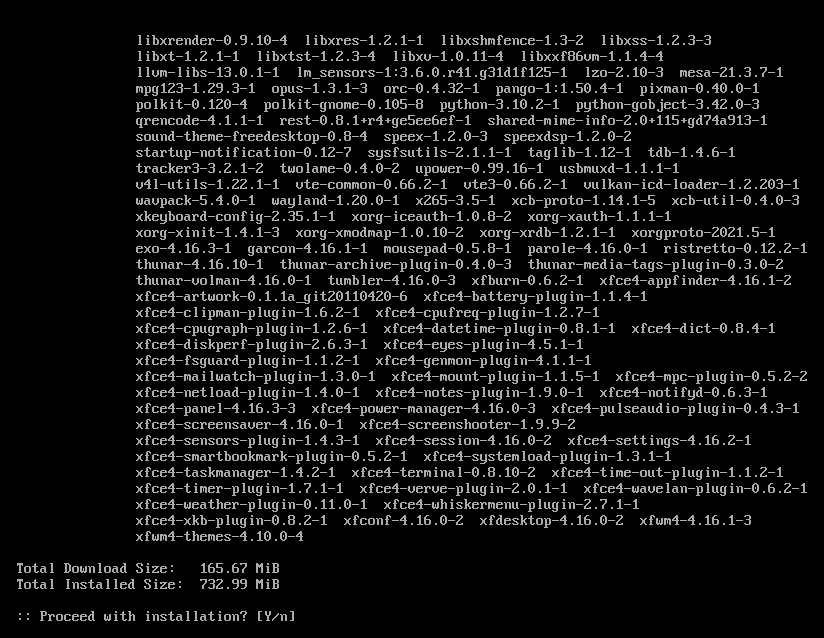
The Pacman package manager will download and install the XFCE 4 desktop environment and the required dependencies. It will take a while to complete.

At this point, the XFCE 4 desktop environment should be installed.

Now, set graphical.target as the default target as follows:

Installing a Display Manager:
Now that you have installed the XFCE 4 desktop environment, you will need a display manager installed. There are many display managers available for Linux. In this article, I will show you how to install the GDM display manager.
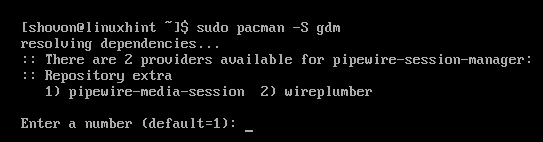
To install the gdm display manager, run the following command:
![]()
Press <Enter>.
Press Y and then press <Enter> to confirm the installation.
GDM and all the required dependency packages will be downloaded and installed. It will take a while to complete.
At this point GDM should be installed:
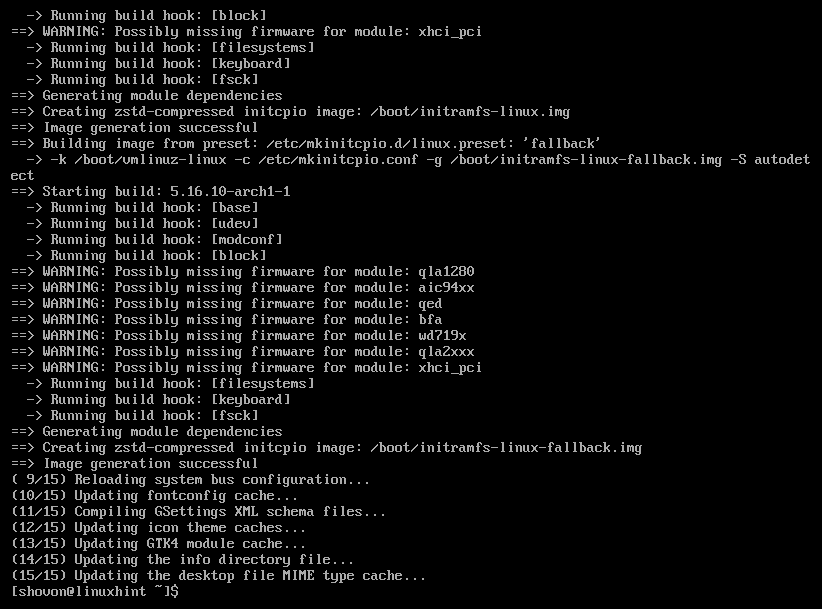
Add the gdm service to the system startup so that it automatically starts at boot time as follows:

Reboot your computer with the following command:
![]()
Log in to the XFCE 4 Desktop:
Once your computer boots, you will see the GDM login screen.
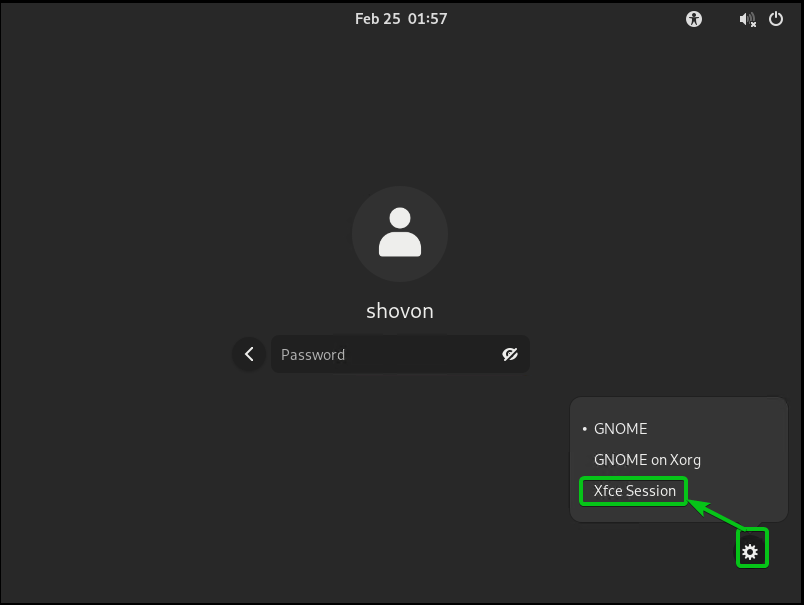
Click on the user that you want to log in as:
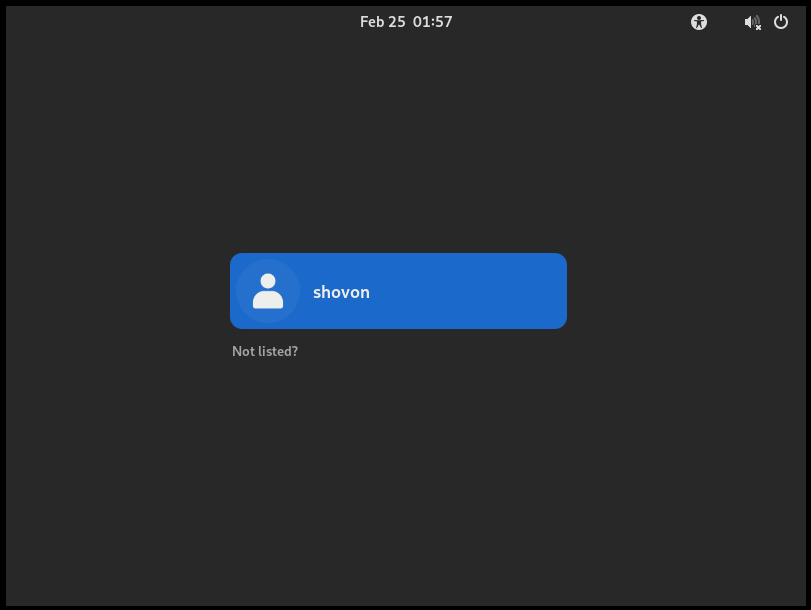
Click on the gear icon (![]() ) and select Xfce Session as marked in the following screenshot:
) and select Xfce Session as marked in the following screenshot:
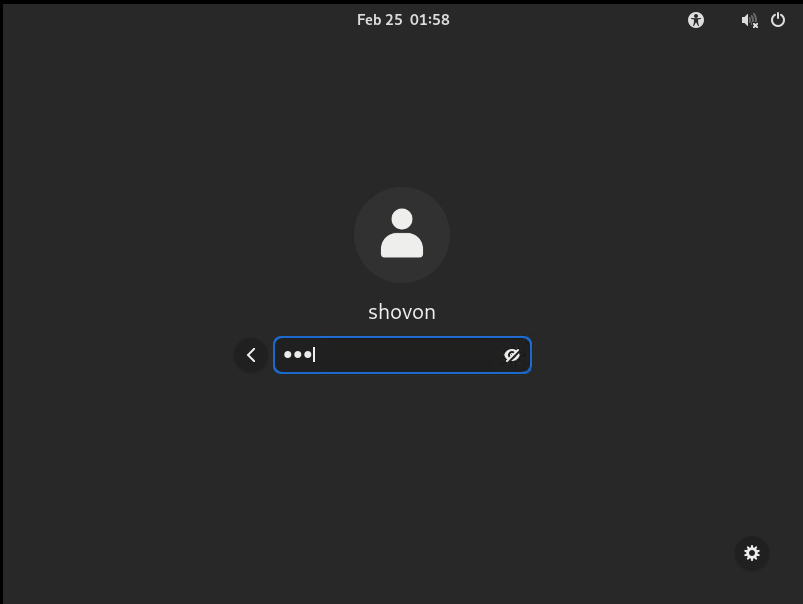
Type in your login password and press <Enter>.
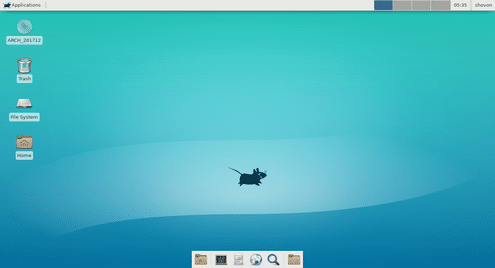
You should be logged in to the XFCE 4 desktop environment.
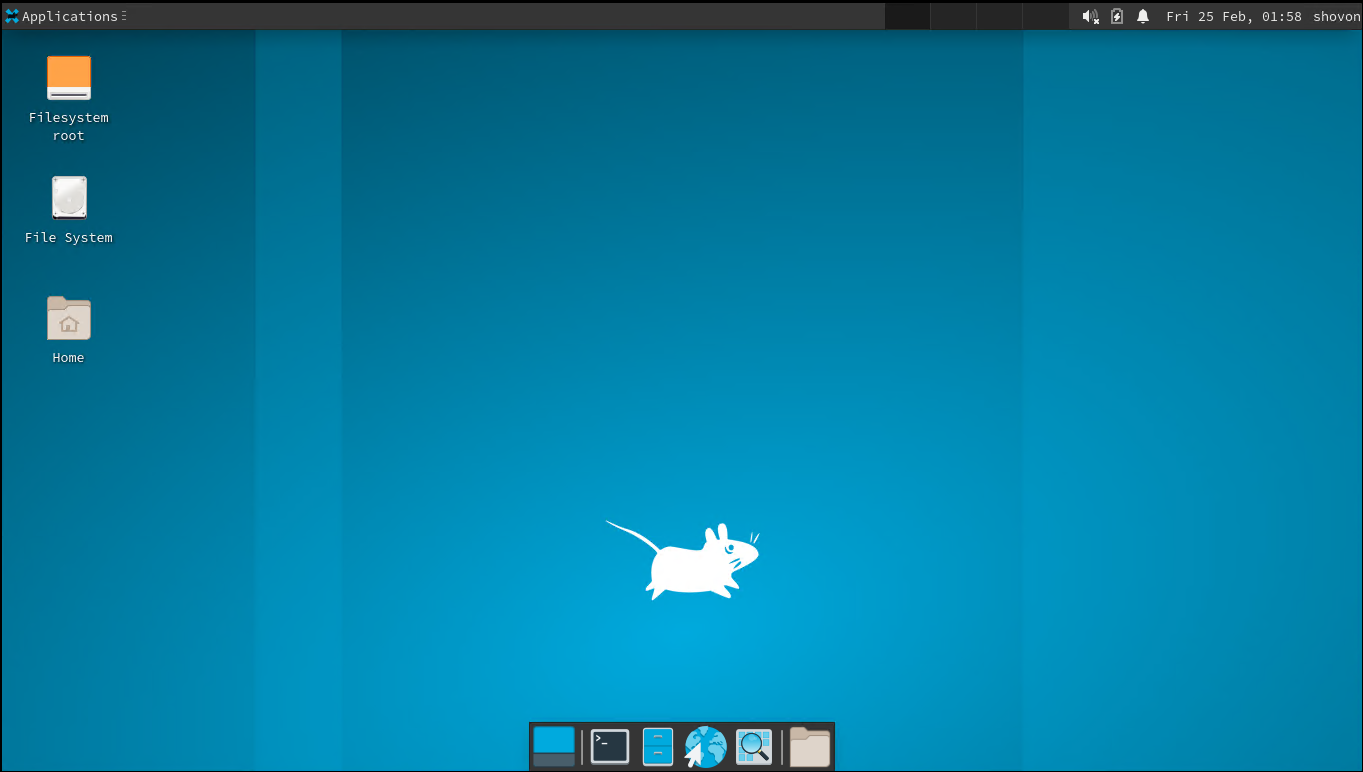
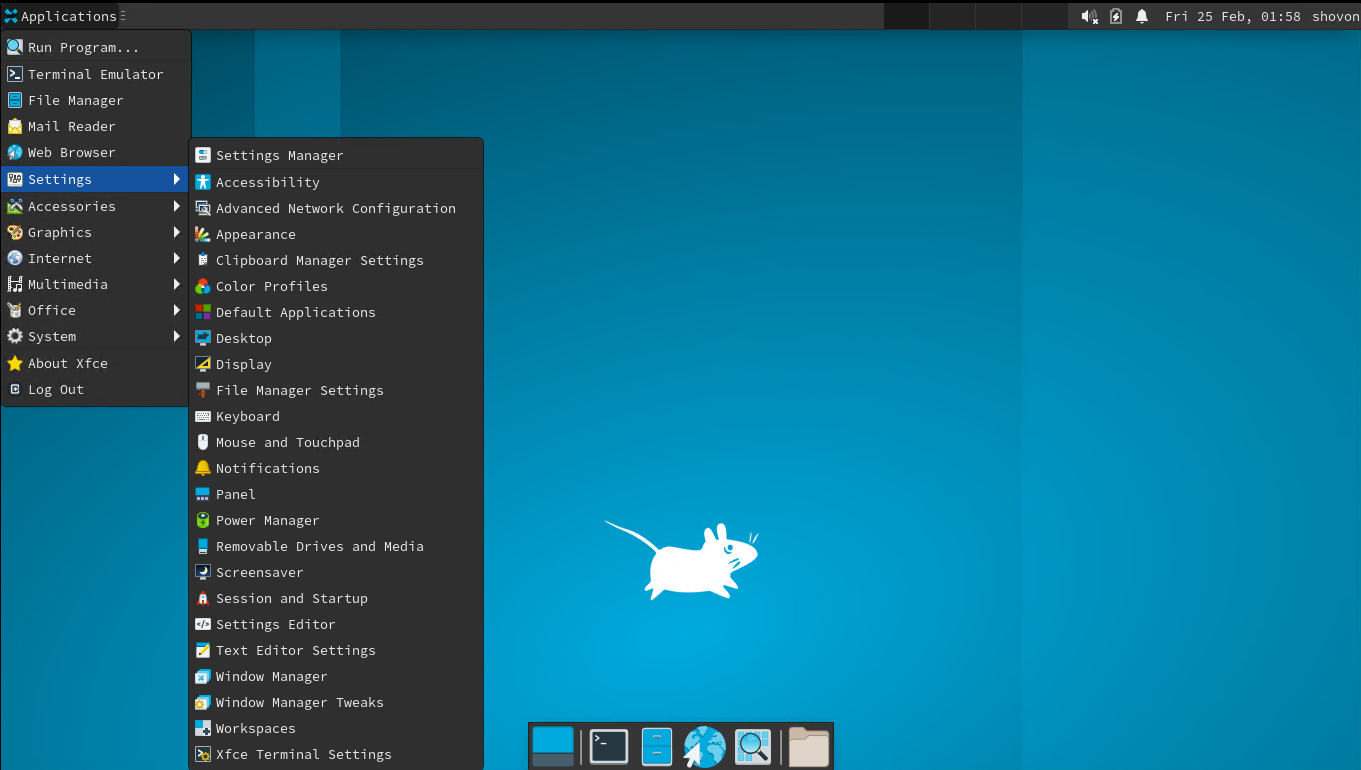
The following image shows the user interface of the XFCE 4 desktop environment:
Conclusion:
This article discussed creating a new ordinary user and configuring it with sudo on Arch Linux. Also, we focused on how to install XFCE 4 desktop environment and the GDM display manager on Arch Linux. We hope you found this article helpful. Check the other Linux Hint articles for more tips and information.