
” player-type=”collapse” override-embed=”true”]
XAMPP is an acronym for Apache, MariaDB, PHP, and Perl. It is one of the most popular Apache Friends products. It’s a cross-platform software that is designed in a way to reduce the development time for developers. Developers can easily focus on their work as they don’t need to resolve dependencies conflicts of different components of a development environment. If a project needs only PHP and MYSQL, you can install the lite version of XAMPP. It uses MariaDB, which is actually a fork of MySQL.
One can also use WordPress, Joomla, and other applications on top of XAMPP. This will require Bitnami modules.
The official website of XAMPP has installer applications for different systems that will run on almost all major Linux distributions.
What will we cover?
In this guide, we will see how we can install XAMPP on Ubuntu 20.04. Let us get started with the installation process.
Step 1. First, head to the Official XAMPP website and download the installer corresponding to Linux:
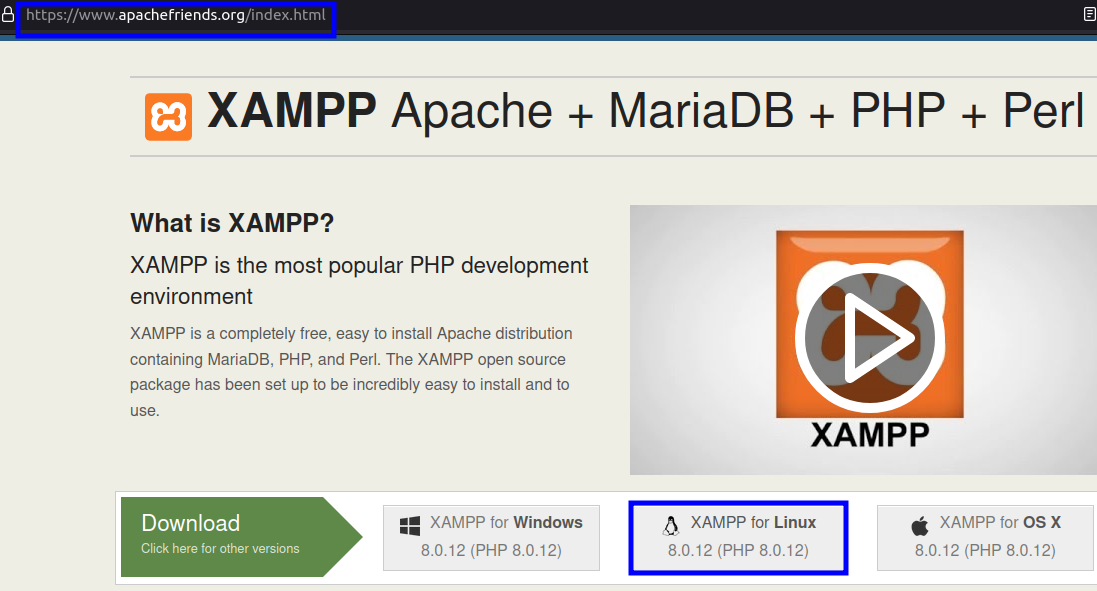
The installer will mention the version of PHP(in our case, it 1s 8.0.12) it is bundled with. Old versions of PhP are also available with XAMPP. To view the complete list of various PHP versions, click here.
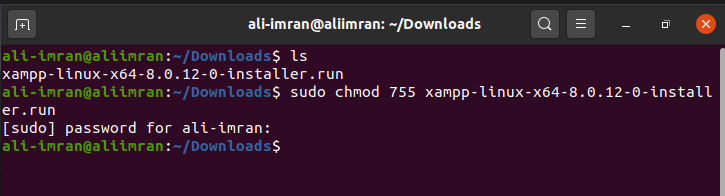
Step 2. Once the installer is downloaded, open the folder containing the file in a terminal.
Step 3. Assign appropriate permission to the installer using the ‘chmod’ command. This will set the installer executable:
The ‘755‘ permission will let every user read and write the file, but the owner will own the execution right. Use the ‘ls -l’ command to list the file permission.
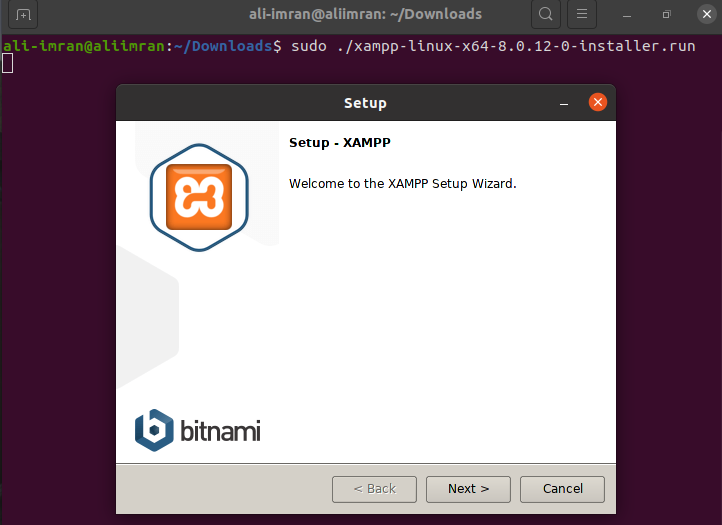
Step 4. After the above steps, we can launch the installer using the command:
Step 5. A graphical wizard will open up when you run the above command. On this welcome window, click next to move forward:
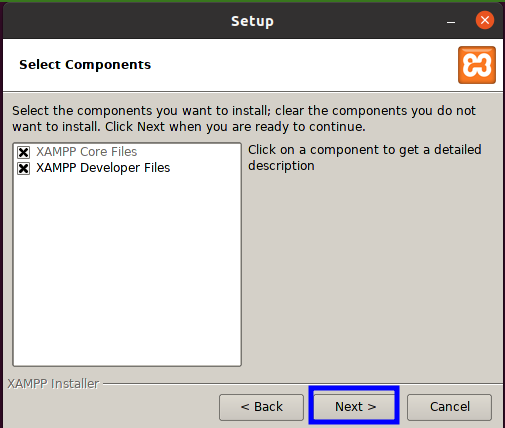
Step 6. On the next screen, you will see two components: ‘XAMPP Core Files’ and ‘XAMPP Developer Files’. By default, both components are selected. It is always a good idea to use the default settings. Now click the next button:
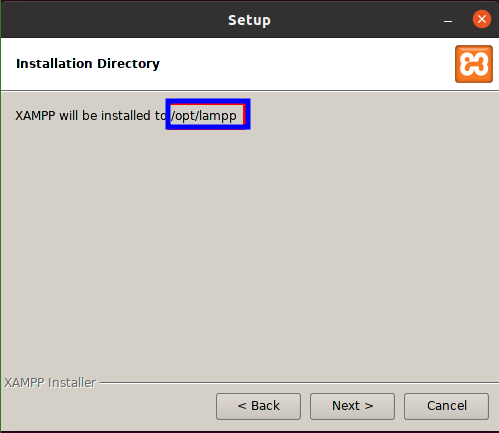
Step 7. The installation wizard will now show the path of installation. This directory is usually ‘/opt/lampp’ on Linux, as shown below:
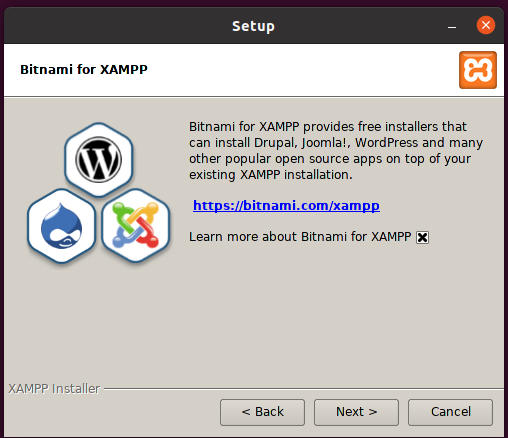
Step 8. The installer will display various bitnami modules like Joomla, Drupal, WordPress, etc. These can be used on top of XAMPP. Now continue to the next step by hitting the next button:
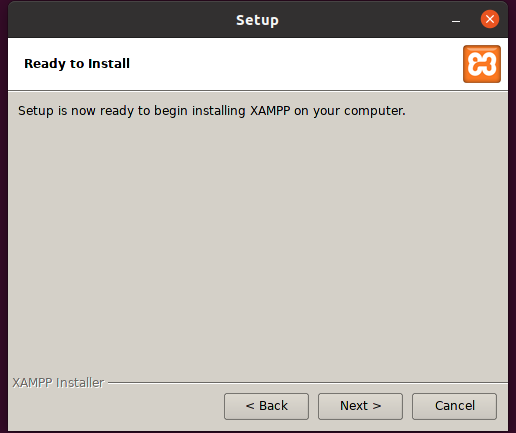
Step 9. On the next screen, you will see the message “Setup is now ready to install XAMPP on your computer”. Just click next to get started with installation:
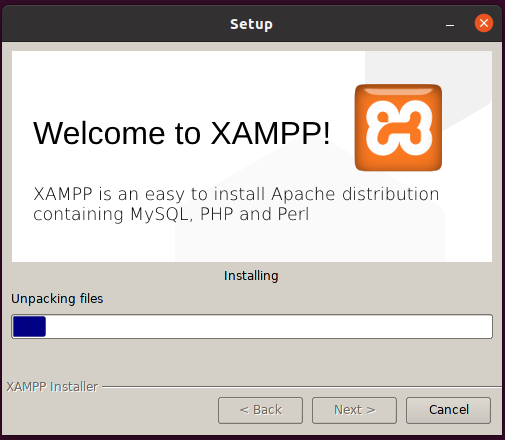
Step 10. The installer will now start unpacking the files, and the installation process will go on.I t will take some time to complete:
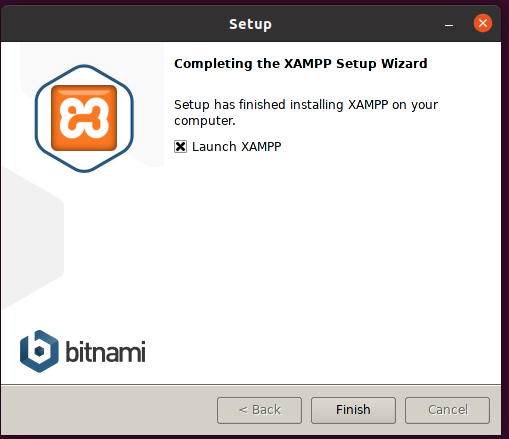
Step 11. An installation completion message will appear at the end of the installation process. XAMPP can be launched right now by clicking the finish button.
If you want to do it later, then uncheck the ‘Launch XAMPP’ label and hit the finish button:
Step 12. We can also start the XAMPP from the command lineA by running:
In the same way, XAMPP can be stopped using the above command as:
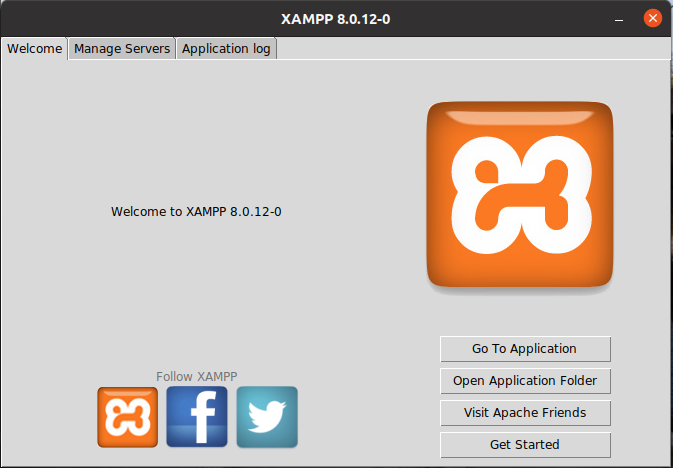
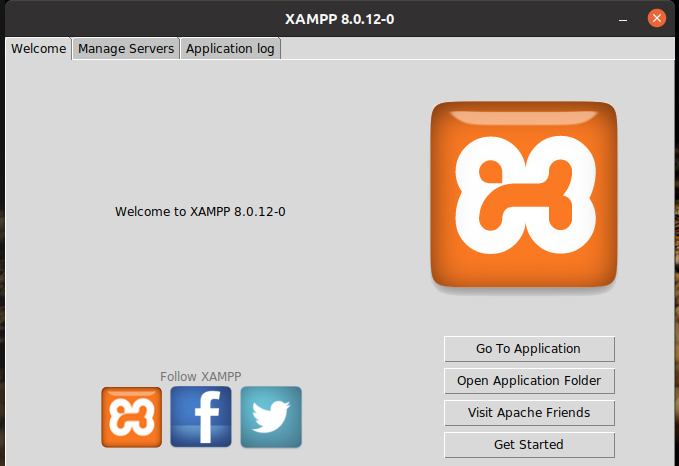
Step 13. After step 12, a graphical manager for XAMPP will appear:
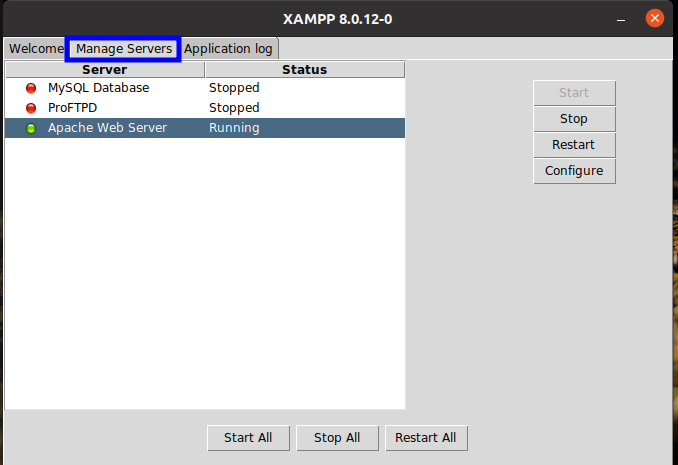
Now go to the ‘Manage Servers’ tab. From here, one can control (start or stop) different XAMPP services:
Launching the XAMPP GUI
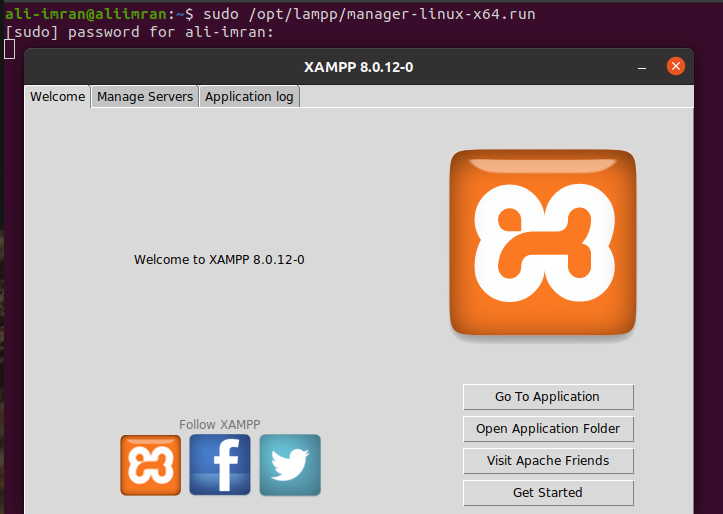
After closing the XAMPP window, we can again start the graphical interface for XAMPP using the command:
Making a Desktop Launch Icon
It’s very helpful to make a desktop shortcut for launching the XAMPP. This will facilitate easy management of services. To make a desktop launcher, do the steps below:
1. Open your favorite text editor and paste the below text into it:
[Desktop Entry]
Name=XAMPP GUI
Type=Application
Exec=sh -c "pkexec env DISPLAY=$DISPLAY XAUTHORITY=$XAUTHORITY sudo /opt/lampp/manager-linux-x64.run"
Terminal=false
Icon=/opt/lampp/htdocs/favicon.ico
Terminal=false
2. Now save the file on the Desktop and name it as “xampp.desktop”.
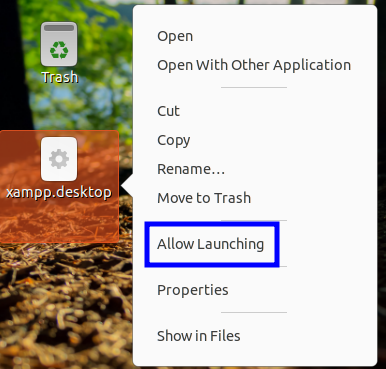
3. Navigate to the Desktop and right-click the xampp.desktop icon. In the options list, click on ‘Allow Launching’:
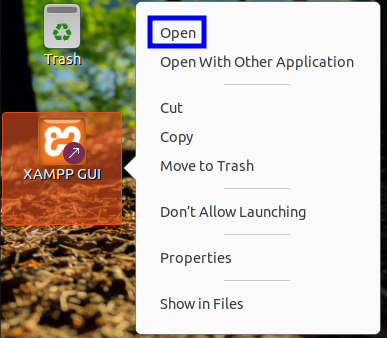
4. XAMPP gui icon should now appear. Again right-click this icon and hit the ‘open’ option:
5. Enter the password for your superuser account:
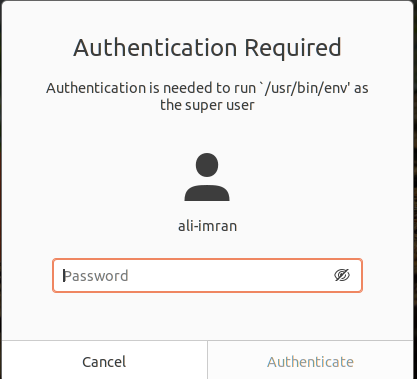
After authentication, we can control the XAMPP from the manager window:
Testing the Setup
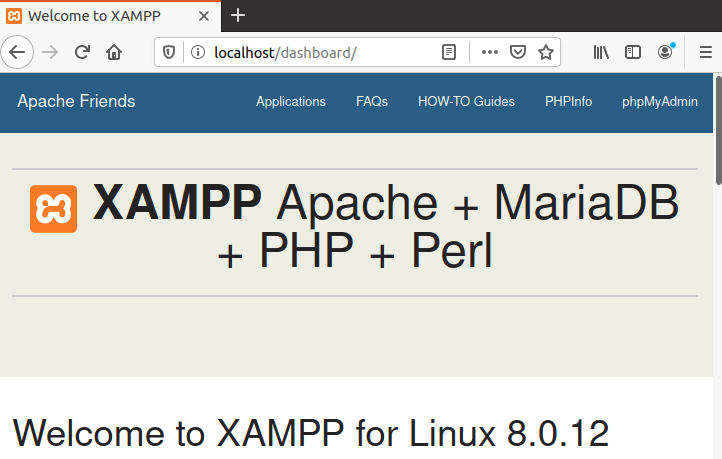
Let us check the XAMPP installation, open the URL http://localhost/dashboard. If you see the below page, it means your installation is successful:
Conclusion
Hopefully, you will have enjoyed this article. After installing XAMPP, you are all set to start testing your projects. Remember that XAMPP should not be used in a production environment because it has many security issues. It is only meant to test a project before actual deployment in a production environment.