The new features of VMware Workstation 17 Pro are:
- Windows 11 guest support
- Fast encryption of VMs (i.e. Windows 11) that uses vTPM
- Autostart support for VMs
- OpenGL 4.3 graphics support for VMs
- Support for new guest OSes, i.e. Windows 11, Windows Server 2022, Ubuntu 22.04 LTS, Debian 11, RHEL 9, SUSE/OpenSUSE 15
In this article, we will show you how to install the VMware Workstation 17 Pro on Ubuntu 22.04 LTS.
Table of Contents:
- Downloading VMware Workstation 17 Pro
- Preparing the System for Installation
- Installing VMware Workstation 17 Pro
- Opening VMware Workstation 17 Pro for the First Time
- Activating VMware Workstation 17 Pro
- Conclusion
Downloading VMware Workstation 17 Pro
To download the VMware Workstation 17 Pro installer, open a browser of your choice and visit Windows VM | Workstation | VMware.
Once the page loads, scroll down a little and click on DOWNLOAD TRIAL from the Try Workstation 17 Pro section.

Scroll down a little and click on DOWNLOAD NOW from the Workstation 17 Pro for Linux section.

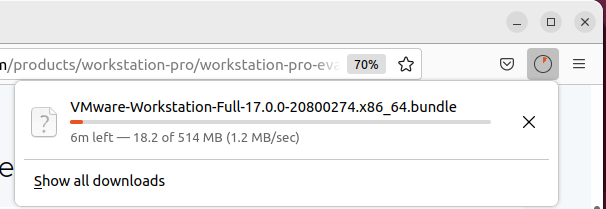
Your browser should start downloading the VMware Workstation 17 Pro installer. It takes a while to complete.
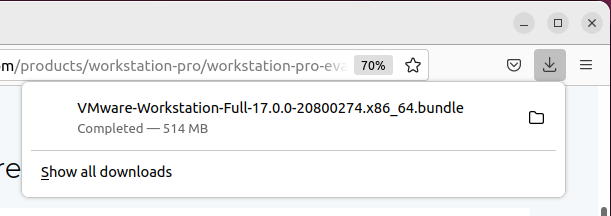
The VMware Workstation 17 Pro installer should be downloaded at this point.
Preparing the System for Installation
For the VMware Workstation 17 Pro dependencies to be resolved and the kernel modules to be compiled, you need to install the necessary build tools and kernel headers on Ubuntu 22.04 LTS.
First, update the APT package repository cache with the following command:

The APT package repository cache should be updated.

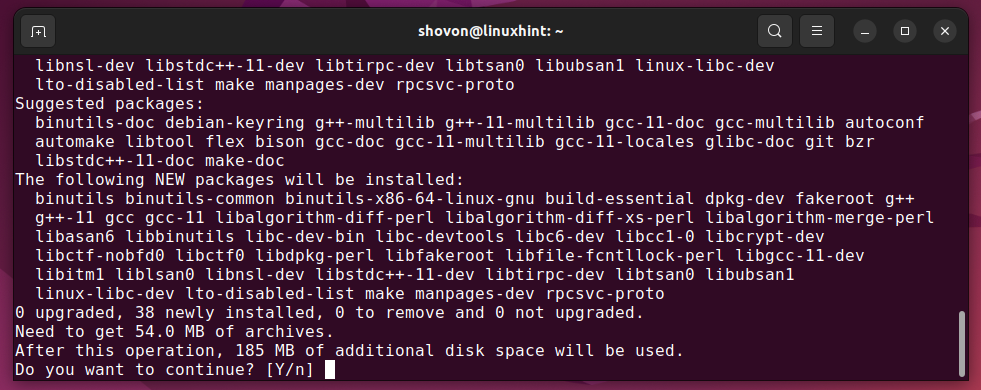
To install the necessary build tools and kernel headers on Ubuntu 22.04 LTS, run the following command:

To confirm the action, press Y and then press <Enter>.
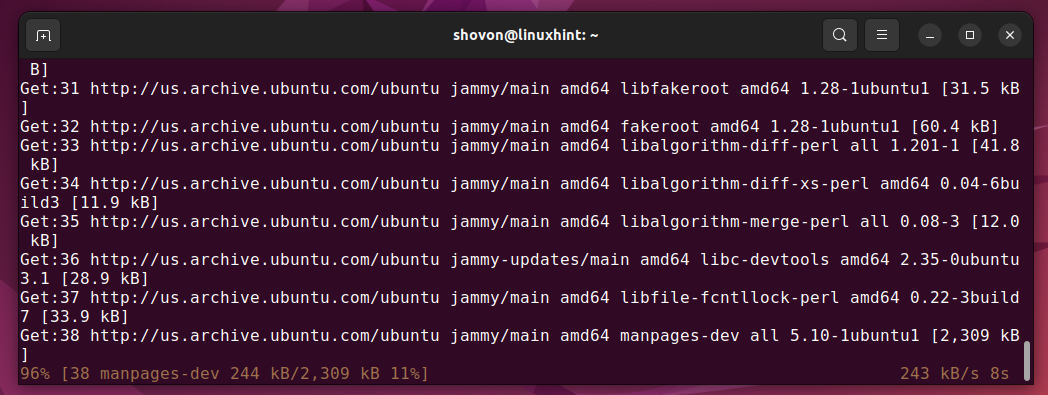
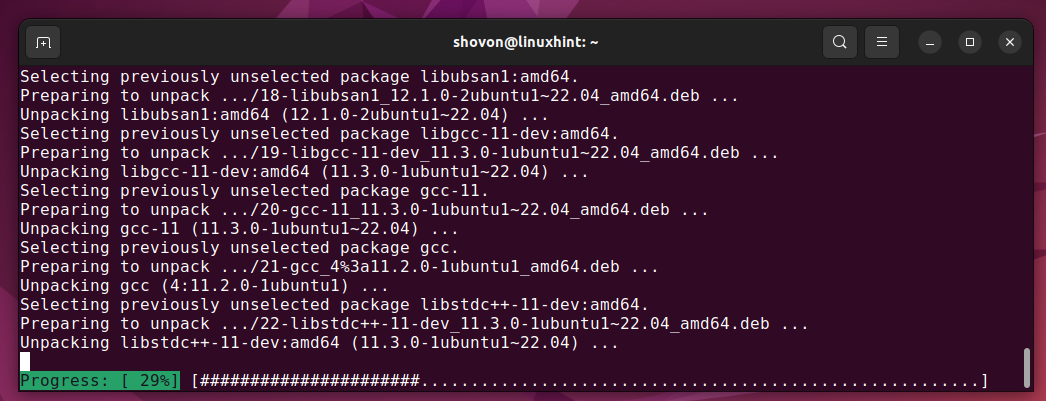
All the required packages are being downloaded. It takes a while to complete.
The downloaded packages are being installed. It takes a while to complete.
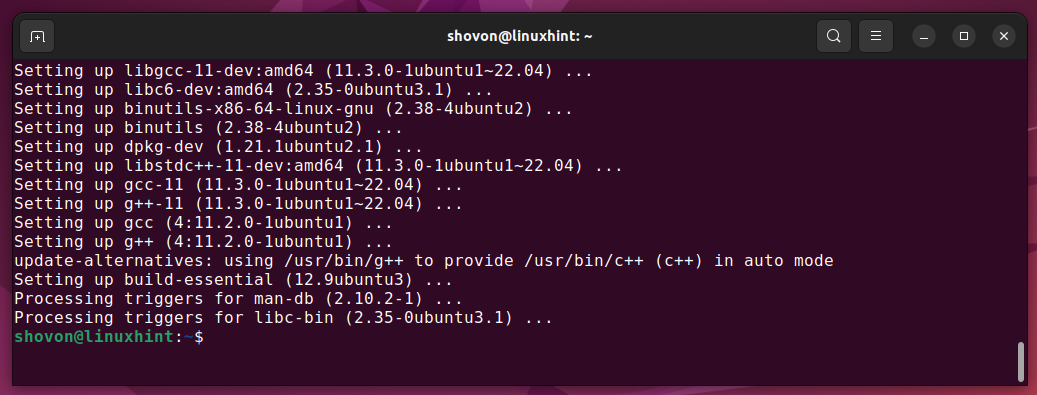
At this point, all the required packages should be installed.
Installing VMware Workstation 17 Pro
The VMware Workstation 17 Pro installer should be downloaded in the ~/Downloads directory of your Ubuntu 22.04 LTS machine.
Navigate to the ~/Downloads directory as follows:
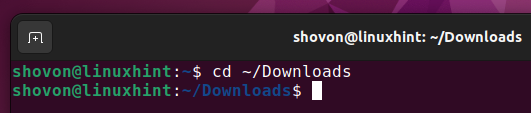
You should find the VMware Workstation 17 Pro installer here:

Add the execute permission to the VMware Workstation 17 Pro installer file as follows:

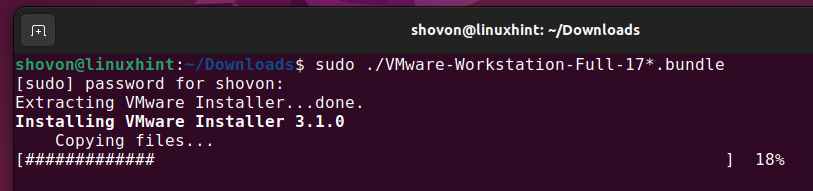
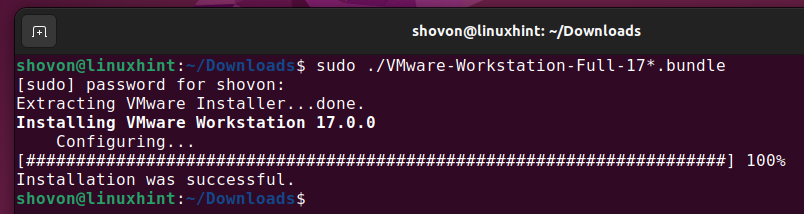
Run the VMware Workstation 17 Pro installer with root/superuser privileges as follows:

The VMware Workstation 17 Pro is being installed. It takes a few seconds to complete.
The VMware Workstation 17 Pro should be installed at this point.
Opening VMware Workstation 17 Pro for the First Time
Once the VMware Workstation 17 Pro is installed, you may have to compile the VMware Workstation 17 Pro kernel modules and do some initial configuration.
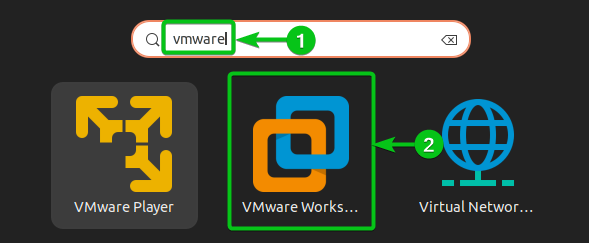
To open the VMware Workstation 17 Pro, search with the vmware[1] keyword and click on the VMware Workstation 17 Pro icon[2] from the Application Menu of Ubuntu 22.04 LTS.
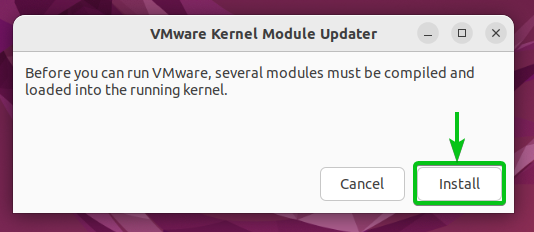
You may be prompted to compile the VMware Workstation 17 Pro kernel modules.
Click on Install.
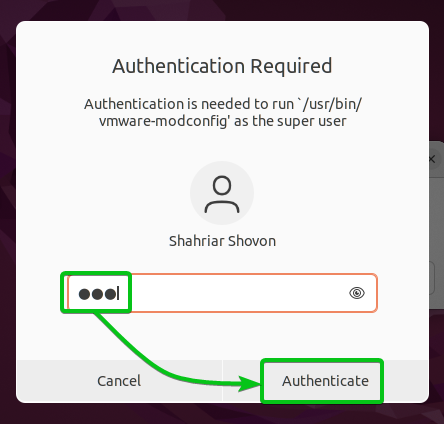
Type in your login password and click on Authenticate.
The VMware Workstation 17 Pro kernel modules are being compiled. It takes a few seconds to complete.

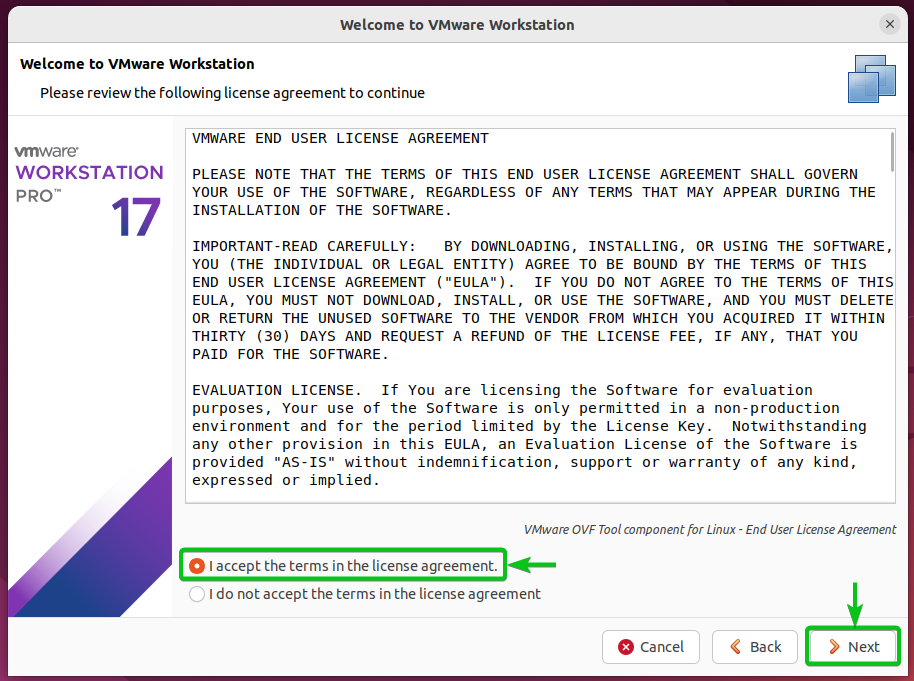
Once the VMware Workstation 17 Pro kernel modules are compiled, you will see the following window:
Select “I accept the terms in the license agreement” and click on Next.

Select “I accept the terms in the license agreement” and click on Next.
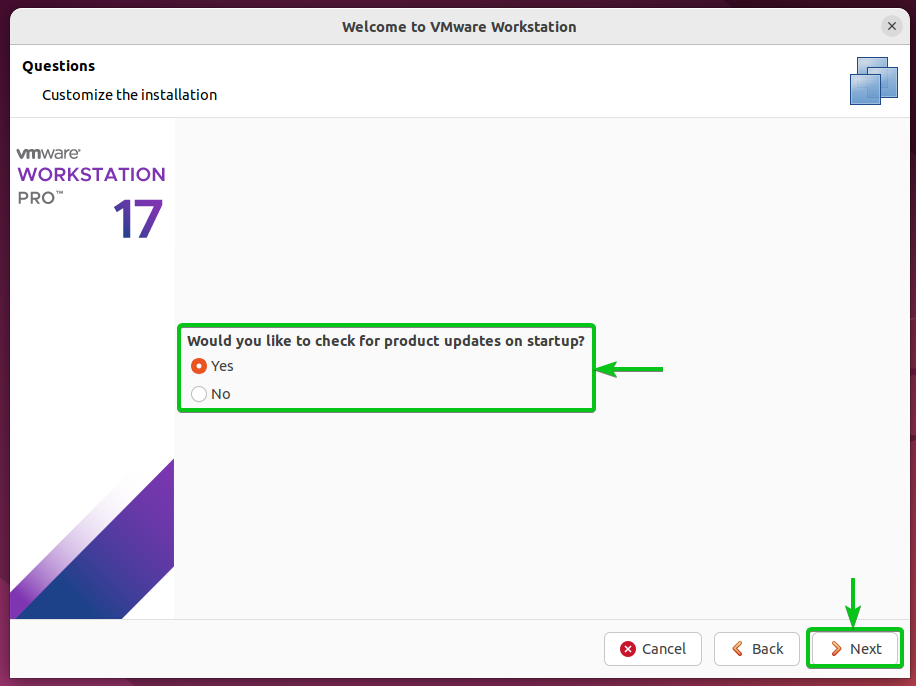
If you want the VMware Workstation 17 Pro to check for updates when you open the VMware Workstation 17 Pro, select Yes. Otherwise, select No.
Once you’re done, click on Next.
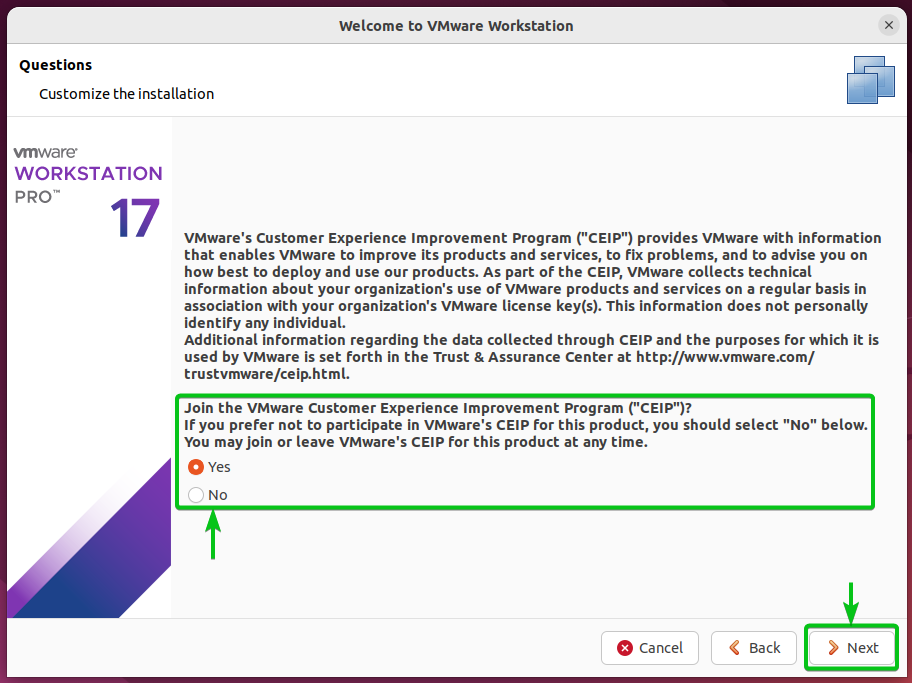
If you want to join the VMware Customer Experience Improvement Program (CEIP) which sends the usage stats to VMware so VMware can improve its products, select Yes. Otherwise, select No.
Once you’re done, click on Next.
You can buy a license key for VMware Workstation 17 Pro from the official website of VMware and activate the VMware Workstation 17 Pro with the license key.
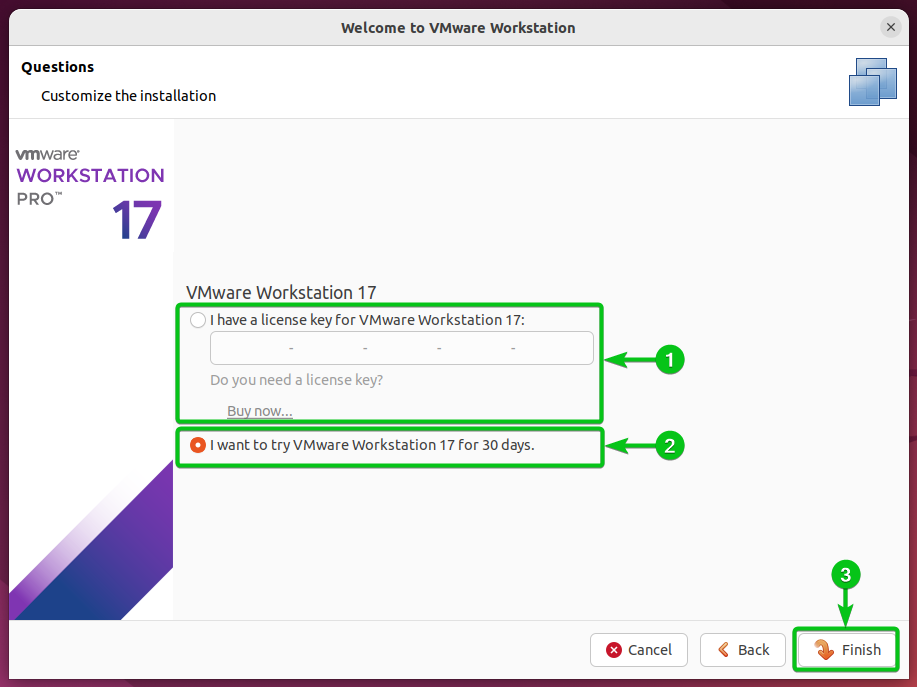
To activate the VMware Workstation 17 Pro, select “I have a license key for VMware Workstation 17” and type in the license key[1].
If you want to try out the VMware Workstation 17 Pro for 30 days before deciding whether you want to purchase a license key, select “I want to try VMware Workstation 17 for 30 days[2]”.
Once you’re done, click on Finish[3].
Type in your login password and click on Authenticate.

Click on OK.
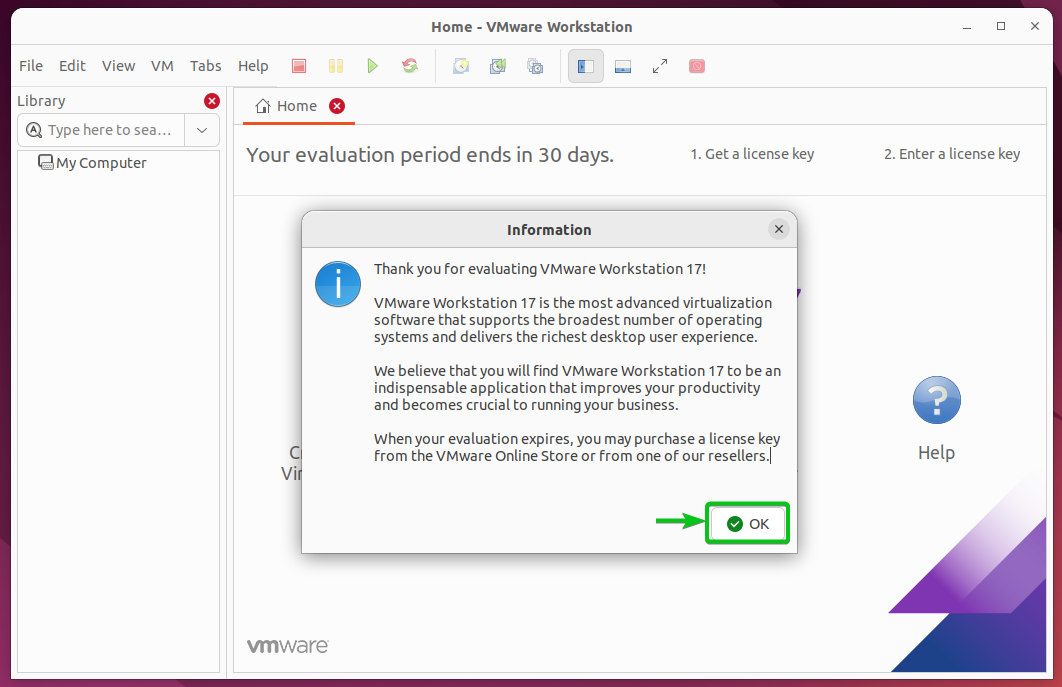
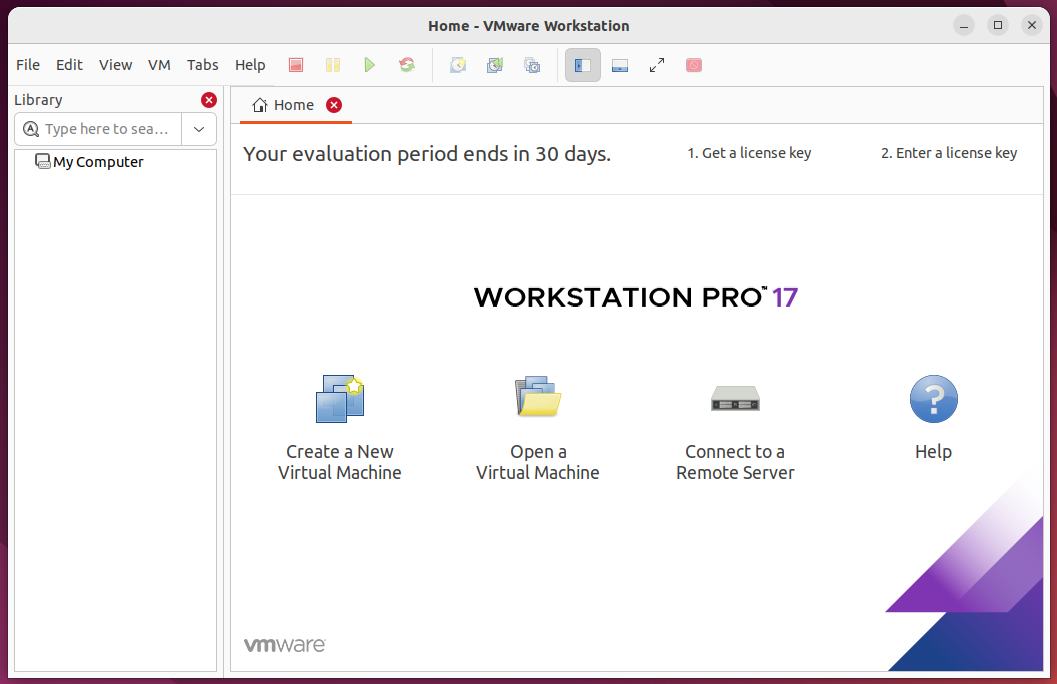
The VMware Workstation 17 Pro should be ready to use.
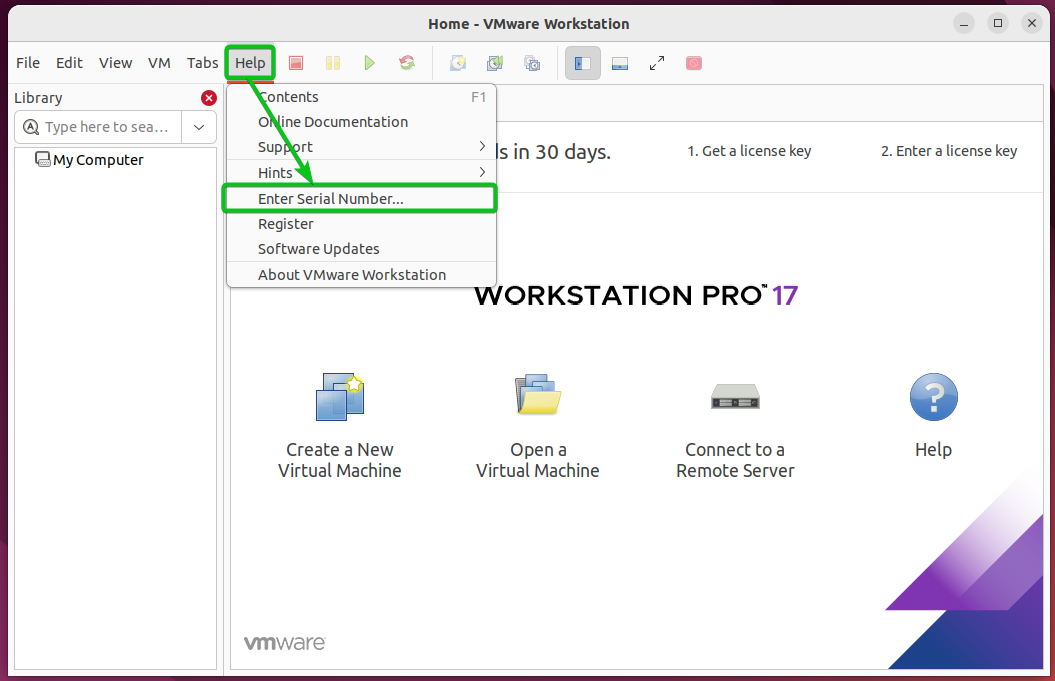
Activating VMware Workstation 17 Pro
If you want to activate the VMware Workstation 17 Pro later, open the VMware Workstation 17 Pro and click on Help > Enter Serial Number.
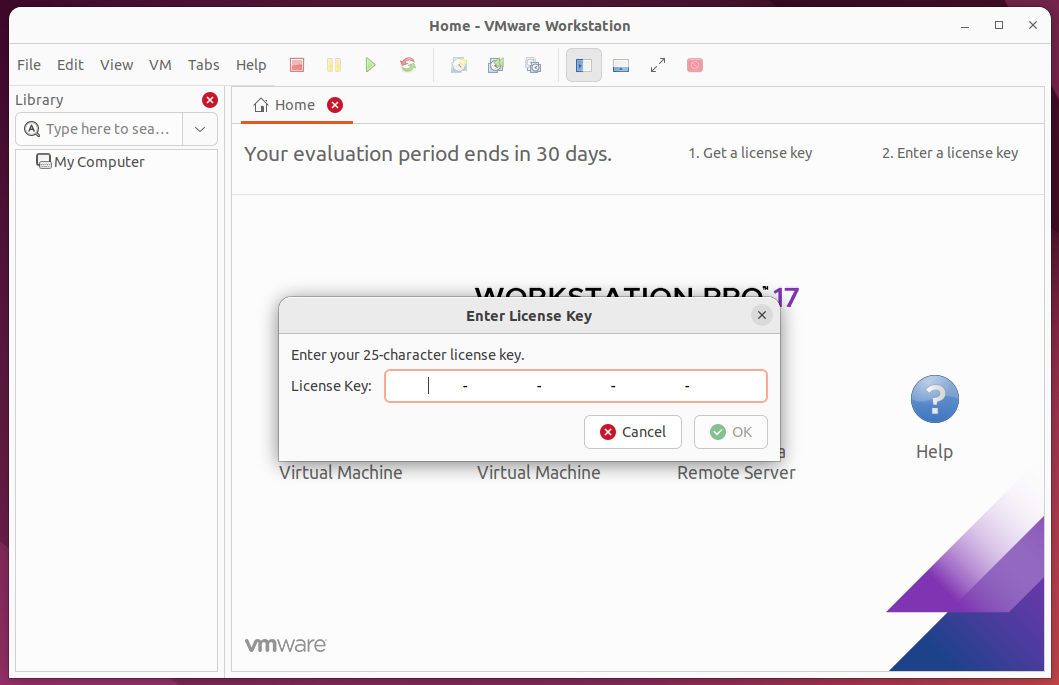
Type in a License Key and click on OK. The VMware Workstation 17 Pro should be activated.
Conclusion
In this article, we showed you how to install the VMware Workstation 17 Pro on Ubuntu 22.04 LTS. We also showed you how to compile the VMware Workstation 17 Pro kernel modules on Ubuntu 22.04 LTS.