Visual Studio Code is a free code editor which is developed by Microsoft and can be used on multiple platforms such as Linux, Windows, and Mac OS. It is a powerful tool that helps to debug code, run tasks, and enable version control. It has many features that make it stand out from other code editors such as refactoring, syntax highlighting, automatic code completion, snippets, and many more.
The Visual Studio can be installed on Ubuntu 22.04 using two methods which have been discussed in this blog.
Installation of Visual Studio code by adding repository and key
Installing the code editor on Ubuntu 22.04 operating system involves running a series of commands on the terminal. Here we have summed up all these commands for you.
Step 1: Update the system
Updating your system before installing anything is considered a good practice, therefore, you can use the following command to perform this action.
Output

The system has been updated and upgraded.
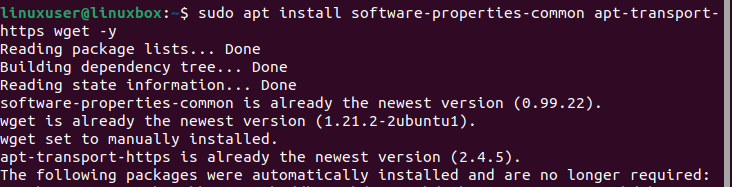
Step 2: Install packages
Now once the system is updated there are certain packages that need to be installed on your system before you install the editor.
Output
Step 3: Import repository
After installing the packages, the next step is to include the Visual Studio Code repository but before that Microsoft GPG key needs to be imported to authenticate the packages installed.
Output
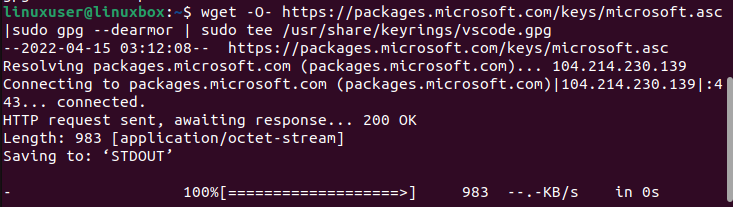
This will validate the originality of the packages installed. Now let’s move towards including the Microsoft Visual Source repository.
Output

Step 4: Update the system again
After installing the packages, and importing the repository, updating your operating system is recommended.
Output

System updated successfully.
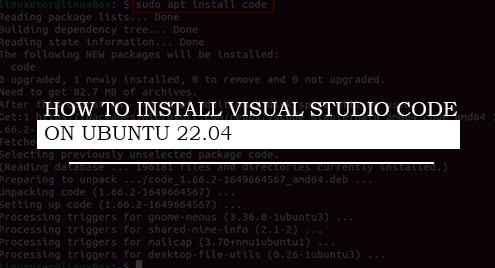
Step 5: Install the editor
Now simply run the below-given command on the terminal to install Visual Studio Code Editor.
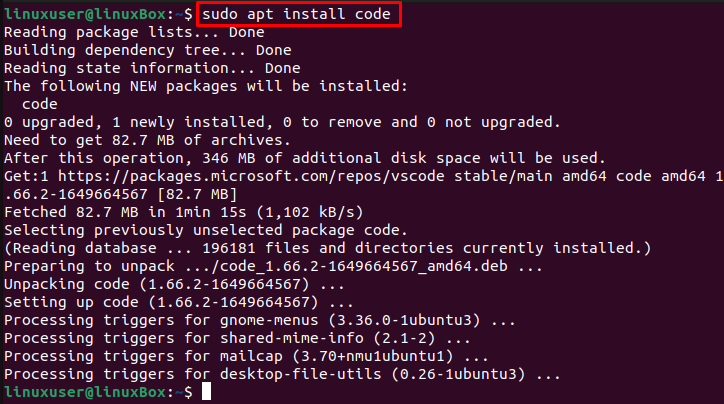
The Visual Studio code is successfully installed on Ubuntu 22.04.
How to Launch the app
Run this command to start the application.
Or,
Apart from this, to launch VS code on Ubuntu, open the Application menu and search for code:

Now click on the icon to launch the app.

You can now open the new file and start writing your code.
Installing Visual Studio Code through Snap store
To install Visual Studio code through Snap store on Ubuntu, simply execute the command:
Output
![]()
The editor has been installed successfully.
Snap is already installed on Ubuntu 22.04 by default. However, if you do not have snap due to any reason, you can install it using the command given below:

How to Uninstall Visual Studio code on Ubuntu 22.04
If you have installed Visual Studio Code by adding the repository and key then you can uninstall it using the command typed below:
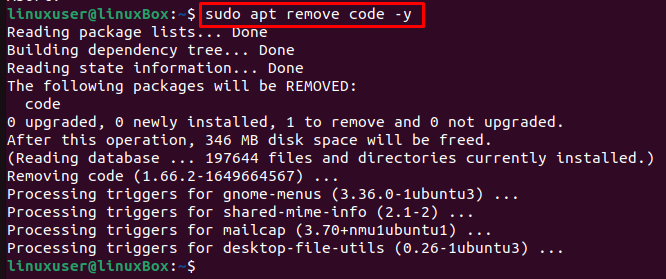
If you have installed Visual Studio Code from the snap store then run the command given below:
Output
![]()
The editor has been uninstalled.
Conclusion
Installing Visual Studio Code on Ubuntu 22.04 requires you to install certain packages using the command and then import Microsoft GPG and VS repository using commands. Moreover, this app can be installed using the snap store. This tutorial provides a detailed guide on how to install, launch, and uninstall Visual Studio Code from Ubuntu 22.04 LTS (Jammy Jellyfish).