Vim is a highly customized and versatile editor, which makes it appealing to users who require a high level of control and customization in their text editing environment. Several features meant to improve keyboard efficiency help with text input. Users can use “key mappings,” which can be changed and extended, to execute sophisticated commands. The “Recording” feature allows you to automate keystroke sequences and run functions and mappings defined by you or internal macros. Vim has a plethora of plugins that extend or add additional features. Vim editor was specifically designed for Unix-based operating systems, but later it was also ported to the Windows platform. So, this article will teach you the installation of a vim editor on Windows.
How to download the Vim editor .exe file for Windows
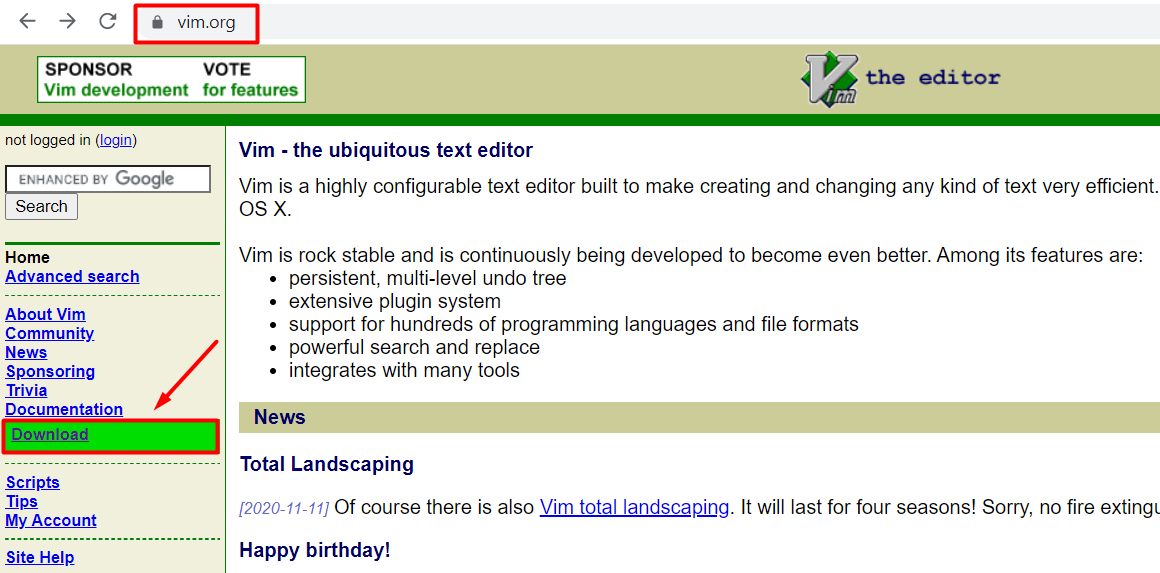
You need to visit the official vim website to download its .exe file. For this, you can either type www.vim.org in the browser. When the website is fully loaded, you will see the “Download” option on the left side of the home directory, as shown below.
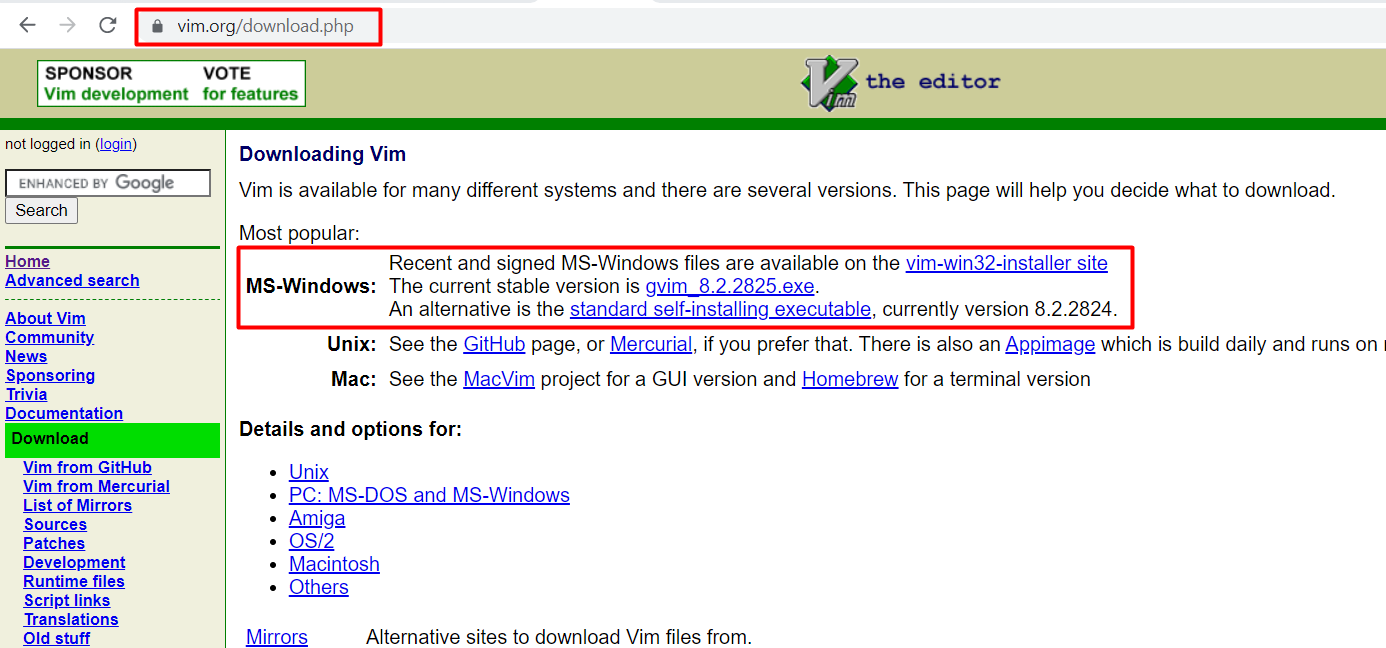
Now it will ask you which operating system you want to download the vim .exe file. So, you need to select the Windows option and click on the “Standard self-installing executable” link to start downloading the .exe file.
How to install the vim editor for windows
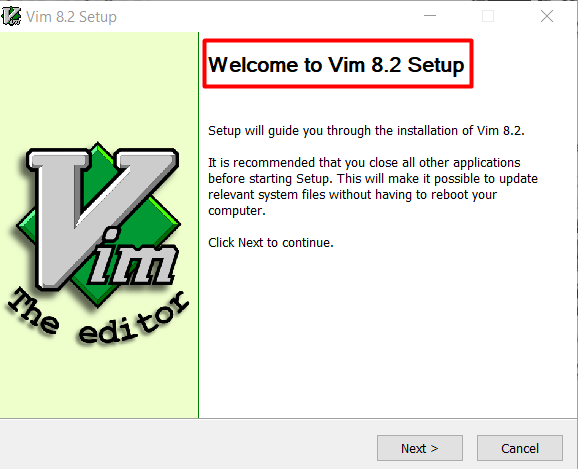
You need to open its .exe after the file is fully downloaded. First, this will be the version you are trying to install; in our case, we are installing “Vim 8.2 setup,” which is the latest version while writing this article.
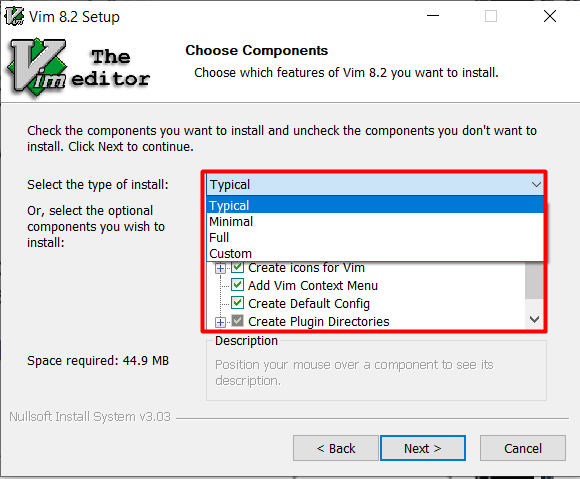
On the next screen, you’ll be asked about the type and the software components you want to install. These features can be selected according to your needs:
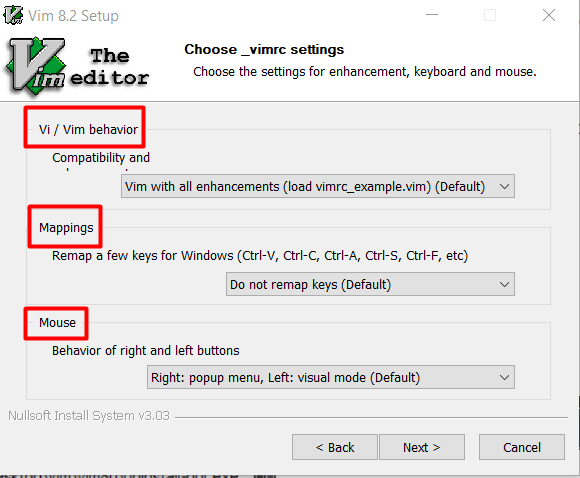
Other than that, you can set the compatibility behavior of the vim editor and can also map certain keys as per your likings. You can map not only the keyboard keys but also the mouse keys as well:
How to use the Vim editor in windows
After its installation, you can use it by opening the command prompt (cmd) then typing “vim”. This will open the vim application. There are two modes available in this editor, one is the insert mode where you can insert anything you like then there is a command mode which is used to perform different functions. Now let’s try to create a text file using the vim editor. You need to open the command prompt and select the desired directory to make the text file. The basic format of creating the file is.
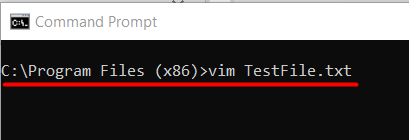
Now suppose, if you want to create a file with the name “TestFile.txt”, you can make it by following the same syntax mentioned above:
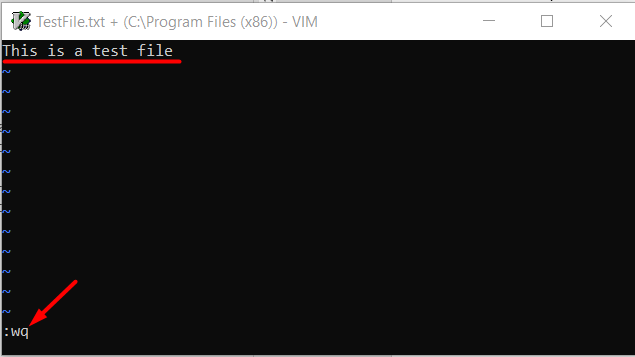
This command will open the vim editor with the name of TestFile.txt, where you can write anything and save it.
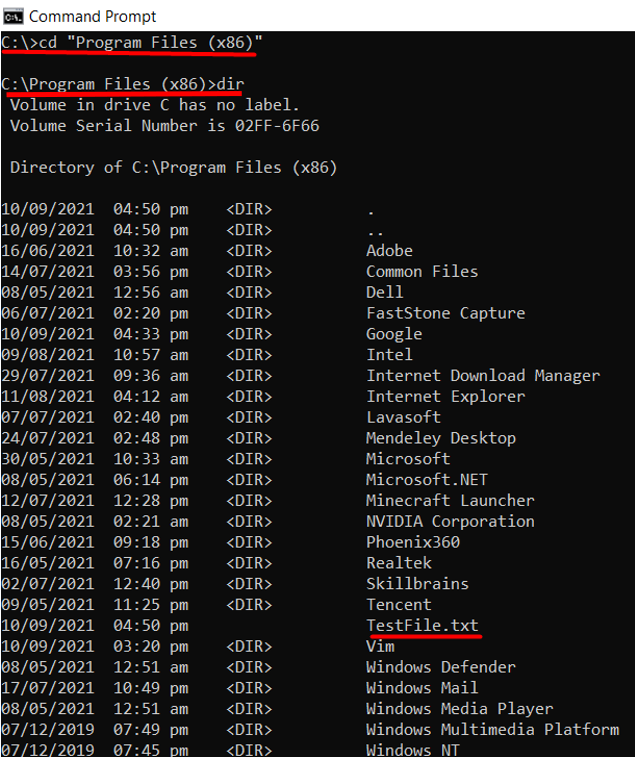
In the above image, “:wq” is used to save and then quit the file. After that, the text file will be created in the current working directory. You can also confirm its location by directly opening the file path. You need to access the desired directory first, and then you can check everything available, thereby typing the keyword “dir“. After that, you need to find the text file that you have just created, as shown below:
If you want to learn more about vim editor coding, you can visit the LinuxHint Vim for more information.
Conclusion
Vim is one of the most famous editors due to its customization. It was initially built for the Unix OS but later ported for the Windows-based OS as well. The focus of this article was on installing and executing vim on Windows. Additionally, vim can be launched straight from the Start menu. The editor can also serve as the default program to open text files since it associates itself with them.

