Over the years, ZSH has become one of the popular shells for Unix systems due to its features, flexibility, and customizability. Notable ZSH features include:
- Auto command correction
- Command auto-completion
- Improved shell variable handling
- Easy setup and shell customization
This guide will walk you through setting up the ZSH shell and installing and configuring the oh-my-zsh framework.
What Is Oh-My-Zsh?
Oh-my-zsh is a free and open-source framework for the ZSH shell. Oh-my-zsh is used to help efficiently manage and configure the ZSH shell. It comes packed with functions, themes, and plugins to improve the default ZSH shell.
Although other ZSH frameworks help manage the ZSH configuration, oh-my-zsh is the most popular and easy to configure.
In this guide, we shall test the installation of ZSH and oh-my-zsh frameworks on Ubuntu, Debian, CentOS, and OpenSUSE.
By the End of this tutorial, you will have learned how to:
- Install the latest version of ZSH.
- Setup oh-my-zsh framework to work with ZSH.
- Install and enable a custom theme using oh-my-zsh.
- Enable and use oh-my-zsh plugins.
Step 1: Install and Setup ZSH
The first step before configuring the oh-my-zsh framework is to ensure we have the ZSH shell installed. By default, ZSH does not come pre-installed in most Linux distributions, and you will need to install it manually.
ZSH is available in default Linux repositories, and you can use the default package manager for your system to install it.
On Debian/Ubuntu
sudo apt-get install zsh
On CentOS/REHL
sudo dnf install zsh
On OpenSUSE
sudo zypper install zsh
Ensure you have ZSH installed using the which command:
If you have ZSH installed, you should get the path to the ZSH executable as:
Step 2: Change Default Shell
The next step is to change the default shell for the current user.
Enter the command:
chsh -s $(which zsh)
Enter the password for the current user to change the default shell.
To use the ZSH shell, log out the current user and log back in.
If you are using ZSH for the first time, you will need to set up the default configuration.
For now, select 0, which will create an empty .zshrc configuration file.
Step 3: Install and configure the oh-my-zsh framework
The next step after setting up ZSH is to install and configure the oh-my-zsh framework. The simplest way to install the oh-my-zsh framework is to use the provided installer script.
However, we need to ensure we have curl and git installed before downloading the script.
On Debian/Ubuntu
On CentOS/REHL
On OpenSUSE
Download and install the oh-my-zsh installation script using the command:
You should see an output similar to the one shown below:
Oh-my-zsh will use the existing .zshrc file created earlier to customize the appearance and behavior of ZSH.
Install and enable Custom theme (Powerlevel10k).
By default, oh-my-zsh will apply the “robbyrussell” theme. Although its appearance may vary depending on the distribution, it will typically look as shown:
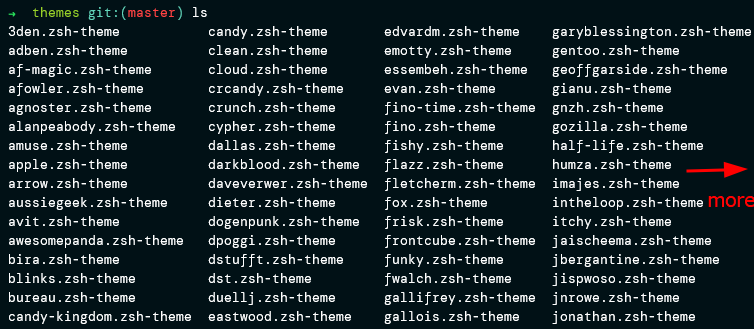
ZSH also comes with other default themes stored in the ~/.oh-my-zsh/themes directory.
You can apply each theme by editing the configuration file, as we will see in this article.
If the theme you wish to use is not installed in the themes directory by default, you can download it and configure it.
In this example, we will install the powerlevel10k theme.
Clone the powerlevel10k theme repository:
The command will download the powerlevel10k theme in the ~/.oh-my-zsh/themes directory.
To change the default theme to powerlevel10k, edit the .zshrc configuration:
Locate the ZSH_THEME entry and set its value to powerlevel10k as shown:
Save the file and close the editor.
Apply the changes by reloading the ZSH configuration:
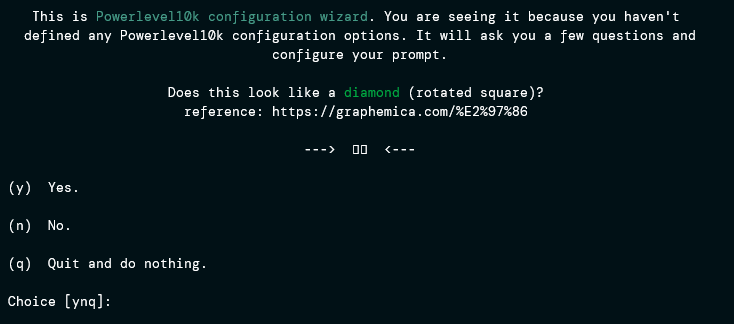
Follow the powerlevel10k configuration wizard to set up your prompt as you see fit.
Using Custom Plugins
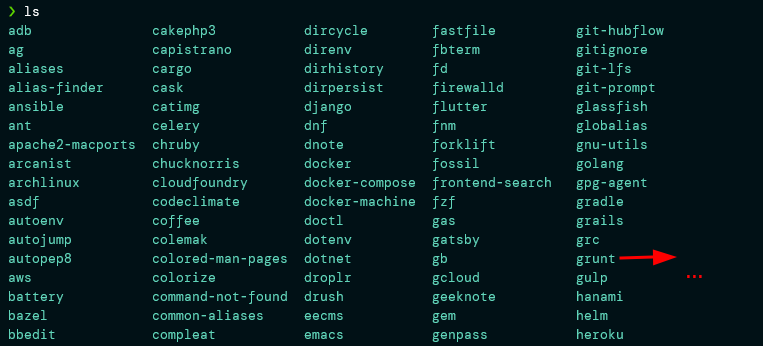
Oh-my-zsh provides a plethora of plugins to enhance the terminal experience. The default plugins are in the ~/.oh-my-zsh/plugins directory.
To enable an oh-my-zsh plugin, edit the .zshrc configuration and add the plugin name in the plugin’s entry.
For example, to enable the git, docker, and npm plugins, we can set the plugin’s entry as:
plugins=(git docker npm)
Save and close the file.
Apply the changes:
You can now use the enabled plugins’ commands and features. Consider the documentation for each plugin to learn the available commands.
Conclusion
This guide provides detailed instructions on how to install and configure the oh-my-zsh framework on Linux.


