Main Features of GtkStressTesting App
These are some of the most useful features of the GtkStressTesting application:
- Ability to show detailed hardware information without running any tests.
- Built-in hardware monitor that shows resource consumption values in real time.
- Ability to run both single core and multi-core CPU benchmarks.
- Includes an option to automatically launch the app on every new session.
- Supports multiple flavors of benchmarks and stress tests for the CPU device present in your Linux system.
- Includes an option to retrieve advanced hardware information (root access needed).
- Includes an option to change hardware monitor refresh interval.
Installing GtkStressTesting in Linux
You can install the flatpak build of GtkStressTesting app in all major Linux distributions from the Flathub repository. To install it in Ubuntu, use the following commands in succession:
$ flatpak remote-add --if-not-exists flathub https://flathub.org/repo/flathub.flatpakrepo
$ flatpak install flathub com.leinardi.gst
To install flatpak build in other Linux distributions, visit its Flathub listing, scroll down to the bottom of the page and follow instructions mentioned there. Further detailed installation instructions are available here.
Note that if you are installing any flatpak application for the first time, you may need to re-login for the application launcher to appear in the main application menu of your Linux distribution.
Running the GtkStressTesting App
You can run the GtkStressTesting App by simply launching the app from the main application menu. You can also run the flatpak version from command line by using the command mentioned below:
Note that sometimes the app may fail to launch from both the main menu and command line because of a locale parsing error. In such a case, you can try the command below to get over the locale error.
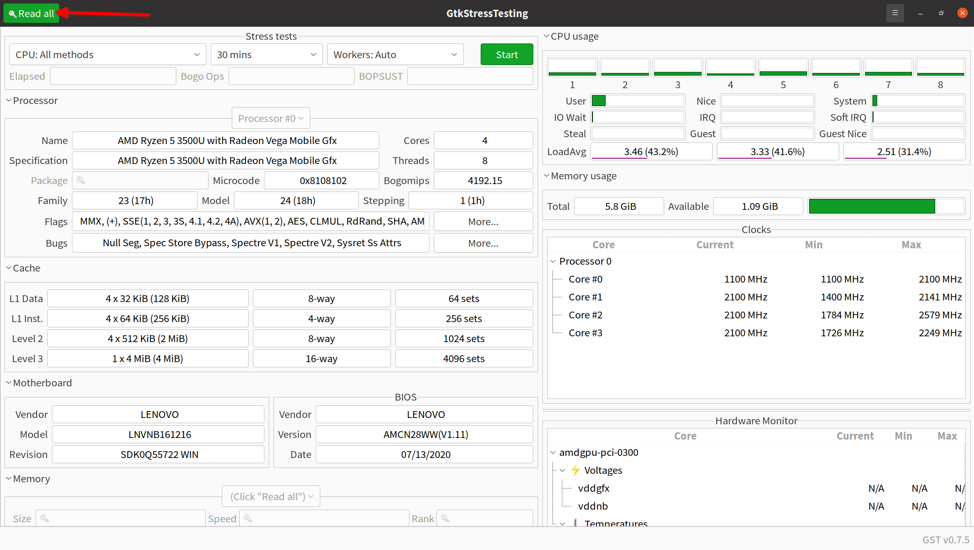
After launching the app, you should see a new window similar to this:
Granting Root Access for Extended Information
You can grant the GtkStressTesting App root access so that it can fetch additional information by probing your Linux PC hardware. Flatpak apps are sandboxed and have a hardened security layer, so they may not run properly with the “sudo” command. To grant the app root access and fetch extended information, click on the “Read all” button located on the top left corner of the main application window (as shown in the screenshot below):
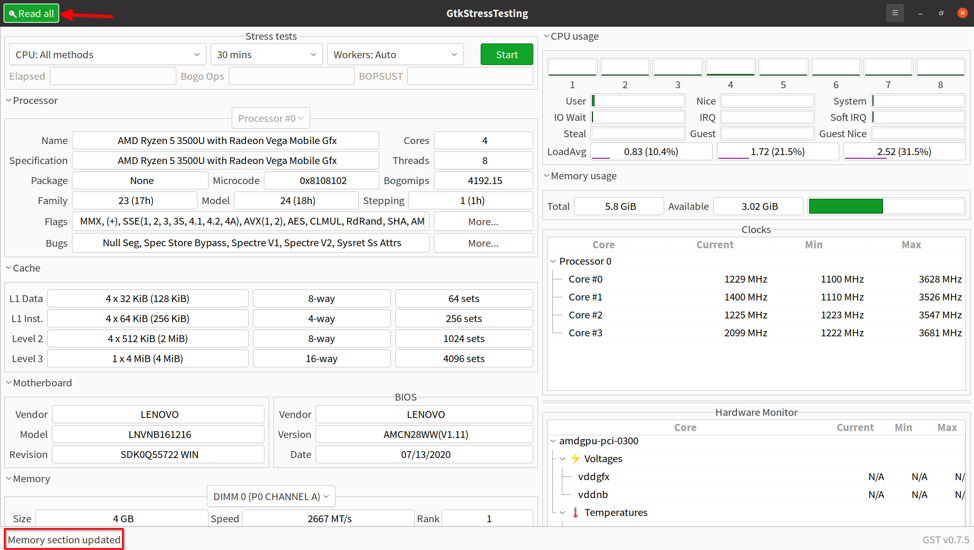
When prompted, enter your root password. GtkStressTesting app will now fetch additional information and update the main window accordingly. It will also change the appearance of the “Read all” button and show a message in the status bar.
Running Stress and Benchmark Tests
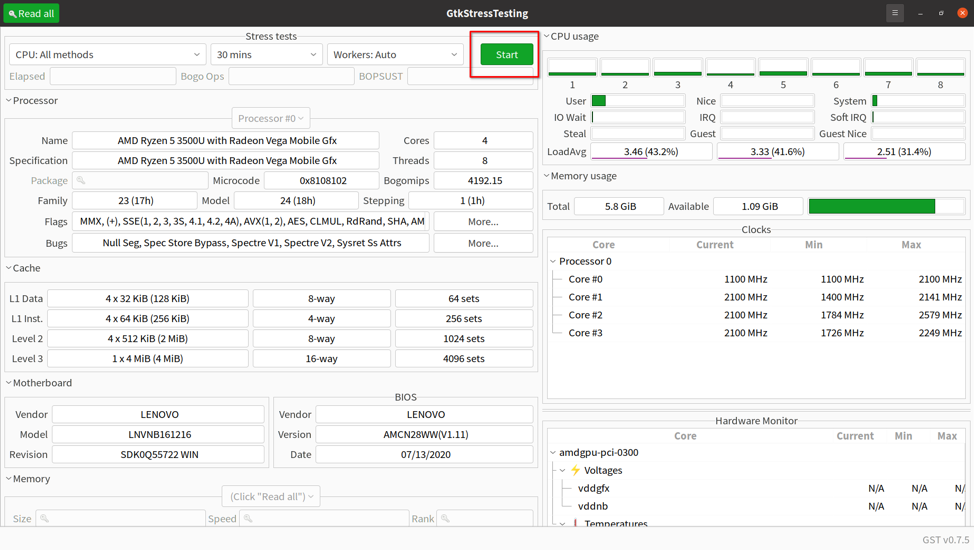
To run stress and benchmark tests using the GtkStressTesting app, click on the first dropdown menu under the “Stress tests” category. Pick a stress test method according to your needs.
It seems the GtkStressTesting app uses “stress” or “stress-ng” command line utility under the hood to run various stress and benchmark tests. You can get more information about how these tests work from the stress-ng manual located here (scroll down to the “cpu-method” section). Note that these tests may put a lot of load on your system. So it is recommended that you close all other applications while performing stress and benchmark tests to avoid losing important work if there are freezes or crashes due to excessive stress on your Linux hardware.
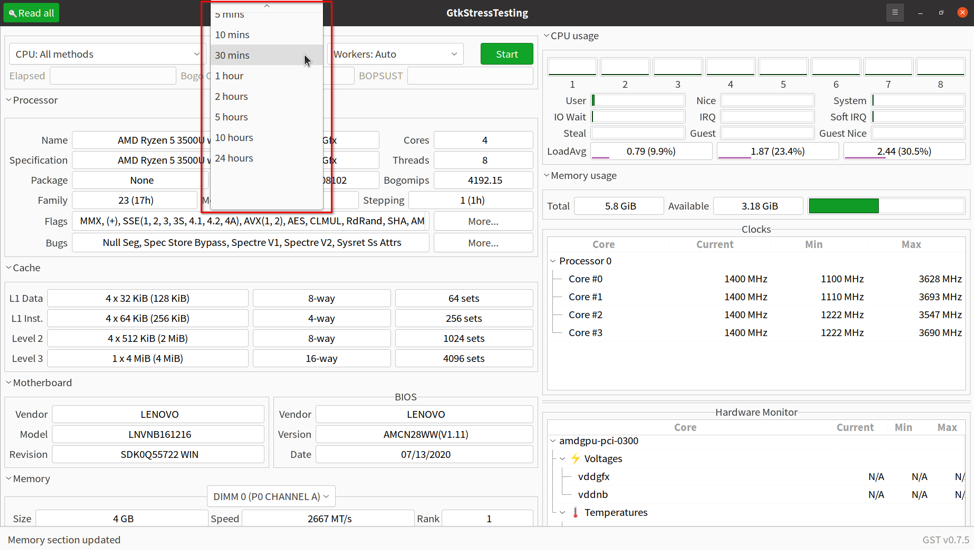
Once you have selected a test type, choose a test duration from the next dropdown menu. Running tests for longer duration can be taxing on your Linux system, so make sure to monitor hardware statistics while running these tests.
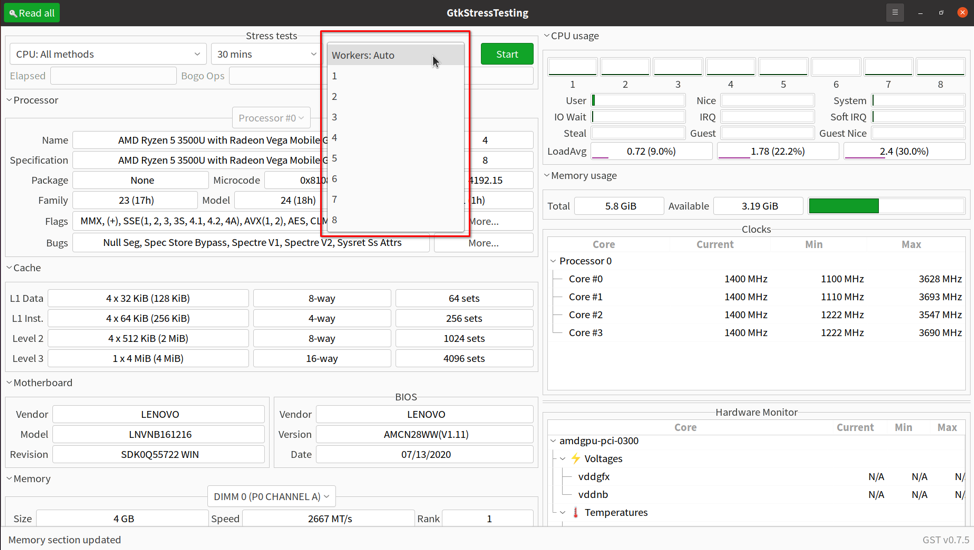
Next, select the number of worker processes to spawn while performing stress and benchmark tests. The auto mode should automatically pick appropriate threads according to the number of processor cores present in your CPU hardware.
Once you have chosen all settings, click on the “Start” button to initiate a stress or benchmark test.
At any point of time during the ongoing test, you can stop it by clicking on the “Stop” button.
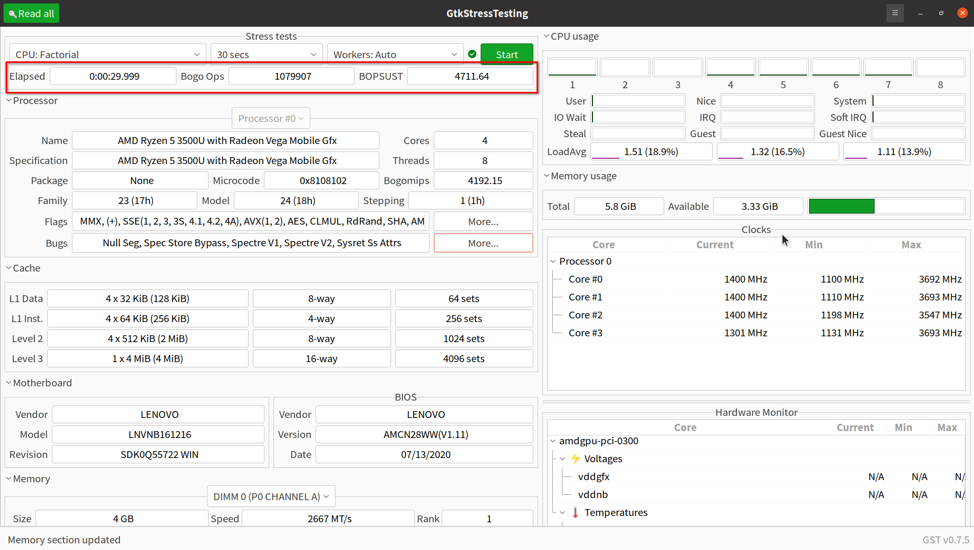
Wait for the test to finish. You will now get some result values in “Bogo Ops” and “BOPSUST” (bogo ops per second) fields. You can hover the mouse pointer over these fields to get more information about them in tooltips.
Bogo operation values can be used to judge the performance and capabilities of your CPU device. You can compare the test results with similar bogo operations results available on the web by using search engines. You can add a term for your CPU model while searching for results on the web. You can also use the OpenBenchmarking website to compare test results. It hosts a database of benchmark results obtained from many different types of hardware devices tested with Linux distributions.
Conclusion
GtkStressTesting app is a useful app that not only shows detailed information about CPU and memory devices present in your Linux system, but also allows you to perform various tests. These test results are especially useful if you want to match the test findings with vendor claimed values.


