Installing Ubuntu from scratch on your laptop or PC may look like an ideal option for most users. However, those who are interested in using the Ubuntu terminal won’t like this option of installing the operating system from scratch. Instead, they prefer using the Windows system. So, for those users, there is an optional feature in the Windows system called Windows Subsystem for Linux (WSL) that makes it easier for the user to run Ubuntu commands to Windows PowerShell.
Follow this article’s guidelines to install Ubuntu on WSL 2 on a Windows system.
How to Install Ubuntu on WSL 2 on Windows
To install Ubuntu on WSL 2 on a Windows system, follow the below-given steps:
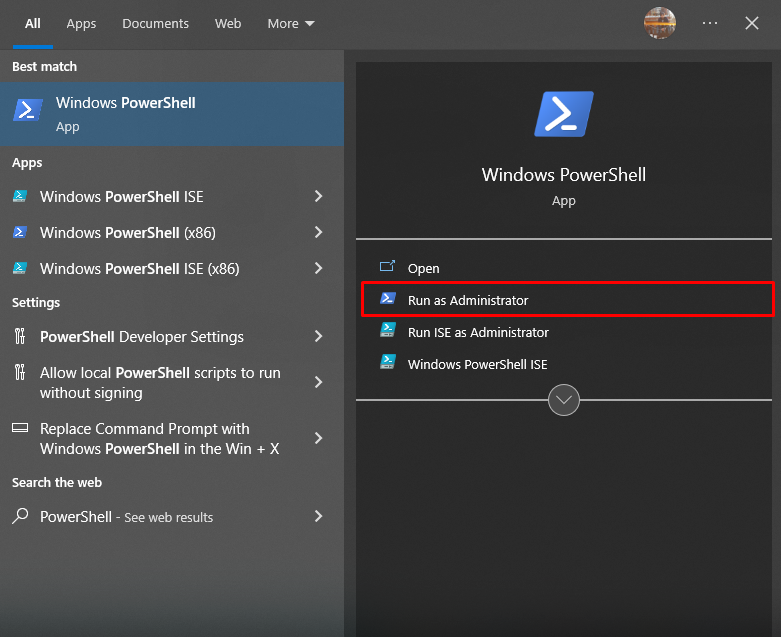
Step 1: First, run Windows PowerShell as an administrator from the start menu.

Step 2: Then execute the following command to install Deployment Image Servicing and Management Tool on the system.

Step 3: After the installation, use the following command to install Ubuntu through WSL2 on the Windows system.
Note: You can also install Ubuntu through Microsoft Store. It’s up to your choice whether go with the command or install it through the store.
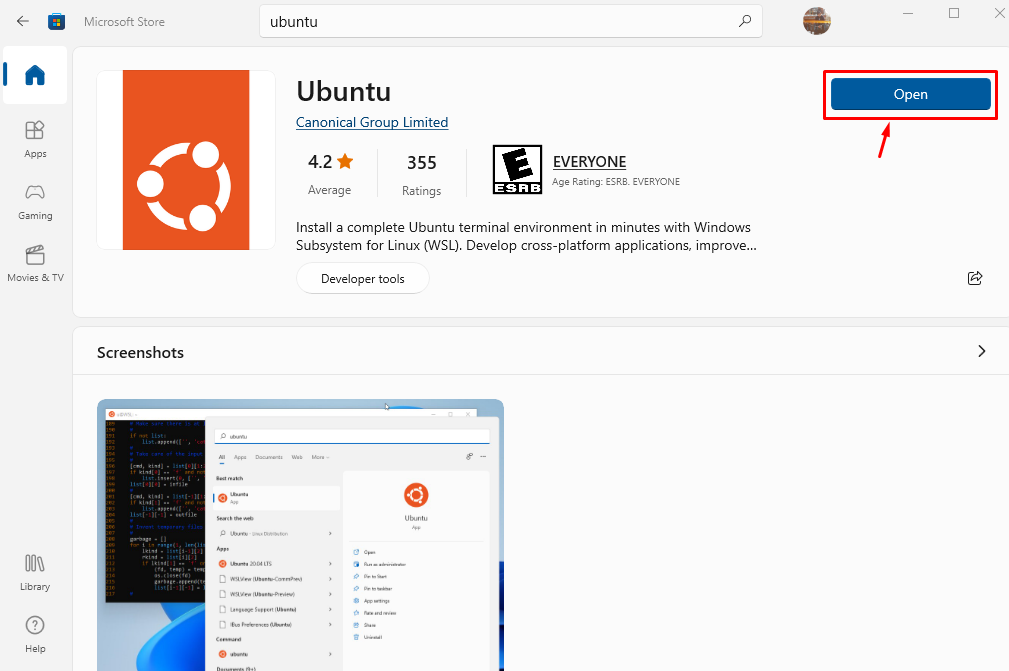
Step 4: After the installation, go to Microsoft Store, search Ubuntu and you will see that it’s installed on the system. You must open it using the “Open” button.
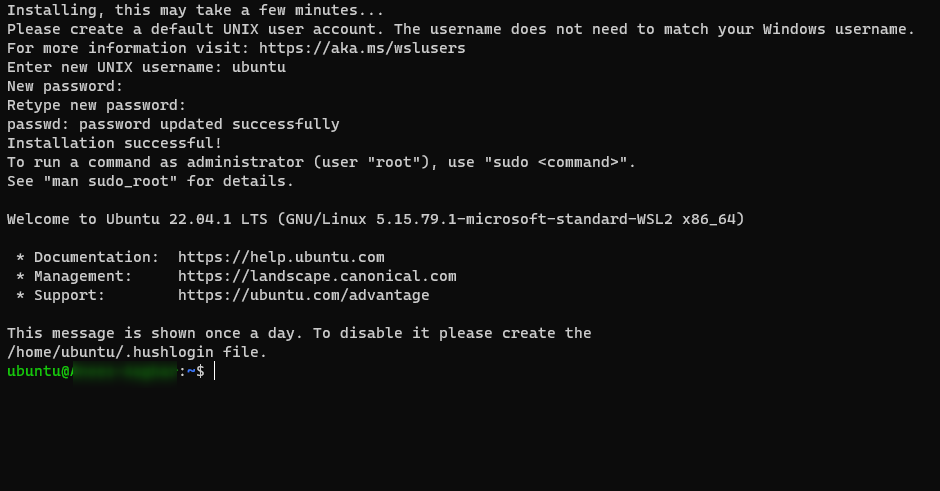
Once you open Ubuntu, it will open the Ubuntu terminal environment on your desktop.
Step 5: You must add your username and password to log in to the Ubuntu system successfully.
Now, you can execute any command you like since Ubuntu terminal environment is successfully set up on the Windows system.
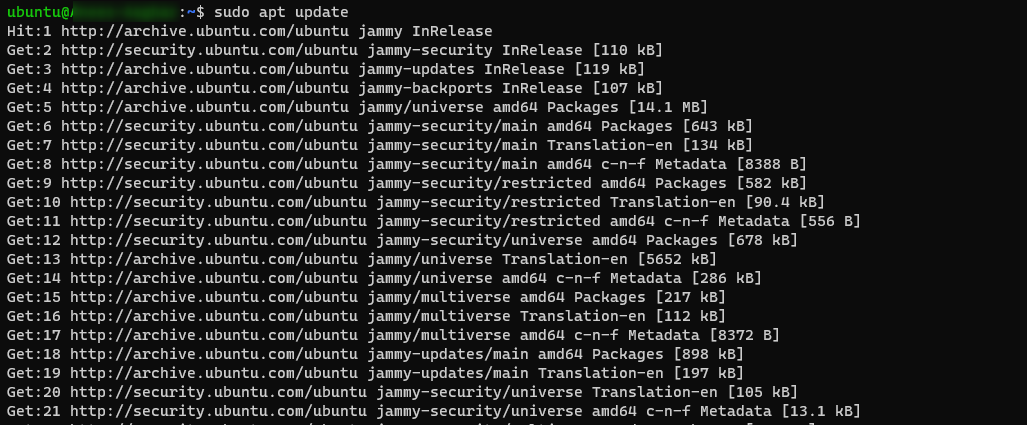
I just use the update command to confirm the Ubuntu command is successfully working on the system terminal.
Conclusion
WSL2 feature on Windows system makes it easy for the users to use Linux terminal environment on the system. The guidelines mentioned above show installing the Ubuntu terminal environment on a Windows system through WSL2, making it an ideal choice for users only interested in using the Ubuntu terminal on the system.


