In many businesses, having Linux on your machine is a requirement. What would you do if you are a Windows or macOS user and have no space for another operating system on your laptop? You would probably think to upgrade your internal hard drive or search for a new laptop. But wait! Is there any way to get Linux installed on an external hard drive? Well, absolutely! You can install any Linux distribution on an external hard drive and use it with your laptop.
So, the question is how to get Linux on an external storage device? First, don’t panic. The method is quite simple, and you just have to take care of a few things while installing.
This write-up covers the complete process of installing Linux on an external hard drive. You can install any Linux distribution. I am going to install Ubuntu because it is stable and relatively simple to install. Note that the process of installation of many other Debian-based distributions would be the same.
So, let’s begin:
WARNING: Installing Operating Systems is a high risk activity. Any mistakes or misunderstandings, may cause you to lose your current system completely or partially. Please review these instructions carefully and ensure you have a solid understanding and proper backups of your data before taking an action on your operating system.
Requirement:
You need the following items to begin with the installation process:
- A USB/Pen drive minimum of 4GB for Ubuntu ISO
- A hard drive on which you want to install Ubuntu
- Ubuntu ISO
- PC to make bootable USB and to install Linux on the hard drive
Once you have the required items, it is time to begin the process.
How to Install Ubuntu 20.04 on an External Hard Disk Drive:
I am breaking down the entire process into steps and all steps are very crucial. Therefore, follow them carefully:
Step 1: Making a Bootable USB With Ubuntu ISO:
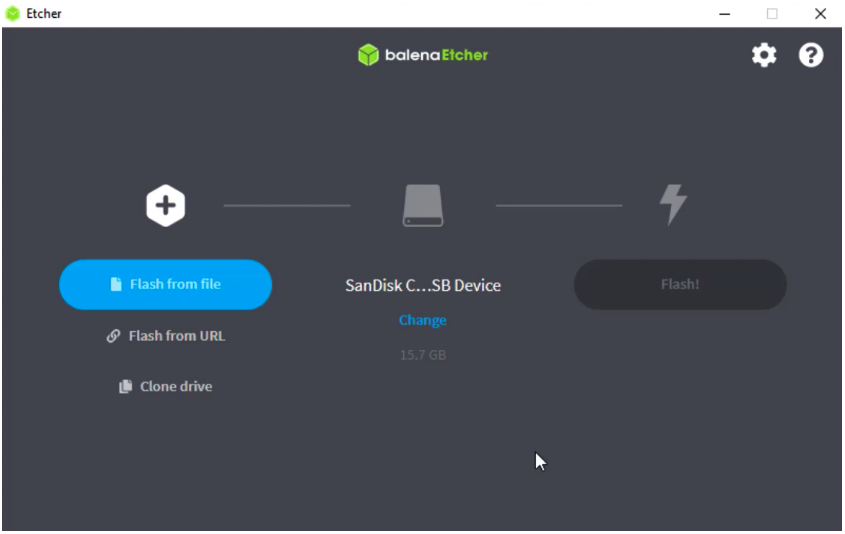
In this step, you need to create a bootable USB installation media with Ubuntu’s ISO. There are many apps that can be used to create bootable USB, I am using balenaEtcher . There are many reasons to use it: open-source, cross-platform, less complex, and a very quick app.
Ensure that the USB drive is plugged in. Once the app is downloaded, open it.
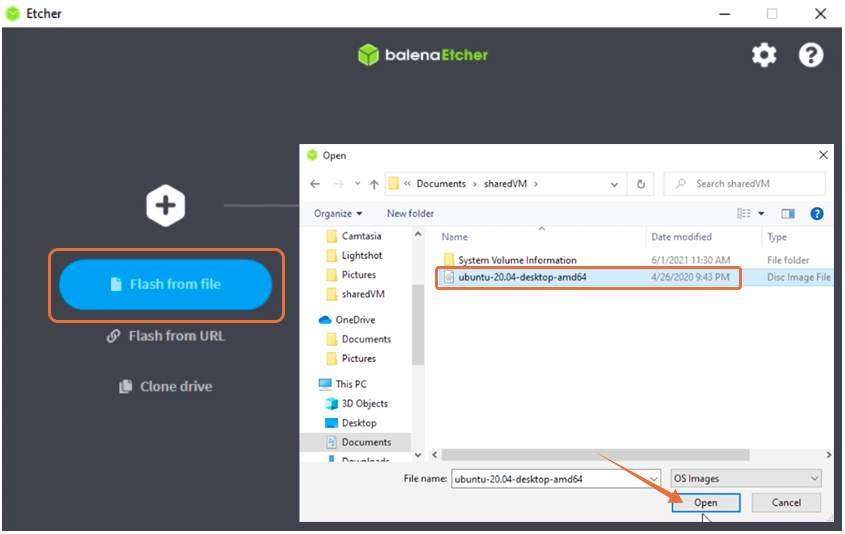
Click on “Flash from file”, and select Ubuntu’s ISO:
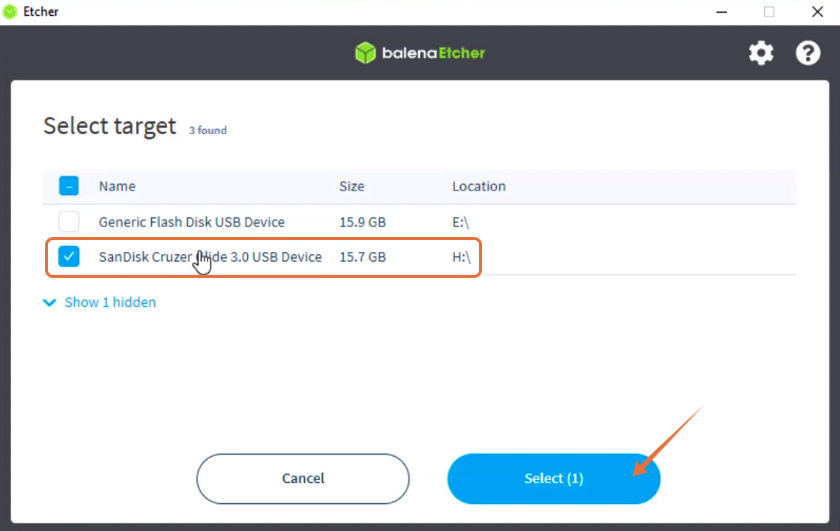
Select the target drive, which is your USB:
Now, you are all set. Click on “Flash”, the procedure will take few minutes:

Now, your bootable USB with Ubuntu’s ISO is ready.
Step 2 – Installation Process:
This step is a bit tricky, and the procedure will vary according to your operating system. Since I am using Windows, I have to make some changes in BIOS to boot Ubuntu from the bootable USB.
To enter the BIOS of your system, restart it and press the F12 key. BIOS key is set by the manufacturers so that it could be any from F1, F2, F10, F12, or DEL.
There is another way to access BIOS in Windows:
- Open “Settings”
- In “Updates & Recovery”, select “Recovery” and choose “Restart Now”
- Select “Troubleshoot” after your system restarts
- Select “Advanced Options” and then “UEFI Firmware Settings”
If you are a macOS user, turn off your system. Now, turn it on and press and hold the “options/alt” key until you see all the attached storage media.
In Linux, upon restarting, keep on pressing the F12 key. The key could be F1, F2, F10, DEL, or ESC.
Once you are in the boot menu, you have to select your bootable USB and press “Enter”.
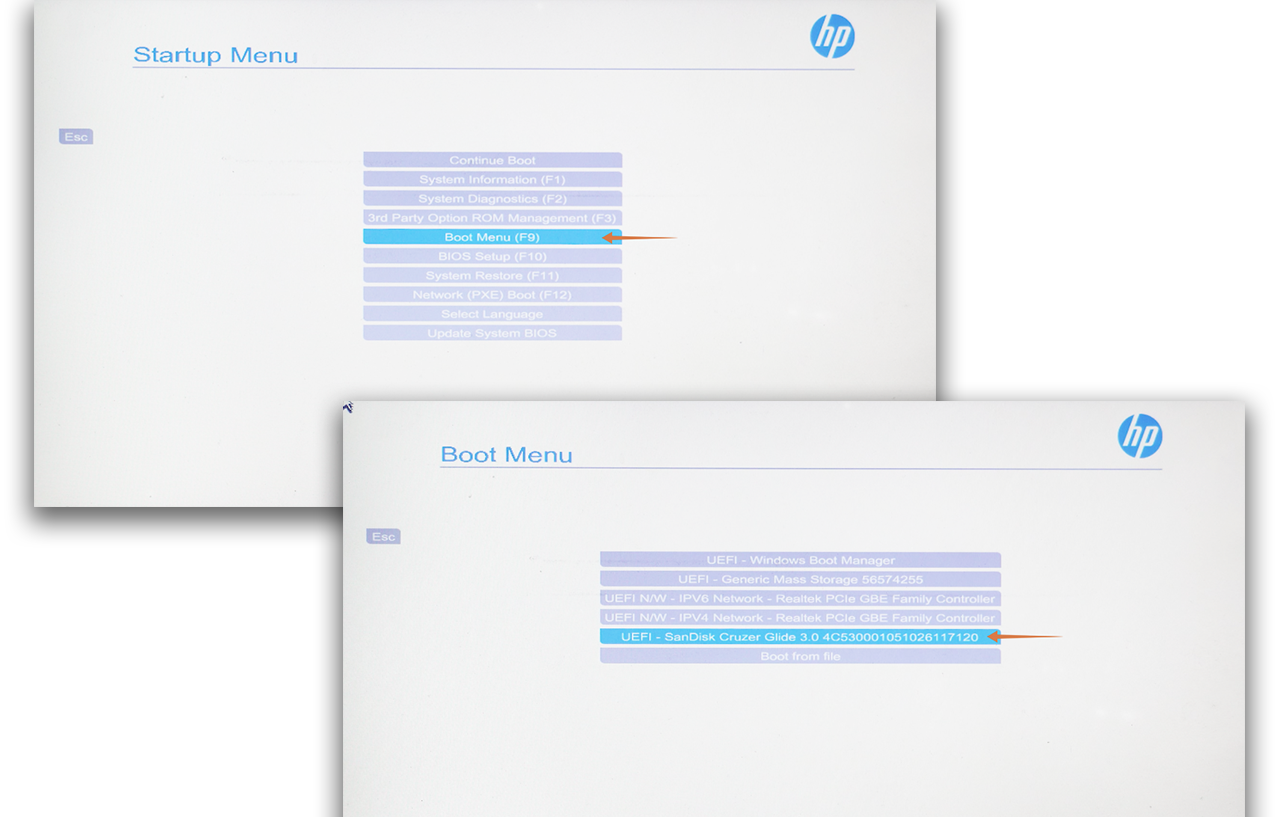
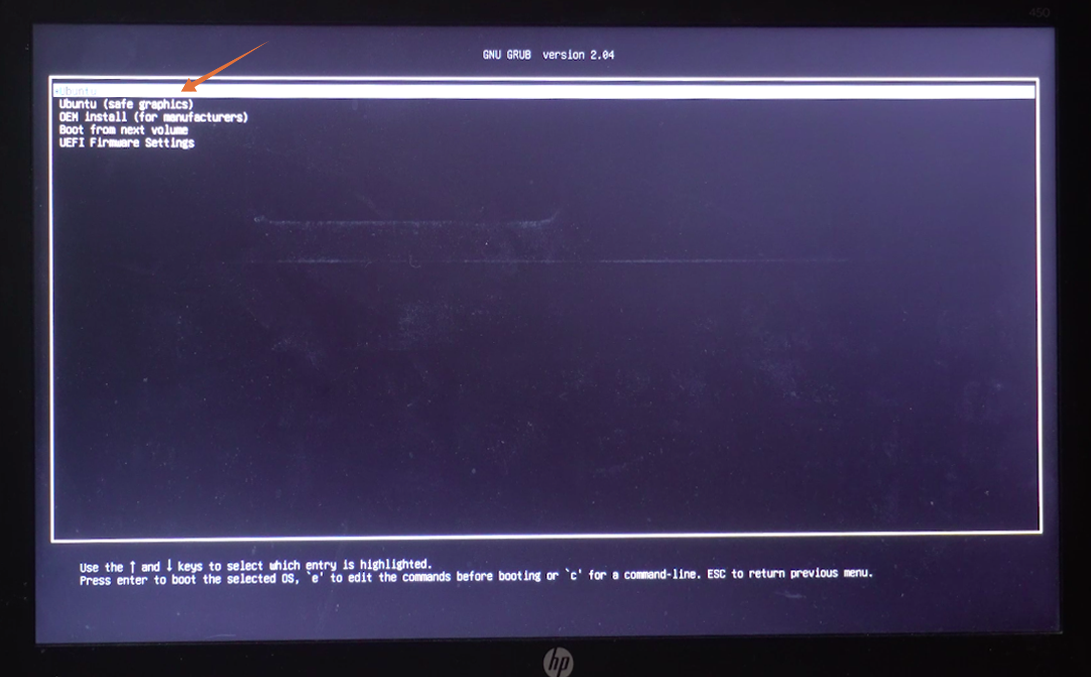
A Ubuntu menu will appear, and press “Enter” to continue the process.
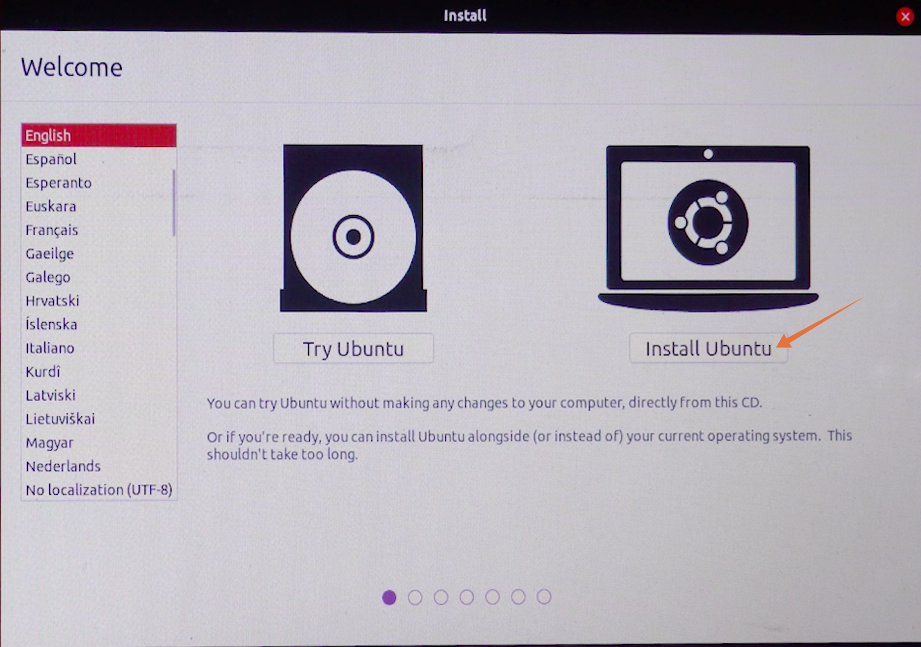
Now on the installation window, you can try Ubuntu or install. Since we are installing it on a hard drive, we will select “Install Ubuntu”. Make sure your external hard drive is plugged in:
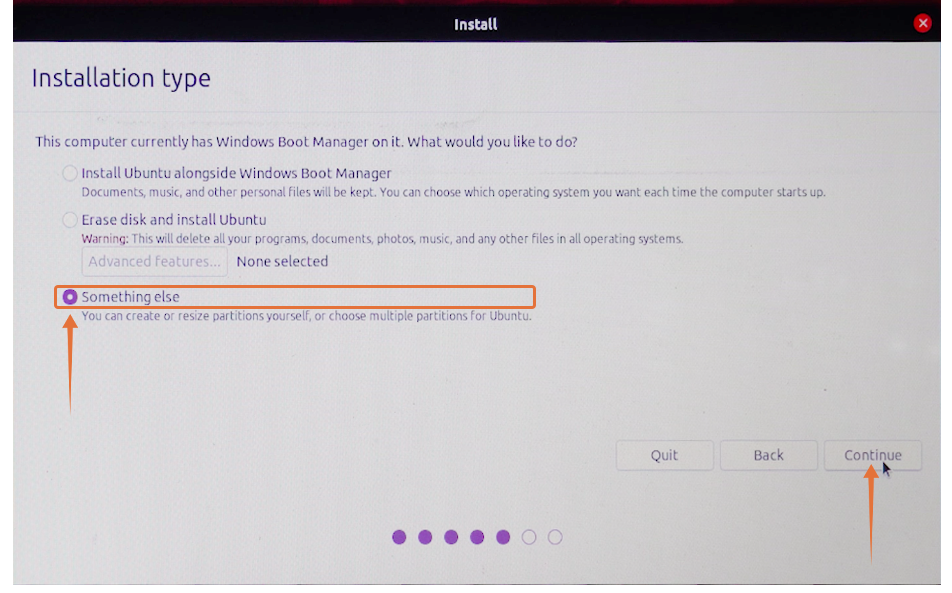
You will be asked to check some prerequisites before the installation process. In the “Installation Type” category, there will be multiple options one could install on the same drive from where Ubuntu is booted. But as we are installing on an external drive, we will check the “Something else” option and click on “Continue“:
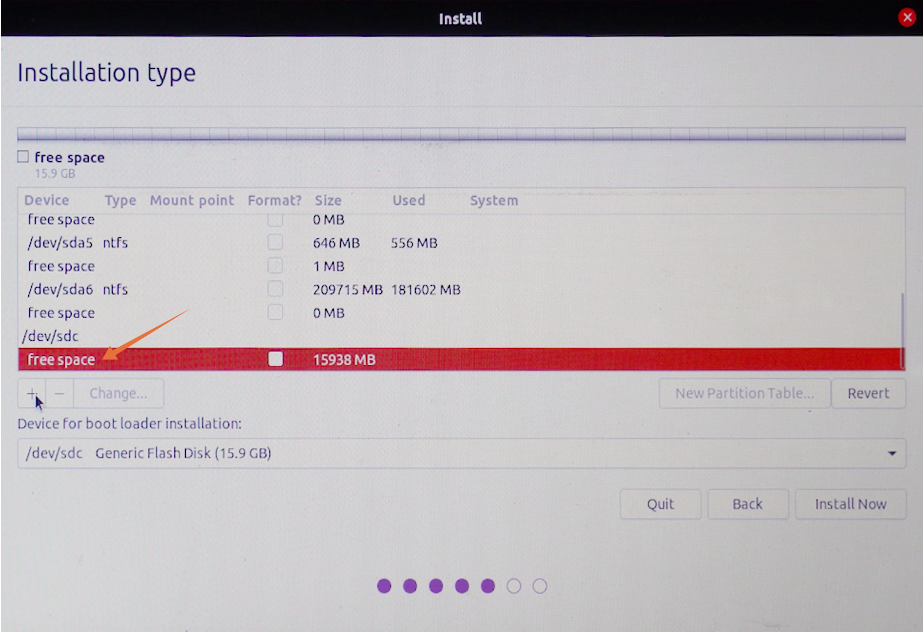
Now, a very crucial menu will appear. The menu will be showing different storage devices. One will be containing the original Windows (Operating System). Others would be our USB and hard drive. You can easily find your external drive by checking the size. In my case, it is “/dev/sdc”, select it and click on the “-” icon to delete it:

Now, the name of the device would be replaced with “free space”.
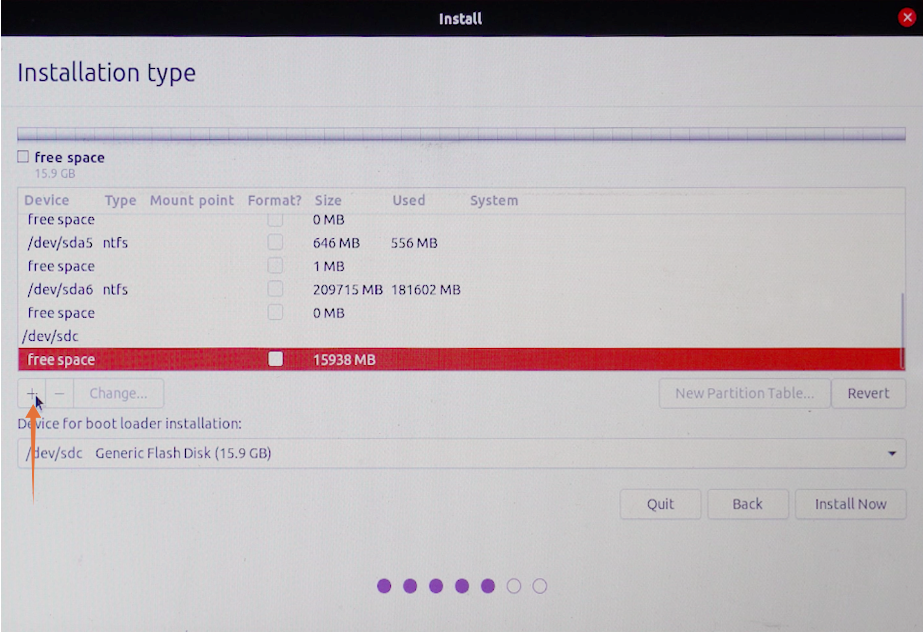
Select it and click on the “+” icon:
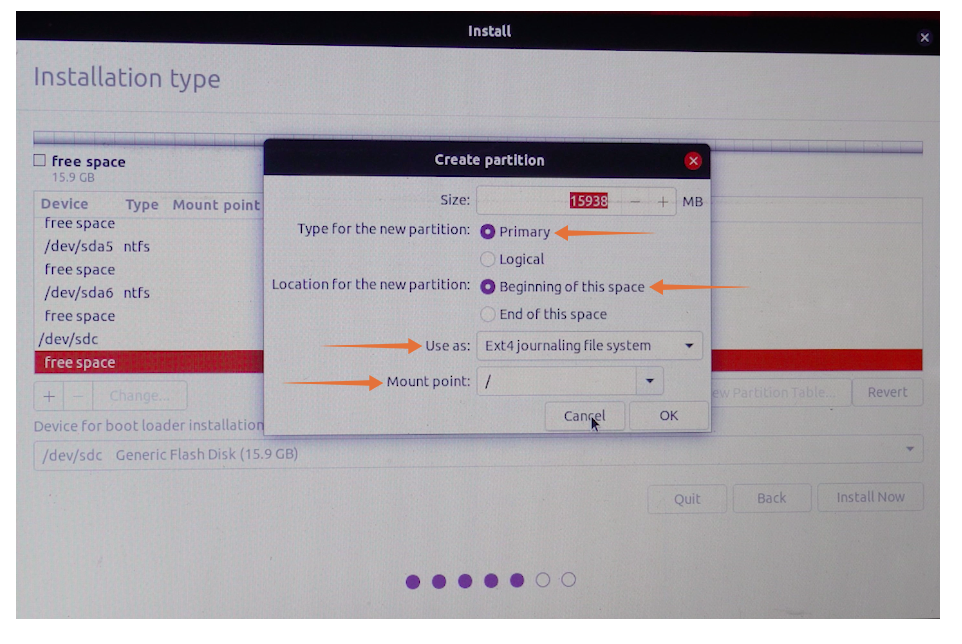
There is no need to change the size. Keep the type “Primary”, and set location “Beginning of this space”. In the “Use as” drop-down menu, choose “Ext4 journaling file system”, and the most important is the mount point, set it as “/”, once done click on “OK”.
Now in the “Device for boot loader installation” menu, choose the external storage media and press on the “Install now” button.
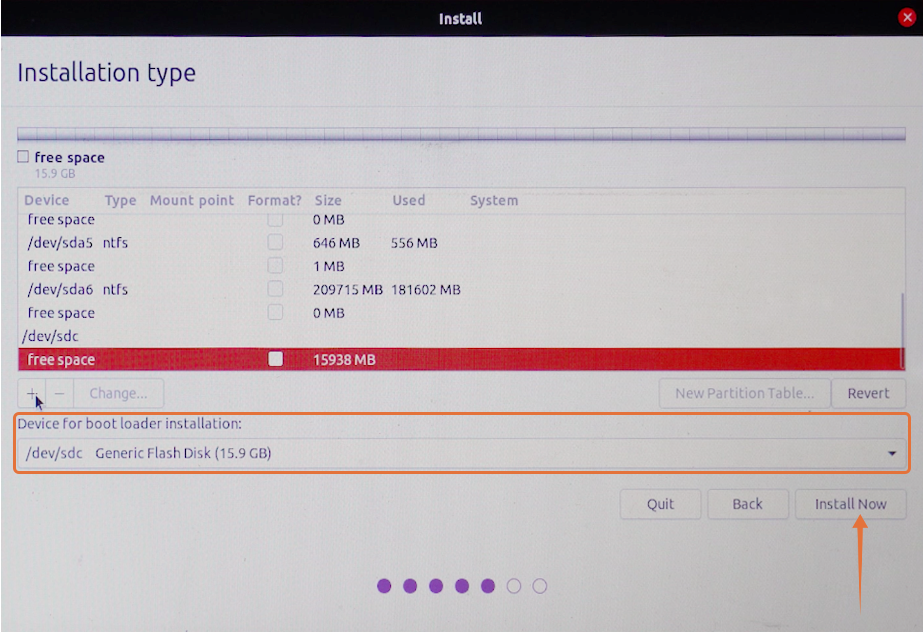
A prompt will appear to confirm about changes, click “Continue”:

Set your location and then enter your name, device name, and set password to begin installation on an external drive.

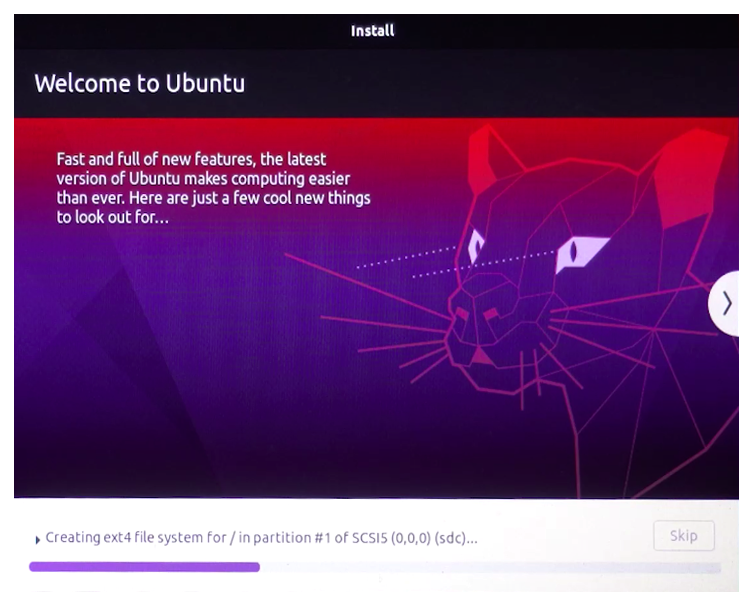
That’s it! Ubuntu will be installed on your external drive.
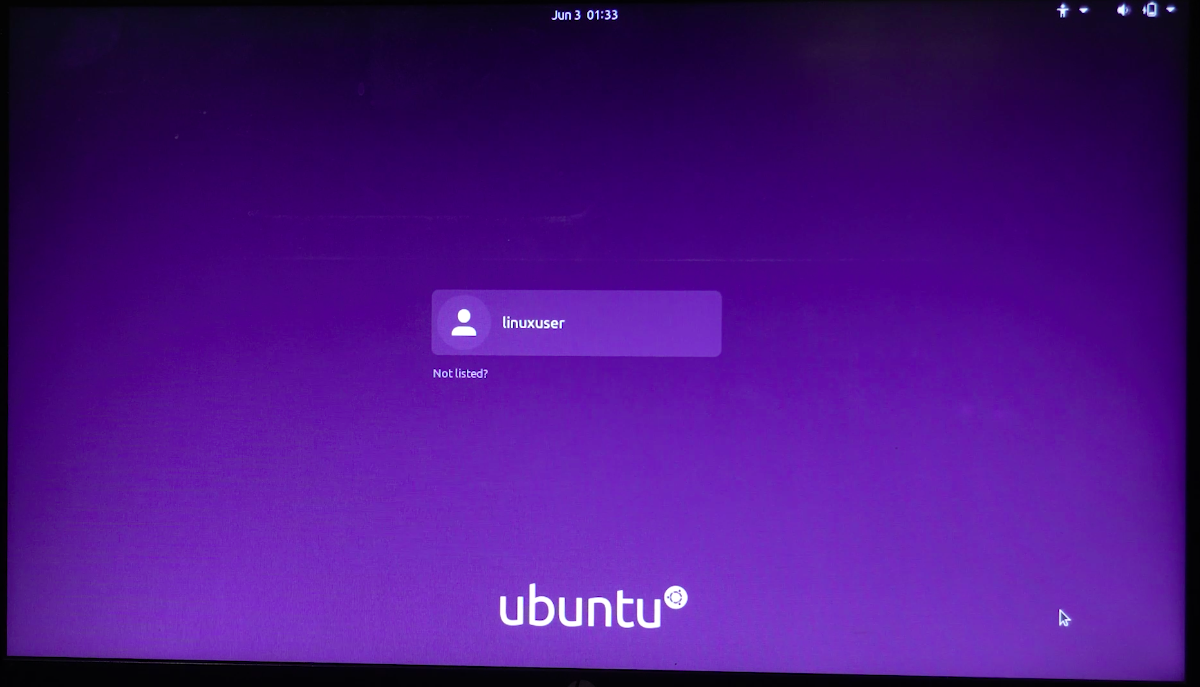
Step 3: Running Ubuntu:
Now, you can remove the bootable USB because that is no required. Reboot your device and again enter in the BIOS. Select the storage drive that contains the Ubuntu from the boot menu of the system.

Here we go! So, that’s how you can install Ubuntu on the external storage disks.
Conclusion:
Having Ubuntu on an external device has a number of advantages. First, it saves a lot of your internal storage, and there are fewer chances of it messing up with the other files. Second, you will no longer be limited to the storage size of your internal hard drive.
This write-up covers a complete procedure of installing Ubuntu on an external hard disk in three steps. You must be aware of how to use the BIOS of your machine because some critical steps of the procedure are performed in BIOS. Ubuntu from an external hard drive can be booted from the BIOS menu. But it can be prevented by setting the priority of bootable drives.