
That said, if you wonder how to install Ubuntu 22.04 on Windows 10 or 11, this guide has your back. It offers a step-by-step tutorial for all your needs. Check it out!
Installing Ubuntu 22.04 on Windows Using Hyper-V
We are using Windows 10, but the same steps should work for Windows 11. Besides, you are not limited to installing Ubuntu 22.04. You can install other Ubuntu versions and Linux distros. For this example, download the official Ubuntu 22.04 from the website. We will use it later in the guide.
1. Enable Virtualization
To run the virtual machines, virtualization has to be enabled in BIOS. If you have virtual box or VMPlayer installed, you probably enabled the virtualization already. However, if it’s your first time, search for how to enable the virtualization for your specific system. Once you have the virtualization enabled, proceed to step 2.
2. Enable Hyper-V
Hyper-V is a Windows 10 and 11 feature, and you can enable it using the following steps:
Click the search bar at the bottom left of your taskbar.
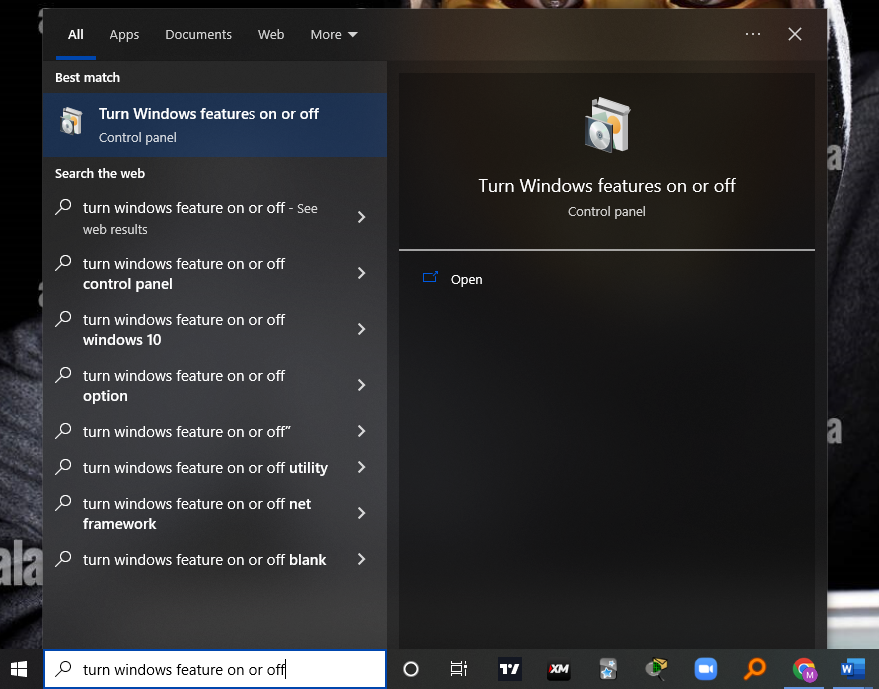
Type “Turn Windows features on or off” and click on it to open once it comes up.
Scroll down and locate “Hper-V“.

Check the checkbox on its left and click the Ok button to save the changes.
Restart your system to finalize the process.
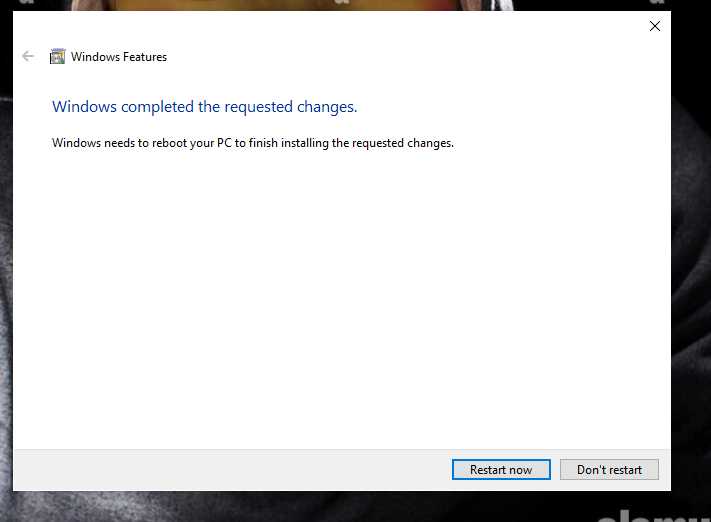
That’s it. Hyper-V is now enabled.
3. Create the Virtual Machine
We now need to create an Ubuntu 22.04 virtual machine. Ensure that you have the ISO downloaded. If not, click here and download the Ubuntu 22.04. Search for Hyper-V Manager on your system and open it.

On its main page, select your system’s name.

Next, click Action at the top. From its menu, click New.
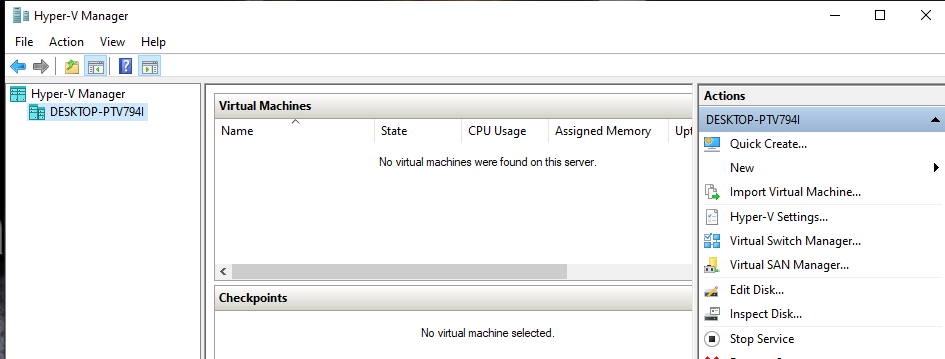
Finally, click Virtual Machine.
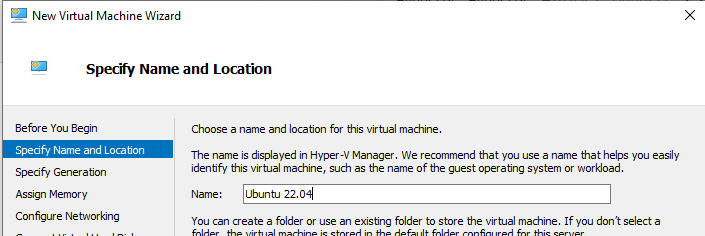
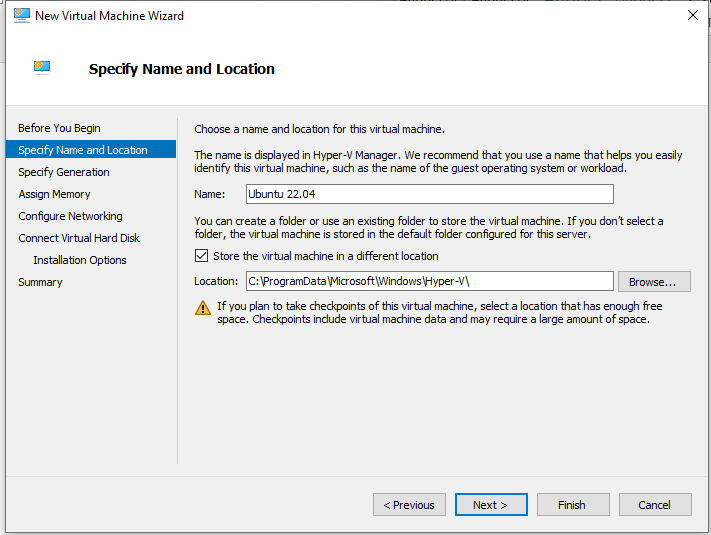
A new wizard window will appear, where we need to add the details of the virtual machine that we are creating. So, under the Specify Name and Location, enter the name of your virtual machine – Ubuntu 22.04.

Under Location, select where to store the files for the virtual machine. Note that Hyper-V already specified the location. But if you need a different one, click the Browse button and set your location. Note that you must tick the Check box above the Location if you need to use a different location.
Once all details are set, click the Next button. On the next screen, all that’s needed is to Specify Generation.
Go with the default one and hit the Next button.
4. Set the Memory Size
The created Ubuntu 22.04 has to be assigned a slice of your available memory. The allocated size depends on your RAM size. But if you have a bigger RAM and plans to use the virtual machine as a graphical desktop, assign it a 4GB RAM size and click the Next button. For our case, we will use 2GB.

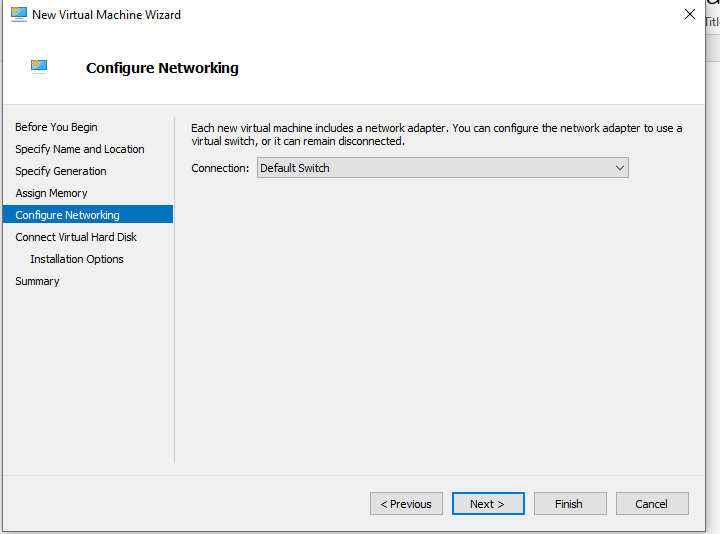
5. Configure the Network
The created virtual machine needs to connect to the network. For that, Hyper-V uses a virtual network switch. Click the drop-down box, select the Default Switch, and then click the Next button.

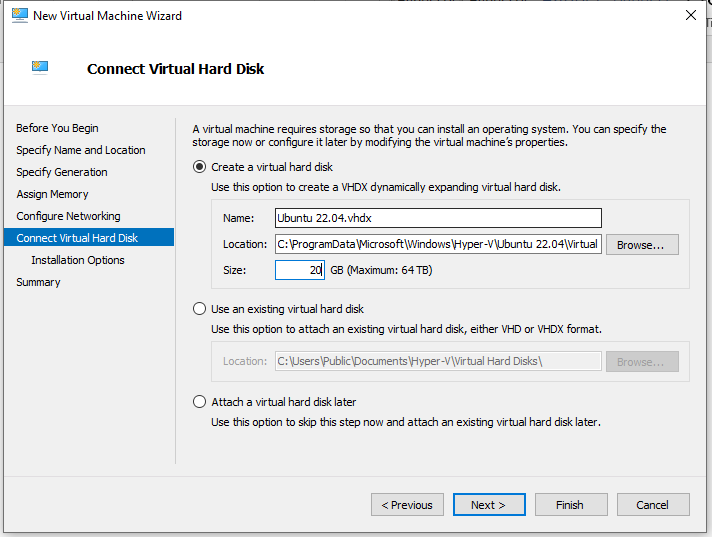
6. Creating a Virtual Hard Disk
You must create a virtual storage, a virtual disk, to be used by the virtual machine. The size you set depends on how much disk space you have and what you intend to do with the virtual machine. For our case, we will set it to 20 GB.
7. Set ISO Files
We need to install the downloaded Ubuntu 22.04 ISO file on the Installation Options page. So, select the option for “Install an operating system from a bootable CD/DVD-ROM“. Under it, choose the “Image file” and “Browse” the location where the installed ISO file is. Once the ISO file is set, click Next.
On the next screen, confirm the details and click the Finish button.

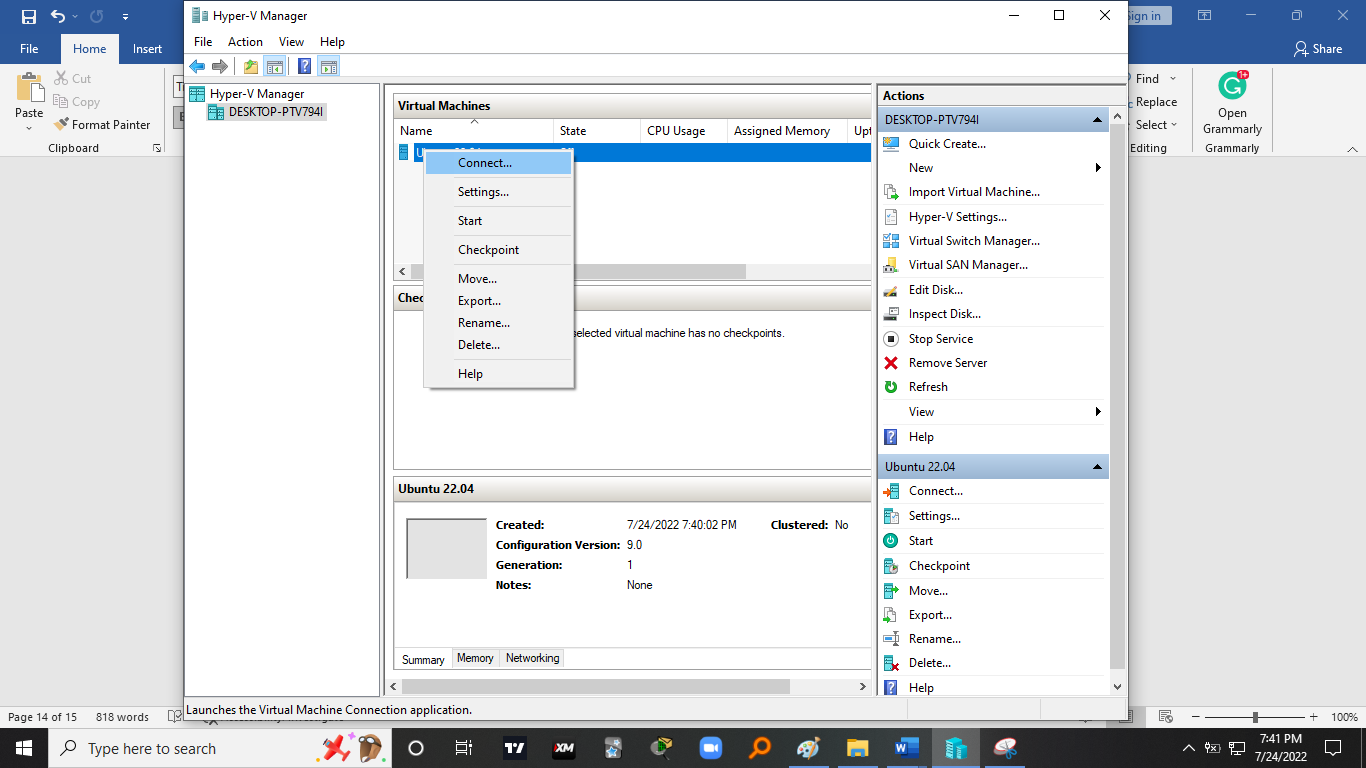
8. Start Ubuntu 22.04
Everything is set. You should see your Ubuntu under the Virtual Machines. To run it, right-click on it and once the menu opens, click Connect.
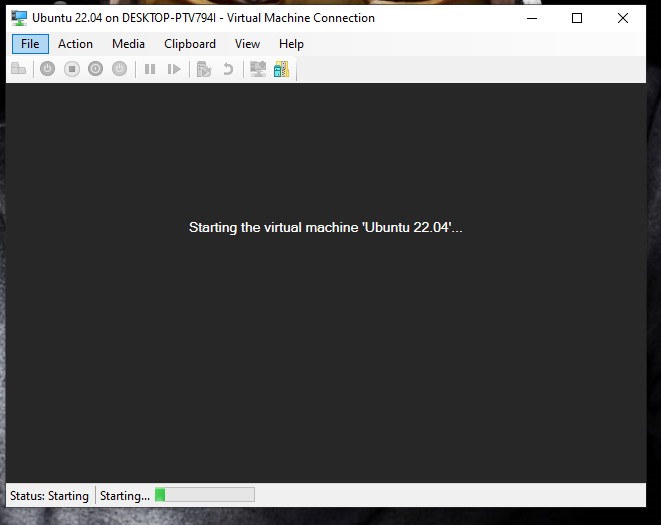
A virtual machine will load up, asking you to click the Start button to open the Ubuntu 22.04.
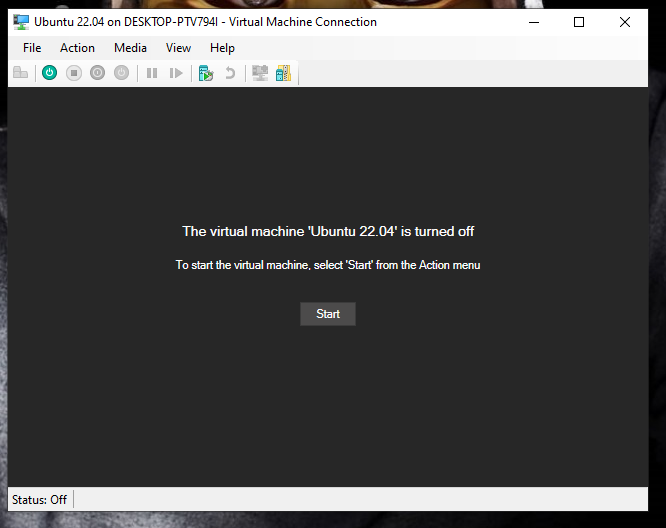
Click the Start button. Ubuntu 22.04 will open up, all set and ready for use.
Conclusion
There are various ways to install the Ubuntu 22.04 on Windows, but in today’s post, we focused on using the Hyper-V to install the Ubuntu 22.04 on Windows 10 or 11. The process is simple and we’ve covered all the needed details, ensuring you don’t get stuck. Try it out!