Windows 10 is a pervasive operating system that is used on multiple platforms. However, Linux users, most programmers, and creative professionals tend to use Ubuntu over Windows 10.
Ubuntu is a very stable and flexible operating system and a Debian-based Linux distribution consisting mainly of free and open-source software. There are different versions of Ubuntu, and we can install any of them on our system. We can install it alone or on a virtual machine. In this writing piece, we will explore how to install “Ubuntu 20.04 on Windows 10”.
Installing Ubuntu 20.04 on windows 10
Follow the below guidelines to install Ubuntu 20.04 on windows 10.
Installation Process
Enable Windows Subsystem for Linux
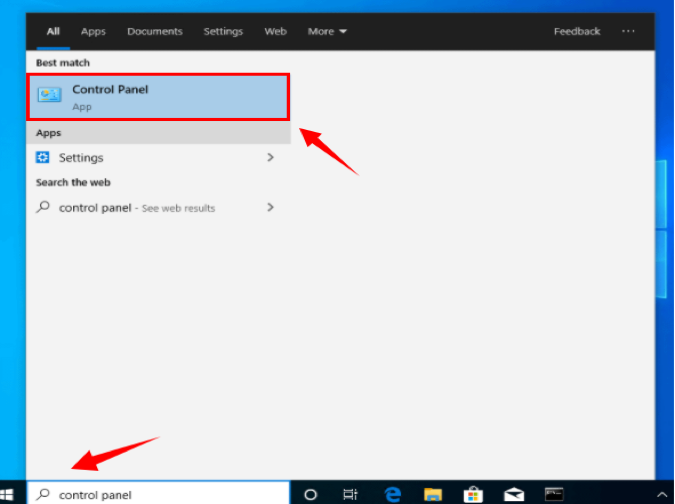
First, Enter “Control panel” in the Window search bar.
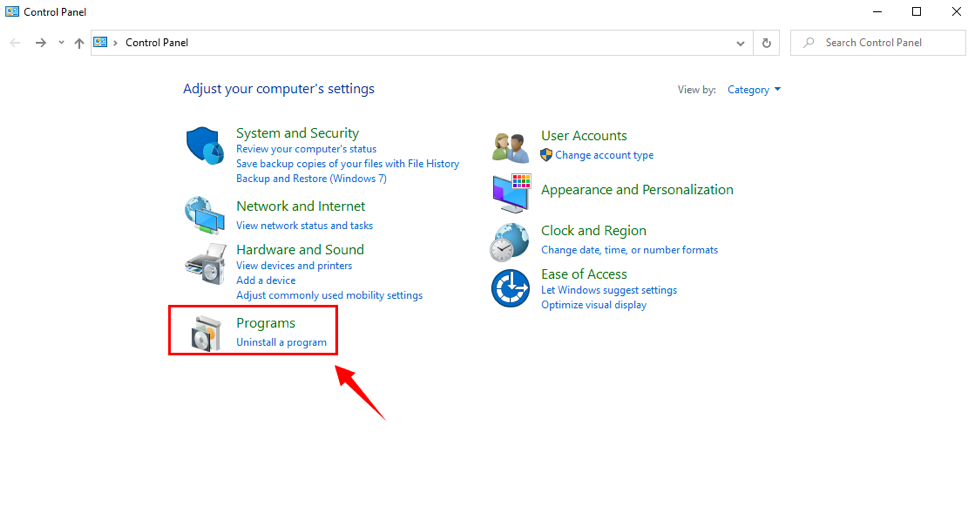
The Control Panel window will open. We need to check the “View by” is set to “Category”.
Select “Programs” from the Settings.
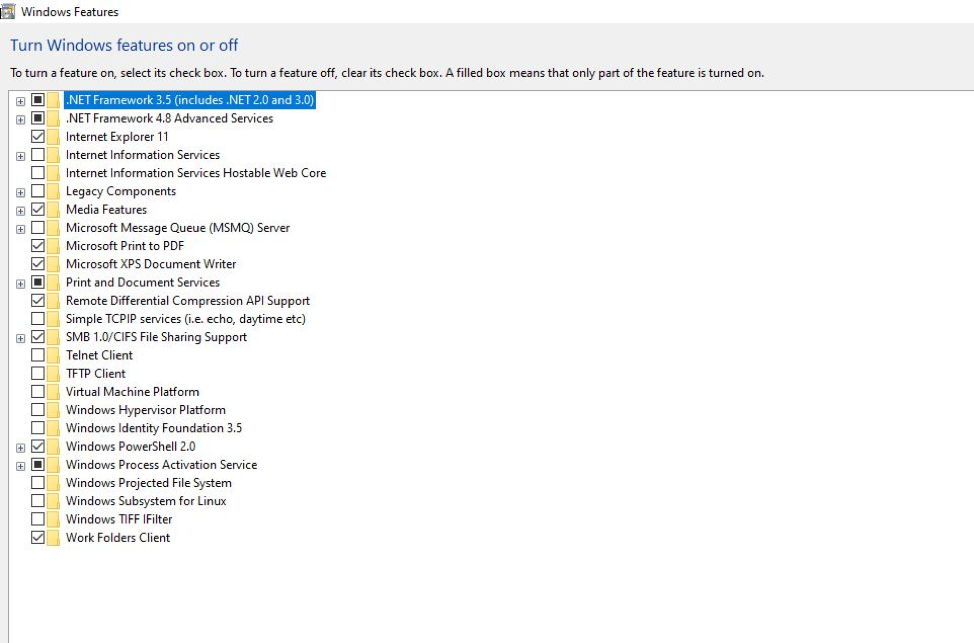
When the “Programs and Features” window opens, select “Turn Windows features on or off”.
A new window will pop up.
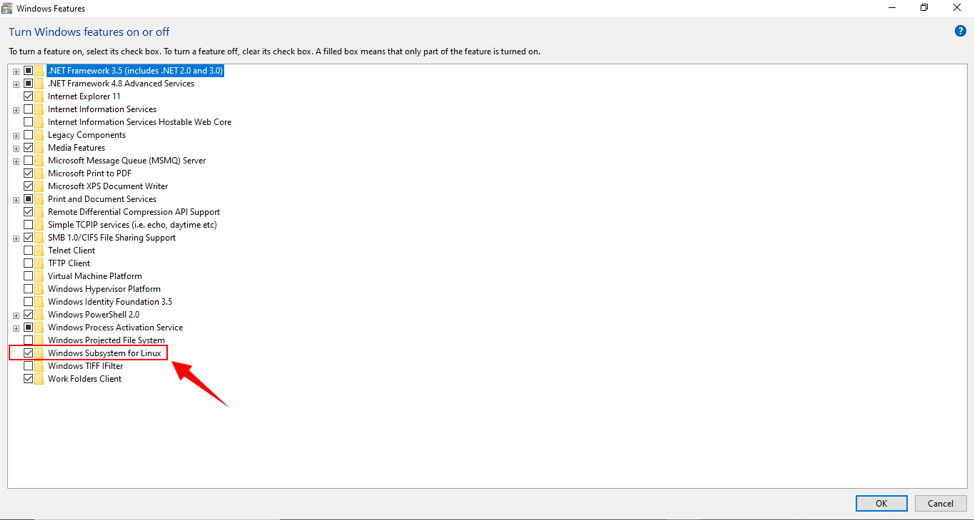
Locate “Windows subsystem for Linux”. We need to mark this check box “Windows Subsystem for Linux”. Press “OK” to install this feature.
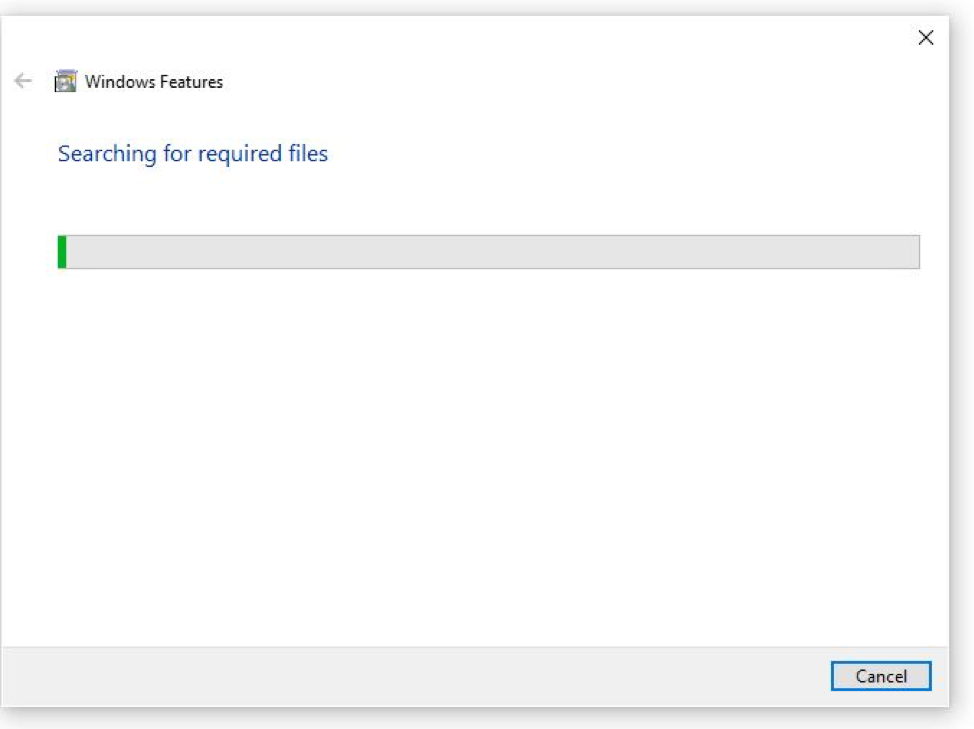
It takes a couple of moments to enable the WSL.
When WSL is enabled, we need to restart our system to finish the requested changes.
Click “Restart now”.
Download and Install Ubuntu 20.04 on window 10 via Microsoft store
Upon enabling Window Subsystem Linux, Download and Launch Ubuntu 20.04. Follow the below steps to install Ubuntu 20.04 on Windows 10.
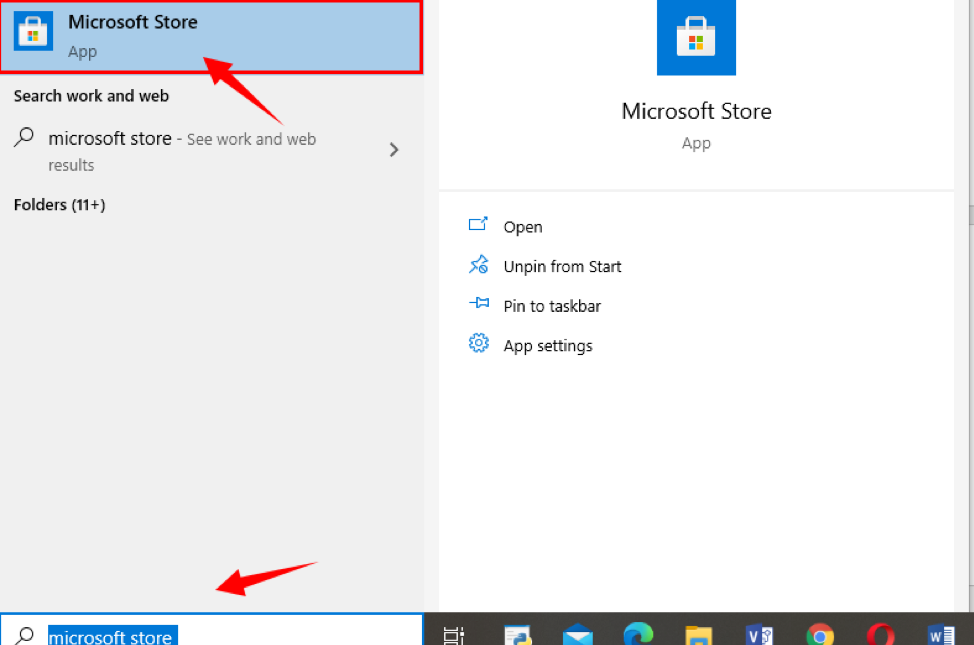
Turn on your system—type “Microsoft Store” on the Windows Search Bar.
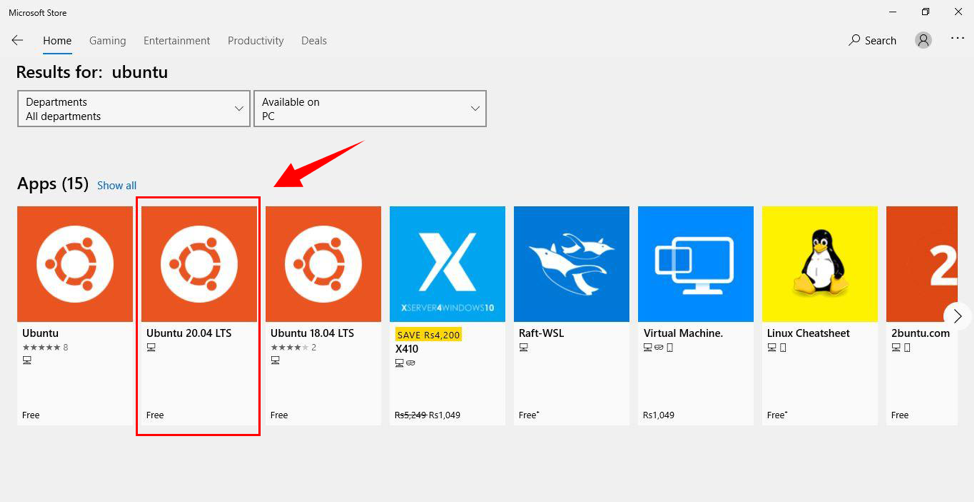
When the Microsoft store opens, there is a search bar on the right top. Type “Ubuntu”.
Different Ubuntu apps will be displayed. Select Ubuntu 20.04 from the given applications.
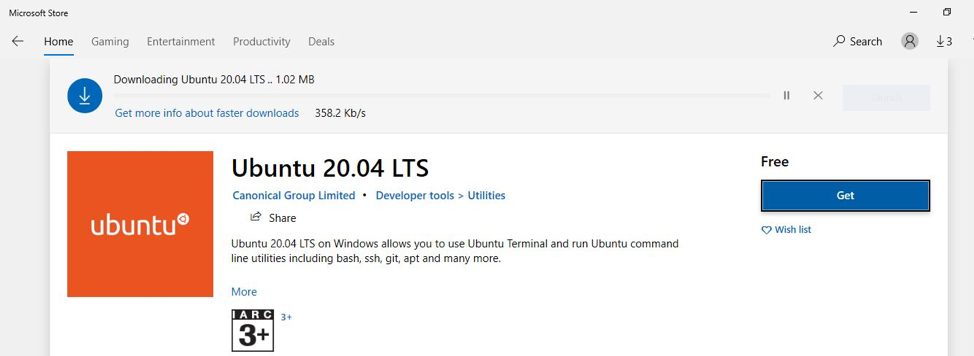
Press “Get” to install the application. Downloading will start.
Upon downloading click “Launch”.
When Ubuntu is installed for the first time, the terminal window will open, which shows that Ubuntu 20.04 is being installed, and we need to hold on for a while.
Upon installation, we will be asked for a username.
Give any specific username.
Press “enter”.
Enter “password” and then enter again.
The message will appear, “password updated”.
Now we can run any command on Linux prompt.
Moving forward, run the “ $ sudo apt update” command on the terminal.
Ubuntu 20.04 terminal is ready for use on Windows 10.
Conclusion
Ubuntu 20.04 is a very useful and popular Linux operating system. The majority of people tend to use Ubuntu over windows. In this writing piece, we explained how to download and install Ubuntu 20.04 on Windows 10. Follow the mentioned guidelines to get Ubuntu 20.04 alongside Windows 10.

