It is fair to say that there are not many people who need to work on multiple terminals at the same time. But for those who require such a utility, tmux is the way to go.
tmux is an open-source terminal multiplexer developed for Unix and other operating systems based on Unix. It is used for simultaneously running multiple command terminal sessions and allows the user to be flexible while working on their computer.
If you are using Linux and any of its distros and you want to know how to install tmux on your system, you are at the right place as this article will guide you through the necessary steps.
Method 1: Install tmux Through the Terminal
Installing tmux using the terminal is straightforward and can be completed in two steps. Just follow these steps:
1. First, you need to update your system repositories so that you can have the latest versions available of any software you are trying to install. Update using this command:
2. After your system repositories are updated, you can now install tmux. Run the following command on your terminal:
3. When you press enter, the installation process should start and you can track the progress.
The above-mentioned steps are for installing tmux on Ubuntu or Debian. If you have a Linux distribution other than these two, have a look at the following commands:
4. For installing tmux on Fedora or CentOS, use the following command:
5. If you use Arch Linux, you can use the following command to install tmux:
So, these were the commands that you need to execute to install tmux on your Linux systems through the terminal:
Method 2: Install tmux Through Github
You can also install tmux graphically. This can be done by downloading the tmux repository directly from Github. Follow these steps:
1. Open your default web browser.
2. In the search bar, type “tmux github”.
3. Click on the link with “Home” written on it, the third link in the above image.
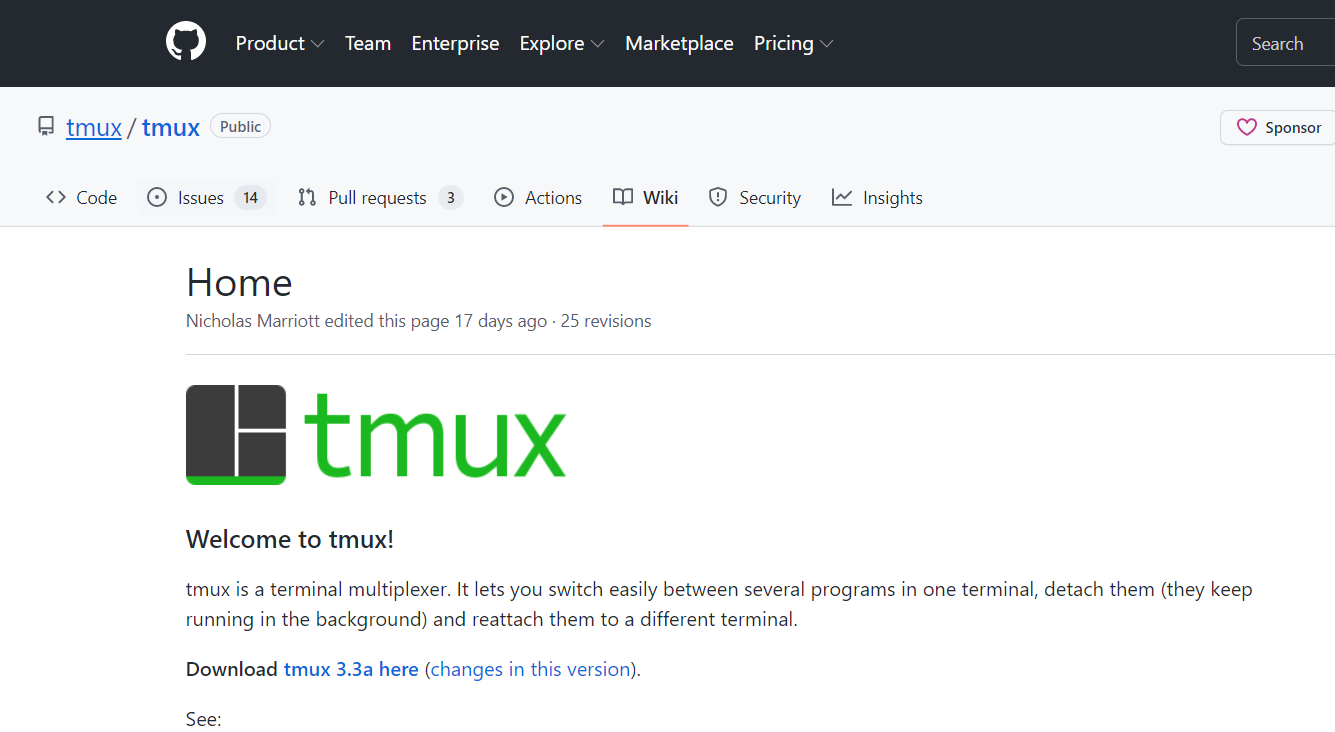
4. You should see this page after clicking on the specified link.
5. Click on the link next to “Download”.
6. When you click on that link, the tmux file should get downloaded to your download folder.
7. Open the tar.gz file to install the tmux application in your system.
Some Basic Commands of tmux
Other than the commands that you enter in the Linux terminal, there are some basic commands associated with tmux as well that you can use to control and configure tmux.
To control tmux, you need to press “Ctrl+B” every time you are going to enter a tmux command. Some of the most common commands that you need to know about while using tmux are the following:
If you want to start a new unnamed tmux session, type the following in the terminal window.
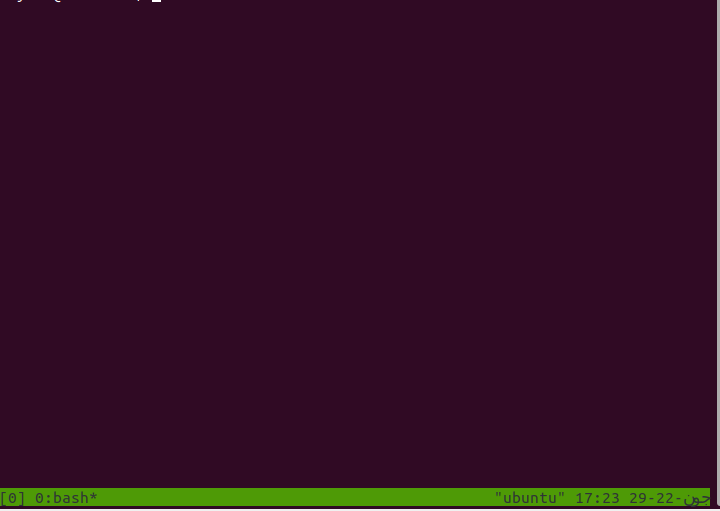
Upon executing this command, the screen should change and you should see a status bar at the bottom of your screen. In the bottom left corner, you should see the screen number and the name of the window, as shown in the following image:
You can also start a new named tmux session. For that, type the following command in the terminal:
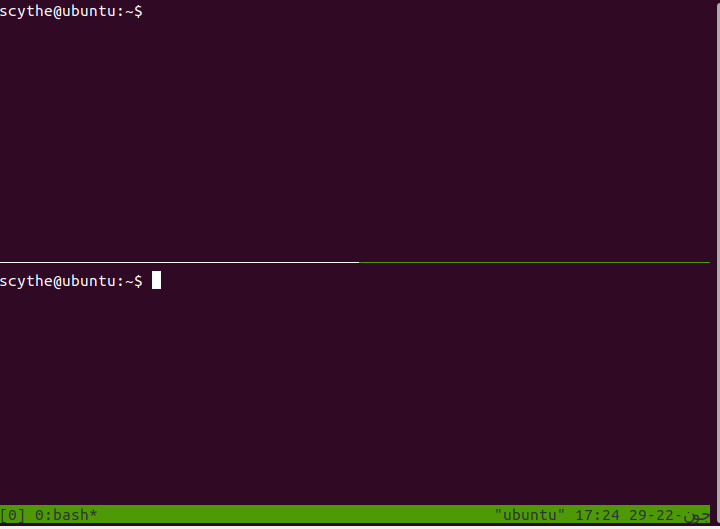
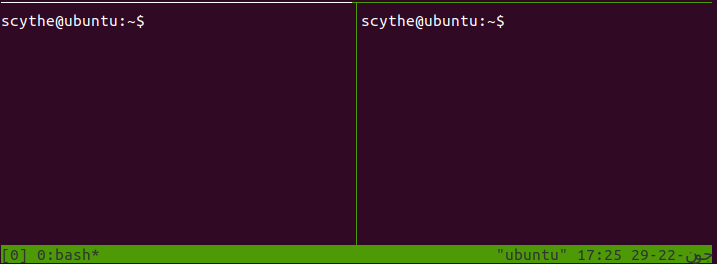
You can split the panes you have created as well. Without splitting, the different panes are working in the background and you can see only one pane at a time. You can split panes both vertically and horizontally.
Press “ Ctrl+b+” ” to split the pane horizontally
Press “ Ctrl+b+% “ to split the pane vertically
As you can create multiple panes, there is the provision of moving between those panes as well. Every pane is numbered by tmux. To move to the desired pane, you need to press “Ctrl+b+q”. This should display the list of the number of panes available. To move to a specific pane, press the number of the pane.
There is also the provision of zooming into a pane to have a better look at something you can’t figure out. You can do this by pressing “Ctrl+b+:” and typing “resize-pane -z”.
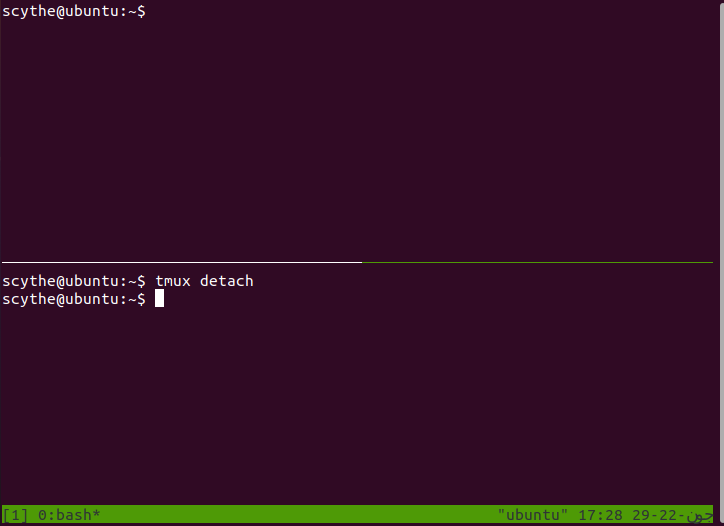
One of the best features of tmux is that you can go back to the normal command terminal and tmux will continue running in the background. You can detach yourself from the current working session by entering the following command:
If you want to go back to working on the session, enter the following command:
As you can see in the image, we are back where we left off.
If the session you started had a name, attach yourself using the following command:
You can also have a look at all the active tmux sessions by entering the following command:
This should display a list of all the active tmux sessions.
Conclusion
This was an article on how to install tmux on Ubuntu. We discussed the methods you can use to install tmux on Ubuntu. Moreover, we also mentioned the command that you can use if you are using any other Linux distribution. Other than that, we gave you a list of the basic and common commands that you will use while working with tmux. If used properly, tmux can do wonders in helping you handle multiple tasks simultaneously.


