
Tesseract is a freely available open-source text recognition tool also known as OCR (Optical character recognition). It is primarily used to identify and extract text from images. It will read text from image data and write output in a new .txt file. Tesseract is also working under Python, as it is mainly used to recognize handwriting from images. It is using the LSTR (Long short-term memory) model. Tesseract is working under the Apache 2.0 license.
We will elaborate on the method to install Tesseract on Windows in this blog.
So, let’s get started!
How to install Tesseract on Windows?
The Tesseract is a command line tool that is used for text extraction from images. To install Tesseract on Windows, you need to follow up on the below-given instructions.
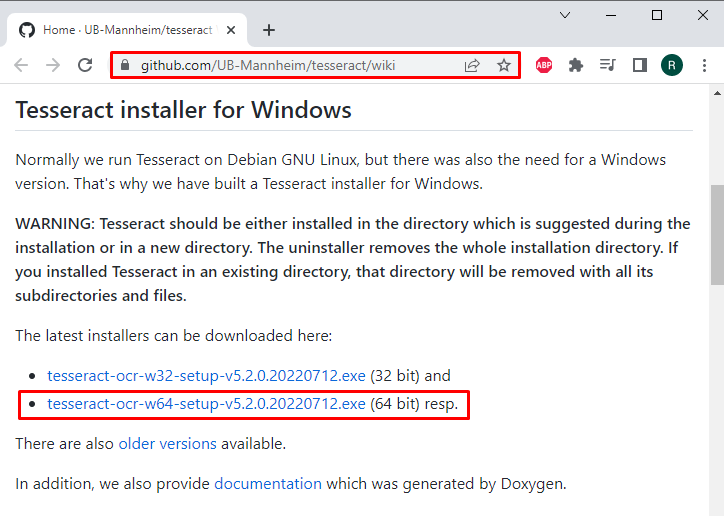
Step 1: Download Tesseract Installer
Firstly, navigate to the below-provided link and download the Tesseract installer according to your system specification:
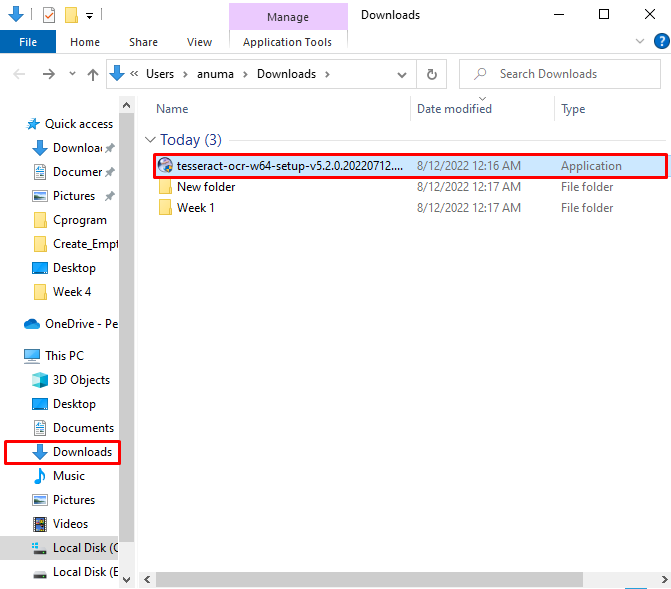
Step 2: Run Tesseract Installer
Visit the “Downloads” directory where the Tesseract installer is downloaded. In order to install Tesseract on Windows, execute the Tesseract installer by double clicking on it:
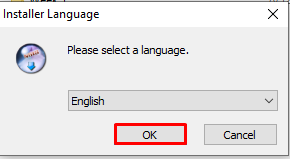
Step 3: Select Language
Many languages are supported by the Tesseract installer. To interact with the Installer UI, choose “English” as your language and click on “OK”:
Step 4: Install Tesseract
Upon doing so, the Tesseract OCR setup wizard will appear on the screen. To begin Tesseract installation, hit the “Next” button:

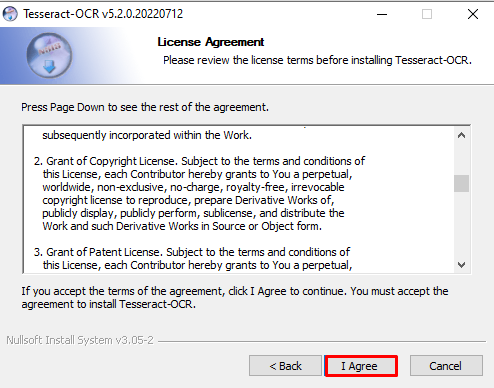
To accept the “License Agreement”, click the “I Agree” button:
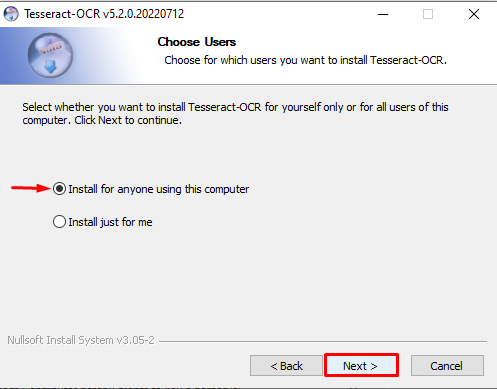
Select the “Install for anyone using this computer” option and press the “Next” button:
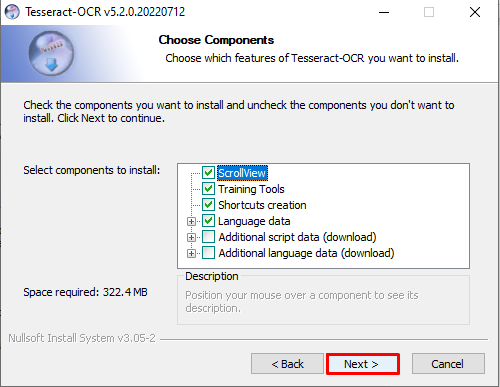
If you want to add script data or include another language, mark their respective checkboxes and hit the “Next” button. As we do not want any additional data script or language therefore, we will continue with default selected options:
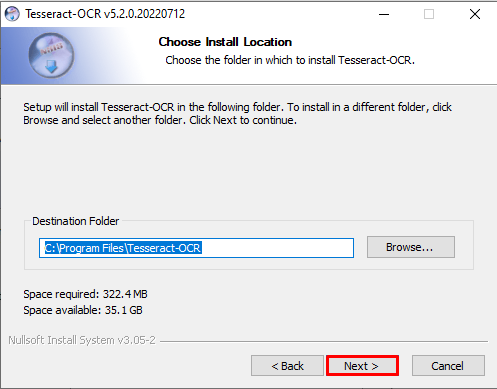
Choose the installation location and click on the “Next” button:
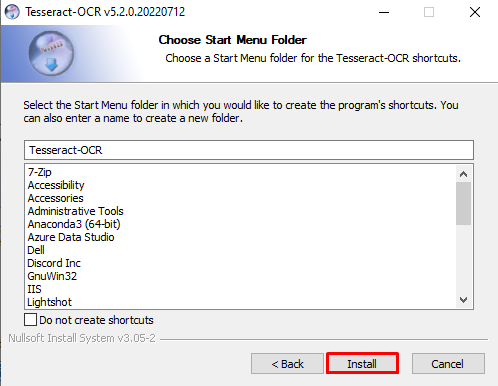
If you do not want to create a shortcut in the Start menu, then mark the “Do not create shortcuts” checkbox and press the “Install” button:
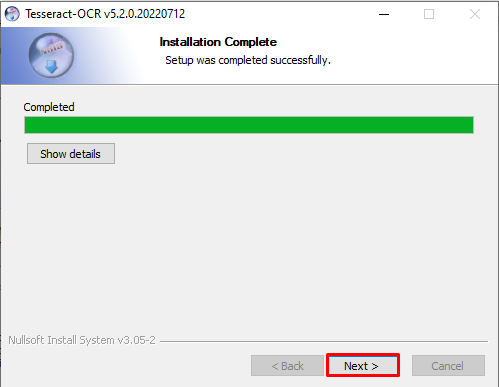
After that, the Tesseract installation will be started. Wait until the installation will complete and hit the “Next” button:
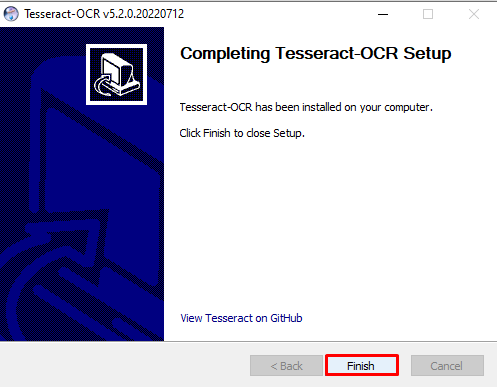
Lastly, click on the “Finish” button:
Step 5: Set Environment Variable
After installation, you need to set the environment variable of the Tesseract. To do so, firstly visit the directory where you have installed the Tesseract and copy the path from the “Address” bar:

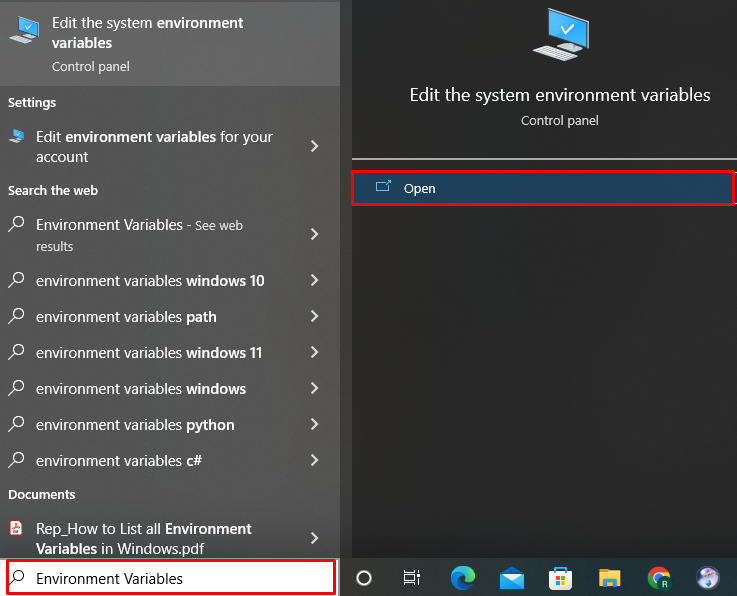
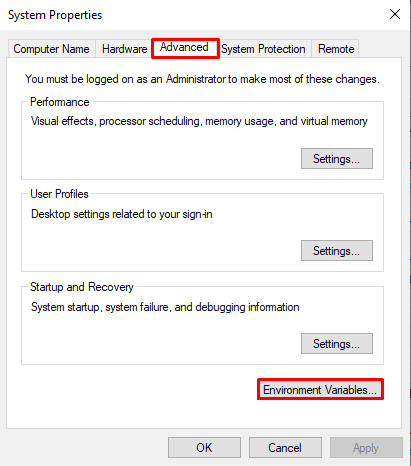
Make a search for “Environment Variables” in the “Startup” menu and open “Edit the system environment variables”:
Inside the settings, navigate to the “Advanced” setting menu and click on the “Environment Variables” button:
Choose the “Path” Variable from the “System Variables” panel, and hit the “Edit” button:
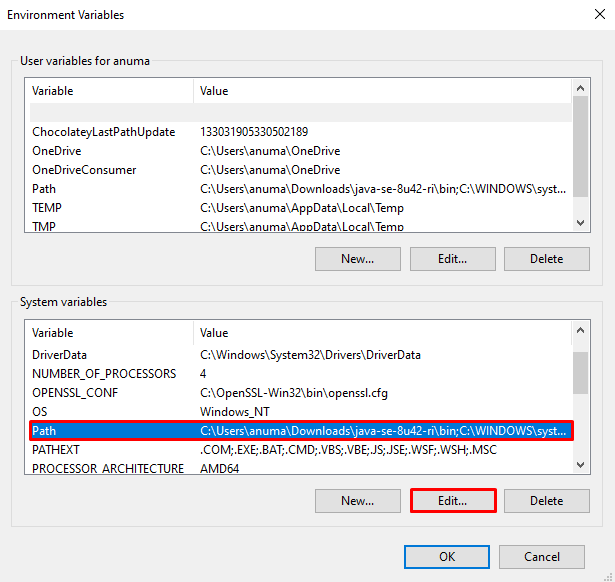
After that “Edit Environment Variable” window will appear on the screen. Press the “New” button and paste the copied Tesseract installation directory path here. Lastly, click on the “OK” button:

Step 6: Verify Tesseract Installation
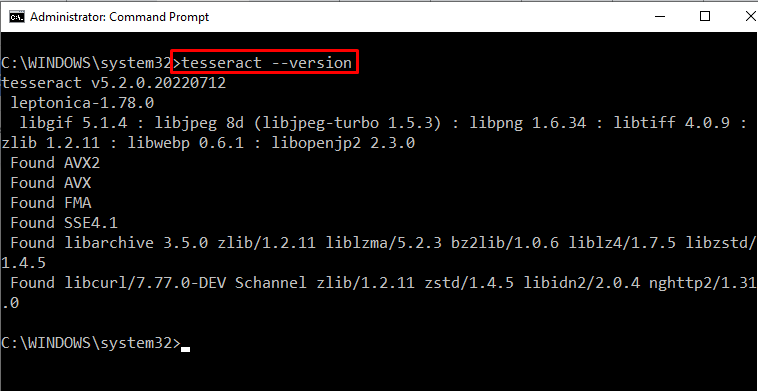
To verify Tesseract Installation, open the Windows Command Prompt by searching “Command Prompt” in the “Startup” menu:

Check out the Tesseract version using provided command:
The below-given output indicates that we have successfully installed Tesseract version “v5.2.0” on Windows:
Let’s move ahead to check out how to use Tesseract on Windows.
How to Use Tesseract on Windows?
The Tesseract is used to read handwriting or extract text from pictures. Let’s see how it works:
Step 1: Select Image
Select the image from which you want to extract text. As we have chosen “1.png”:

Step 2: Extract Text From Image
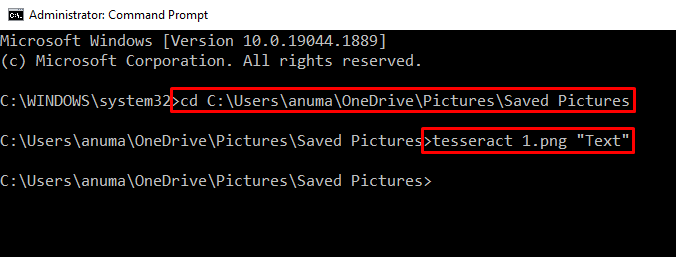
Once the CMD is opened. Utilize the “cd” command to change the directory where the image is stored. Then run the “tesseract” command and define the image file name as we have specified “1.png”. The “Text” parameter shows denote the name of the output file:
> tesseract 1.png "Text"
Step 3: Verify Text Extraction
To verify the text extraction, navigate the directory where the image file exists. You can see that the output file “Text” is also saved here. Double click on the output file to check whether the tesseract has extracted the text from the image or not:

You can see that we have successfully extracted the text using the Tesseract command line tool:

We have demonstrated the technique to install and use Tesseract on Windows.
Conclusion
To install the Tesseract on Windows, it is required to download the Tesseract installer. For this purpose, follow the first session of this article. Next set the Path environment variable to use and access Tesseract from Windows Command Prompt. Then, select the image file and use the “Tesseract” command to recognize and extract the text from the image. Here, you have learned to install as well as use the “Tesseract” on windows.