“Teleport serves as an Access Plane and a Certification Authority for your infrastructure. Teleport allows you to set up single sign-on, so you can access your SSH servers, Kubernetes, databases, desktops, and web apps from a single location. You can use your favorite programming language to define access policies to your infrastructure. Moreover, it lets you share and record interactive sessions in all configuration environments.
Teleport supports both distributions Linux and macOS, so you will be able to install both the master server and clients. When we talk about Windows, it offers support that is more limited. However, it gives the possibility to install client packages on Windows OS.”
We will learn in this article how to install the teleport on Ubuntu 22.04 LTS distribution.
Steps to Install Teleport on Ubuntu 22.04
Perform the following number of steps to install teleport on the Ubuntu 22.04 system:
Step 1: Download the Teleport Repository GPG Signing Key
Teleport is not included in the default Ubuntu 22.04 apt repository. Therefore, you need to import the teleport repository GPG key to install teleport on Ubuntu 22.04 LTS; use this command to download the teleport’s repository GPG public key:
Step 2: Add Teleport Repository
Next, Add the teleport repository to your system by using this command:
| sudo tee /etc/apt/sources.list.d/teleport.list > /dev/null
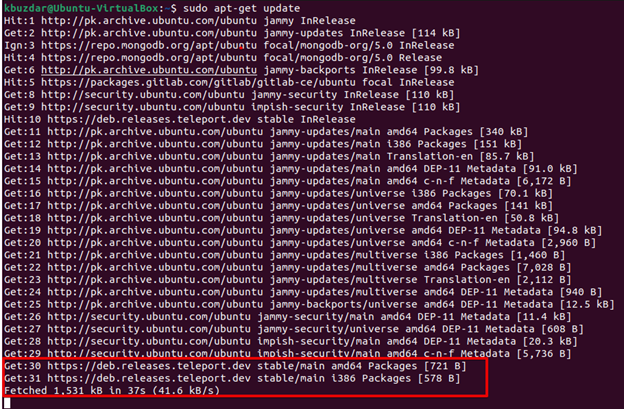
Step 3: Update Apt Repository
Update the system packages index by using the following command:
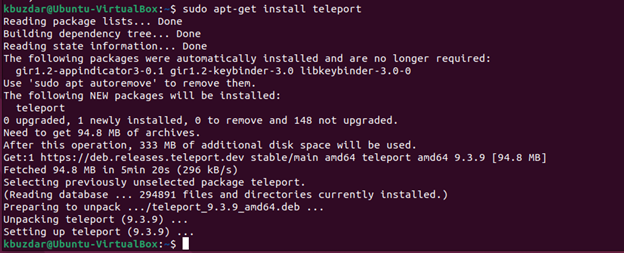
Step 4: Install Teleport on Ubuntu 22.04
Now, your system is ready to Install teleport on Ubuntu 22.04 system using this command:
How to Configure Teleport on Ubuntu 22.04?
Since security is an essential factor of Teleport, we must take a few steps before using it.
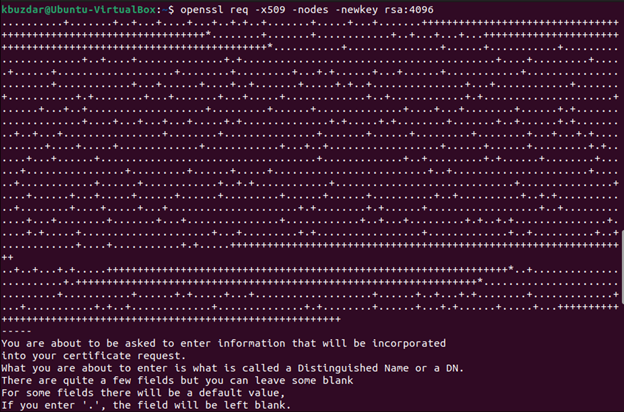
Generate SSL Certificate
We must first generate our certificates using the “OpenSSL” command.
-keyout /var/lib/teleport/teleport.key \
-out /var/lib/teleport/teleport/teleport.pem -sha256 -days 3650 \
-subj “/C=US/ST=NewYork/L=NewYork/O=town website/OU=Org/CN=linuxhint-demo.com”
Replace “linuhint.com” and the remaining certificate parameters, such as “country, state, locale,” and “business name,” with your domain name.
Generate Configuration File of Teleport
Once you configure the domain name and generate an SSL cert, use the following command to create a configuration file for running teleport:
--cluster-name=linuxhint-demo.com \
--public-addr=teleport.linuxhint-demo.com:443 \
--cert-file=/var/lib/teleport/teleport.pem \
--key-file=/var/lib/teleport/teleport.key
You can view the content of the teleport configuration to run this command:
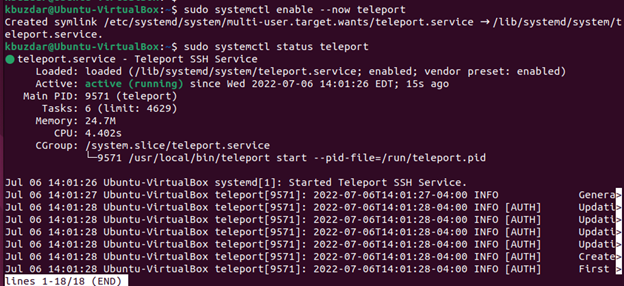
After setting up all configurations, use the following commands to enable and start the teleport service on Ubuntu 22.04:
$ sudo systemctl status teleport
Now, create a new user and assign some roles:
You can also add more roles and assign permissions as follows:
In the end, the following output will receive on your terminal:
Access Teleport Web Console
Make sure the firewall for the port should be open for external access. The link that you need to use to enter Teleport and make a new account will be made available to you. There is an expiration limit of 1 hour.
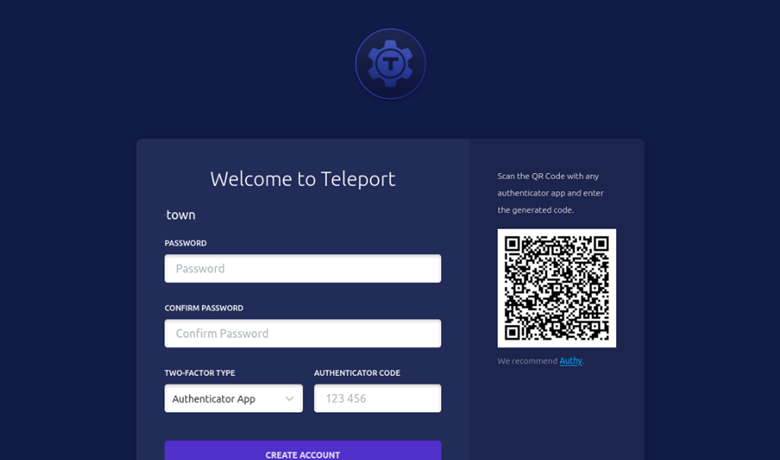
The screen below will appear after you log in.
To improve security, you must create a password and scan a QR code to get the login code. You can begin working as soon as the account has been set up.
Conclusion
We learned in this article how to install teleport on Ubuntu 22.04 LTS distribution. With the help of the wonderful tool teleport, we can rapidly visualize a server infrastructure. We can rely on the security of this application because it is one of its main features. You can explore more features of teleport from its official documentation.


