
This article will state the method for installing Sourcetree for Git on Windows.
How to Install Sourcetree For Git on Windows?
To install Sourcetree for Git on Windows, try out the steps mentioned below:
- Visit the Sourcetree official website to download it.
- Check the agreement box to continue downloading.
- Go toward the “Downloads” folder of your system to verify the download setup file.
- Click on the downloaded file to start the installation process.
- Pick a tool for installation.
- Add required information for configuration.
Step 1: Download Sourcetree
Visit Sourcetree on your Windows desktop and click on the “Download free” button available on the right side:

Step 2: Agree With the Privacy Policy
Mark the highlighted checkbox to agree with the terms and privacy policy. After that, hit the “Download” button to continue downloading:

Step 3: Verify the Downloaded Sourcetree Setup
Now, navigate toward the “This PC> Downloads” folder of your system and check whether the Sourcetree setup file has been downloaded or not:

The above-stated image indicates that the “SourceTreeSetup” setup file has been downloaded successfully. Click on the file to install the Sourcetree application.
Step 4: Register Sourcetree
When the Setup has been installed successfully, the below-stated window will appear on the Desktop. Select your preferred account to continue. However, you can skip it by clicking on the “skip” button if you want to install other tools for use on Sourcetree:

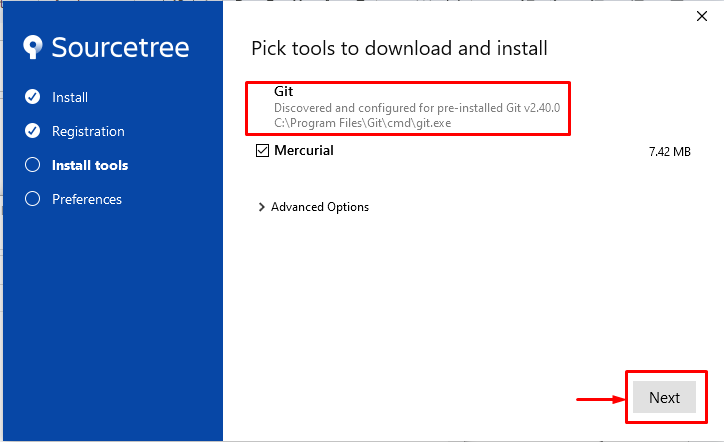
Step 5: Select a Tool to Install
Now, choose your favorite tool to install the Sourcetree. To do so, we will choose “Git” and click on the “Next” button to move ahead:
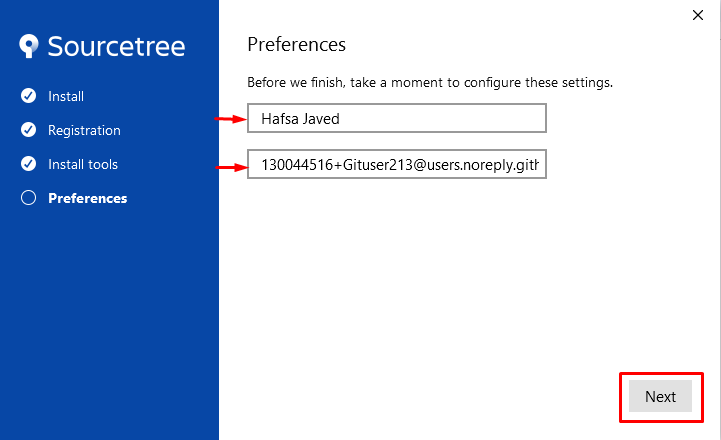
Step 6: Provide the Required Information
For configuring the setting, enter the necessary details in the stated area. Furthermore, if you have installed Git on your system, then it will automatically configure the setting:
Step 7: SSH Key
Click on “Yes” to insert the SSH key of your GitHub repository. Otherwise, hit on the “No” button for adding later:

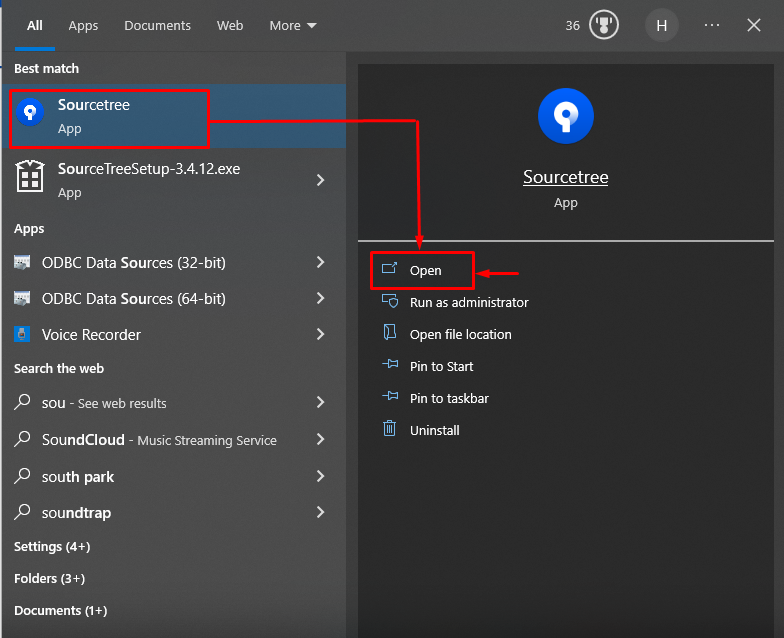
Step 8: Launch Sourcetree
Open the “Sourcetree” application on your system:
The below-stated image indicates that the Sourcetree application has been launched successfully. Now is ready for use along with Git makes the workflow fast and efficient:

Conclusion
To install Sourcetree for Git on Windows, first, visit the Sourcetree official website to download it. Then, go toward the “Downloads” folder of your system to verify the download Setup file. After that, click on the downloaded file to start the installation process. Next, pick a tool for installation and add the required information for configuration.