This guide is about installing Signal Messaging App on Ubuntu. There are a couple of approaches to get Signal on Ubuntu, let’s check them one by one:
Installing Signal Messaging App on Ubuntu using Software center:
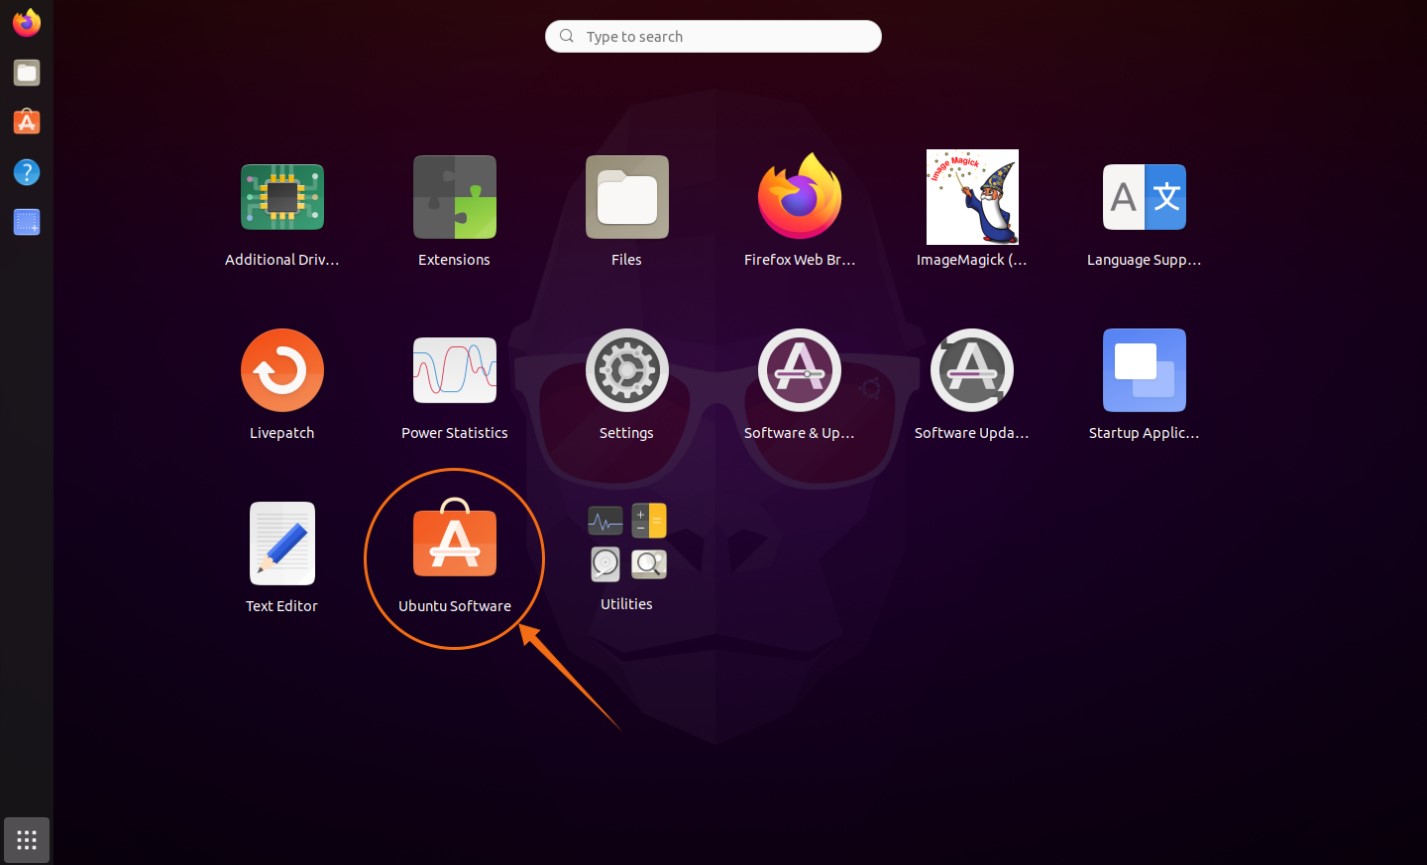
The first and hassle-free approach of installing the Signal Messaging App is using Ubuntu’s Software Store. Open software center:
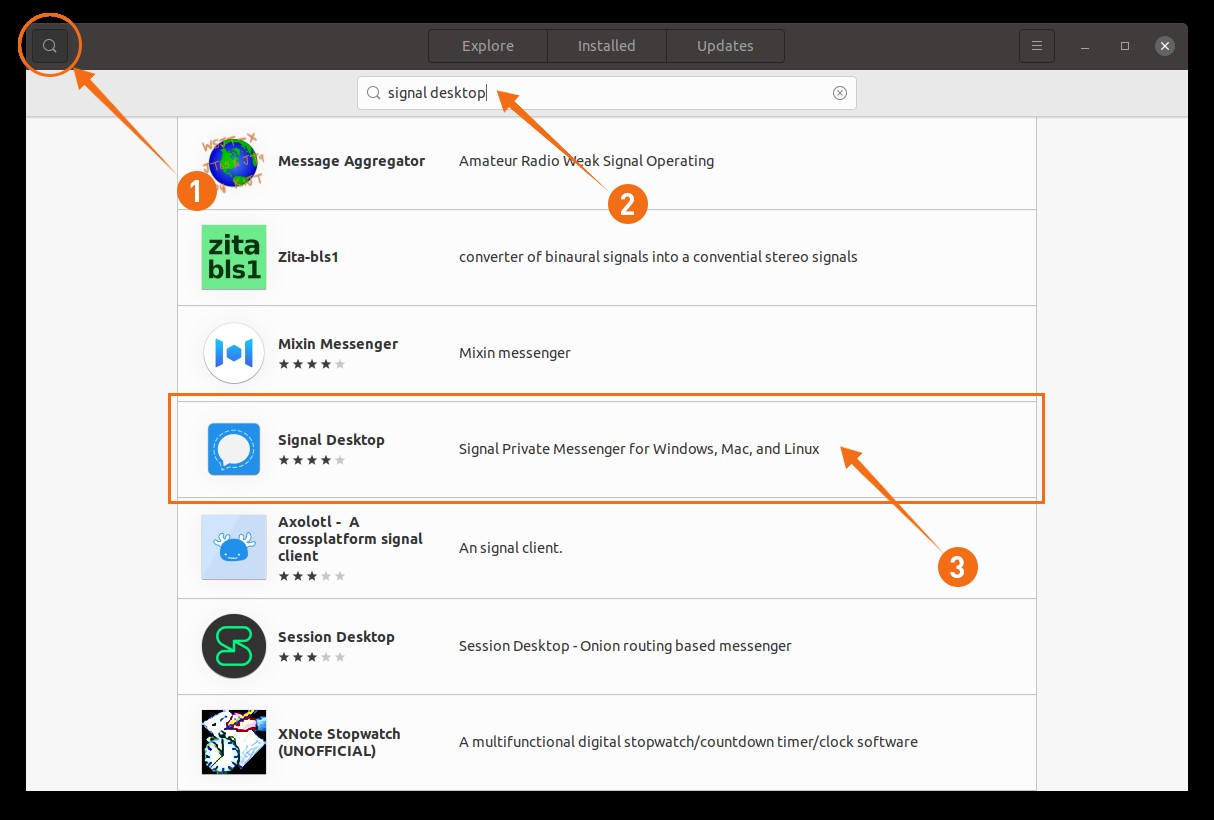
Click on the search icon and type “Signal Desktop”:
It will be appeared in the list open it and click on the install button:
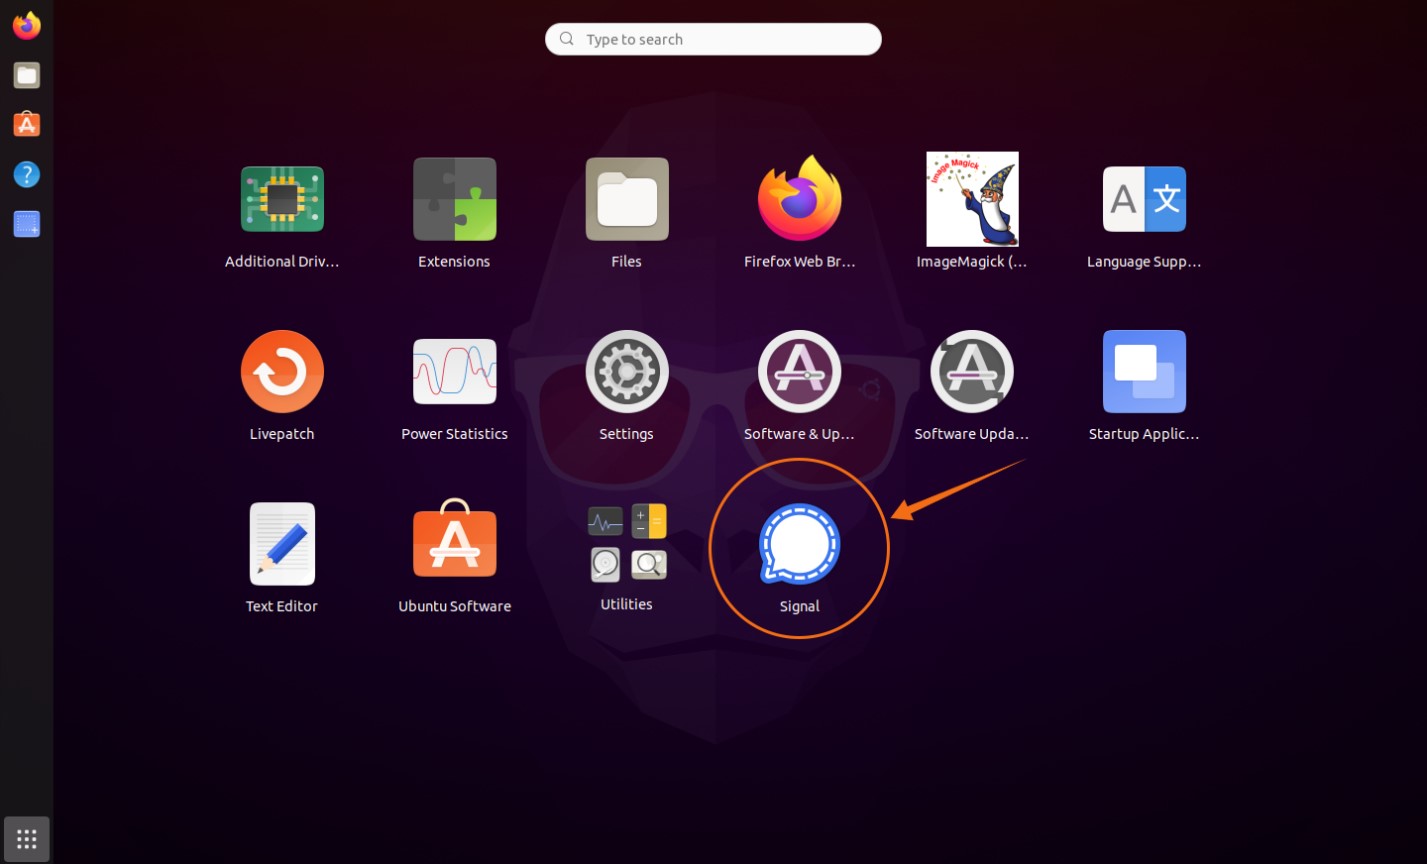
Once the downloading and installation is finished Signal App can be viewed in applications:
Open it:
Installing Signal Messaging App on Ubuntu via snap:
The second approach is installing Signal via snap. Snap is supported by many Linux distributions such as Debian, Linux Mint, Elementary OS, etc. Installation of applications through Snap is simple and they automatically get updated. Use the below-mentioned command to install Signal for desktop:
Installing Signal Messaging App on Ubuntu using APT:
The third method is installing Signal using APT. Firstly, copy the following command and paste in terminal to install the official software signing key:
Now, to add official repository use:
Update the packages list using:
Now install Signal App using:
Deleting Signal Messaging App from Linux:
If the app is installed in Ubuntu using software center then open software center again click on the “Installed” tab, find “Signal” and click on remove:
If it is installed using Snap, then simply use the below-mentioned command in terminal to delete it:
If it is installed via “apt”, then use:
Conclusion:
The signal is a cross-platform messaging app that is a free and secure application. In this guide, we learned how to install Signal on Ubuntu using the software center and then how to get it on Ubuntu and other Linux distributions using the terminal. We also understood the process of deleting the Signal application from your desktop device.


