
Ubuntu 16.04 as an SMB File Server
Linux belongs in the server space, and as a sysadmin, one of the most common tasks is setting up and managing remote file servers. A file server program, like samba, is responsible for managing permissions on files and directories and offering those files over the network to different users.
The first hurdle you will come across is that different users would be running different operating systems. The SMB protocol first came up as a Microsoft specific technology. Concepts like Domain Name, Workgroup are all built into the notion of the SMB protocol. So, when we are using the open source implementation of SMB, that is samba, it helps to stay mindful of this distinction between a typical Unix administrator who is setting up the file share and the person who will be using it on his/her Windows machine.
Fortunately, SMB protocol is common enough that most Linux desktop distros come with an SMB client built into them which you can use, in case you have no Windows machine lying around.
For this tutorial, we will be using Ubuntu 16.04 LTS server to host our files and we will use Windows 10, Android and iOS to access those files, that is, as clients. They are all on the same network, connected to a simple home router with private IP addresses like 192.168.X.X.
You would need a non-root user to whom you would assign the permissions for the contents of the shared folder . In our case, the user’s username is bob.
Installing Samba on Ubuntu Server
Unsurprisingly, this step is as simple as running the command:
After the install comes the part where you need to know about your workgroup details, if you are going to use it with a Windows client.
Go to Control Panel, click on “System” and you will see the basic information about the computer.
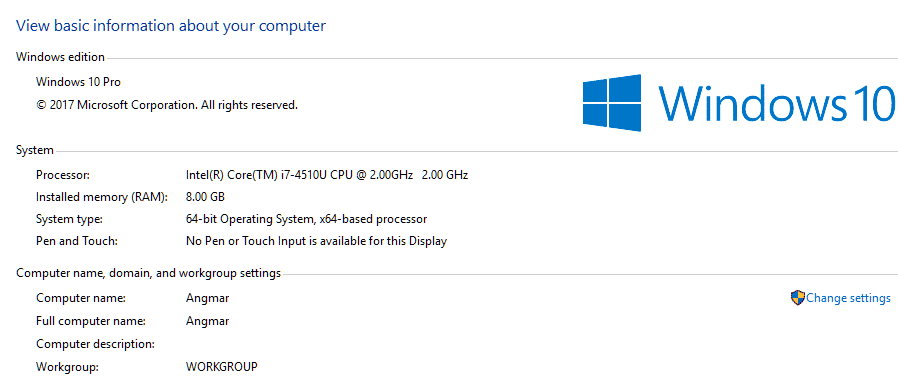
In this case, the computer’s Workgroup is literally the string ‘WORKGROUP‘ which we would be using to configure our file share. Your case might differ, so use whatever name is shown in the Workgroup section.
Creating a File Share
Let us create a folder which we would like to share over the network.
Let’s make our user bob the owner of this directory.
To make things easier for now, let’s give the permissions for read, write and execute to everyone.
Next, we open the configuration file of samba, using the editor of your choice (I am using vim):
Here, we will make the first edit in the [global] section of the file, where the variable workgroup need to hold the value of your SMB client’s workgroup name.

Next, we would scroll to the bottom of the file and add a new block named [Storage]. The name Storage will show up as a folder on your files explorer because that’s what we named it in the square brackets.
[Storage]
comment = My network share
path = /media/Storage
read only = no
guest ok = no
create mask = 0777
Restart the smbd service so it recognizes the changes made in the config file.
Lastly, samba tries to be operating system agnostic, so it uses its own authentication mechanism to allow users to talk to it. Run the command:
Where username is a user on the Ubuntu server. This will have nothing to do with your Windows username. But, if and when, Windows prompts you for authentication to access the shared folder, you will be using this username and the new SMB password, you chose, to access the files.

This is it! Now you can move over to your client computer.
File Explorer
On Windows, go to File Explorer and on the navigation bar enter \\smb.server.ip. That’s your SMB server’s ip address prefixed by two backslashes, as the Windows convention dictates.
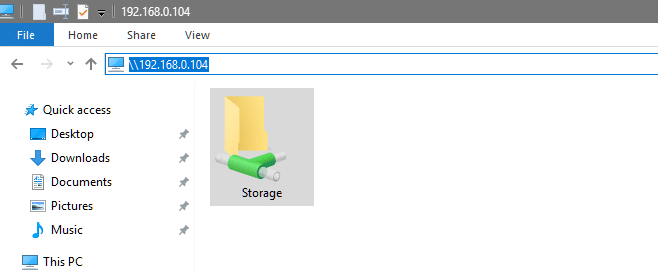
The folder can be used to share files, and because we have given liberal read and write permissions we can start by backing up local media onto the remote folder. This is as simple as copying and pasting the files from your local folders to the Storage folder.
We will be using video files as an example.

Once you are happy with the contents on your file server, you can change the permissions on the folder by going back to the Ubuntu terminal and using chmod command with stricter permissions.
The 0755 permission would mean that only the owner of the Storage directory (bob) can write to the directory and everyone else can only read and execute its contents.
Connecting Other Devices
Both Android and iOS devices have one severe limitation and that is of storage. You can use your file server to stream high resolution media directly to your mobile devices. Making their effective storage as large as the available storage on your server.
The VLC app for both Android and iOS comes with an SMB client, which means you can stream the media shared over your local network. First you have to select Local Network (Make sure you are on the same network as your Ubuntu server, in this case it is a just a home network.)
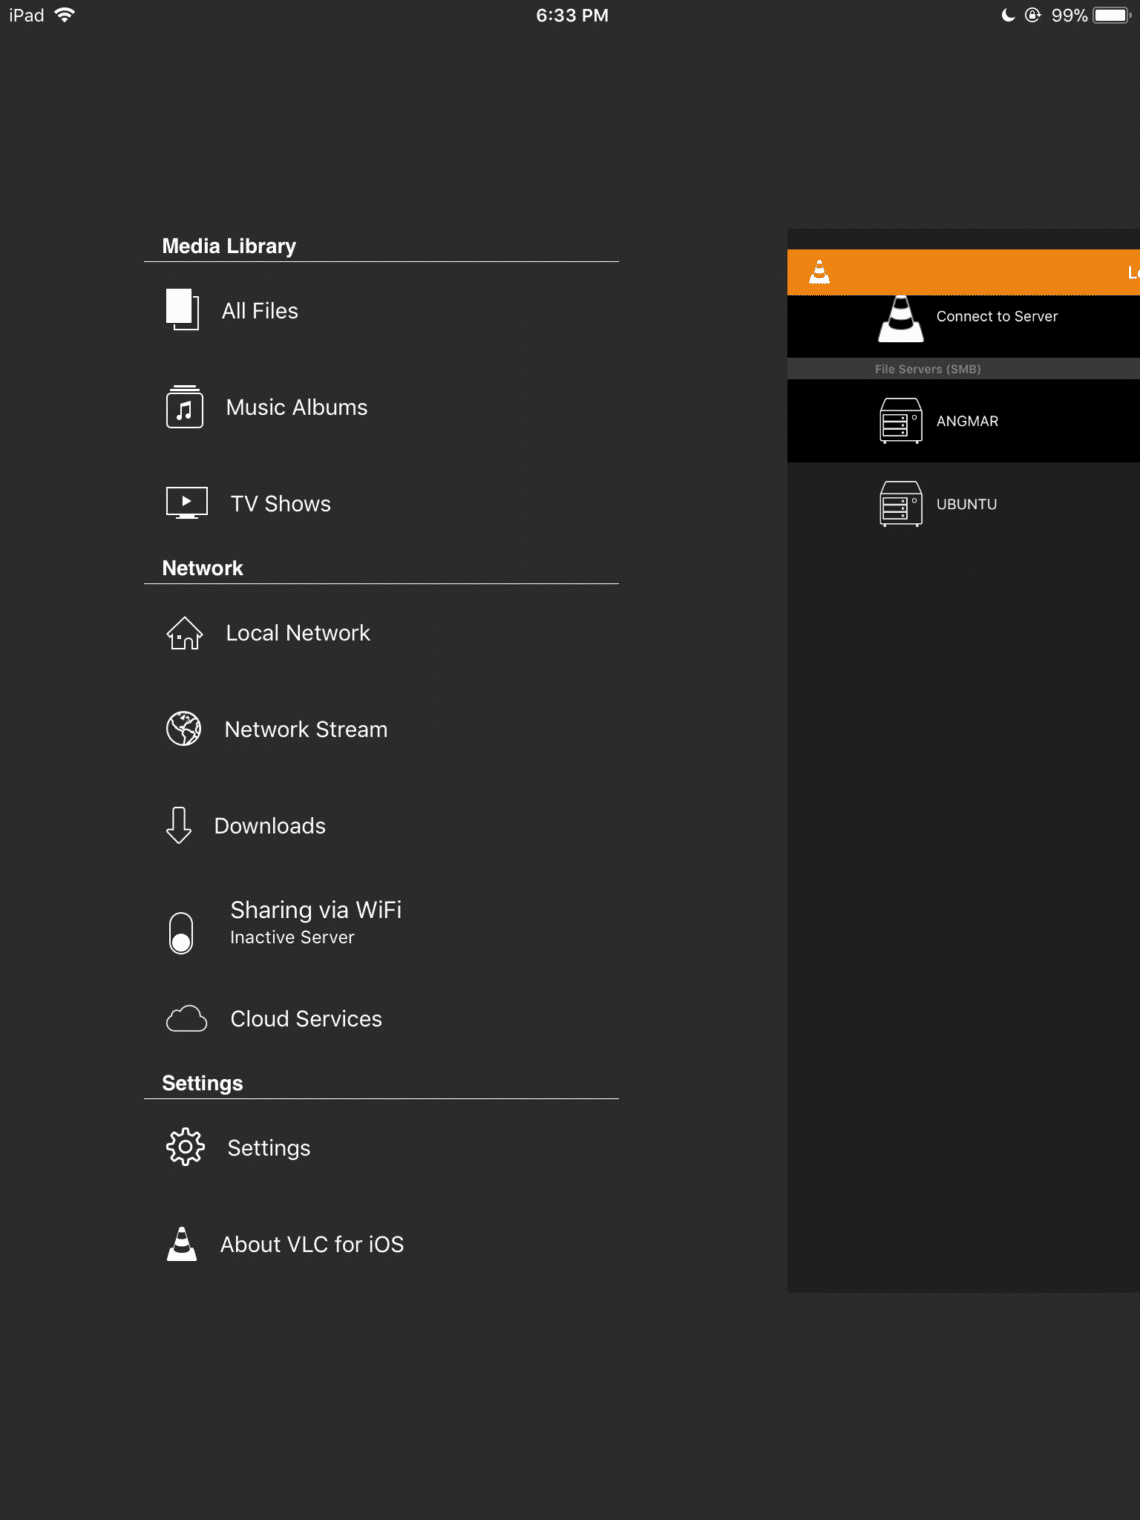
Then select the appropriate server name (the hostname of your server), which in our case is UBUNTU.
Now select the SMB option and use the credentials that user bob was given in the smbpasswd command in the previous section.
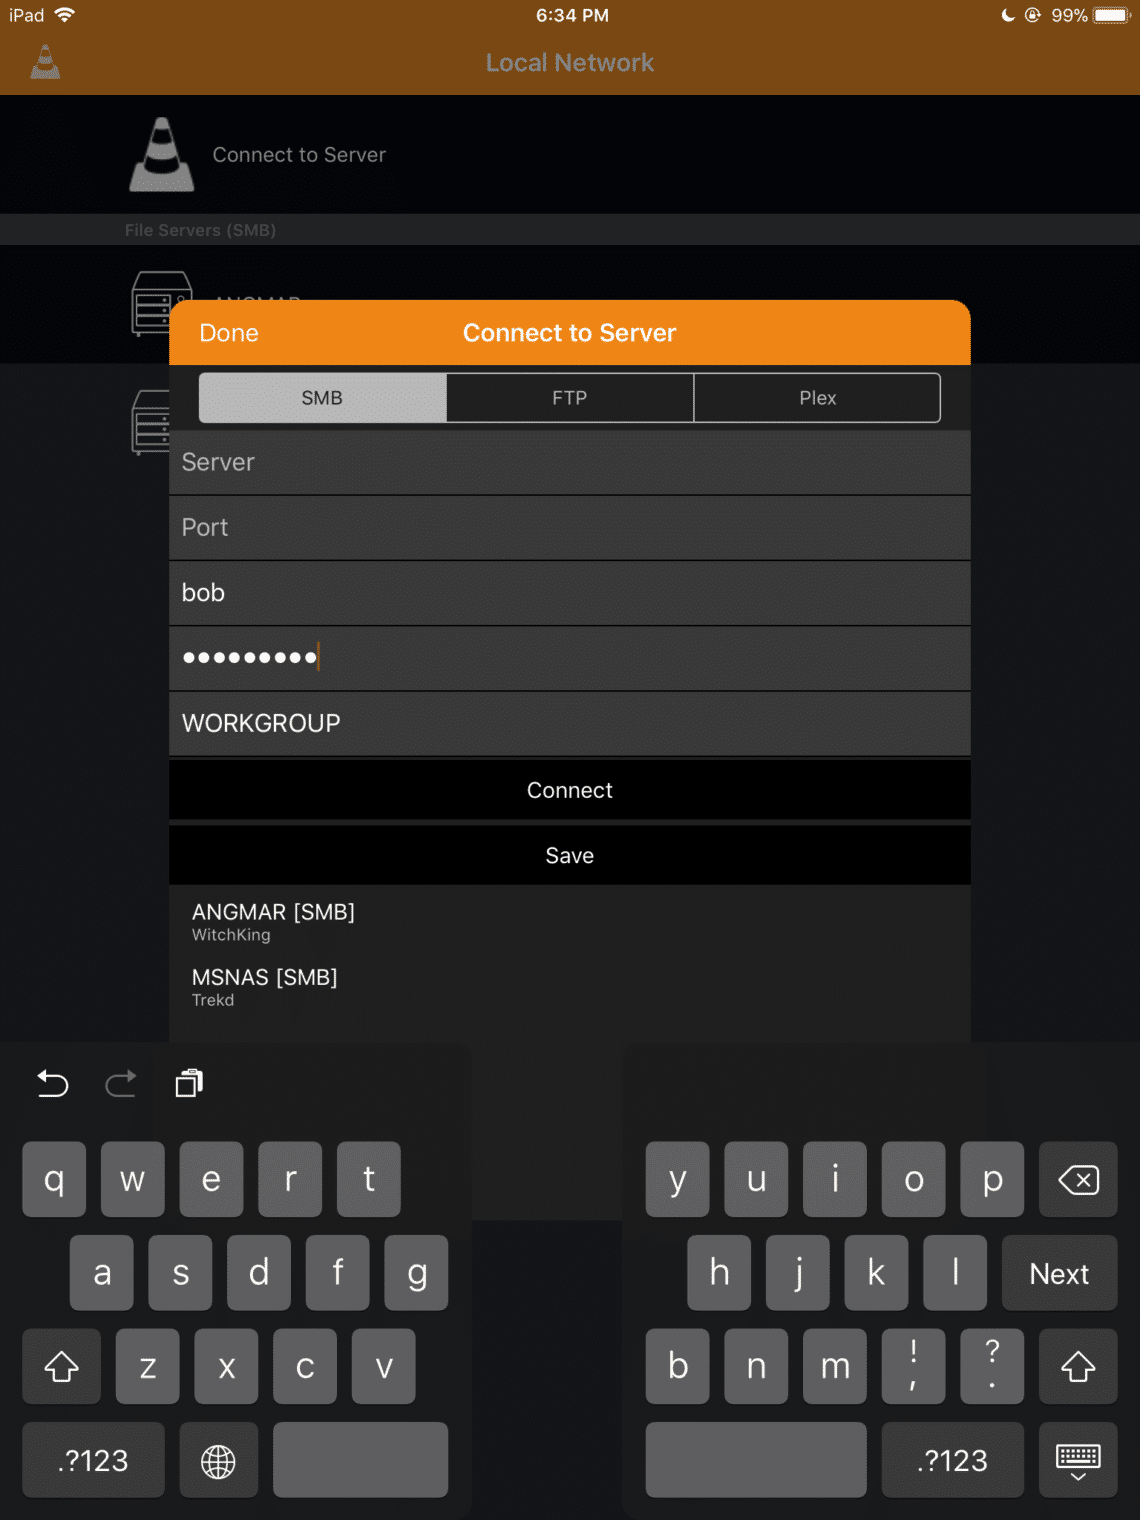
You can leave the Port field empty and change the WORKGROUP field to the one that you learned about in “Installing samba on Ubuntu server” section above.
One can use different apps to access different types of files like pdf and other documents as well.