If you want to install Qt Creator on an Ubuntu computer, follow this tutorial.
How to Install Qt Creator on Ubuntu
There are two methods to install Qt Creator on the Ubuntu system. These methods involve installing it from:
Method 1: Install Qt Creator Through apt Package Manager
To install Qt Creator from apt package manager on Ubuntu system, concentrate on the following steps.
Step 1: Enter the command below to first update the Ubuntu repository:
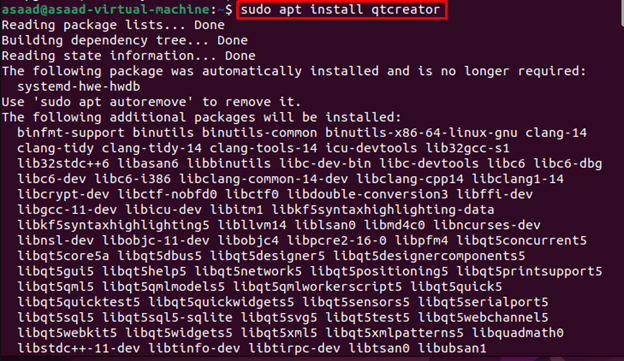
Step 2: Then use the below-given command on Ubuntu to install Qt Creator.
Run Qt Creator on Ubuntu
Type this command into the terminal to start Qt Creator on Ubuntu system:
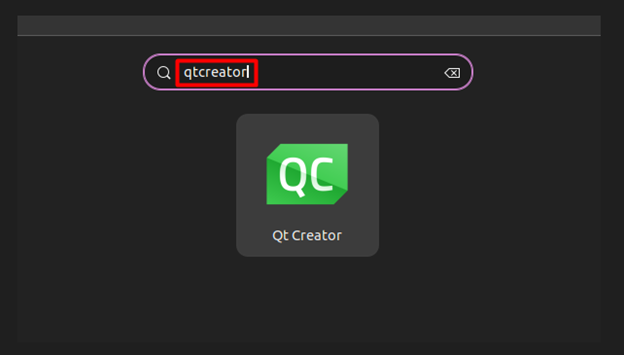
You can also open Qt Creator from the Applications menu like this
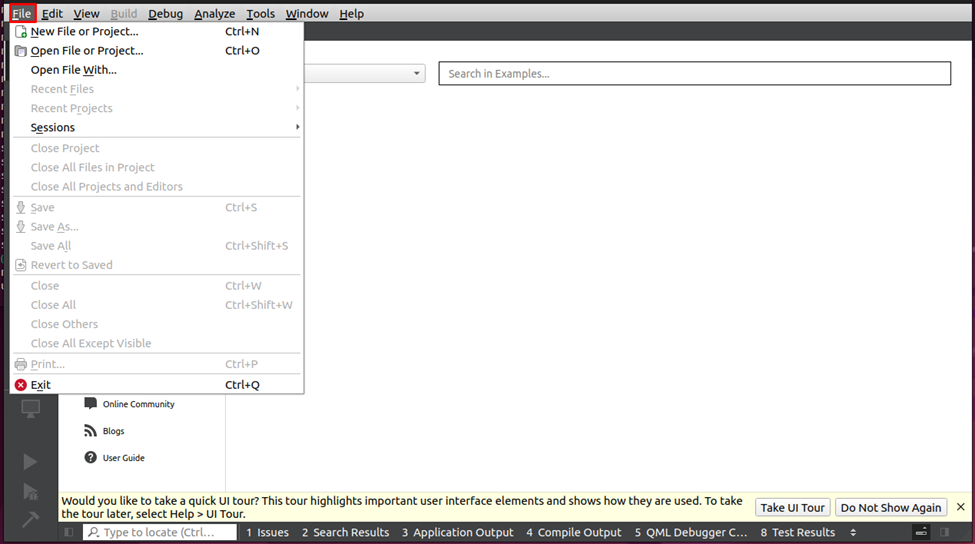
After Qt Creator has been launched, the IDE will open on Ubuntu like this:
Create a new project click on File:
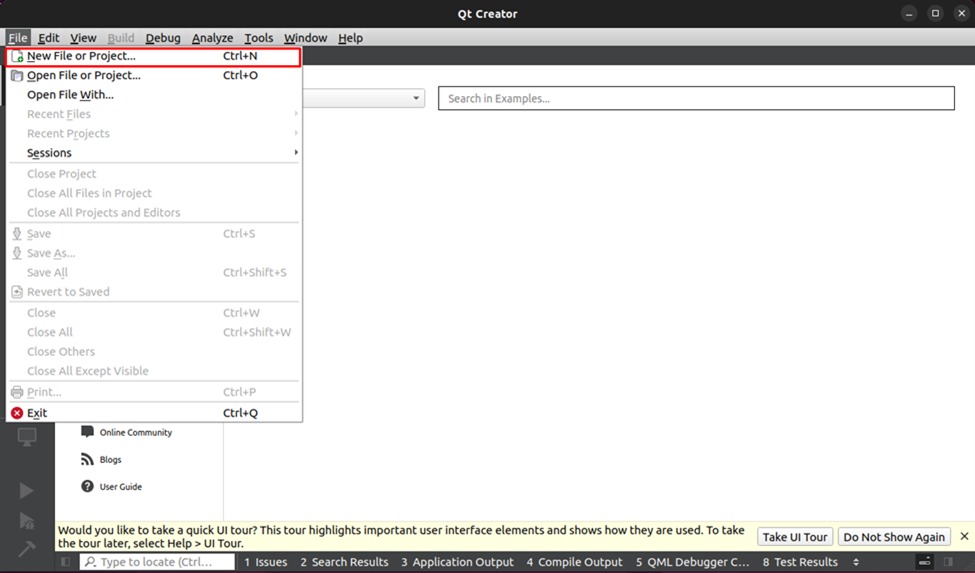
Click on New File or Project:
Project window will open:
Remove Qt Creator from Ubuntu
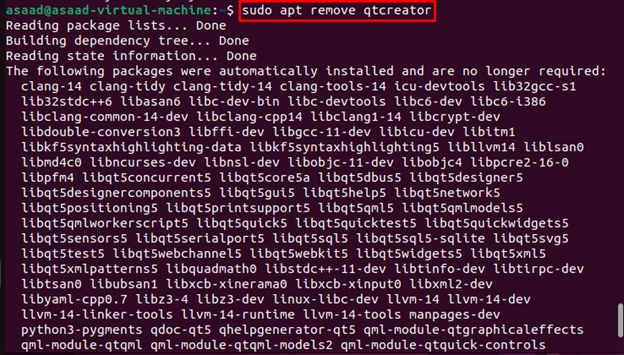
To remove Qt Creator from your Ubuntu system, type the command given below on the terminal.
Method 2: Install Qt Creator Through Snap Store
Snap Store is another platform where you can install Qt Creator on the Ubuntu system. To perform installation through this method, follow the below-given steps:
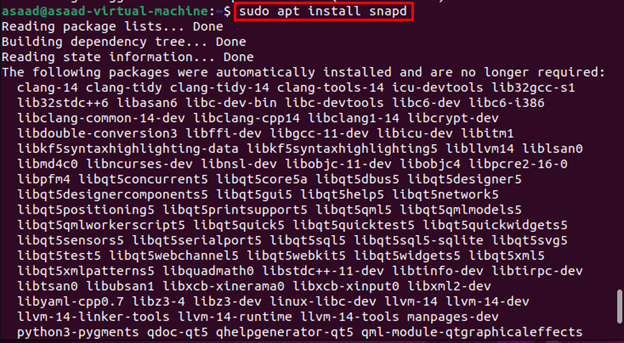
Step 1: First, run the Ubuntu command below to install snap daemon:
Step 2: Next, execute the command below to install Qt Creator through the snap daemon on Ubuntu.
Note: Running Qt Creator is the same we already discussed in Method 1. However, if the command isn’t working, reboot the system to fix it.
Remove Qt Creator from Snap Store
To remove Qt Creator from your Ubuntu system, type the command given below on the terminal.
Conclusion
Qt Creator is a cross-platform IDE created to provide developers the best possible environment for creating GUI based applications. The users can install Qt Creator on Ubuntu through apt package manager or snap store. After the installation, they can run it from the terminal using the “qtcreator” command or run it from the application menu.

