In this blog, the attention will be on how to install PyTorch in a Jupyter Notebook.
How to Install PyTorch in a Jupyter Notebook?
In this tutorial, the “Anaconda” platform will be used for demonstration. The first thing to be done is to add the “Jupyter” notebook and then install PyTorch.
Follow the steps below to learn how to do so:
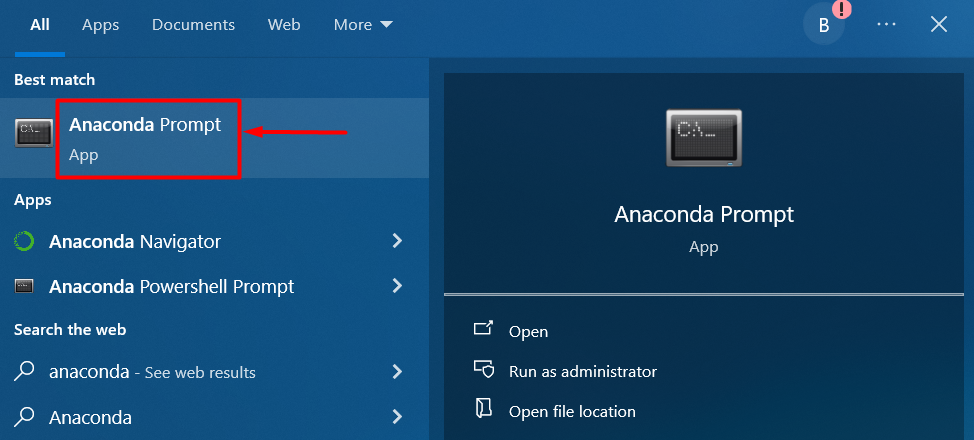
Step 1: Open the Anaconda Prompt in the Windows OS
Go to the “Start Menu”, type in Anaconda, and click on the “Prompt Window” icon:

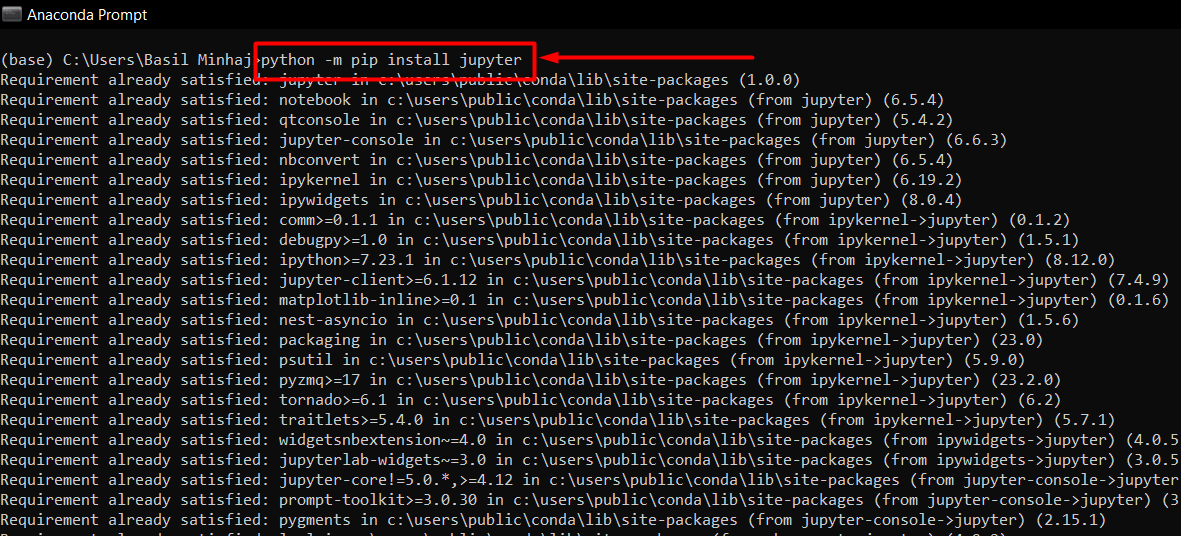
Step 2: Install Jupyter in Anaconda
Before PyTorch, the Jupyter notebook needs to be installed into Anaconda:
Step 3: Launch the Jupyter Notebook in Anaconda
The next step is to launch the previously installed Jupyter Notebook:
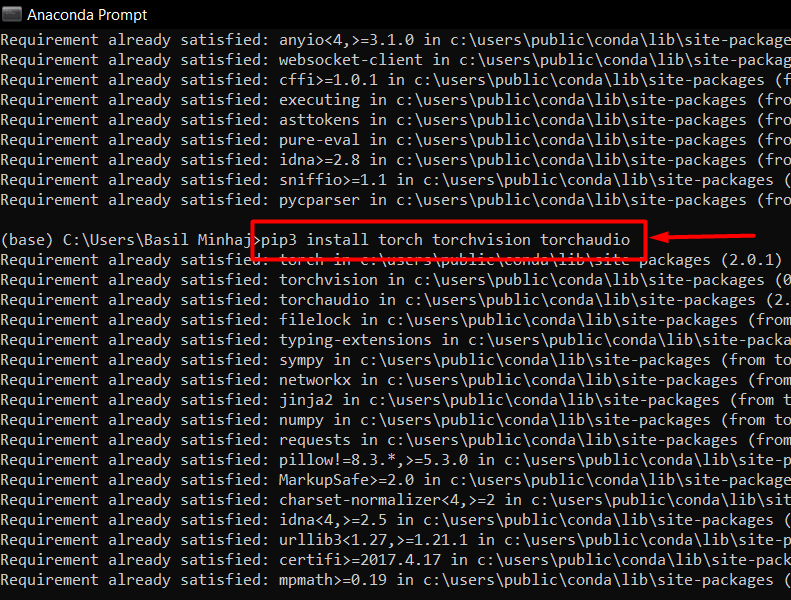
Step 4: Install PyTorch in Jupyter
Lastly, use the installation command for PyTorch in the Jupyter Notebook:
The output shows that we have installed the PyTorch on Jupyter Notebook:
Pro-Tip
The Jupyter Notebook can also be installed in Google Colab online. Colab provides free GPU access to its users to run their deep learning models without the risk of bottlenecking due to hardware limitations.
Success! We have just shown how to Install PyTorch in a Jupyter Notebook.
Conclusion
Install PyTorch in a Jupyter Notebook by first adding Jupyter to the Anaconda Prompt, then activate the Jupyter Notebook and run the “pip3 install torch torchvision torchaudio” command to install PyTorch. This will install PyTorch and you will be ready to work on machine learning models within the Jupyter IDE. In this blog, we showed how to add Jupyter to Anaconda and then how to install PyTorch within Jupyter.


