After reading this tutorial, you will be able to install Puppy Linux on a USB device.
Although all the process described is done in Linux, Windows users can find the instructions below useful. The only difference between the two operating system methods is the installation process.
All steps explained below include screenshots, making it easy for every Linux user to follow them.”
Installing Puppy Linux to USB
The first step is to get a Puppy Linux ISO image from this link https://puppylinux-woof-ce.github.io/index.html#download.
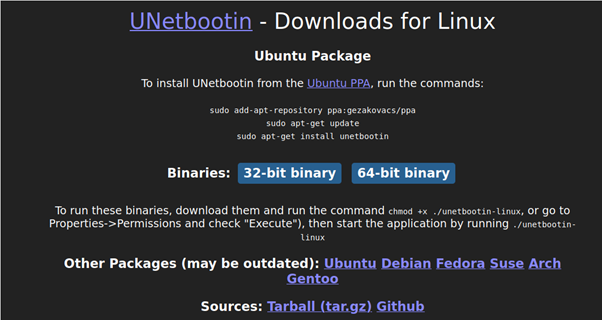
For Linux users, the second step is to get Unetboothin from https://unetbootin.github.io/linux_download.html to create the bootable Puppy Linux installer.
For this tutorial, I downloaded the 64-bit binary to install it on Linux. This package is valid for all Linux distributions.
Windows users can get Unetbootin from this link https://unetbootin.github.io/ by clicking the Windows download button.
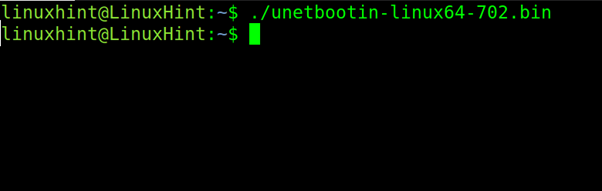
On Linux, once you download the binary file, give it execution permissions using the following syntax, where <Arch> must be replaced with your computer architecture and <Version> with the Unetbootin version you are using.
Windows users only need to double-click the installer icon and follow a few guided steps.
In my case, I have version 702 for 64 bits; I run the command shown below.

After execution permissions are granted, run it as shown in the following figure.
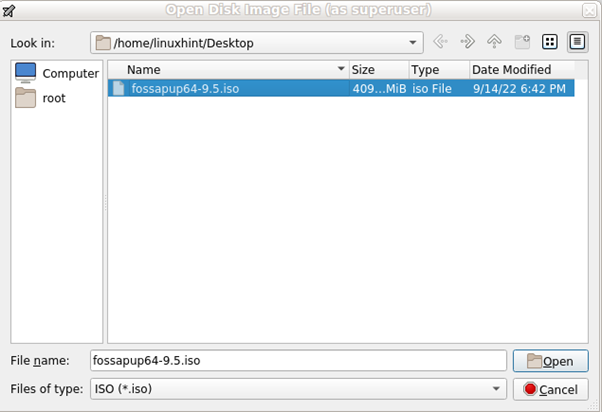
The first step when Unebootin shows up is to select the ISO image by pressing the three dots icons.
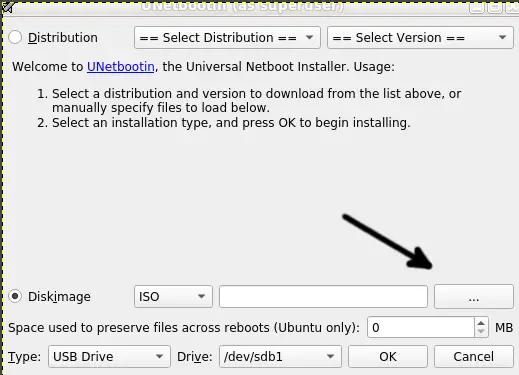
Find and select the Puppy Linux image and press Open.
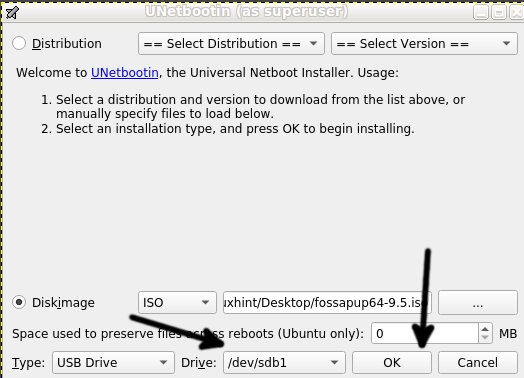
After selecting the ISO image, make sure the selected USB device is correct, or select the proper one in the lower field. Then press OK.
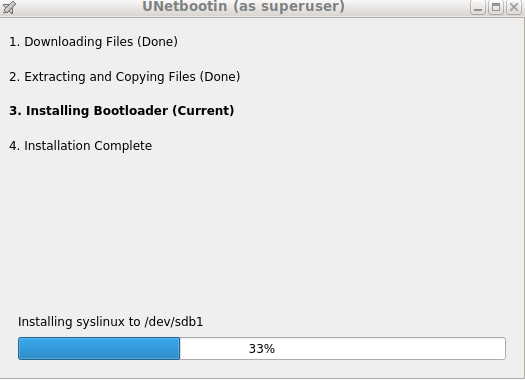
The installation process will begin; wait until it ends.
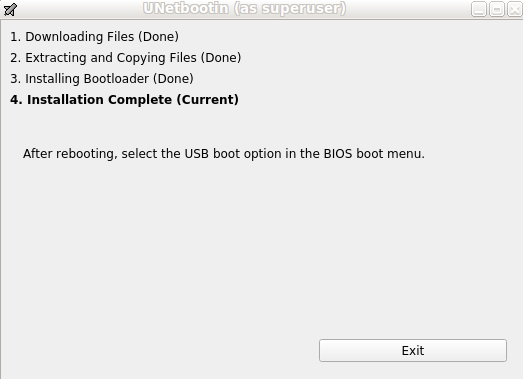
Once the process ends, press Exit.
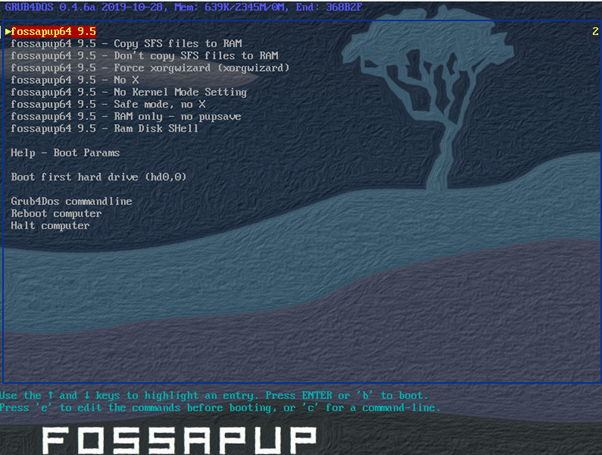
Boot Puppy Linux from the USB (Remember to enable USB boot in your BIOS) and select the first option to boot.
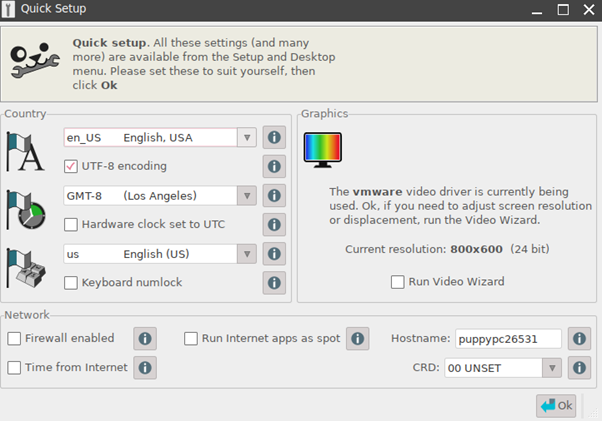
Select language and press OK.
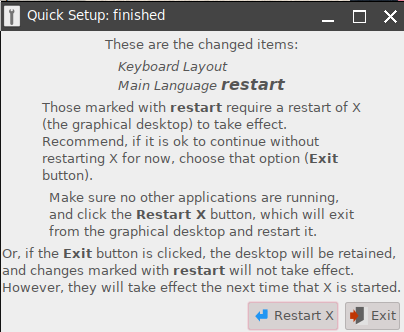
If you are asked to restart your X Window Manager, you can press Restart.
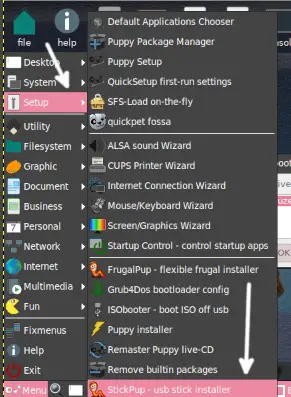
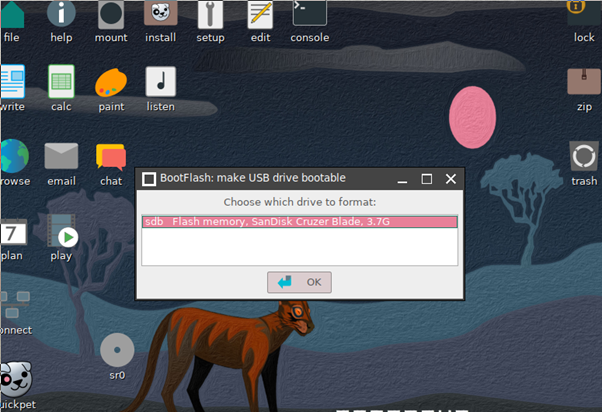
To start installing Puppy on the USB drive, open the applications menu, then press Setup> StickPup – usb stick installer as shown in the image below.
The system will list all connected USB devices; select the one you want and press OK.
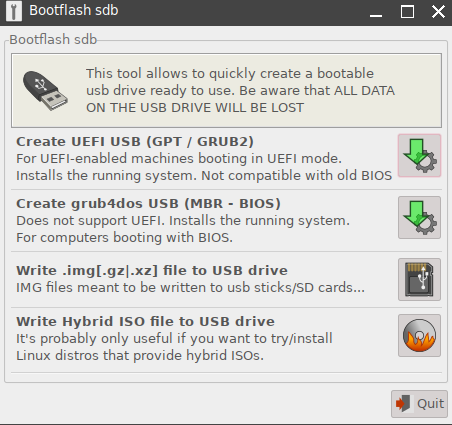
On new computers with UEFI, select the first option shown below. Old systems should select the second option for BIOS.
In my case, I select the UEFI option.
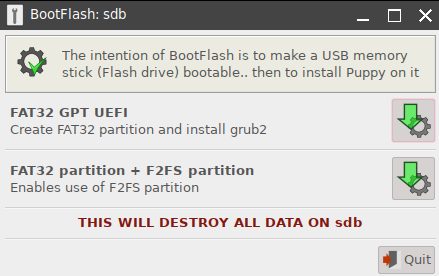
In this step, you can choose to keep a FAT32 partition for Puppy, a small FAT32 partition for GRUB, and an F2FS partition for Puppy.
The process will request to confirm the operation; press OK.
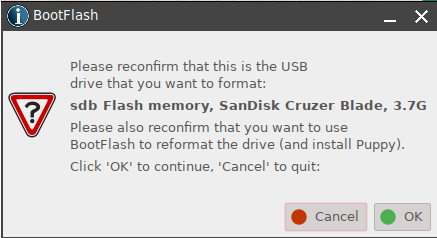
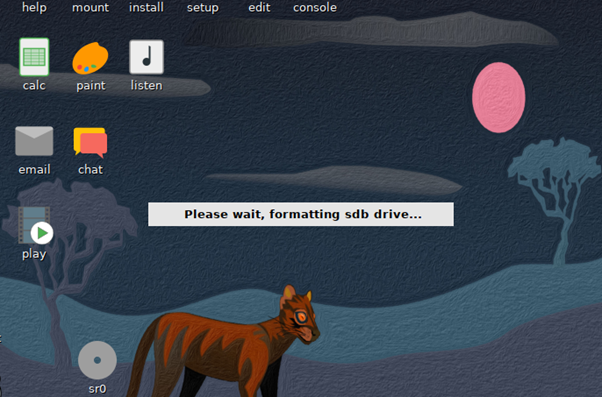
The process will start with formatting the USB device.
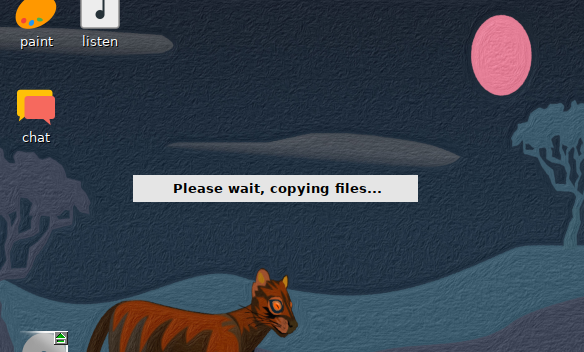
Wait until it ends, copying files to the stick.
The installer will notify you when the process ends.
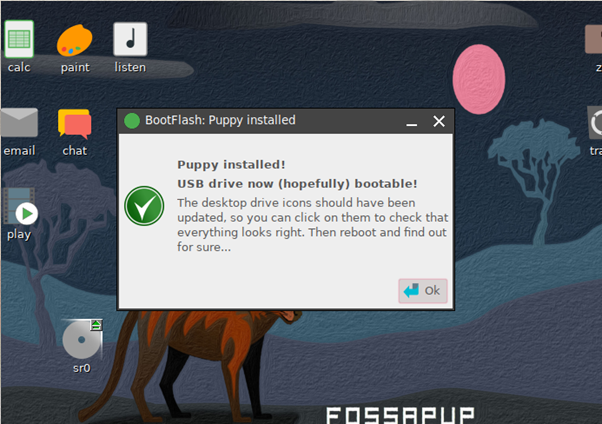
Now you can boot Puppy Linux from the USB device. Remember to change your BIOS settings enabling USB boot.
Puppy Linux Characteristics
Puppy Linux is a small Linux distribution, or distributions collection aiming, which can be used as Live distribution from optical devices since it is loaded and executed in the ram memory space, requiring a minimum of 256MB ram memory. Even when used as live, you can keep changes in exported files or backups stored in the selected partition or device by the user.
Puppy Linux is a 300 MB (There are smaller flavors) distribution whose goal is to be user-friendly, easy to use, and useful for daily activities. It offers different flavors for old and new computers.
Puppy allows the user to select web browsers such as Opera, Firefox, Chrome, Tor and Seamonkey. It includes a text processor and media playing tools. Users can easily download and install additional software like communication tools, emulators, ofimatic, and media playing tools.
The X Window Manager or desktop used by this Linux distribution is JWM, a fast and light desktop environment; users also can install OpenBox from the repositories.
Additionally to the flavors, many Linux distributions were based on Puppy and brought alternative software. Some of these Puppy-based Linux distributions include different X Window Managers like Fluxbox, Enlightenment and even KDE, among others.
Current Puppy flavors include:
- FossaPup64: Ubuntu Focal 64, for x86_64 64-bit
- Raspup: Ubuntu Bionic, for x86 32-bit
- BionicPup32: Ubuntu Bionic 64,for x86_64 64-bit
- BionicPup64: Raspbian Buster, for armhf 32-bit
- XenialPup: Ubuntu Xenial, for x86 32-bit
- XenialPup64: Ubuntu Xenial 64, for x86_64 64-bit
- Slacko Puppy: Slackware 14.2, for x86 32-bit
- Slacko64 Puppy: Slackware64 14.2, for x86_64 64-bit
- Slacko Puppy: Slackware 14.1, for x86 32-bit
- Slacko64 Puppy: Slackware64 14.1, for x86_64 64-bit
- Tahrpup: Ubuntu Trusty, for x86 32-bit
- Tahrpup64: Ubuntu Trusty 64, for x86_64 64-bit
There is additional unofficial Puppy based Linux distributions called Puplets, some of which are listed below:
- Saluki: This flavor features XFCE as a desktop environment.
- Macpup: This distribution is inspired by MacOS and includes Enlightenment as a desktop environment.
- LightHouse Pup: Macpup brings sfs packages for XFCE and KDE.
- Dpup Exprimo: This Pupplet includes binary compatibility with Debian Squeeze.
This Linux distribution was developed in 2003 by Barry Kauler, aiming to be the smaller Linux version and a fast-to-use and live alternative. It is included in the top 10 Linux distributions.
Conclusion
As you can see, installing Puppy Linux to a USB is extremely simple because Puppy already includes a built-in installer supporting USB stick installation. Every Linux or Windows user can get Puppy on a USB stick independently of the knowledge level by following a few steps described above. This is a great option for users who need a light or portable operating system. Using a live system when you don’t need persistence is a good security measure, especially when using a computer that does not belong to you. Puppy is one of the Linux distributions considered more user-friendly, even for Windows users who are not familiar with Linux. Puppy users must make sure their needs don’t surpass the distribution capabilities, remembering it is a light and fast-to-use Linux alternative. The Puppy community can communicate through an official forum accessible from Puppy’s official website (https://forum.puppylinux.com/).
Thank you for reading this tutorial explaining how to install Puppy Linux to a USB stick or hard drive; keep following us for more Linux professional content.