Using PHP on an Amazon EC2 instance is one feat that most people perform as they want to run some web server on the Instance. PHP doesn’t come pre-installed with most Ubuntu AMIs (Application and OS Image), which is why it needs to be installed afterward. This post will showcase the procedure of installing PHP inside an AWS EC2 instance running on Ubuntu.
Pre-req: Create an EC2 Instance with Ubuntu
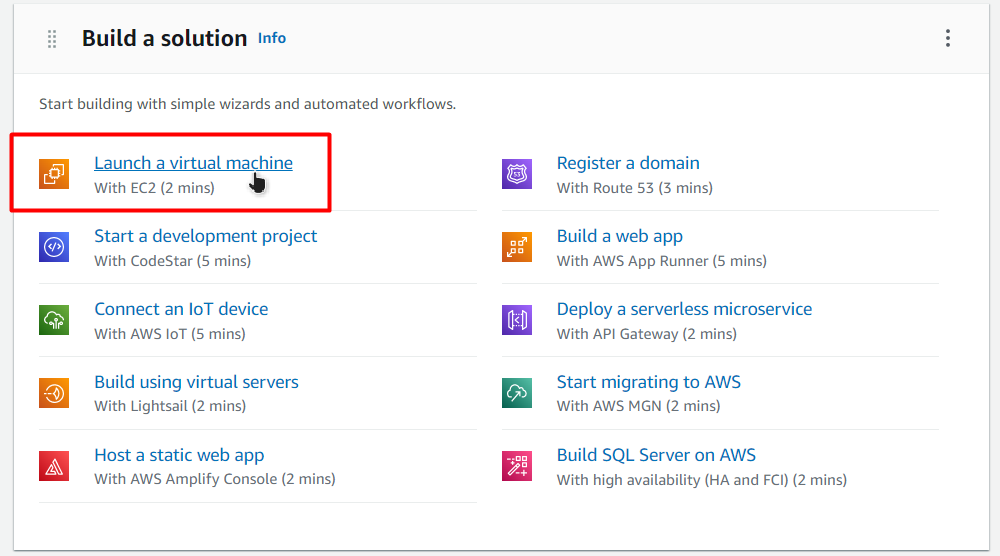
This is a prerequisite step to the installation of Ubuntu. You can skip this prerequisite step if you have an EC2 instance running and connected. If not, then head on over to the AWS Console and then click the “Launch a virtual machine” button:
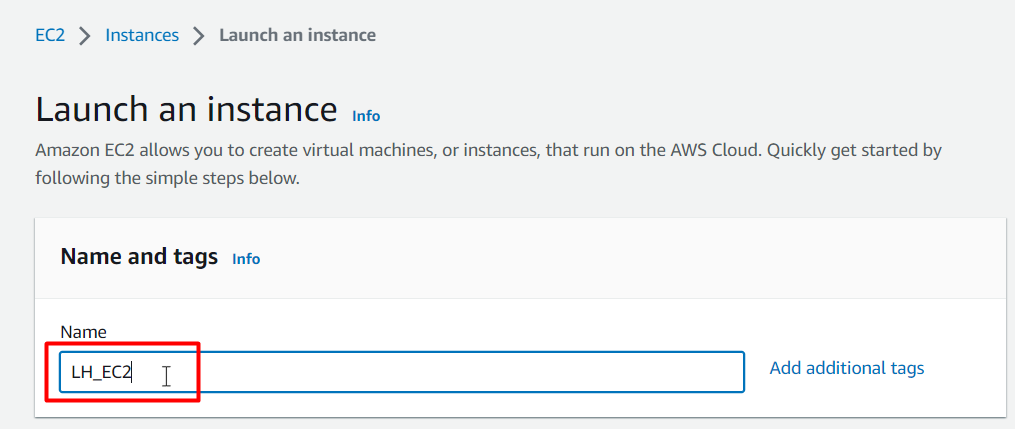
After that, from the EC2 creation wizard, give the EC2 instance a unique name:
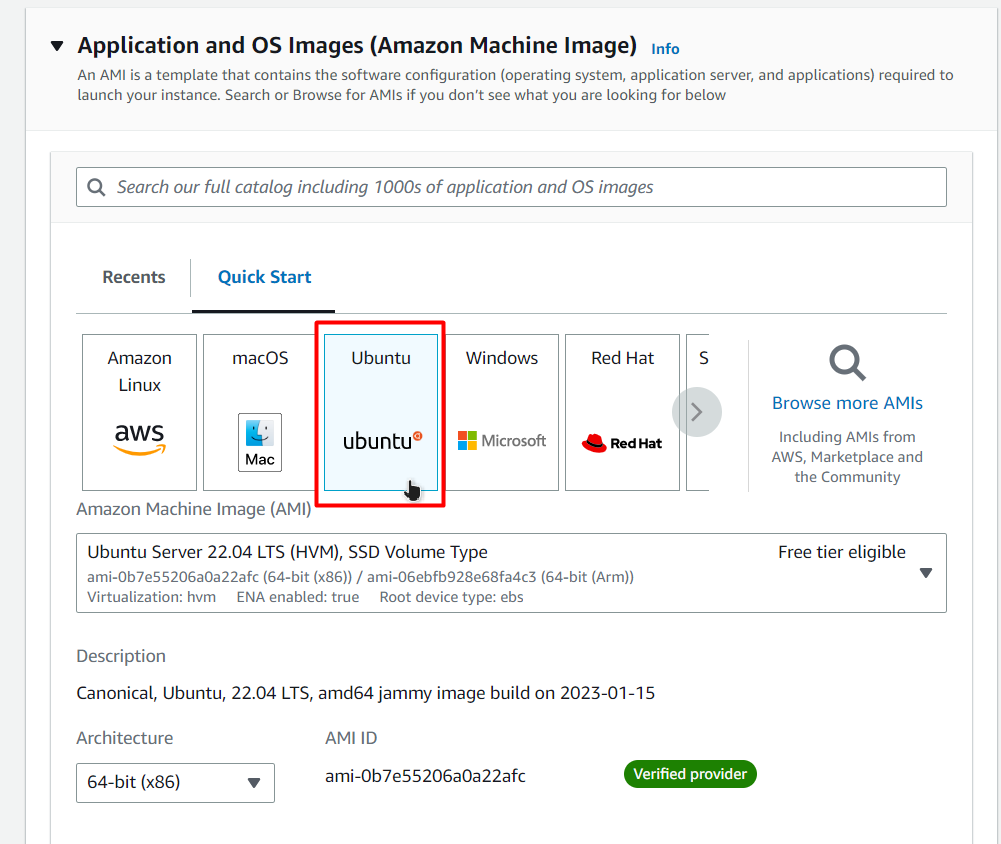
After that, for the AMI section, make sure to select the “Ubuntu” AMI:
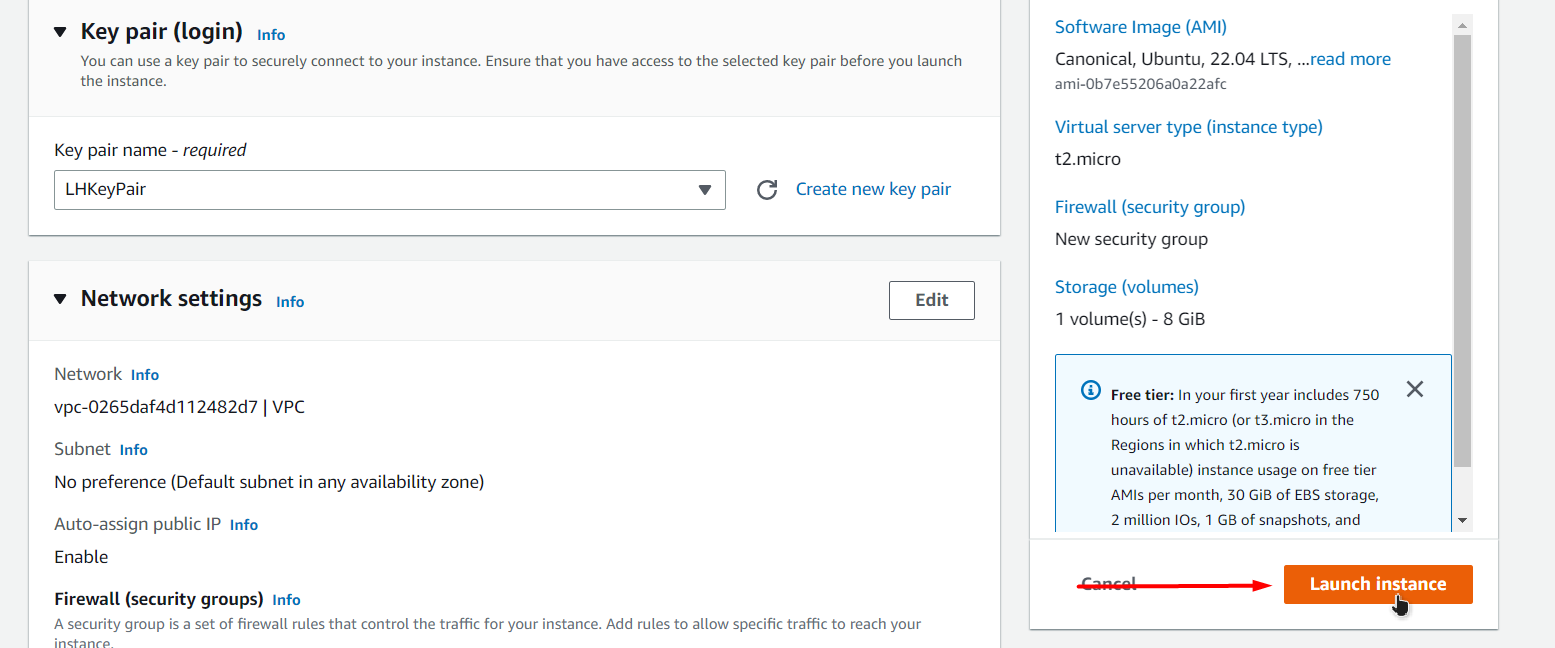
After that, choose a key pair or create one:
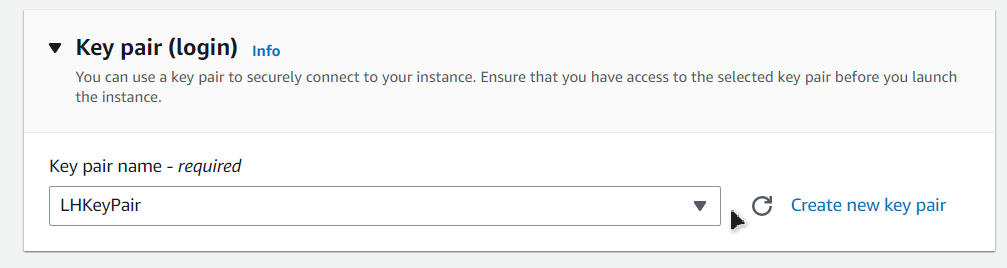
Note: The pair is downloaded on the local machine after its creation, and it is then used for the SSH connection. Therefore, knowing its path on the local machine is quite important.
After that, simply click on the “Launch Instance” button located at the bottom-right of the page:
This will create the EC2 instance running on a Ubuntu Operating System:
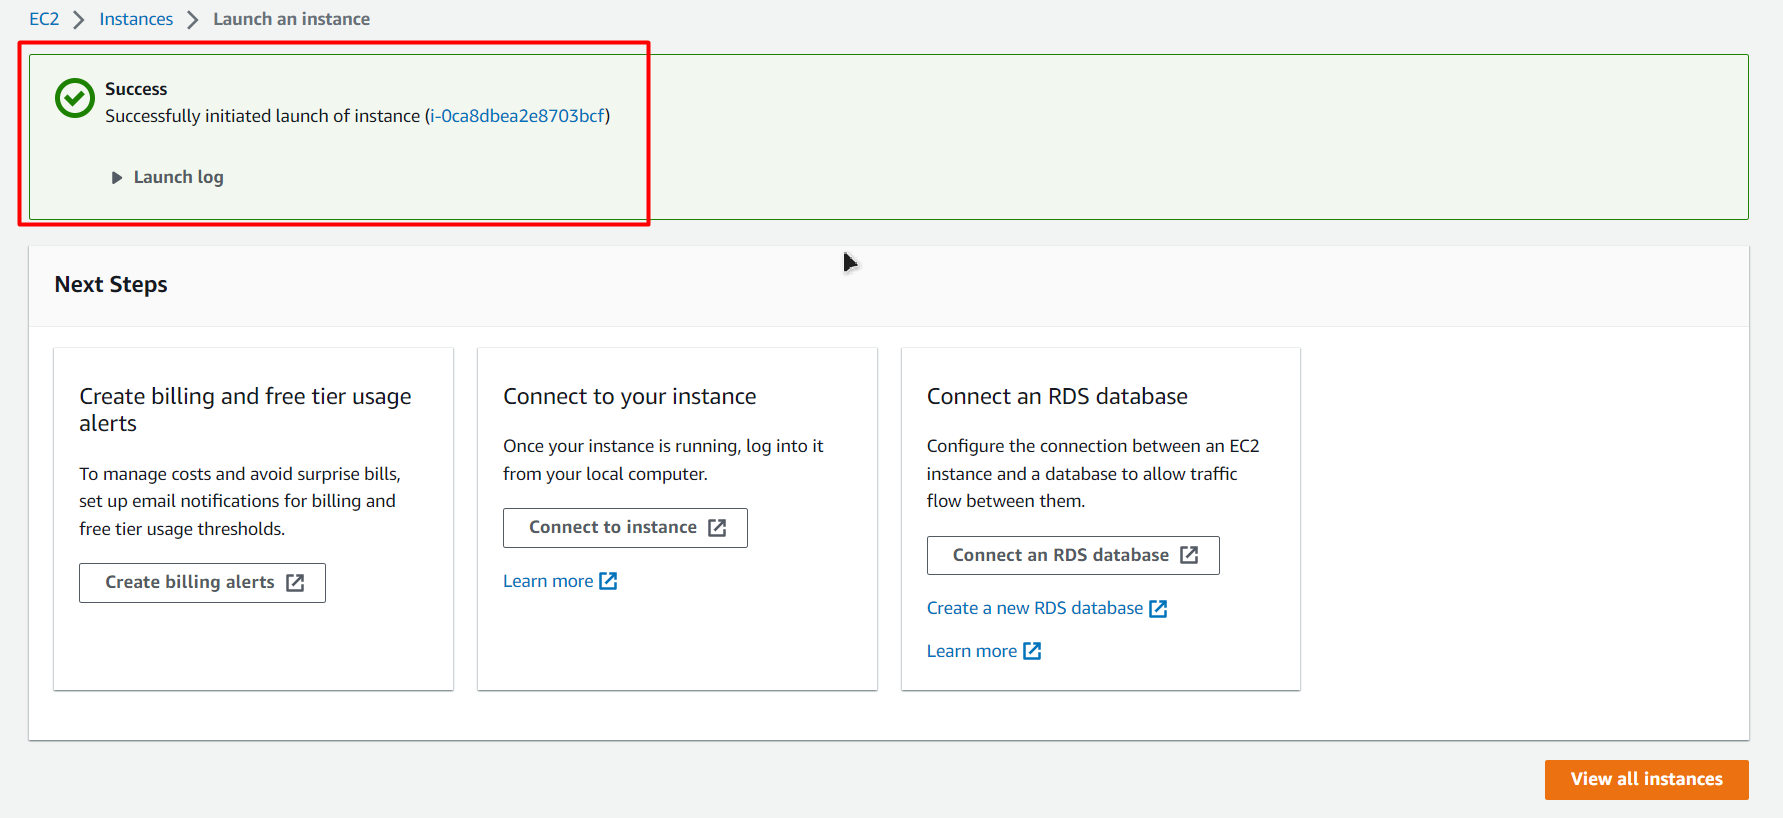
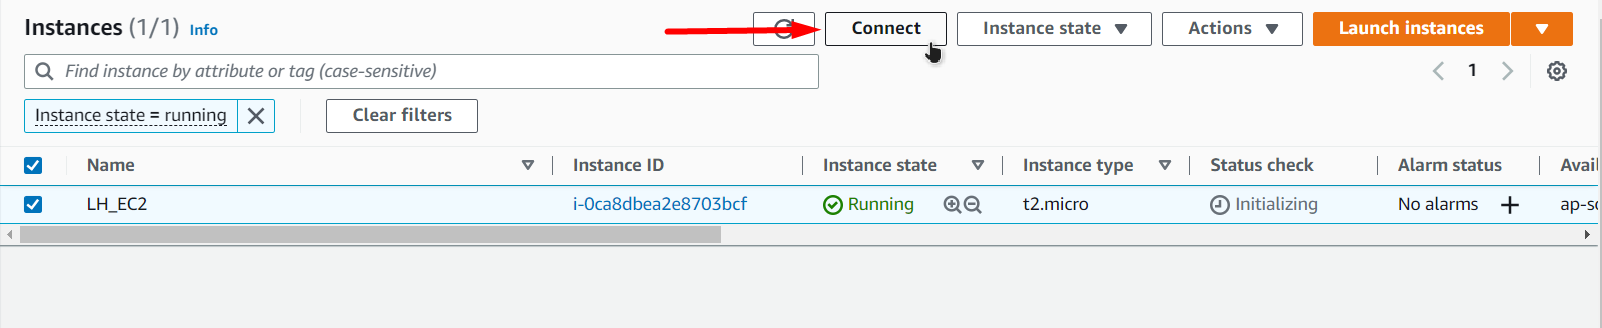
The next step is to connect to the newly created EC2 instance, and for that, you need to visit the Instances dashboard, select the newly created EC2 instance and then click on the “Connect” option:
After that, simply copy the command on the “SSH Client” page by clicking on the icon next to the command:
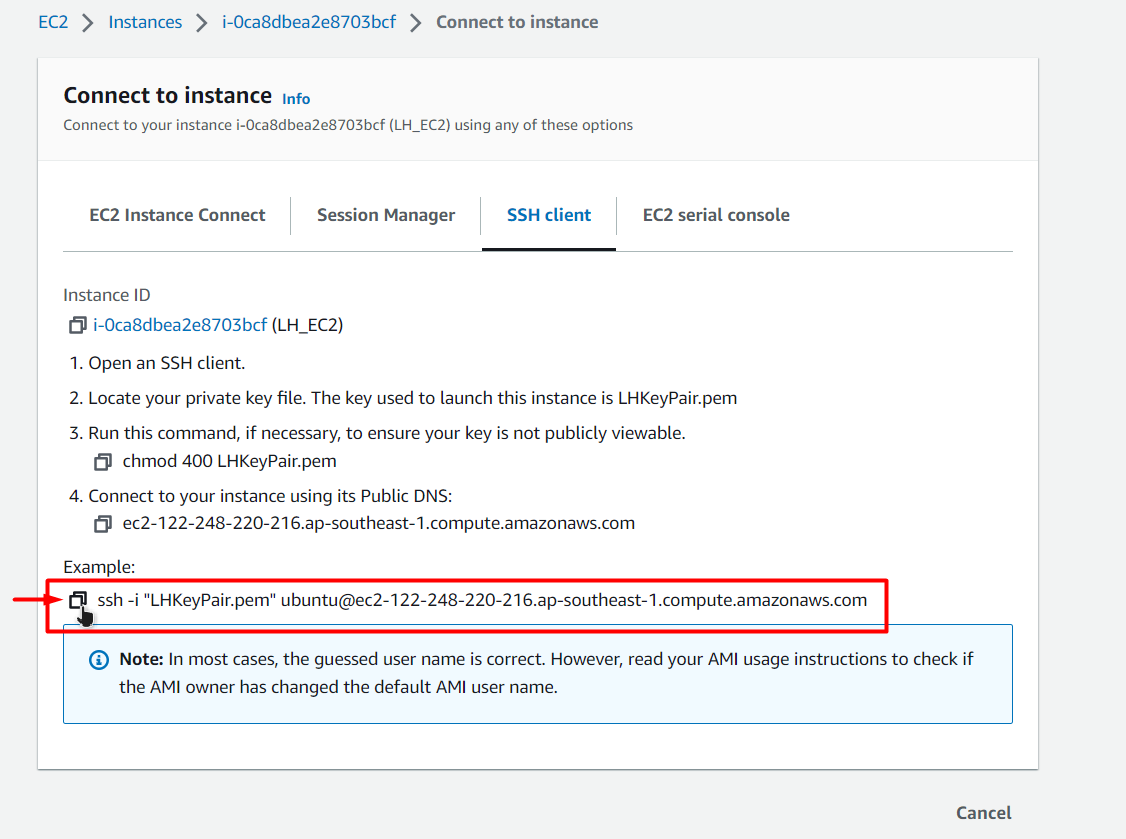
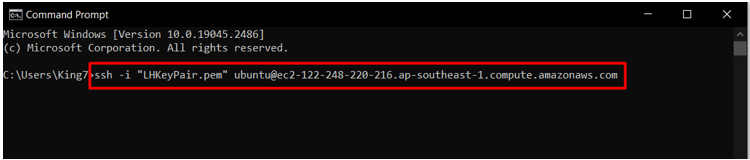
After that, paste the command inside a new Command Prompt Terminal and replace the name of the key pair (LHKeyPair for this post) with the complete path of the key pair on your local machine:
Press the “Enter” key and when you are prompted about connecting to a new host, type “yes” and then press the “Enter” key once more:
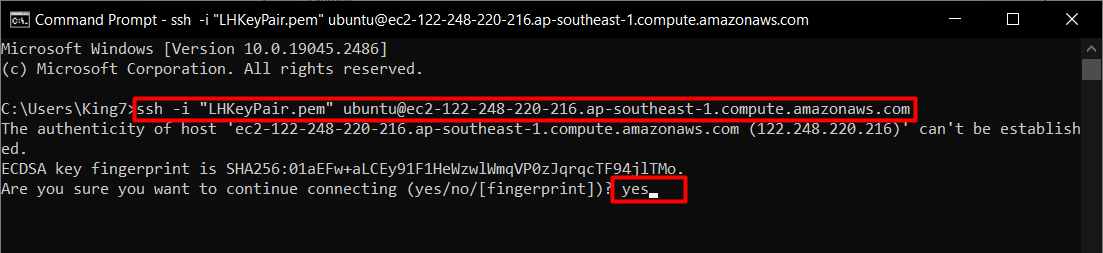
After a few moments, you will be connected to the SSH service of the EC2 instance:

At this point, you can move on to the next step.
Installing PHP in AWS EC2 Running Ubuntu
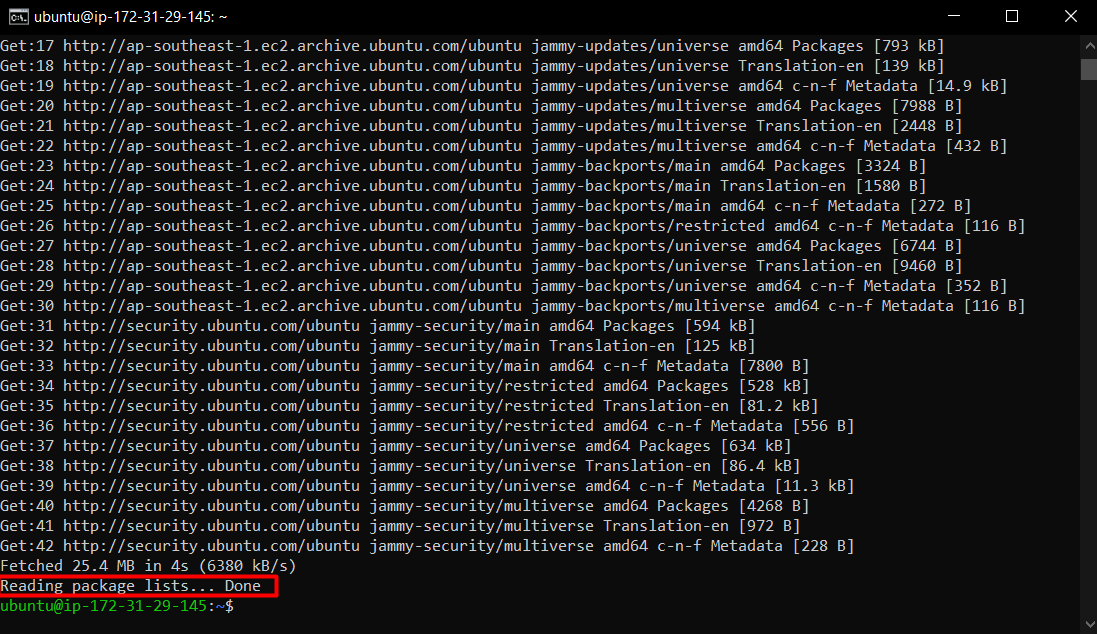
Start by updating the apt packages list on your EC2 instance by using the following command:
Running this command will provide the following results on the SSH terminal:
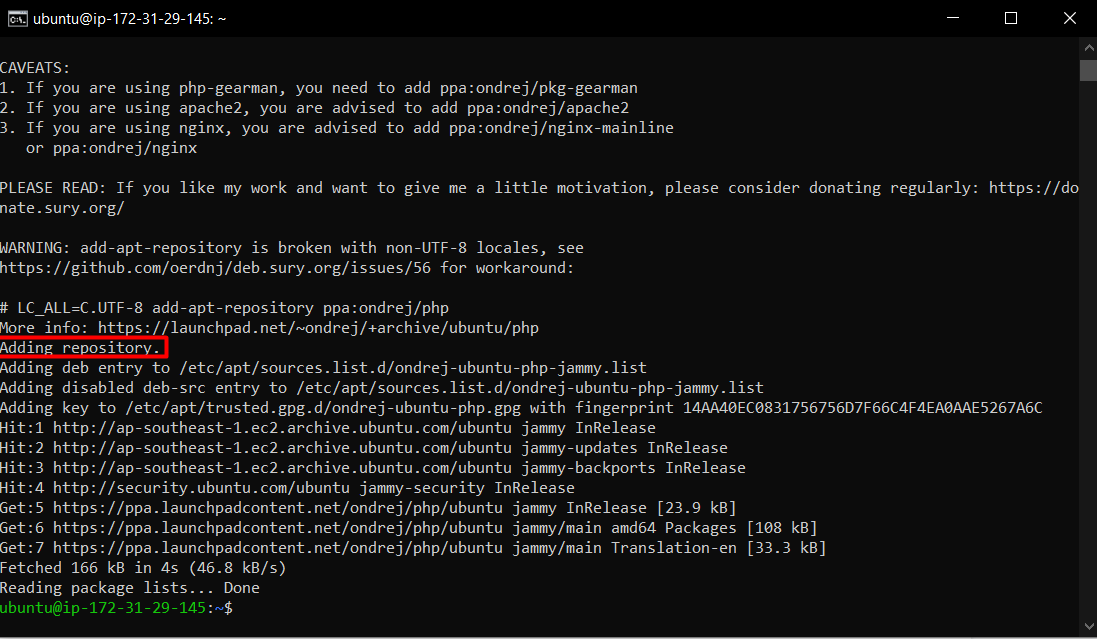
After that, proceed to add the PPA repository of PHP by simply using the following command:
Executing this command, the terminal will display that the repo has been added:
After that, update the apt list once more using the command:
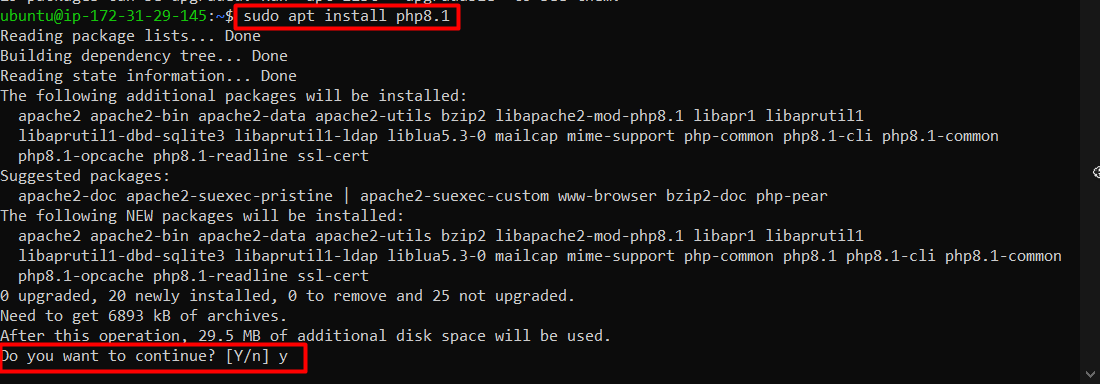
After that, install the PHP with the following command:
Running this command will prompt the user about the download, simply type “y” and then hit “Enter” key:
After the whole process has been completed, run the below command to verify it:
This command will return the following output:
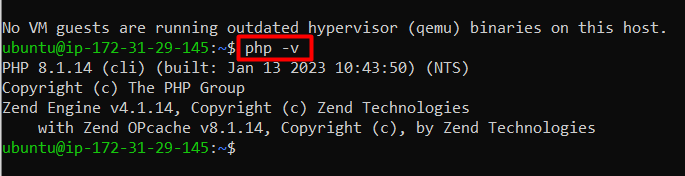
The output shows that the PHP has been successfully installed in the Ubuntu EC2 instance.
Conclusion
Installing PHP on an AWS EC2 instance running on Ubuntu is actually quite easy. Simply connect to the instance and then update the apt packages. After that, add the repo of the PHP and update the apt list once again. Once that is done, simply use the “apt install” command to install PHP. After the installation process is done, verify the existence of PHP by using the command “php -v”.