PHP is one of the most commonly used languages \ packages on EC2 instances. The reason for this popularity is the fact that most people use the Amazon EC2 instance host web servers like apache which is based on PHP. This post will explain the process of installing PHP and its variations on EC2 instances.
Step 1: Create an EC2 Instance With Amazon Linux
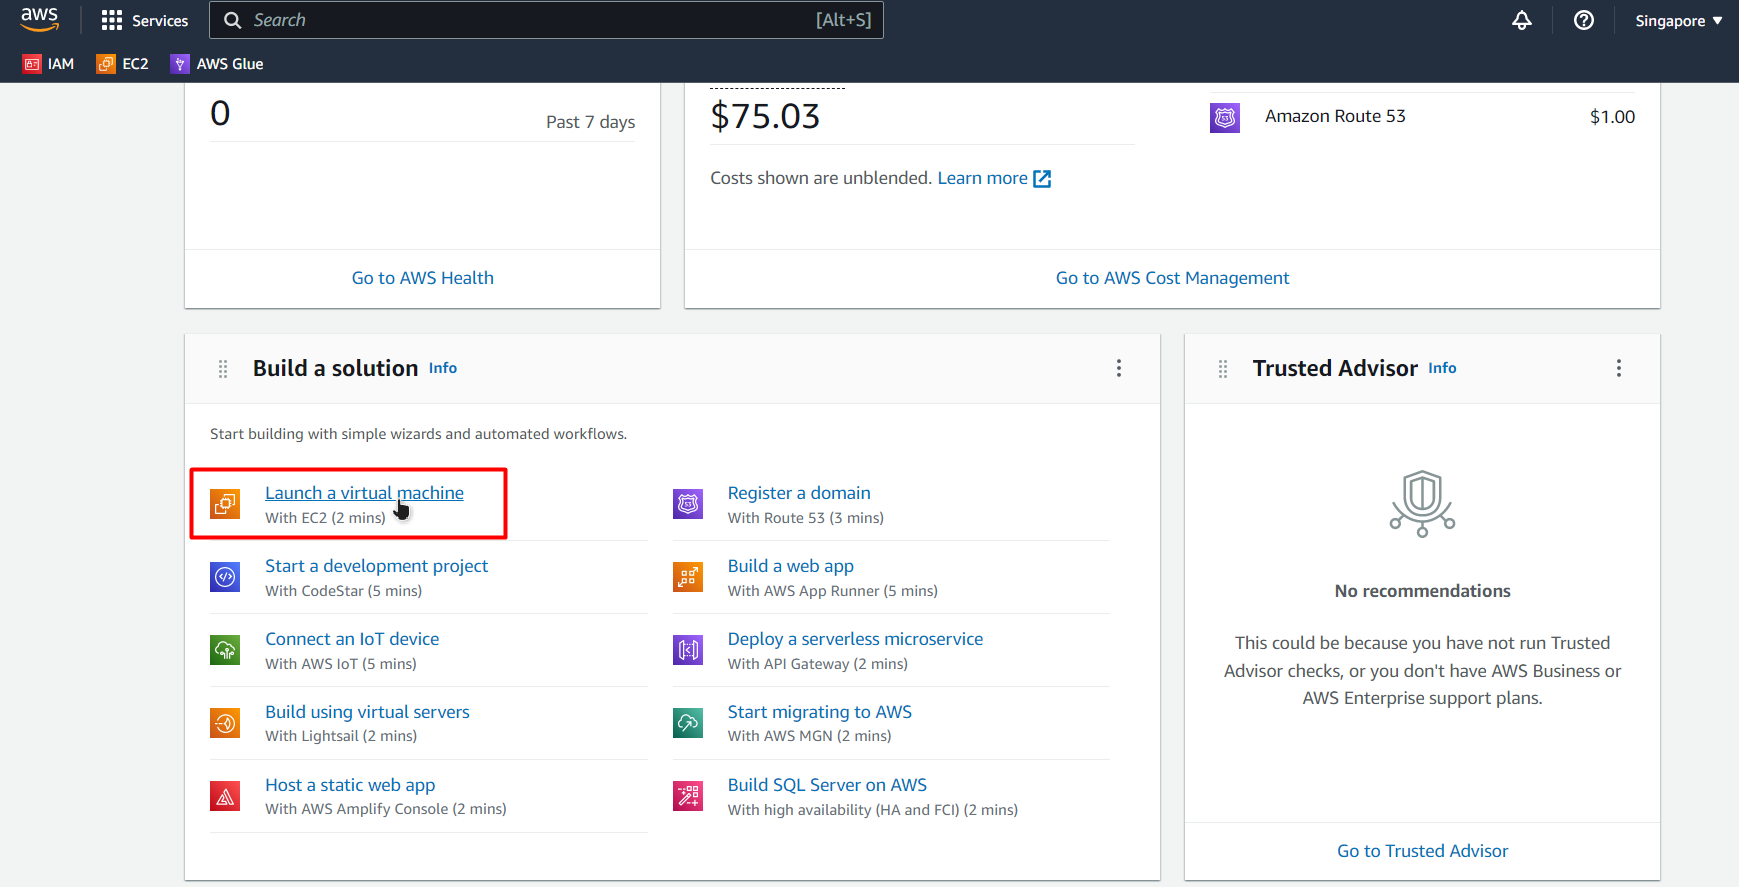
Head on over to the AWS Console, and head inside the “Launch a virtual machine”:
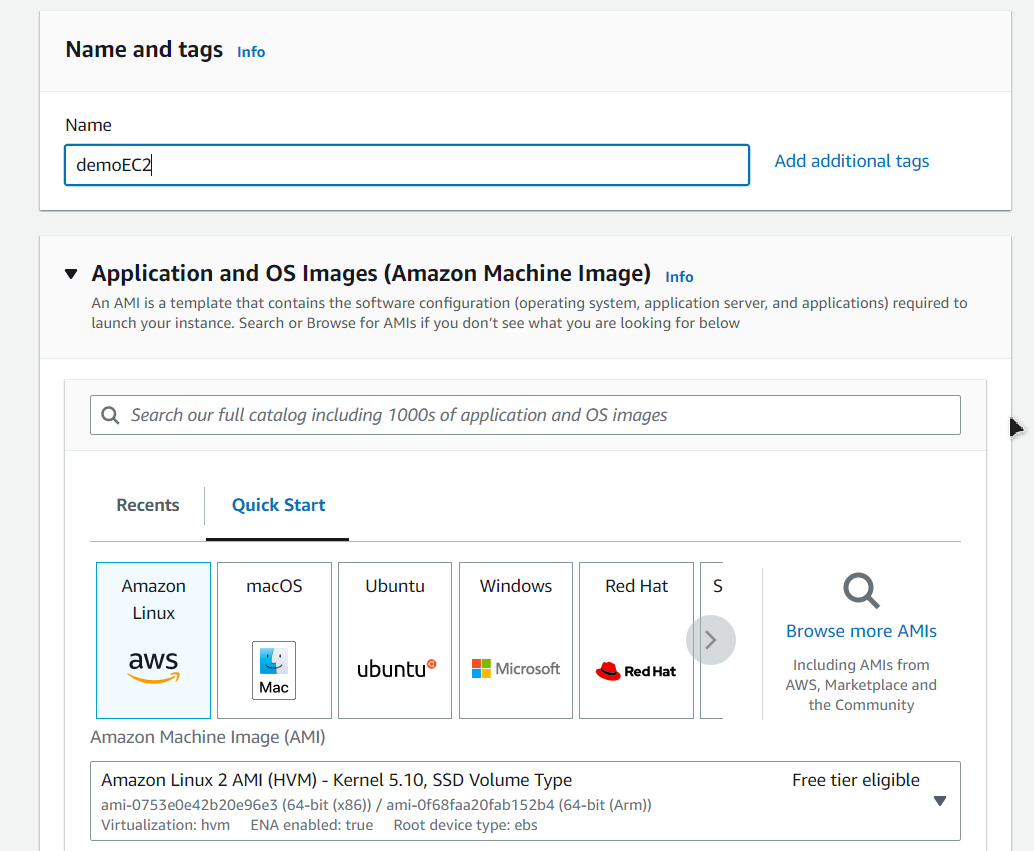
From the launch configuration provide “Name and Tag” and choose “Amazon Linux”:
Scroll down and choose a key pair to associate with the EC2 instance and then click on the “Launch Instance” button:

Note: Create a key pair or if you do not have the key pair on your PC. The key pair is downloaded at the time of creation and its path will be used to connect with the EC2 instance.
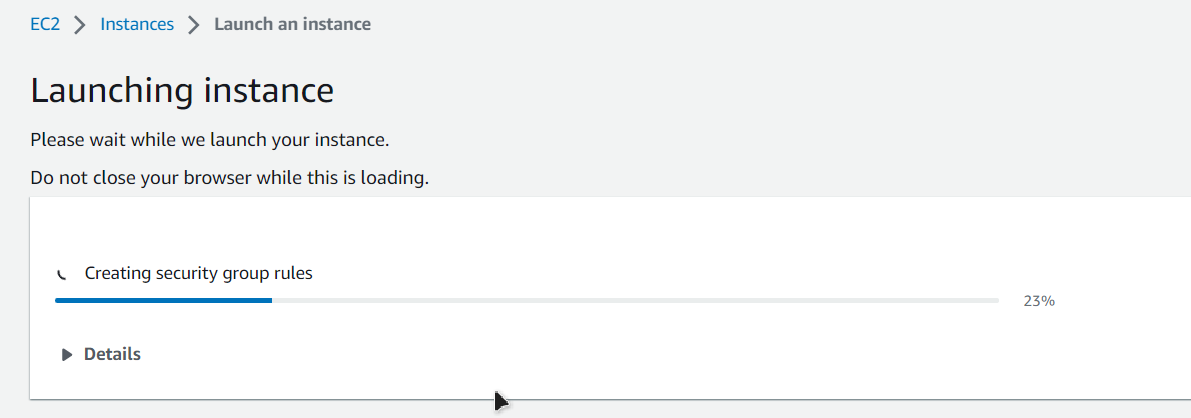
After that, that the launch process will begin:
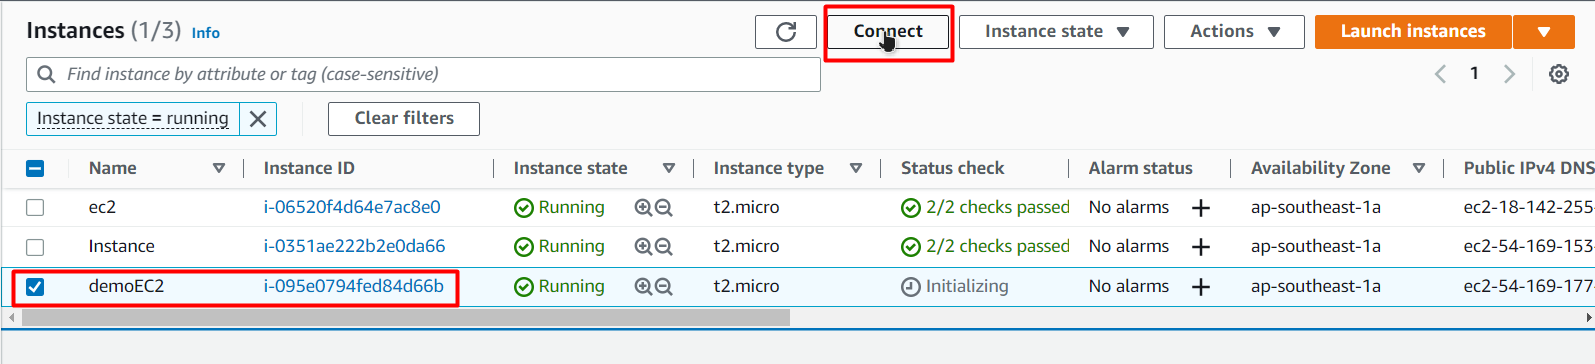
Once the instance is successfully launched, head over to the EC2 instance list and click on the newly launched instance name and then click on the “Connect” button:
From the connection page, copy the “SSH” command:
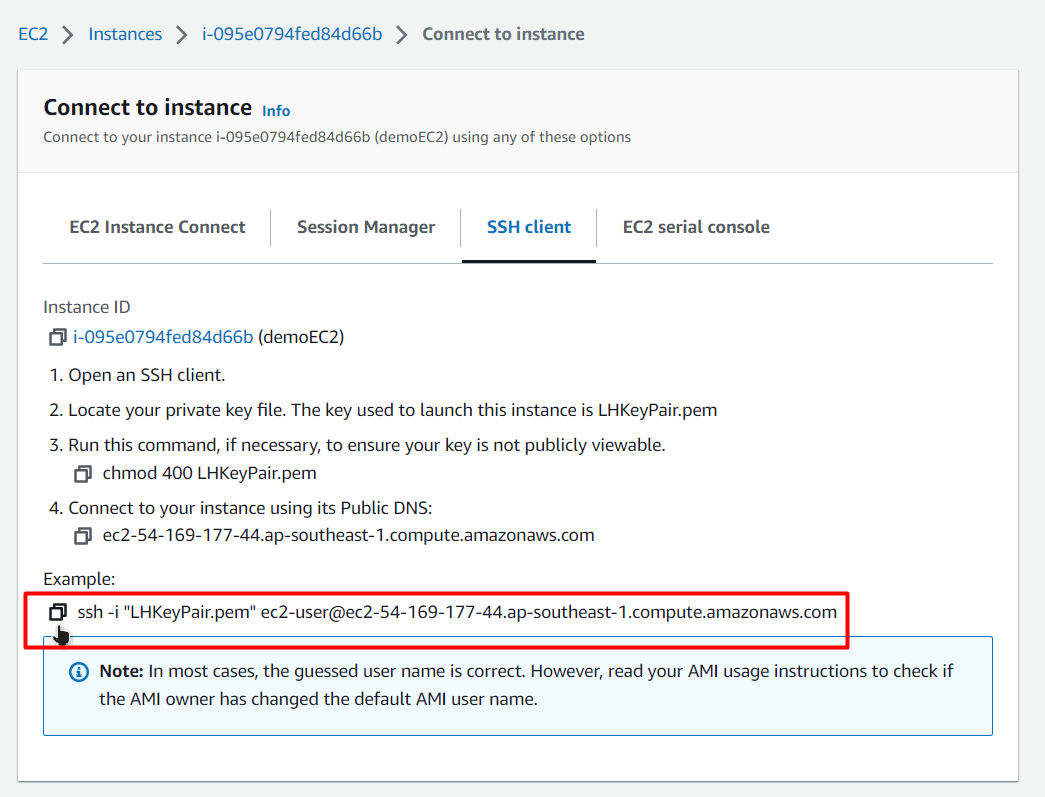
And paste this command in the Command Prompt after replace the keypair name with the complete path of the Key pair on your machine and press the “Enter” key:
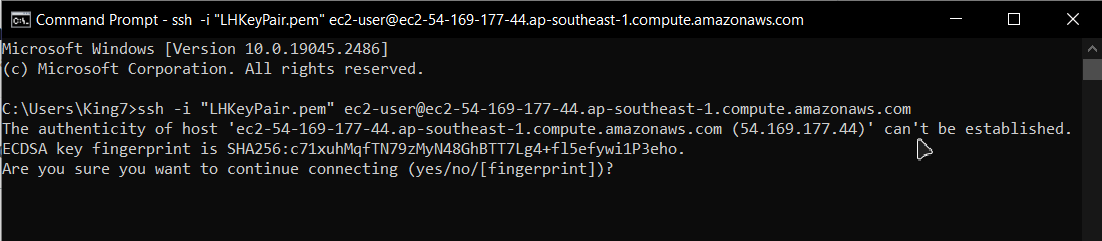
As you can see in the above image, it is asking the user about the confirmation. Types “yes” in the confirmation and press the “Enter” key and the user will be connected to the EC2 Instance:
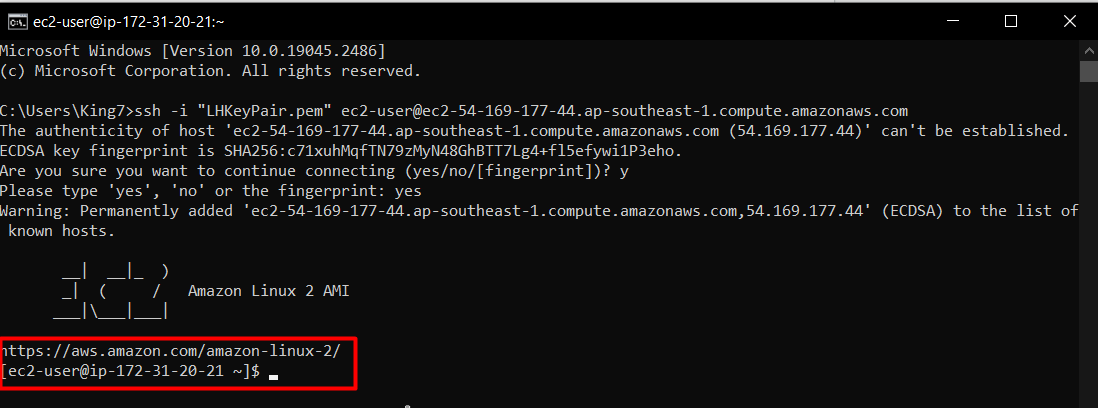
You are now connected with the EC2 instance.
Step 2: Install Amazon Extras Package
The PHP will be installed using Amazon’s extras package. Therefore, verify that it is installed on the instance by running the following code:
This will display the following outcome the SSH terminal:
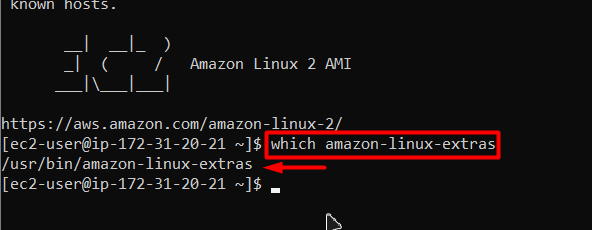
This confirms that the EC2 instance includes the Amazon Extras package by default. However, if this package is not found, then in that case, it can be installed using the following command:
Step 3: Install PHP on Amazon Linux
Now that everything is in place, the user can install the PHP version that he wants in the EC2 instance. For that, first check the available versions of PHP in the Amazon Extras Package by using the following command:
The output will show the version of the PHP available for installation:

To enable PHP 8.1 run the following command:
Running this command will display the following outcome on the terminal:
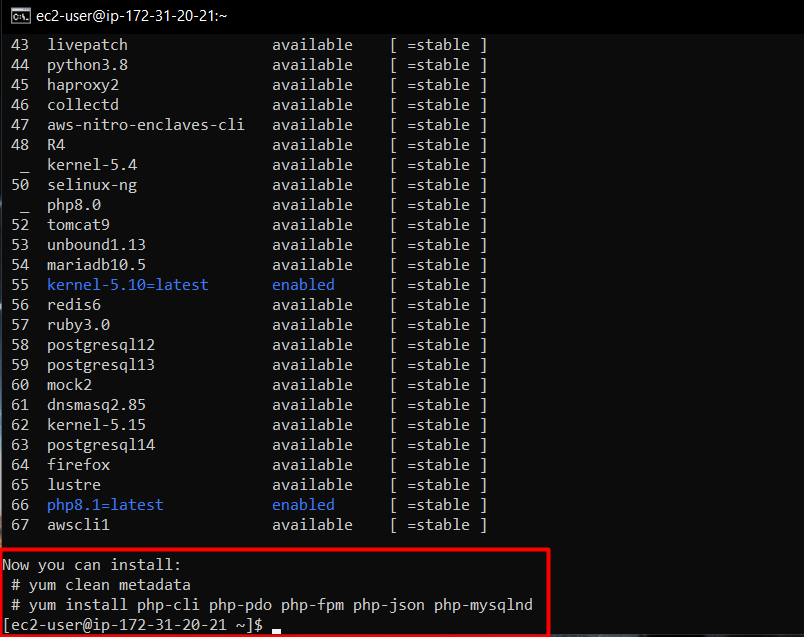
This means that once the package has been enabled the user can then install the php and for that simply run the commands that are shown to you in the terminal:
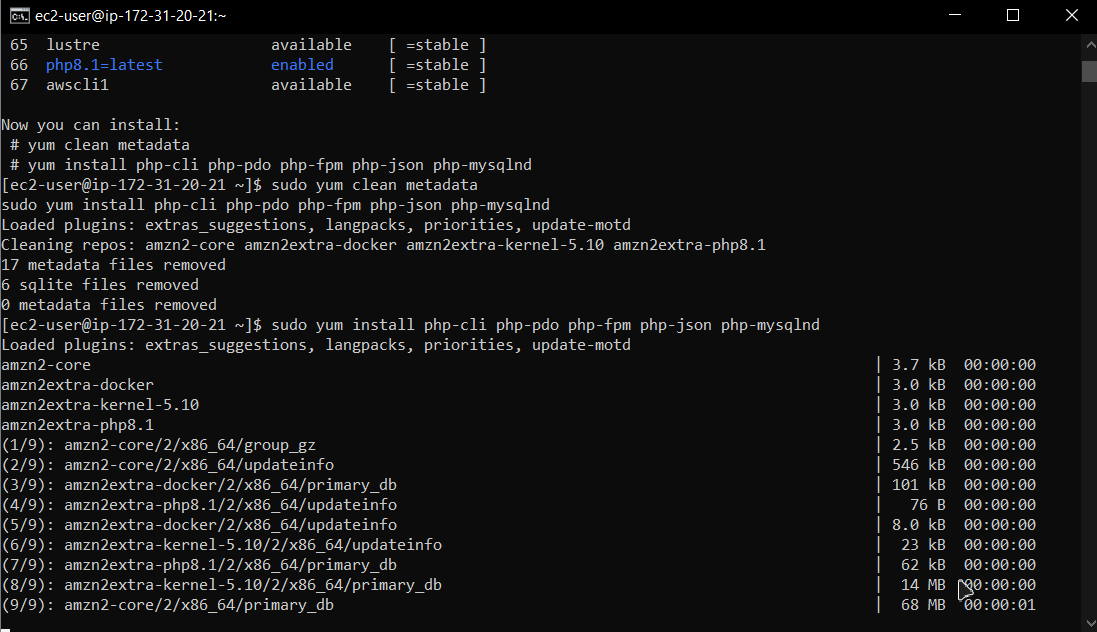
sudo yum install php-cli php-pdo php-fpm php-json php-mysqlnd
Executing these commands will initiate the download and installation process:
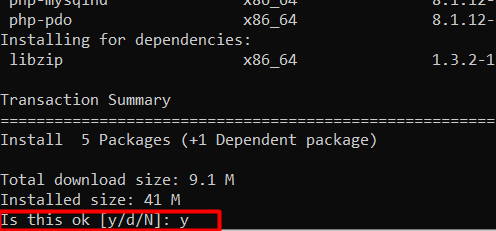
When prompted about the download, type “y” and then “Enter” to continue:
Once the installation process is done, you can verify the existence of PHP by running the following command:
The SSH terminal will show the following output:
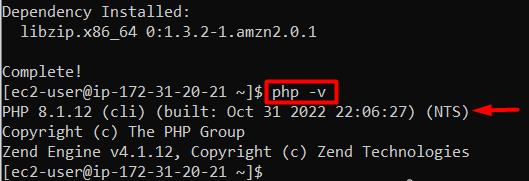
Congrats! You have successfully installed PHP on your Amazon Linux EC2.
Conclusion
To install PHP on Amazon Linux EC2 Virtual Machine, the user first needs to make sure that the Amazon Extras Packages have been installed in the EC2 instance. After that, enable the PHP package from the Amazon Extras package. After that, simply run the installation commands to install the PHP. This post has taught you how to install PHP on AWS EC2 Amazon Linux in detail.