How to install and use OpenShot Video Editor on Ubuntu 17.04
OpenShot is one of the most popular free video editing software. It has many useful features and is very easy to use. It supports multiple operating systems like Linux, Windows, MacOS etc. Any user can easily create any video from existing audio, video and image files by using this software. The video file can be exported in various formats after creating it. Many improvements have been done in the new release of OpenShot software. The quality of the image generated by this software is sharper and better now. This free video editing software makes the video creation and editing tasks easier than other editing software.
After importing one or more videos, a user can easily change the background sounds and any custom text or image anywhere on the video. Unwanted portions of the video can easily removed by applying the cut tool of the software. The user can apply different types of video profiles to make the video with superior quality. The drag and drop features of OpenShot make the video editing tasks simpler. The users can also apply some special effects in the video using this which will make the video more attractive and interesting. How anyone can install and use OpenShot on Ubuntu are shown in this tutorial.
You can install OpenShot in Ubuntu by using three approaches. All these approaches are described here shortly. If you want to omit the installation process for using this software then you can download the latest version of OpenShot AppImage file from OpenShot website and run the software after giving execution permissions. This is the easiest way to use these software but some problems arise when you will try to use this software. The required audio and video files may not import properly or the software may not respond after start up. If you want to try this approach then go the following URL location and download the file.
https://www.openshot.org/download
Secondly, you can install the OpenShot by using PPA. This approach is more time consuming than the previous approach because it needs some time to complete the installation process. Unfortunately, the same problems of AppImage exist in this type of installation also. So these two ways are not recommended as of now although they may be improved in the future. If you are interested to apply the PPA approach to install OpenShot then you have to run the following commands from the terminal.
$ sudo apt-get update
$ sudo apt-get install openshot-qt
Thirdly, you can install OpenShot from Ubuntu Software Center and this software works perfectly with most of the versions of Ubuntu. The installation steps of this approach are shown in this tutorial.
Installing OpenShot from Ubuntu Software Center
Steps:
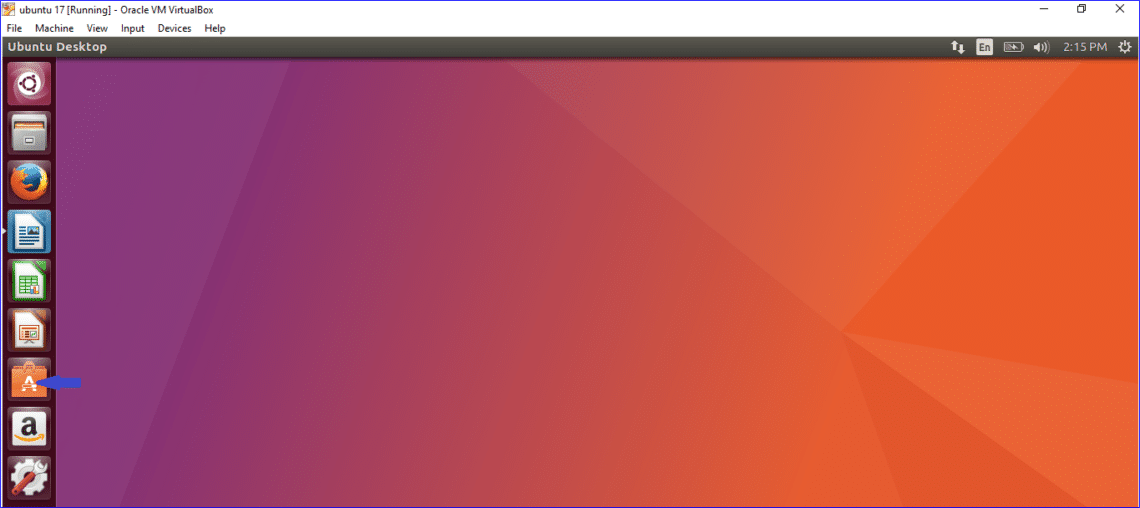
1. Click on the Ubuntu Software icon to open it
2. Type OpenShot in the search box to find out the OpenShot software. Click on the first OpenShot Video Editor software and click on the install button.
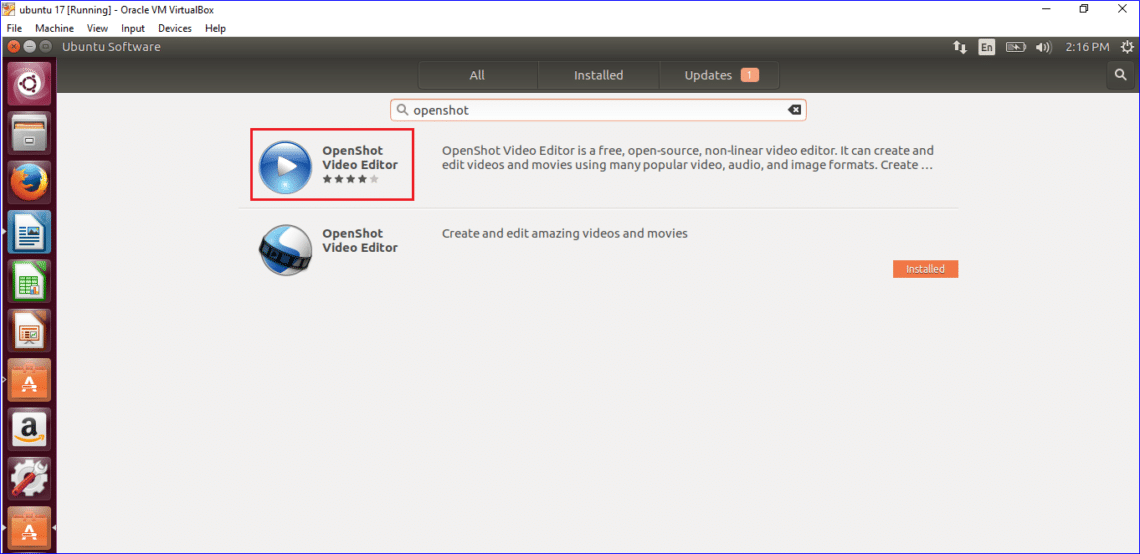
3. You have to provide the root password to start the installation process.

The software will be ready to install when the installation will complete successfully. How you can edit existing media files and create a new video content by applying different types of transition effects are shown in the next part of this tutorial.
Using Openshot Video Editor
After completing the installation, search the software by typing OpenShot in the dash home. Click on the icon to open it.

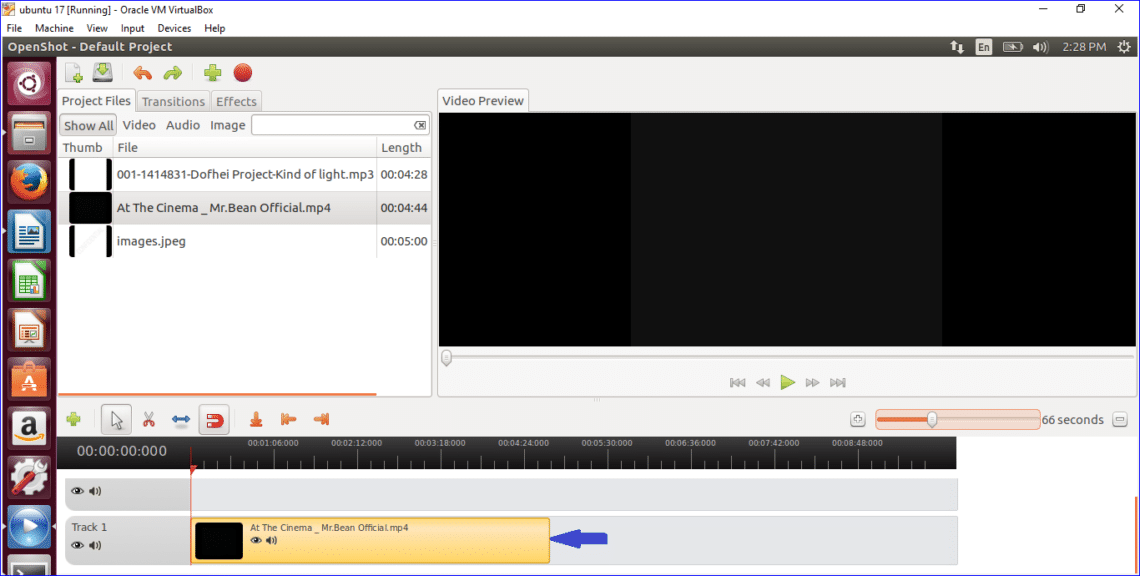
The following window will appear to create the video. It has mainly three parts, project contents area, track list and video preview area.

Import the required files to create the new video by clicking import file buttons.

A video, a audio and an image files are selected here to create a sample video.

Add three tracks by clicking plus button. Drag and drop the audio file in track 1, video file in track 2 and image file in track 3.
You can use the resize tool to change the content length.

You can use the Arrow tool to change the position of the content.

You can use razor tool to cut the video.

After cutting the video, you can separate the portion of the video and move the position of the video.

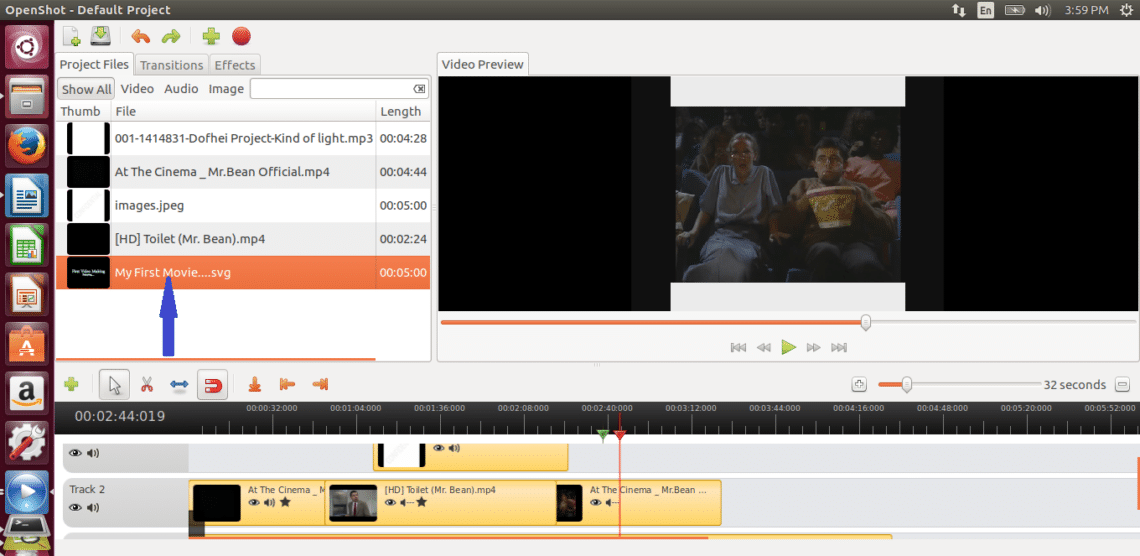
Add another video file in the project. Drag and drop it in the middle of the previous video.

If you want you can also overlap the portion of the video.

To remove the original sound of the video, click on the sound icon.

One of the important features of this software is transitions. There are many transition options are available for applying in the video. You can select and apply your preferred transition at any place of the video. Drag and drop the transition on the desired part of the video after selecting the transition. Transitions will look like the following image after applying in the video.

Another feature of OpenShot is effects. You can apply various types of effects in the different portion of the video. Suppose if you want to blur some part of the video then you can select the blur effect and click on the video part where you want to apply the effect.

There is zoom slider in the right side of the window. You can use this tool to zoom in or zoom out the track parts for editing purpose.

When the video editing task is complete then you can create the title of your video. Click on the New Title… option of the Title menu to create the title of the video. Select the theme of the title from the top and set the name of the title file.

After setting the title and sub title text, you can apply other formatting for font and color to change the looks of the title. There is another button for advance editing. You have to install the lnkspace to use this feature. Click on the apply button to show the effect of formatting.

The following file will create after creating title of the video.
If you want you can also create the animated title of the video. You have to click on New Animated Title… option from the title menu to create animated title. But you have to install a free open source 3D content creation suite named Blender to use this feature.

Some others special features exist in the OpenShot preferences dialog box. You can open this dialog box by clicking preferences from Edit menu. To change the default view of this software you can change the different setting of the general tab.

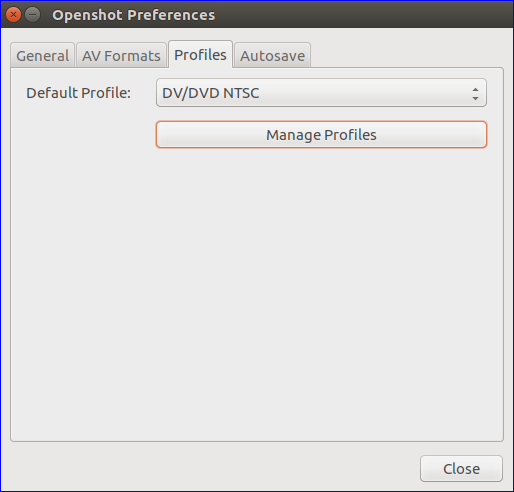
Before exporting the edited video you can change the default profile for the video from the profile drop down list. You can do some advance profile setting by clicking on manage profile button.
There is another tab to enable the autosave options of the project. You can enable auto save two ways. The project can be saved before playback or after a regular interval.

When all editing tasks are complete then you can save the project by clicking the save project button from the toolbar or pressing Ctrl+S.

The last and important feature of this software is exporting video. Export Video dialog box can be opened from File menu or by clicking Export Video button from the toolbar.

First of all, you have to set a name for the project. There are two options to export any video. The video can be exported to the local disk or into a YouTube channel. So this software is very useful for those YouTubers who want to export the video immediately after editing the video. Next, there are two tabs for export setting. These are simple and advanced. In the simple tab, select the profile type based on the video type. If you want to change the previously selected video profile then you can change the setting of simple tab. You can use advanced tab setting for advance level audio and video settings.
By following above steps, you can easily use this useful video editor to do your regular video editing tasks with efficiency and without any cost.