There are 2 versions of JDK. Oracle JDK and OpenJDK. All the components of OpenJDK are open source. The same does not go with Oracle JDK. Some components of Oracle JDK are proprietary. This is why some people prefer OpenJDK over Oracle JDK.
OpenJDK 10 recently just came out. So in this article I am going to show you how to install it in Debian 9 Stretch. Let’s get started.
Downloading OpenJDK 10
In this section, I will show you how to download OpenJDK 10 from the official website of OpenJDK.
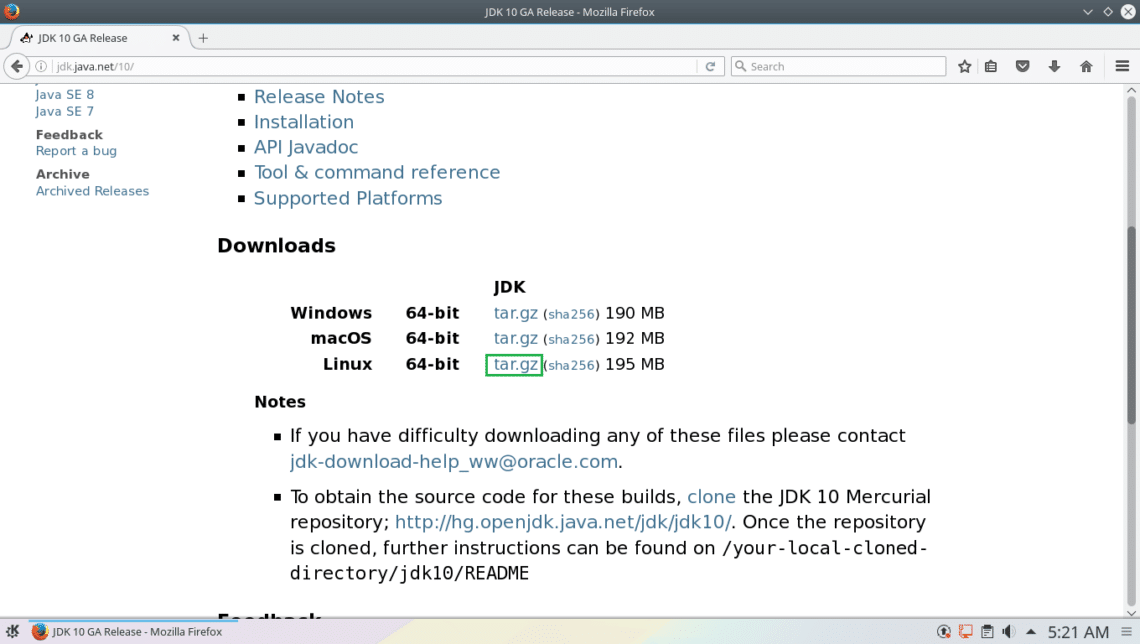
First go to the official website of OpenJDK 10 at http://jdk.java.net/10/ and you should see the following page as shown in the screenshot below.
Scroll down a little bit to the Downloads section. Click on the link as marked in the screenshot below to download the 64-bit Linux version of OpenJDK 10 tar.gz archive.
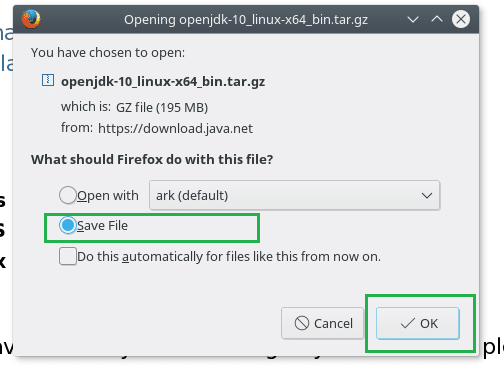
Click on Save File and then click on OK.
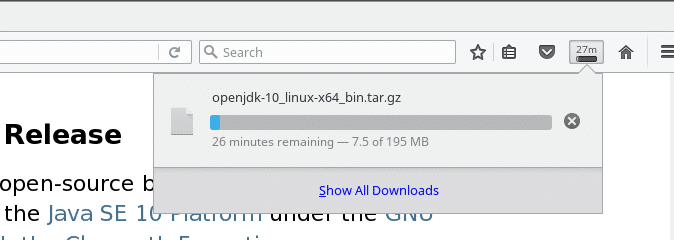
Your download should start as shown in the screenshot below.
Installing OpenJDK 10
Once your download is complete, you should find it in the default Downloads directory of your web browsers. In my case, it’s the Downloads/ directory in my user’s HOME directory.
First, navigate to the Downloads/ directory with the following command:
Now if you list the directory contents with ls -lh command, you should find the OpenJDK 10 tar archive as shown in the marked section of the screenshot below.
Now you have to extract the tar archive. I am going to extract it in my /opt directory. You may wish to choose another directory. You’re free to do so.
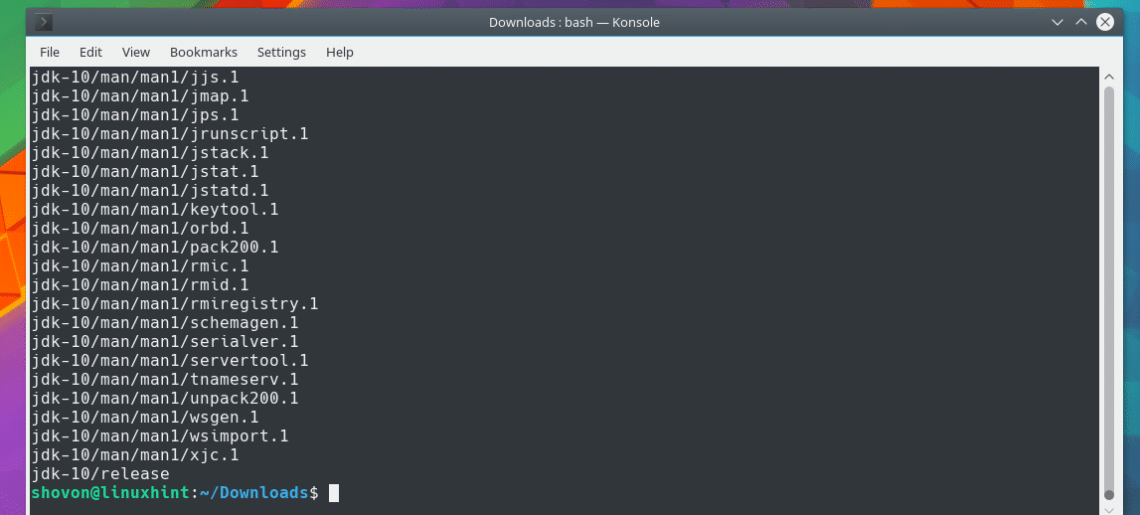
The tar archive should be extracted.
Now if you list your INSTALL_DIR, in my case it’s the /opt directory, you should see jdk-10/ directory as marked in the screenshot below.
Now you have to add it to the PATH of your Debian 9 operating system. That way you don’t have to type in the whole path to your OpenJDK 10 binary files in order to compile or run Java programs.
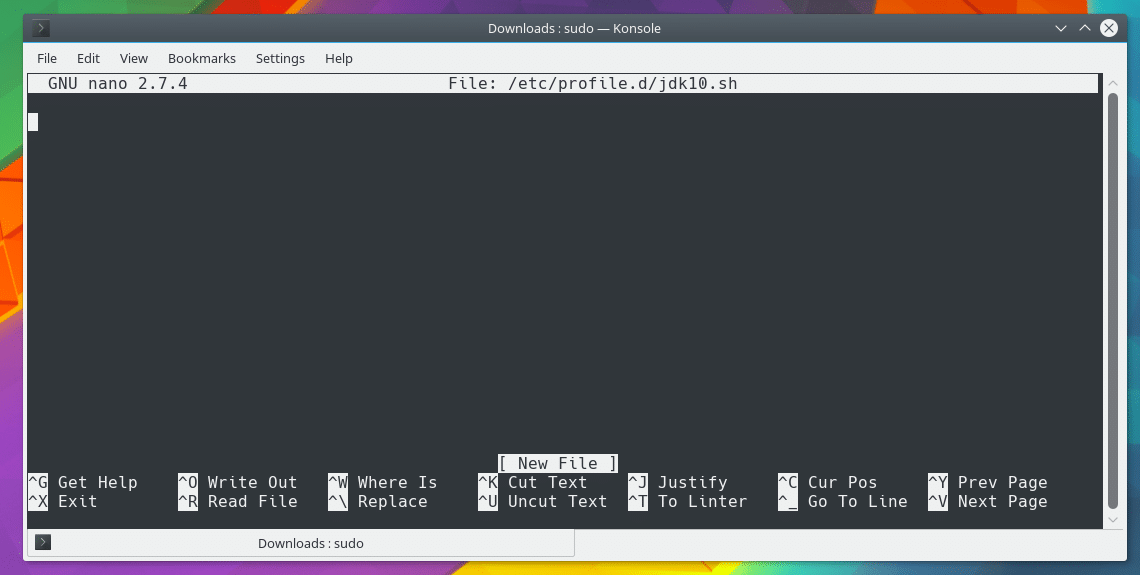
Run the following command to create a new file jdk10.sh in /etc/profile.d directory:
You should see the following window.
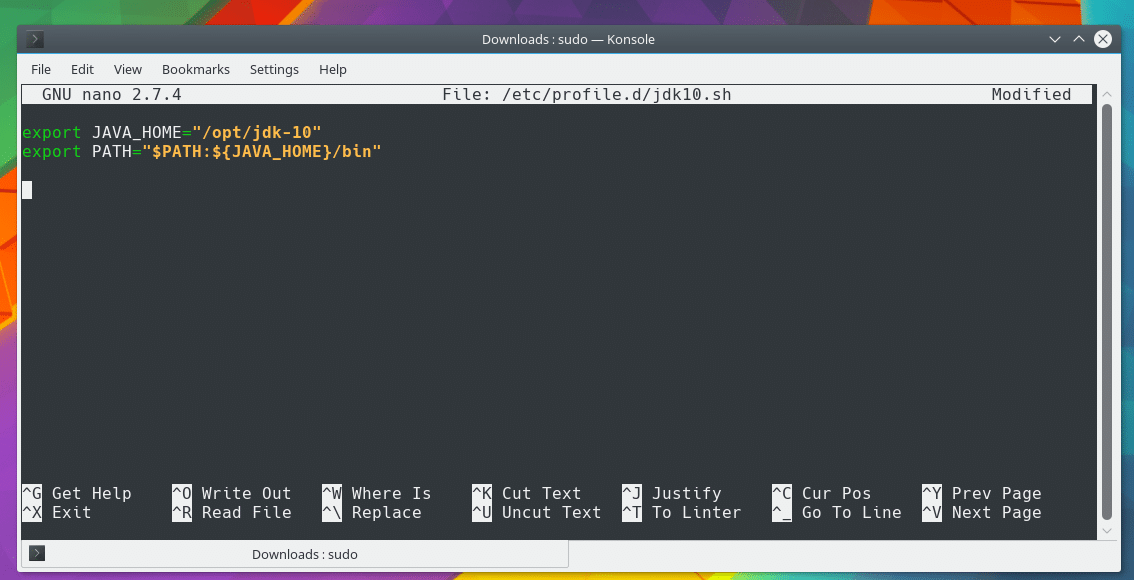
Now add the following lines to the file:
export PATH="$PATH:${JAVA_HOME}/bin"
The INSTALL_DIR in my case it /opt
Now press <Ctrl> + x, then press y and then press <Enter> to save the file.
Once the file is saved, reboot your computer with the following command:
Once your computer starts, run the following command to test whether the JAVA_HOME environment variable is available:
As you can see in the screenshot below, it’s set to the correct path.
You can also check the PATH environment variable with the following command:
As you can see in the marked section of the screenshot below, the OpenJDK 10’s bin/ directory is added to the PATH.
Now run the following command to check whether OpenJDK is working or not:
As you can see in the screenshot below, OpenJDK 10 is working correctly.
Compiling and Running a Java Program with OpenJDK 10
In this section, I will compile and run a simple Java program with OpenJDK 10 to show you that OpenJDK 10 is working correctly.
This is my simple hello world program saved in ~/Documents/codes/HelloWorld.java file.
Compiling HelloWorld.java with OpenJDK 10
First navigate to the directory where the file is saved with the following command:
Now to compile HelloWorld.java Java source file, run the following command:
Running HelloWorld with OpenJDK 10
Once the HelloWorld.java file is compiled, a HelloWorld.class file is generated. This is the Java byte code file that you run with the java command as follows:
NOTE: If the Java byte code filename is HelloWorld.class, you run java HelloWorld. You must not include .class extension. Otherwise it won’t work.
As you can see, the Java program ran successfully and displayed the correct output.
So that’s how you install OpenJDK 10 on Debian 9 Stretch. Thank you for reading this article.


