In this article, we will show you how to download and install the latest version of NVIDIA CUDA (CUDA 12 at the time of this writing) on Windows 10/11. We will also show you how to download and install an older version of NVIDIA CUDA on Windows 10/11.
Topic of Contents:
- Installing the NVIDIA GPU Drivers on Windows 10/11
- Installing the Visual Studio IDE on Windows 10/11
- Installing the C/C++ Build Tools on Visual Studio IDE
- Downloading the Latest Version of NVIDIA CUDA for Windows 10/11
- Downloading the Older Versions of NVIDIA CUDA for Windows 10/11
- Installing NVIDIA CUDA on Windows 10/11
- Testing If NVIDIA CUDA Is Installed Correctly on Windows 10/11
- Conclusion
Installing the NVIDIA GPU Drivers on Windows 10/11
Before you install NVIDIA CUDA on your Windows 10/11 computer, you have to download and install the NVIDIA GPU drivers on Windows 10/11. If you need any assistance on that, read the article on How to Install the NVIDIA Drivers on Windows 10/11.
Installing the Visual Studio IDE on Windows 10/11
NVIDIA CUDA requires the C/C++ build tools for building the CUDA programs. On Windows 10/11, you can install the C/C++ build tools from Visual Studio IDE. So, you need to install the Visual Studio IDE on Windows 10/11 before installing NVIDIA CUDA.
If you need any assistance on installing the Visual Studio IDE on Windows 10/11, read the article on How to Install Visual Studio IDE on Windows 10-11.
Installing the C/C++ Build Tools on Visual Studio IDE
You need to install the C/C++ workload on Visual Studio IDE once you installed Visual Studio on your computer.
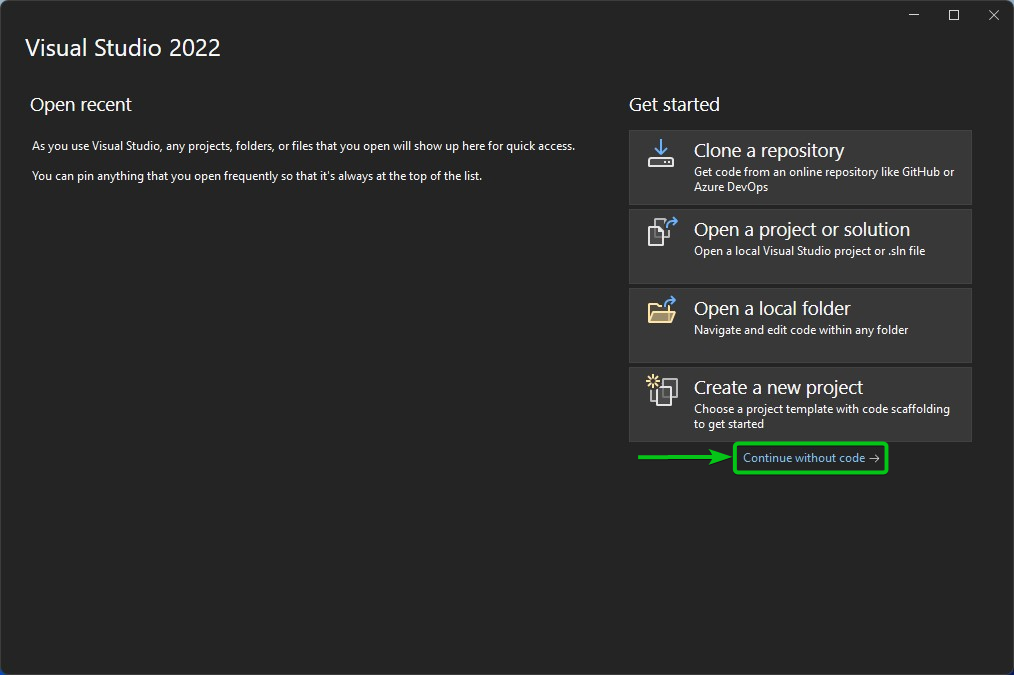
First, open the Visual Studio IDE and click on “Continue without code”.
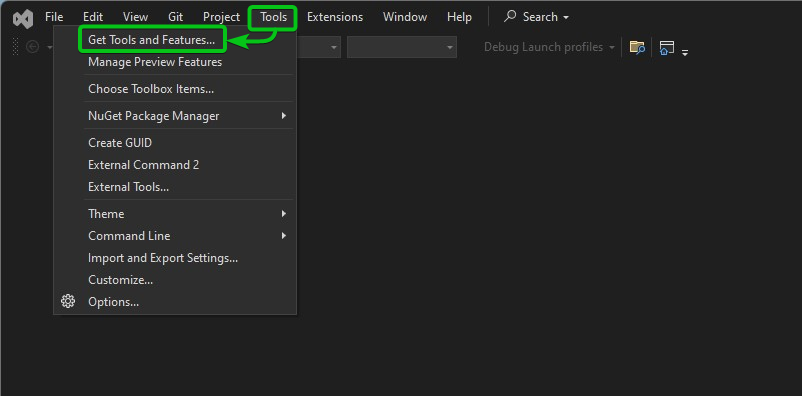
Click on Tools > Get Tools and Features…
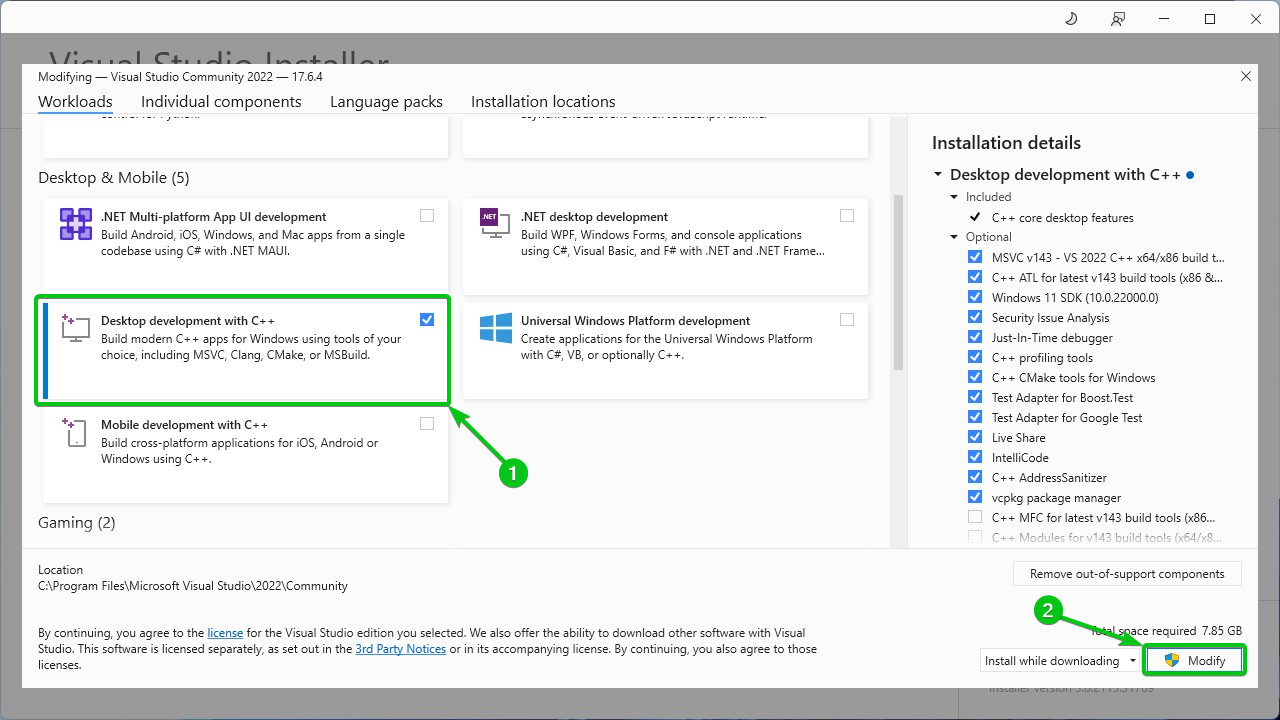
From the “Workloads” tab, tick on “Desktop development with C++”[1] and click on “Modify”[2].
NOTE: If you already have the Desktop development with C++ installed on Visual Studio, you can skip this step.
Click on “Continue”.
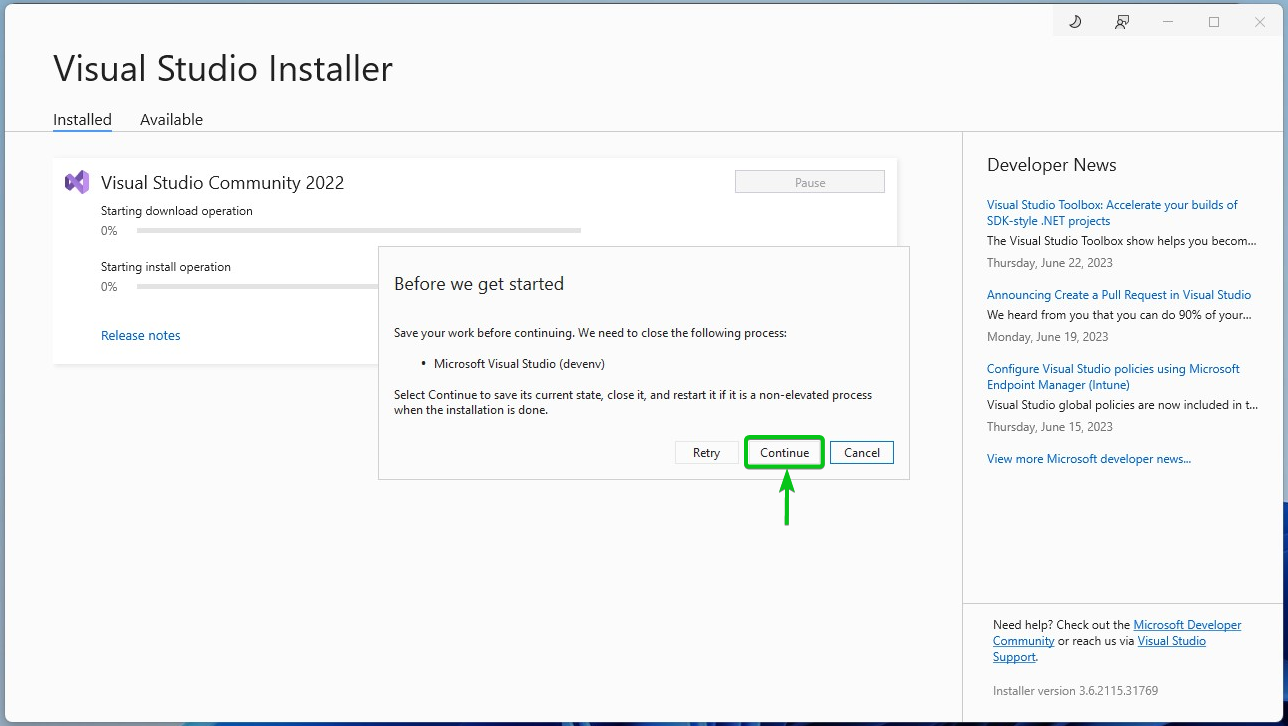
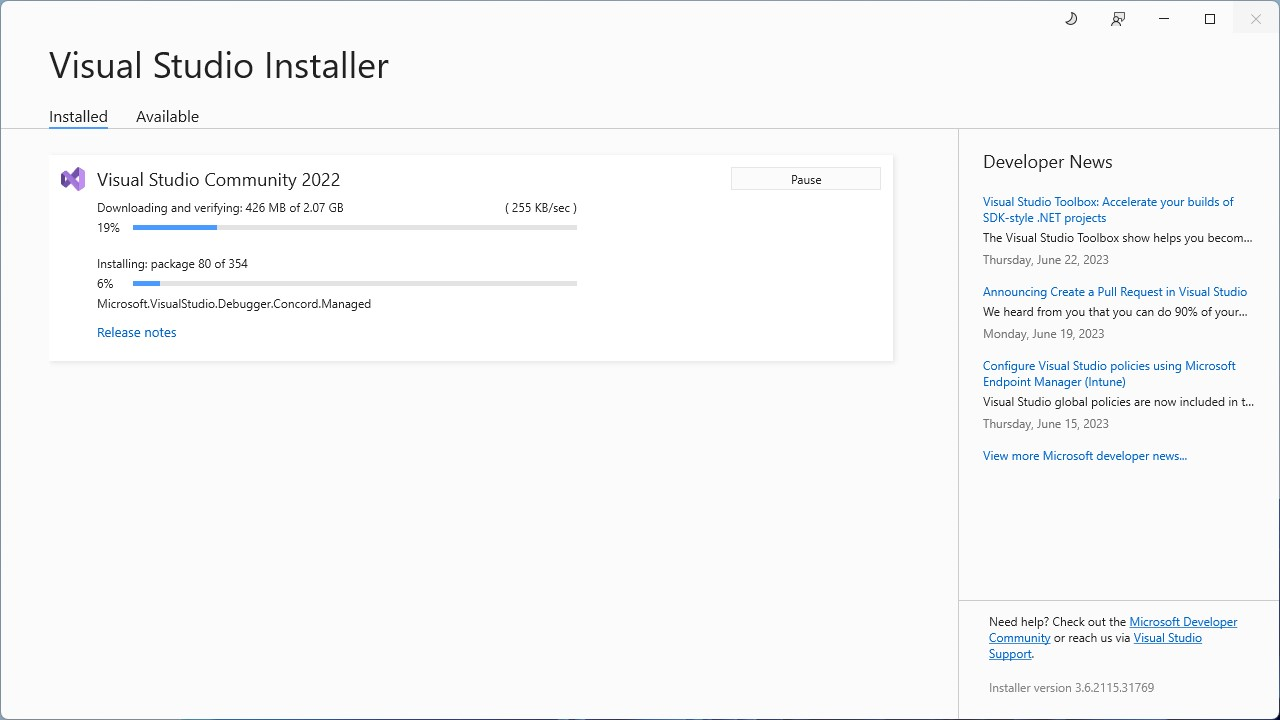
The Desktop development with C++ workload is being downloaded and installed on Visual Studio. It takes a while to complete.
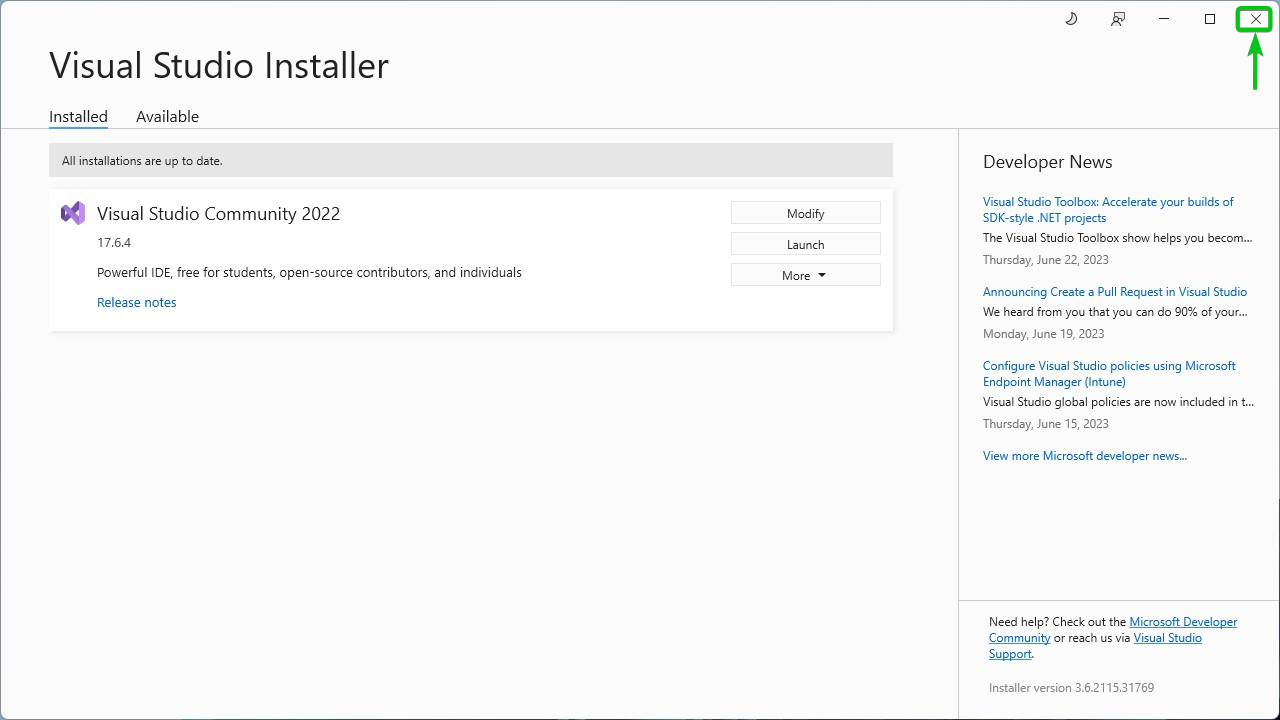
At this point, the Desktop development with C++ workload should be installed on Visual Studio.
Close the Visual Studio Installer window and restart your computer for the changes to take effect.
Downloading the Latest Version of NVIDIA CUDA for Windows 10/11
To download the latest version of NVIDIA CUDA for Windows 10/11, visit https://developer.nvidia.com/cuda-downloads from your favorite web browser.
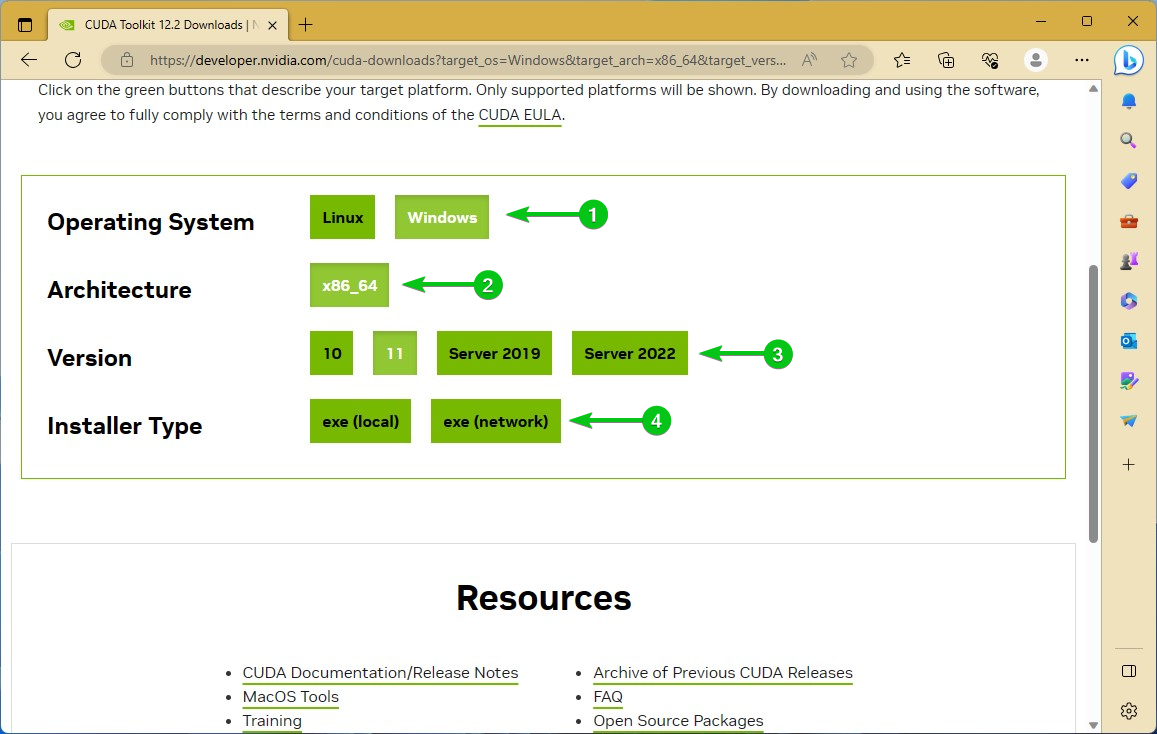
Once the page loads, select “Windows” as the operating system[1] and “x86_64” as the architecture[2]. Then, select the version of Windows that you installed on your computer from the “Version” section[3] and click on “exec (local)” from the “Installer Type” section[4].
You will see the download option for the latest version of NVIDIA CUDA for your desired Windows version. Click on “Download”.
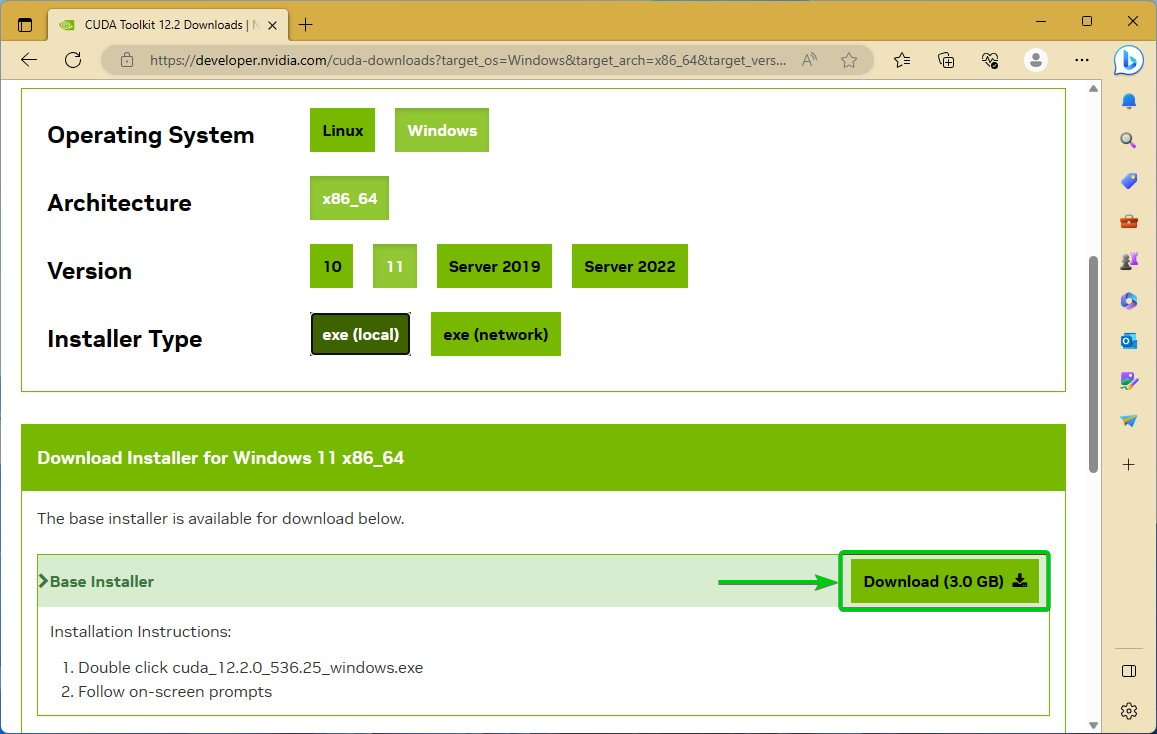
Your browser should start downloading the latest version of the NVIDIA CUDA installer. It’s a big download and will take a while to complete.
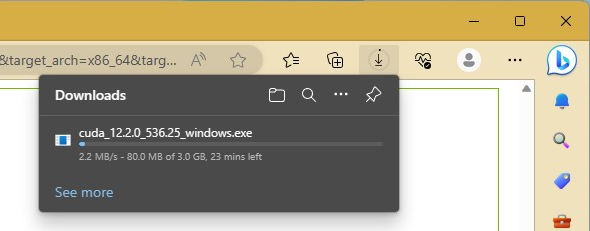
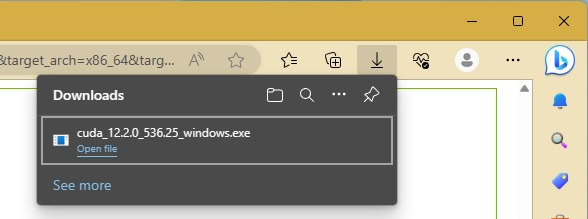
At this point, the latest version of the NVIDIA CUDA installer should be downloaded.
Downloading the Older Versions of NVIDIA CUDA for Windows 10/11
To download an older version of NVIDIA CUDA for Windows 10/11, visit https://developer.nvidia.com/cuda-toolkit-archive from your favorite web browser.
All the earlier versions of NVIDIA CUDA will be listed in the “Archived Releases” section as you can see in the following screenshot:
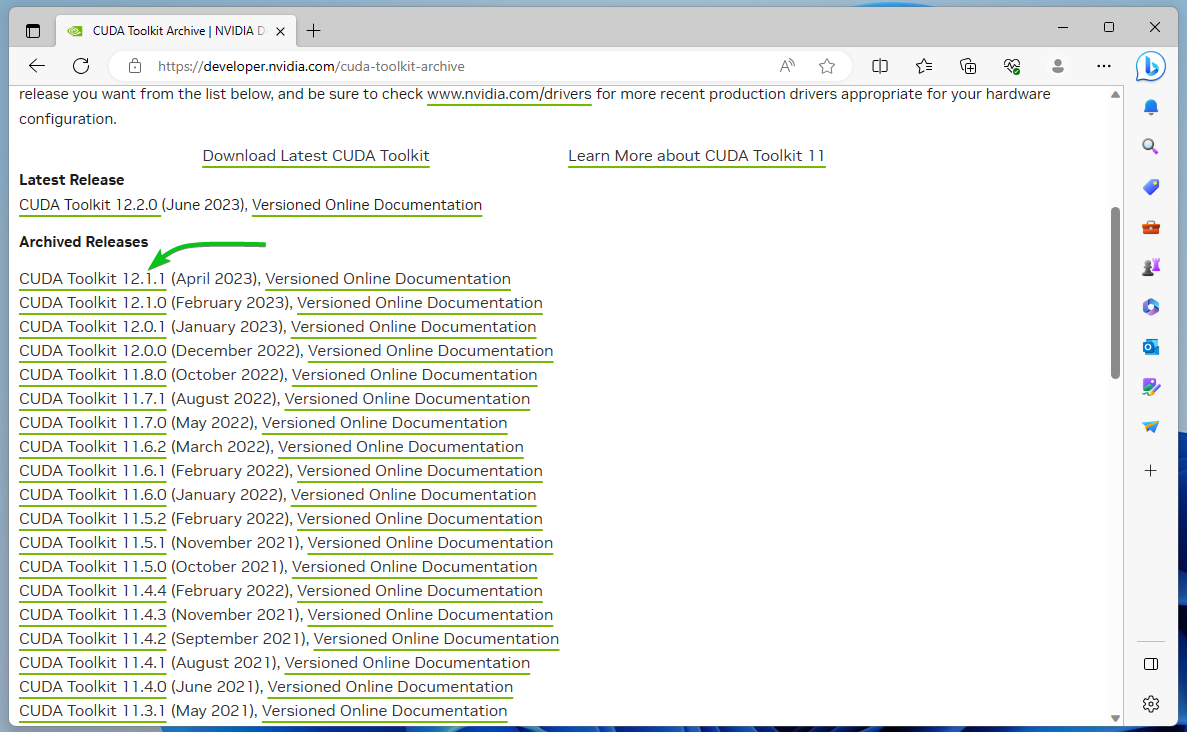
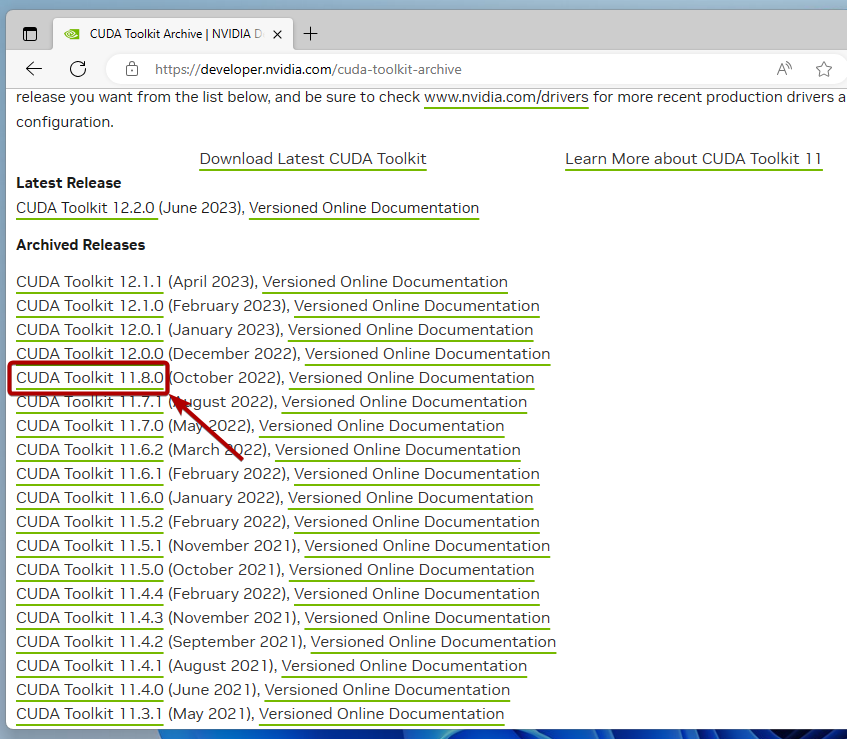
To download an older version of NVIDIA CUDA of your choice, click on it.
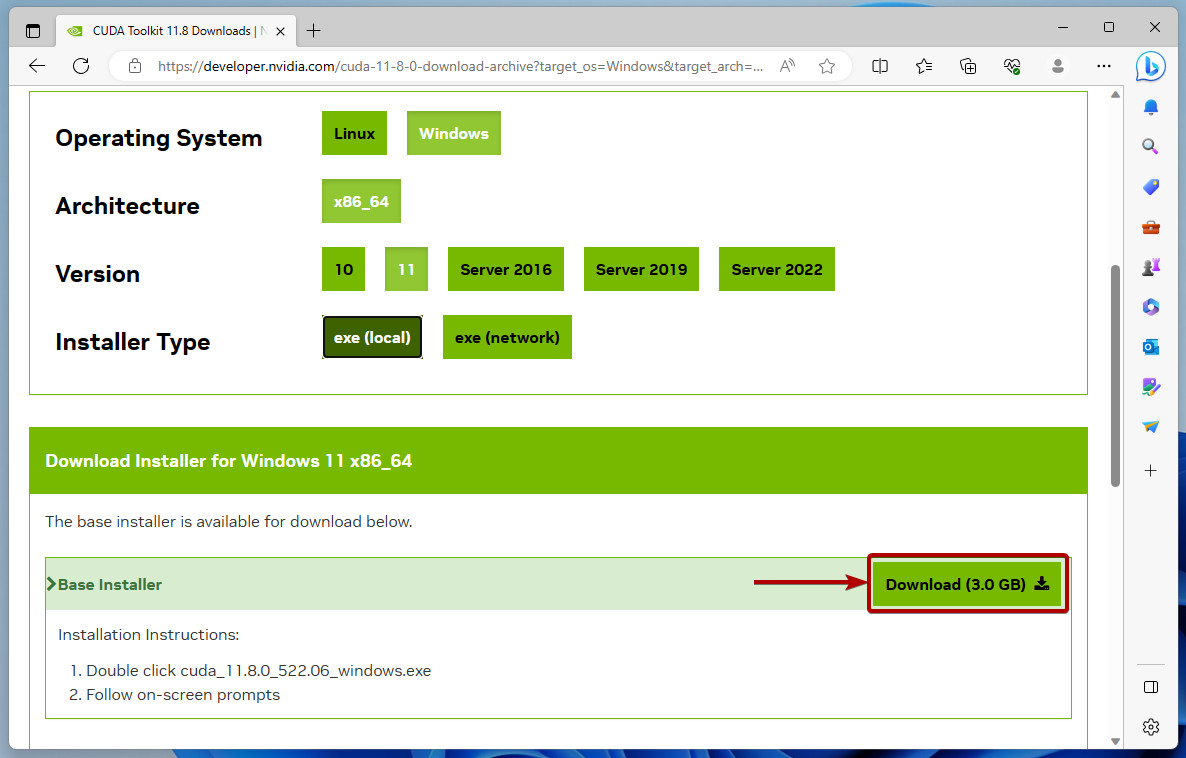
Once the page loads, select “Windows” as the operating system[1] and “x86_64” as the architecture[2]. Then, select the version of Windows that you installed on your computer from the “Version” section[3] and click on “exec (local)” from the “Installer Type” section[4].

You will see the download option for your desired version of NVIDIA CUDA. Click on “Download”.
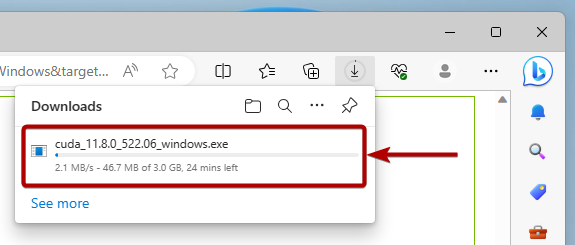
Your browser should start downloading your desired version of the NVIDIA CUDA installer. It’s a big download and will take a while to complete.
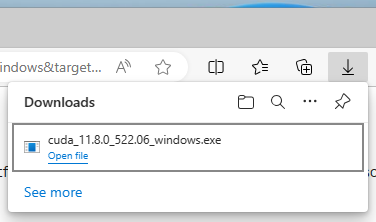
At this point, your desired version of the NVIDIA CUDA installer should be downloaded.
Installing NVIDIA CUDA on Windows 10/11
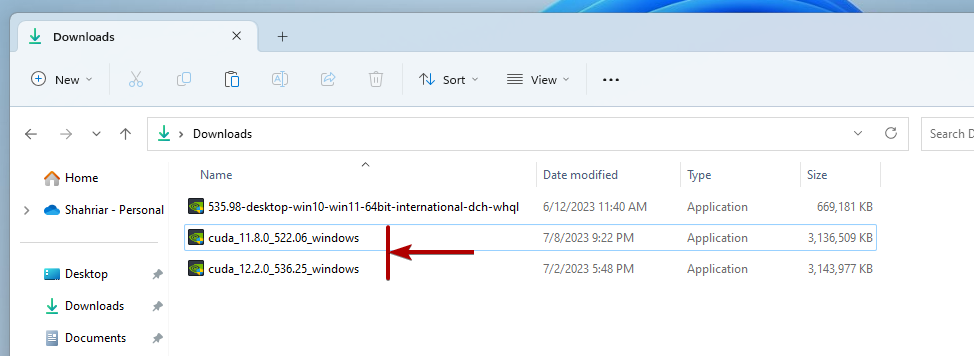
To install your desired version of NVIDIA CUDA, double-click (LMB) on the respective NVIDIA CUDA installer from the “Downloads” folder of your Windows operating system.
NOTE: You can also install multiple versions of NVIDIA CUDA on the same computer. If you need to work with multiple CUDA versions, just install them one after the other. The processes are the same as shown in this section.
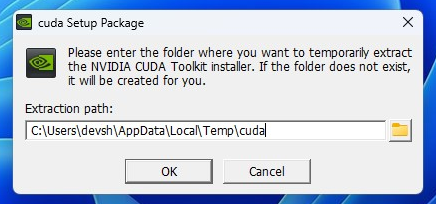
Click on “OK”.
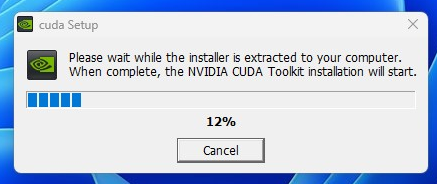
The NVIDIA CUDA setup files are being extracted. It takes a few seconds to complete.
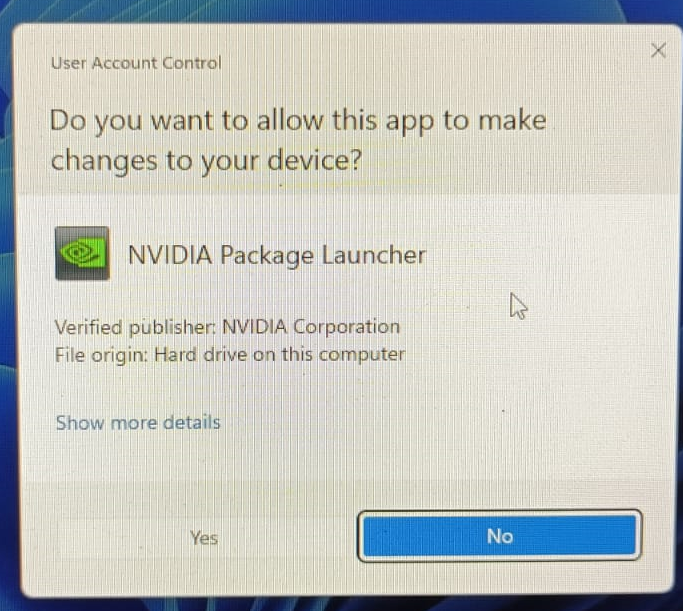
Once the NVIDIA CUDA setup files are extracted, you will see the following prompt. Click on “Yes”.
The NVIDIA CUDA installer is being started.

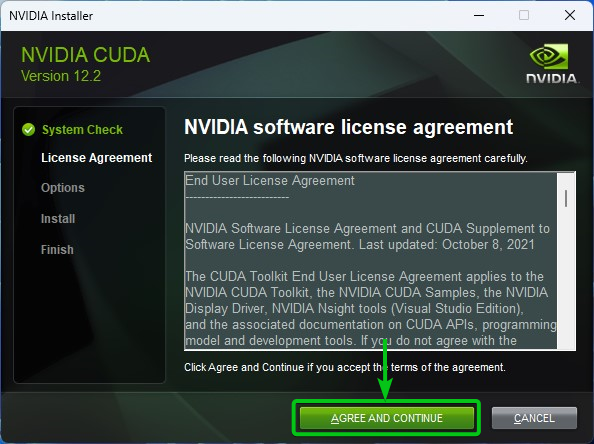
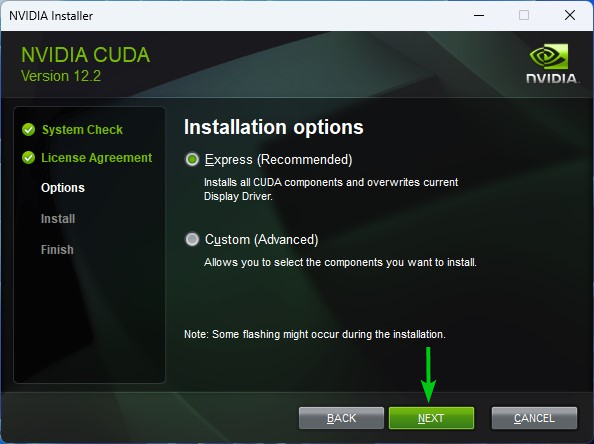
Once the NVIDIA CUDA Installer is started, click on “AGREE AND CONTINUE”.
Click on “NEXT”.
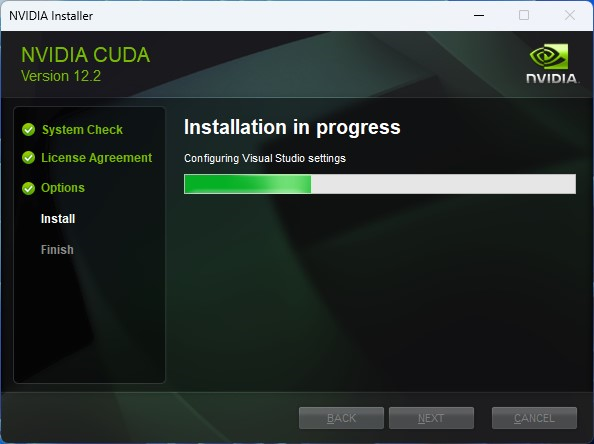
NVIDIA CUDA is being installed. It takes a while to complete.
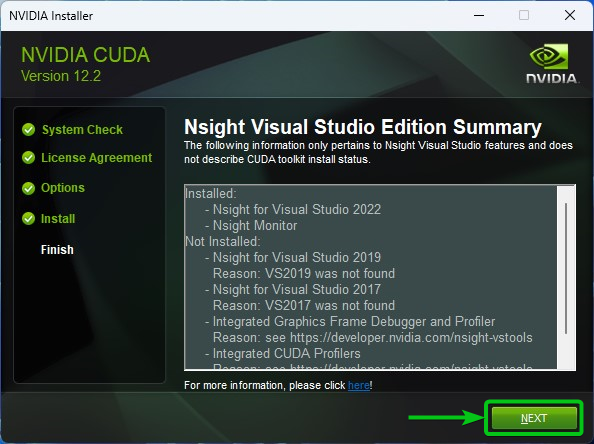
Click on “NEXT”.
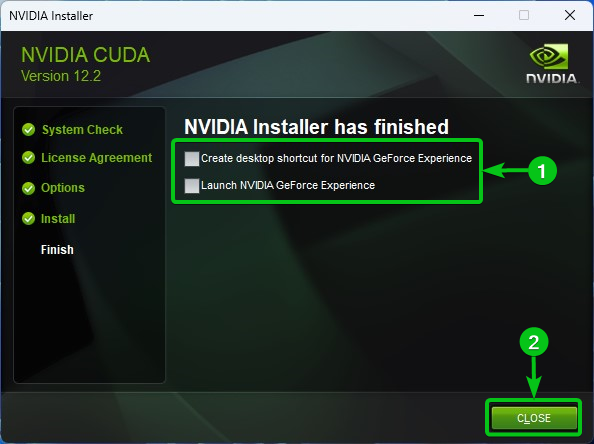
Uncheck the marked options[1] and click on “CLOSE”[2]. Then, restart your computer for the changes to take effect.
Testing If NVIDIA CUDA Is Installed Correctly on Windows 10/11
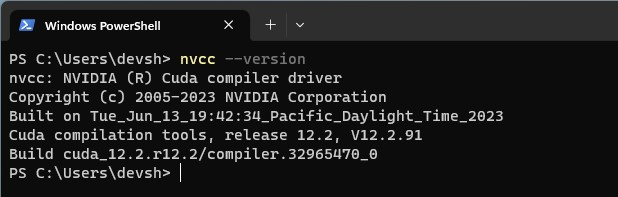
Once your computer starts, open a Terminal app and run the following command to verify whether NVIDIA CUDA is working and accessible from the Terminal:
If NVIDIA CUDA is installed correctly, the command should print the version of NVIDIA CUDA that you installed on your computer. In our case, we have NVIDIA CUDA 12.2 installed on our computer.
Conclusion
We showed you how to download and install the latest version of NVIDIA CUDA (CUDA 12 at the time of this writing) on Windows 10/11. We also showed you how to download and install an older version of NVIDIA CUDA on Windows 10/11.