Nginx is quite a famous web server used to host HTTP and HTTPs websites and applications. At the same time, talking about AWS EC2, then EC2 instances are nothing but virtual machines running the cloud (AWS) platform. You can use the EC2 instance for your application or launch a test version on them before actually launching your application to the live world. This post will explain the process of installing Nginx on an EC2 instance that runs Ubuntu as its operating system in only three simple steps.
Step 1: Create an EC2 Instance
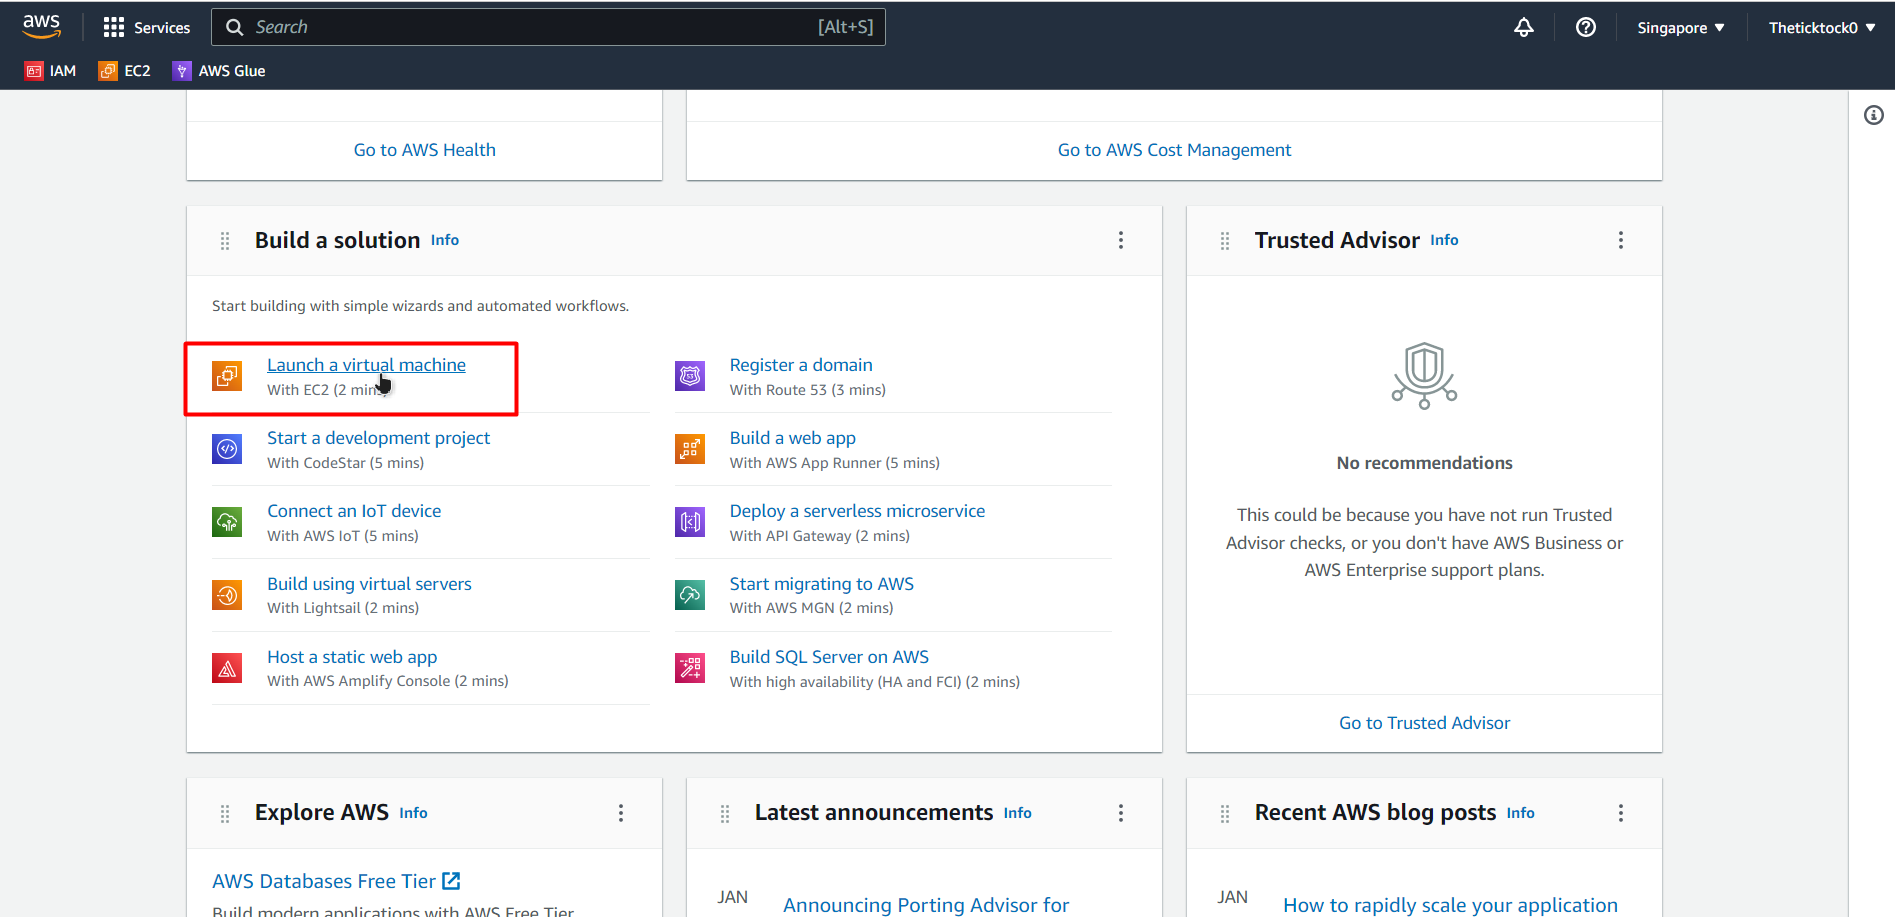
To start, visit the AWS Console and log in to your account once inside, scroll the dashboard to the “Build a solution” section and select “Launch a virtual machine” inside that section:
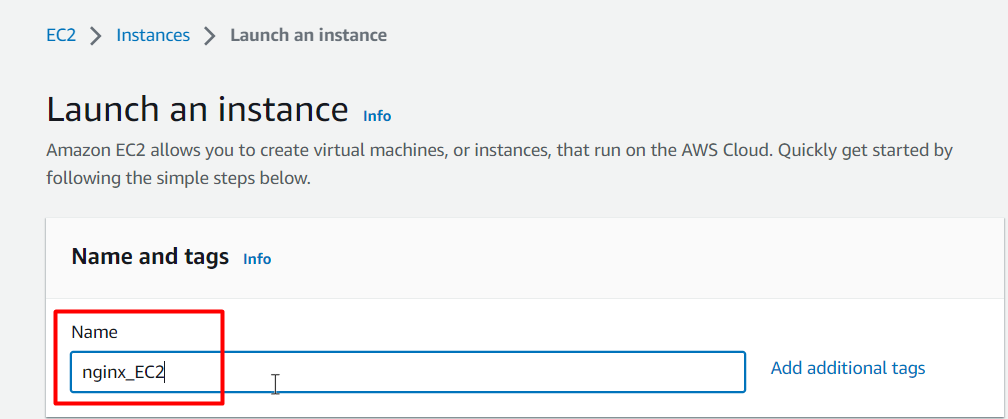
This will bring you to the EC2 creation wizard, from where you need to provide a Name or a Tag for your EC2 VM:
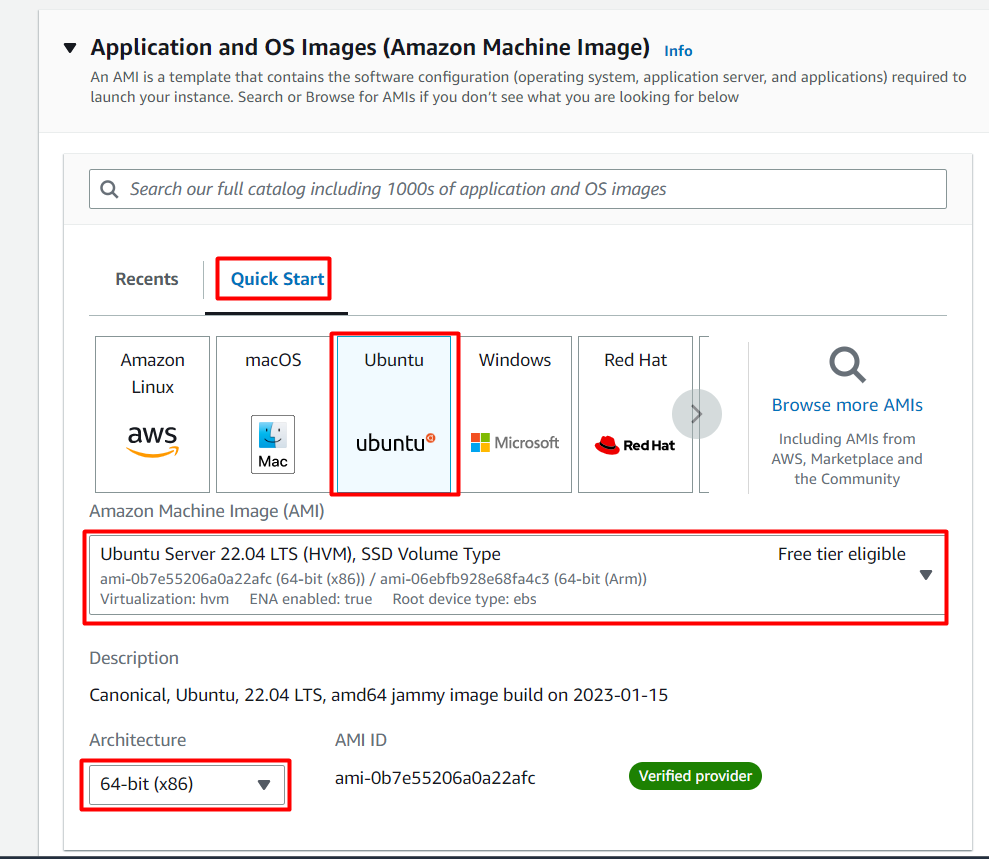
Scroll down and for the AMI, select “Quick Start” templates and choose “Ubuntu”:
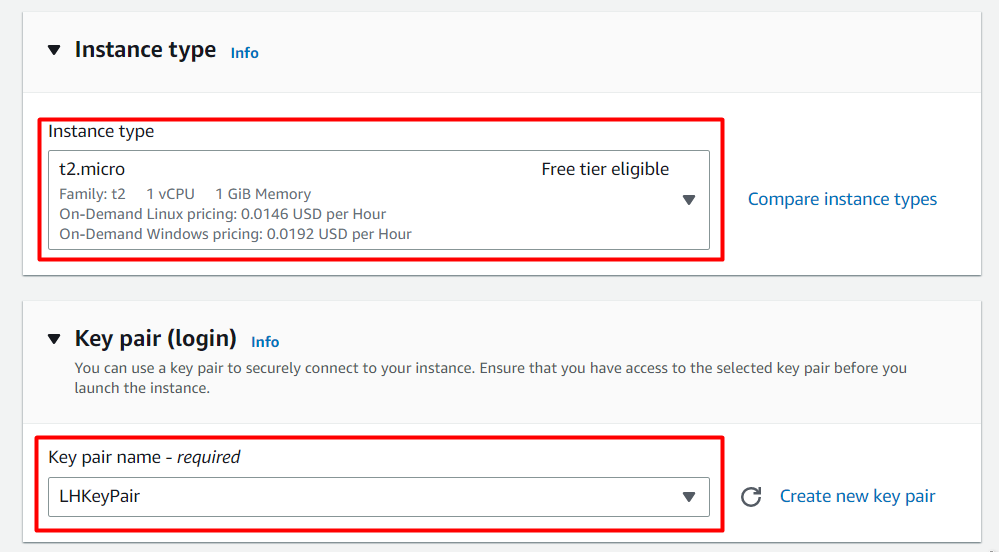
Choose an instance type according to your requirements. After that, scroll down to the key pair section and select a key pair, but remember to choose a key pair available on your local PC, as it will be used to connect to the EC2 instance. If you don’t have a key pair, then simply create one:
If you wish to deploy certain applications on the NginX server, then you should check the following options regarding HTTP and HTTPS traffic and then click on the “Launch Instance” button:
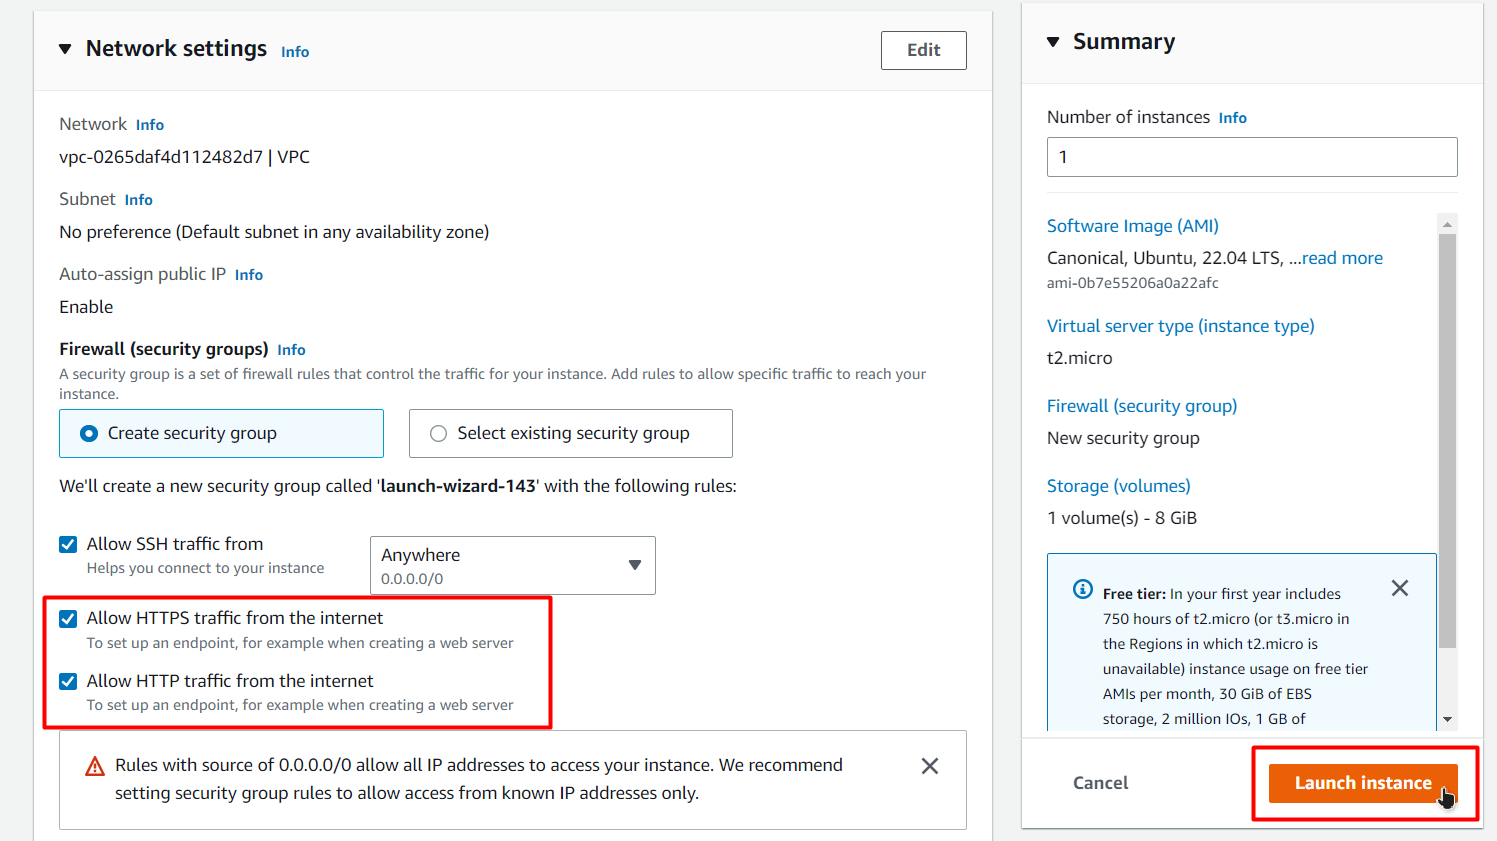
After that, the instance will be launched:

After that, connect to this EC2 instance by going over to the list of instances and clicking on the “Connect” page:

Copy the following command:
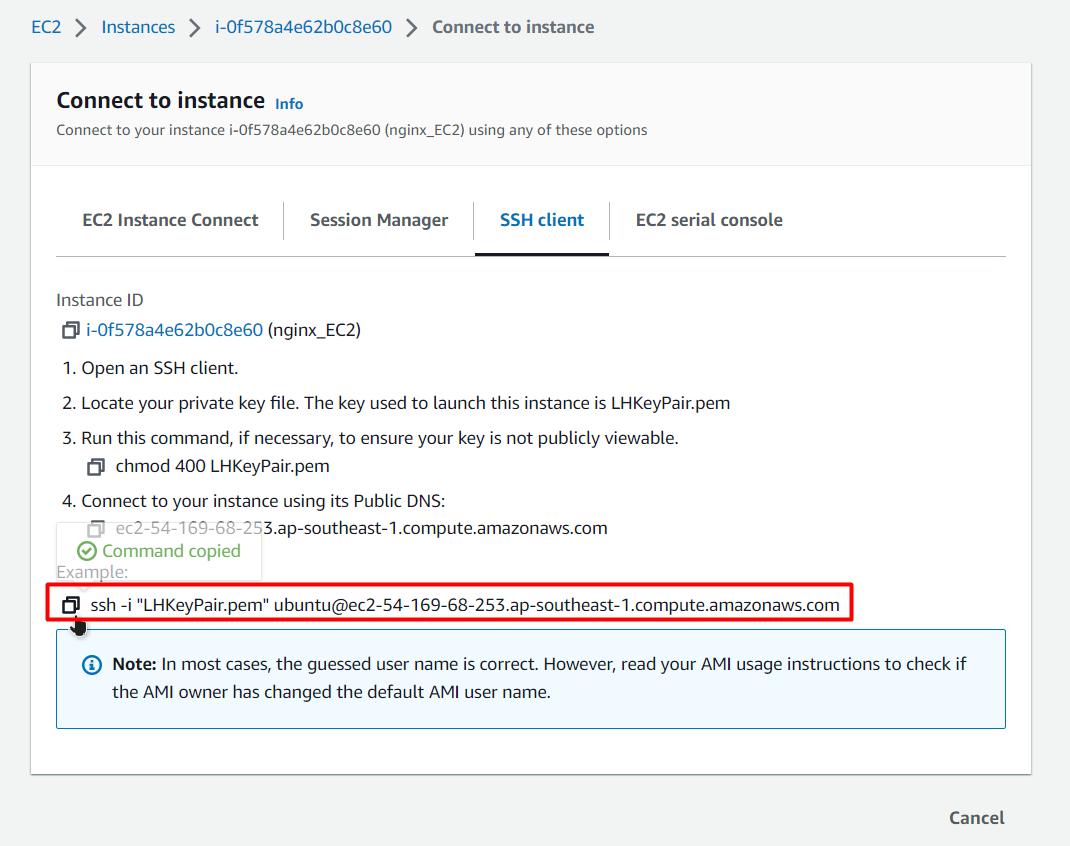
Paste it inside the Command Prompt and replace the key pair name with the complete path of the key pair on your local machine:

Execute this command, and then when you are prompted, type “yes” and continue:
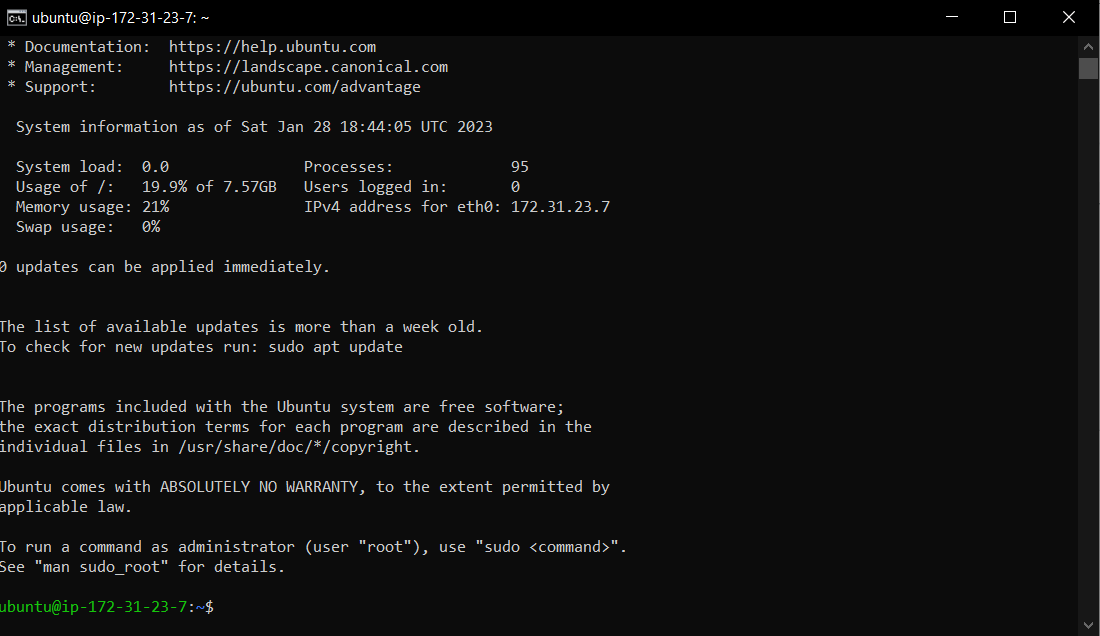
This output confirms that now you are connected to your newly made EC2 instance using SSH.
Step 2: Install NginX on EC2 Ubuntu
Start by updating the apt packages list with the help of the following command:
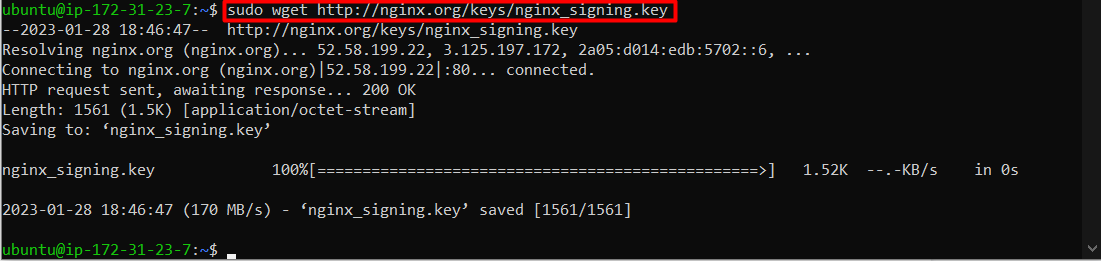
Once all the apt packages are up to date, you can move towards the installation of NginX. The first step is to download the signing key using the following command:
Running the command will download the signing key on your EC2 instance:
After that, the next step is to add this key to the repository list using the following command:

Once that is done, again update the command to update the apt packages list:
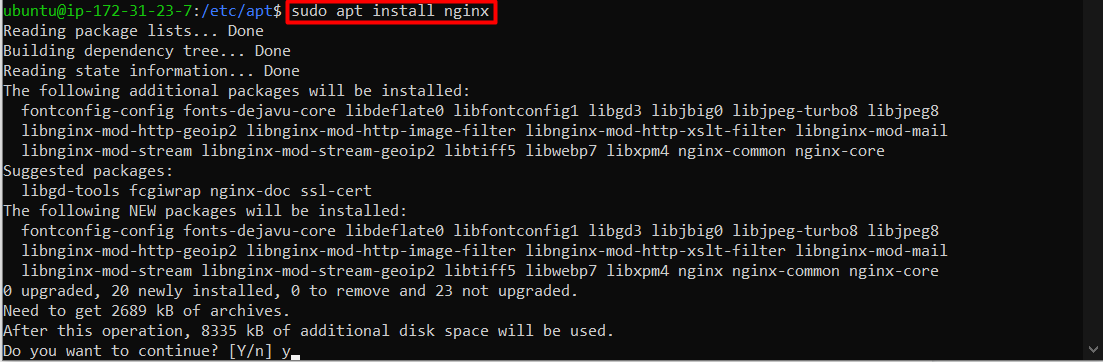
After that is done, install the nginx with the following “apt install” command:
When prompted about the download, type “y” and then continue:
Once the downloading and the installation process is fully completed, start the nginx service through:
After that, verify that the NginX server is running with the help of the following command:
The following will be displayed in the SSH terminal:
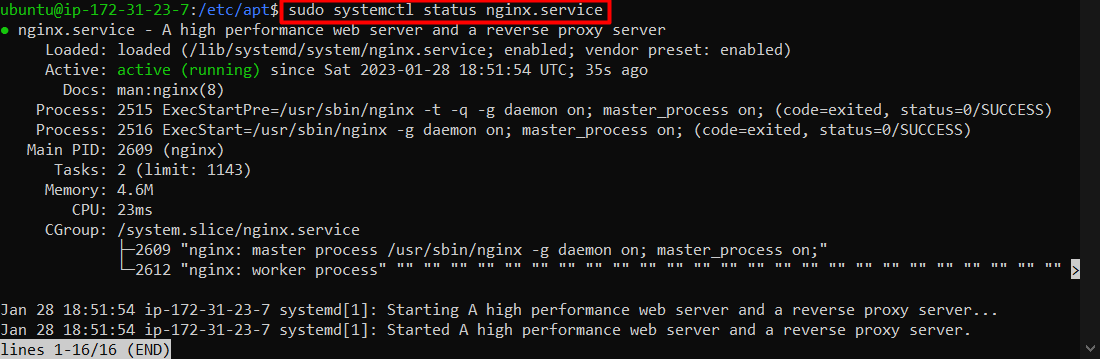
This output shows that you have successfully installed and set up your NginX.
Step 3: Visit NginX Web Server
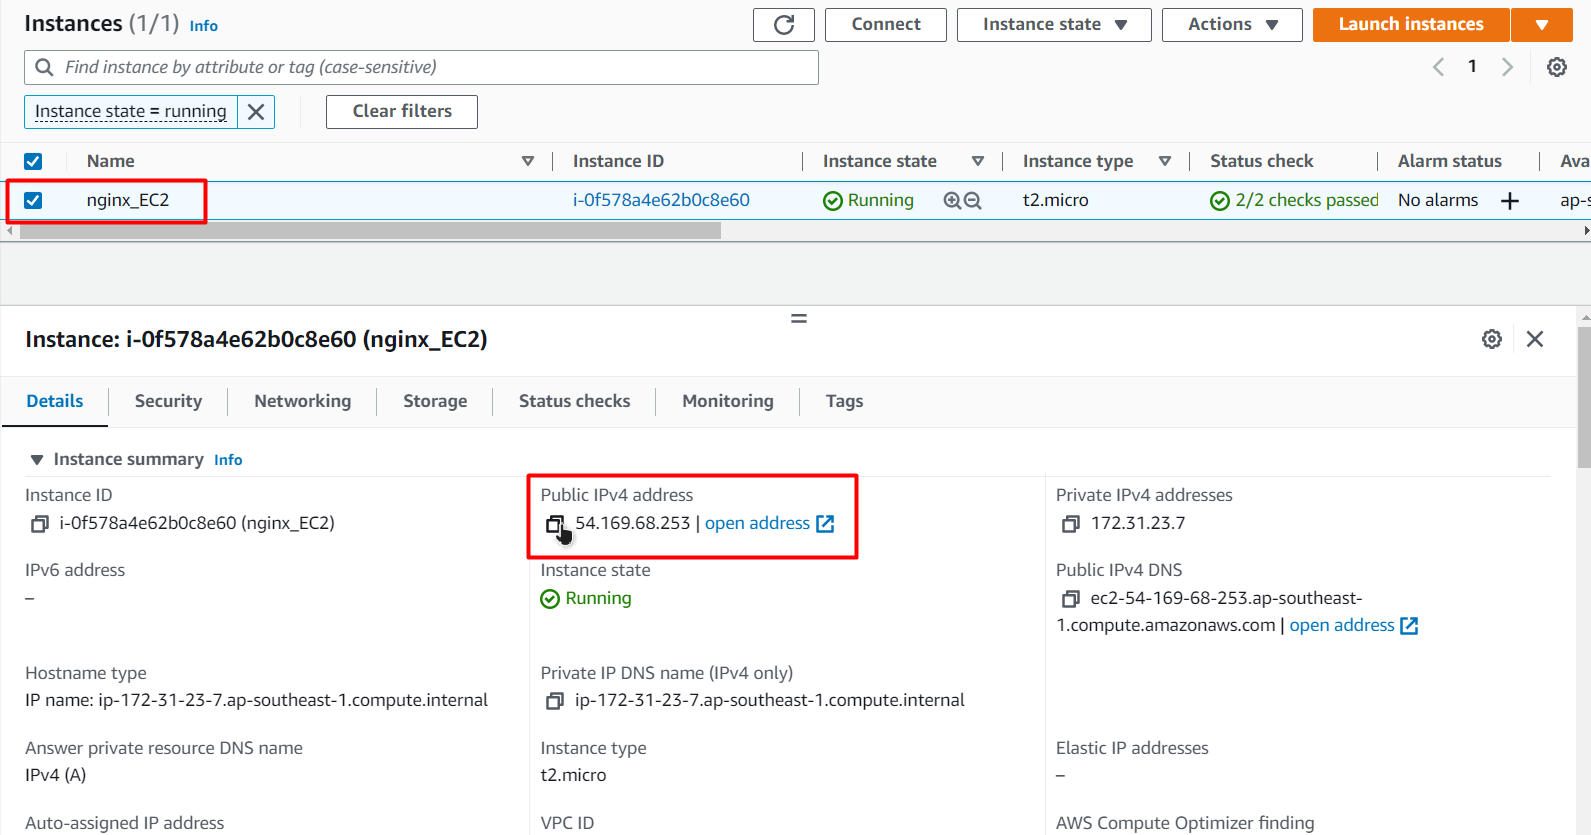
To visit the Nginx Web Server from outside AWS, head back to the Instances Console and copy the Public IPv4 Address of the EC2 instance:
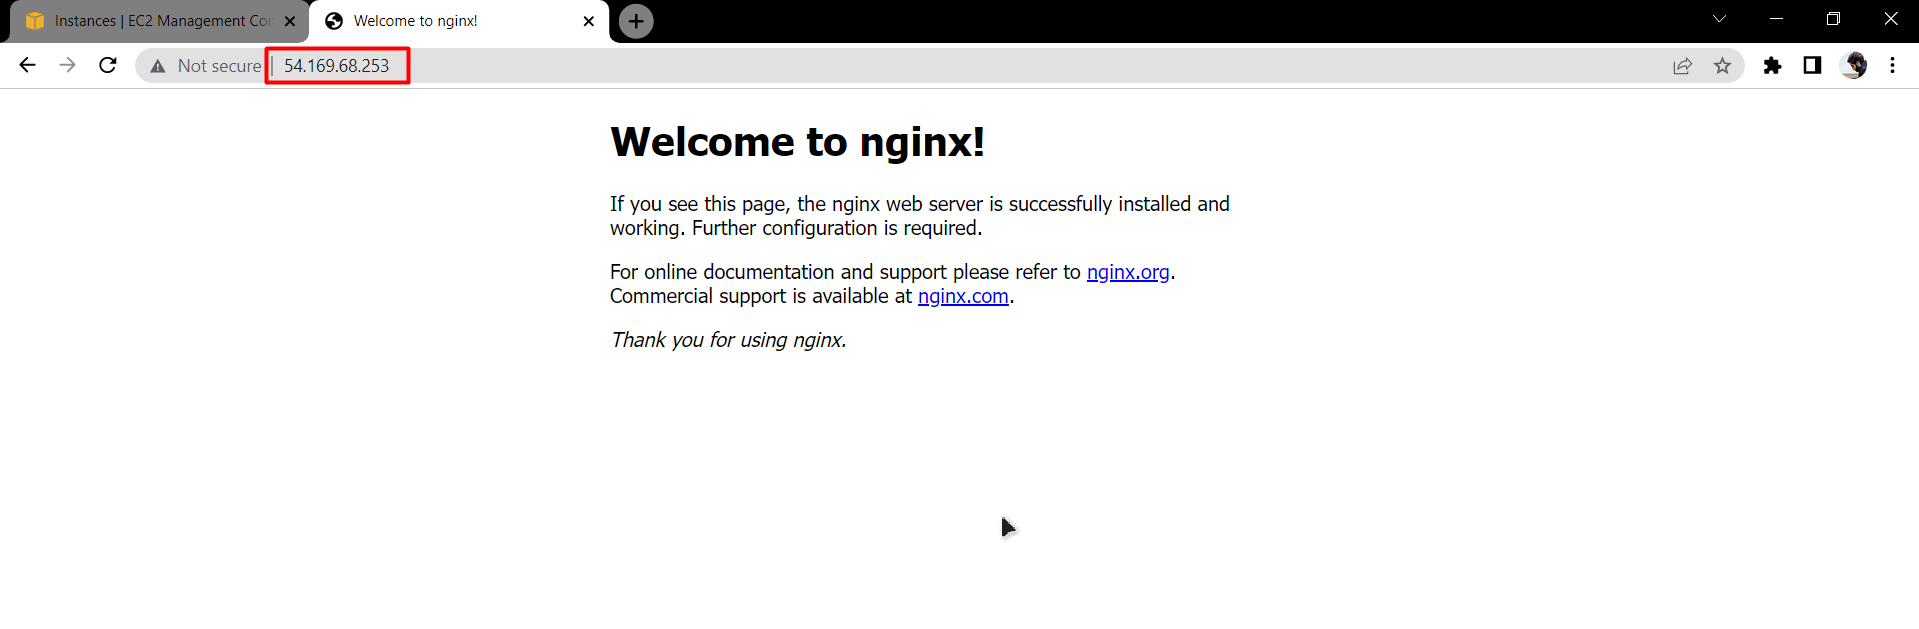
Paste this address in a browser and visit the link, you will see the following output on the browser:
That is it for this tutorial about installing Nginx on EC2 Ubuntu Instance.
Conclusion
To install the Nginx Web Server on the EC2 Ubuntu instance, first, connect to the instance using the SSH connection. After that follow the commands mentioned in this guide to download and add the signing key. After that, use the “apt install” command to install the NginX web server and then start its service by using the “systemctl” command.