In this write-up, the netdata installation’s method has been explained in detail with the configuration of the firewall.
How to install Netdata on Ubuntu 22.04
For the installation of Netdata, we have to download and set up the repository of Netdata by executing the below-mentioned command:
When the setup of the repository is ready, we will install it using the apt package manager:
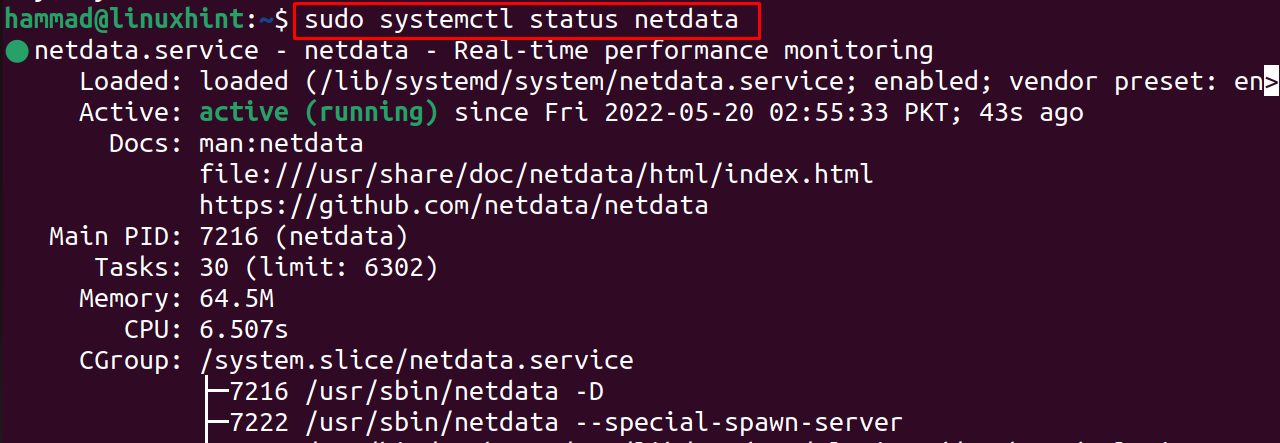
Once the installation is complete, we will verify the installation of Netdata by displaying the status of installed package:
Now for Netdata, we have to allow the traffic on port 19999 using the UFW:
Reload the firewall after adding the rule and also check the status by using the command:
Now find out the ip address with the port that netdata is listening by running the command:
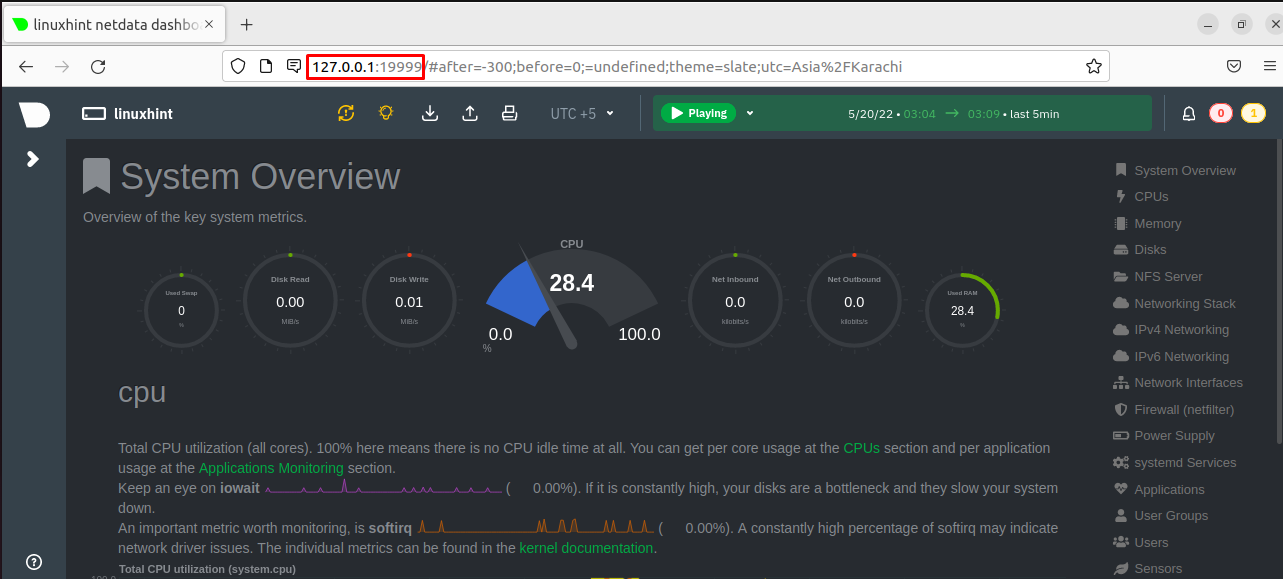
In the above output, we can see that in our system the address is 127.0.0.1:19999, so we will use the address and go to the web browser to open it:
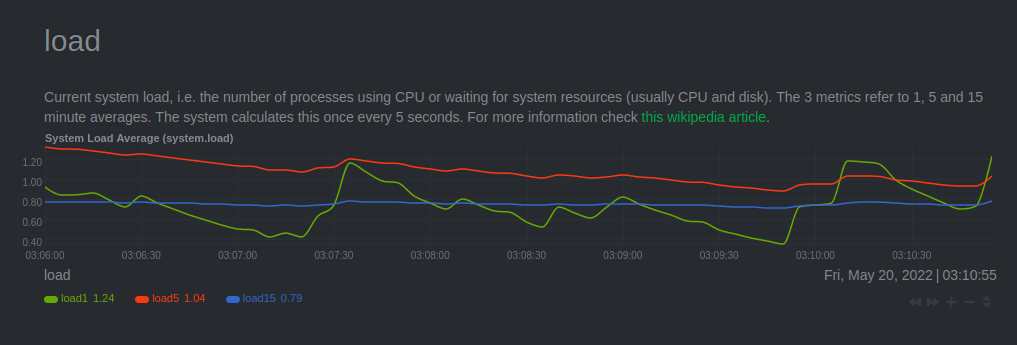
The Netdata monitor is displayed on the screen, and showing the CPU performance and to view the load performance scroll down the page:
Likewise, the disk performance is also displayed:
To remove the Netdata with its configuration files, we will purge the package using the apt package manager:
Conclusion
Netdata is a monitoring application that is used to monitor the performance of CPU, load, disk and RAM performance. In this guide, we simply installed the package of netdata adding its repository from the official website of Netdata to the default repository and then installed it using the apt package manager.


