The Nagios support is available for Linux and Microsoft-based operating systems. Ubuntu is a widely used distribution of Linux which is equipped with the latest features and an interactive interface. Ubuntu 22.04 is the latest LTS released recently.
Keeping in view the importance of Nagios, this post provides a step-by-step procedure to install Nagios on Ubuntu 22.04.
How to install Nagios on Ubuntu 22.04
This section enlists the recommended steps to install Nagios on Ubuntu 22.04.
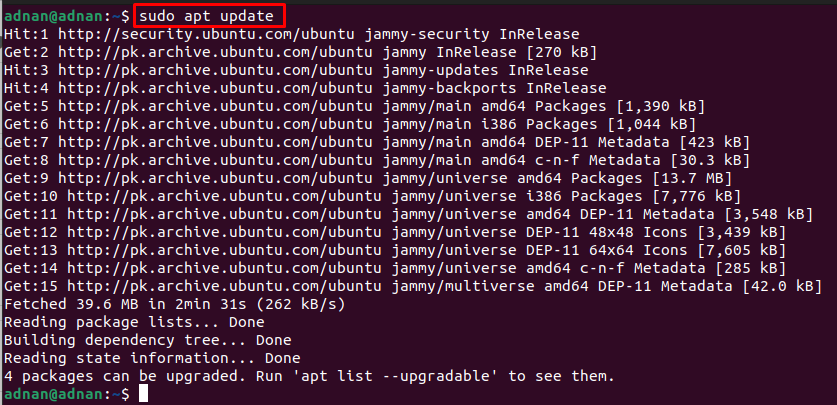
Step 1: Firstly, update the Ubuntu system’s packages via the following command.
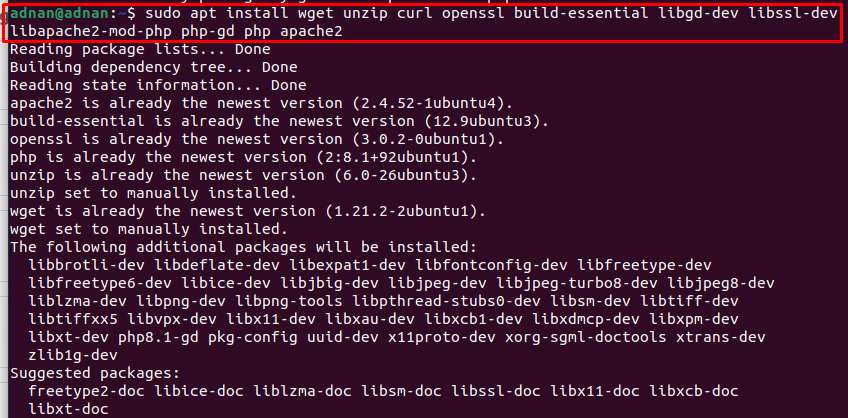
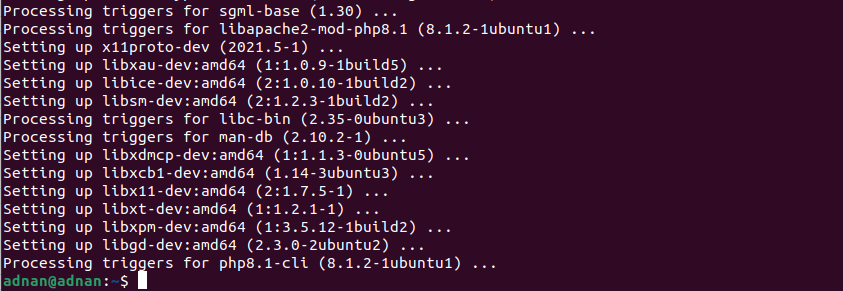
Step 2: There are a few dependencies that are required to carry out the installation of Nagios. The below-stated command will help in this regard.
Note: It would install the apache, php, openssl, and relevant dependencies. You can install them separately, but it is recommended to get them with a single command.
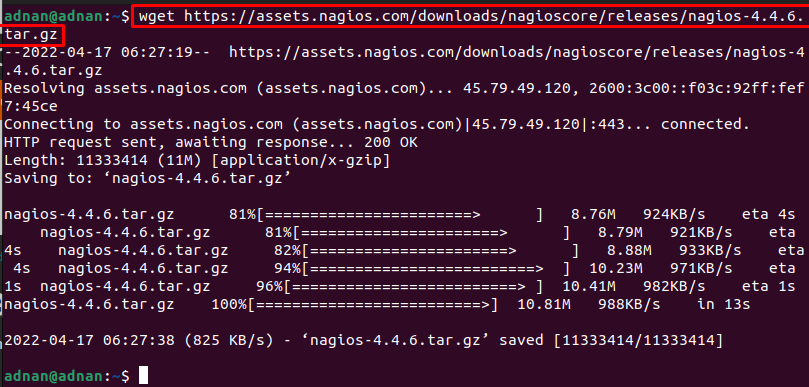
Step 3: We are performing a manual installation. To do so, download the tar.gz file via the following command.
Use the “ls” command to ensure the availability of the newly downloaded tar.gz file.
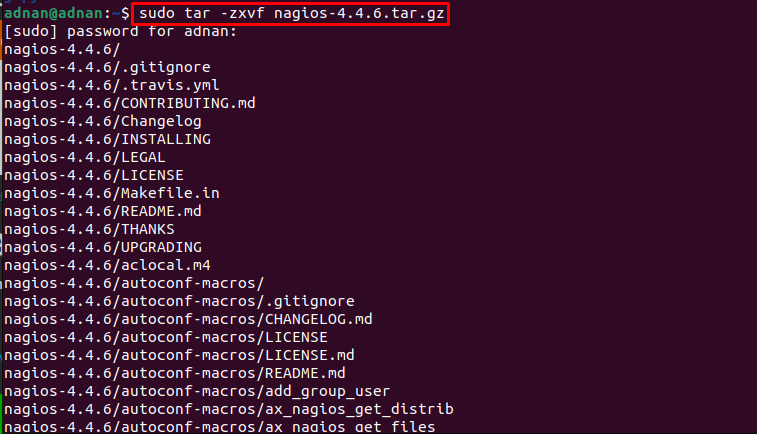
The file is available as “nagios-4.4.6.tar.gz“. We executed the following command to extract it.
Now change the working directory to nagios-4.4.6 to start building the installation files.
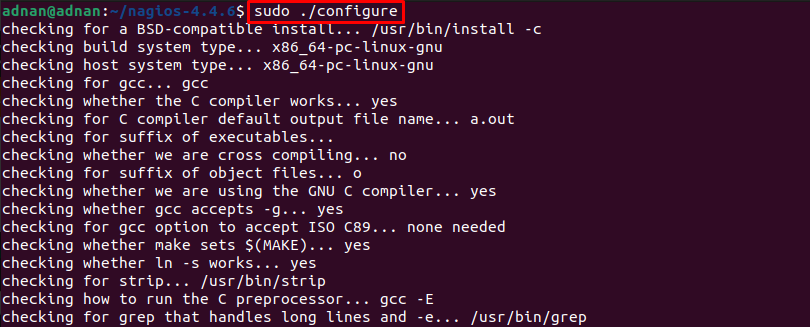
Step 4: Make sure, you are inside the directory where the Nagios is extracted. Execute the following command to run the ./configure script to proceed to compilation process.
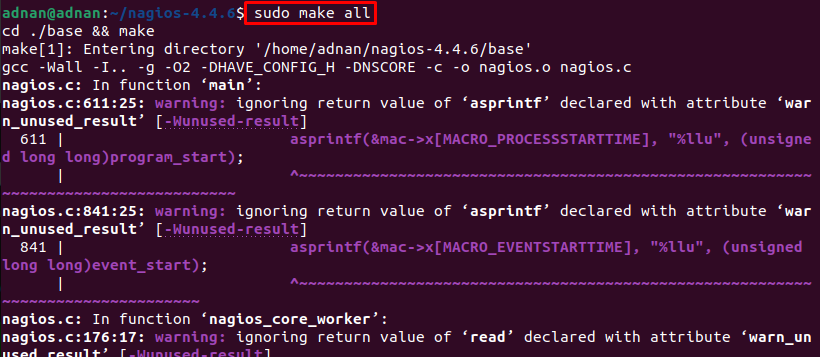
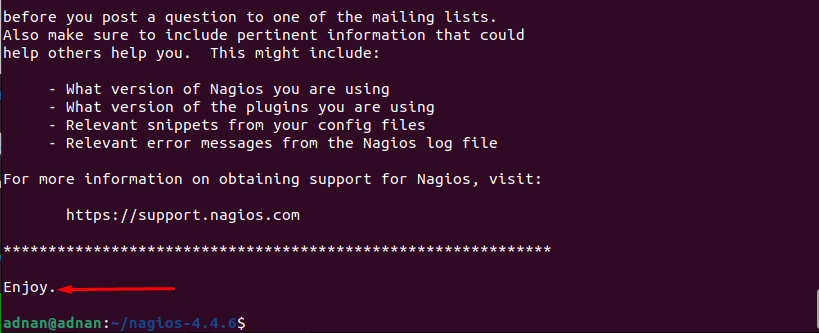
Now, use the make utility to process the source code files as we did here.
To use Nagios, you must create a Nagios user and group via the following command.
After that, add the apache user to the nagios group.
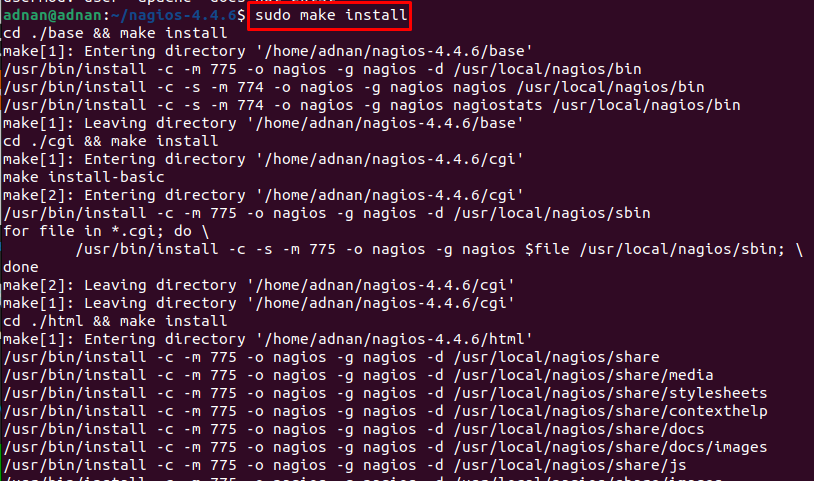
Step 5: Its time to install Nagios with the help of the following command.
Meanwhile, install the external command file by issuing the following command.
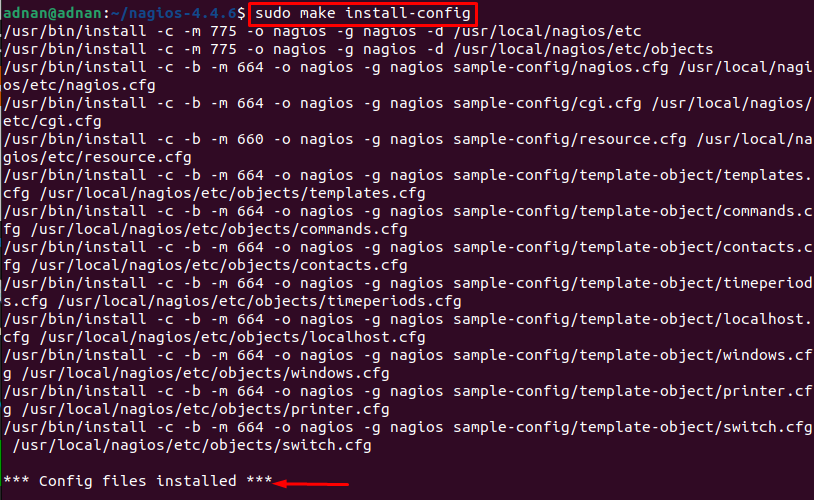
After then, install the following configurations files by issuing the follwoing command. These configurations are required by Nagios for startup.
Step 6: You need to install the apache configurations files.
Firstly, install the web interface of Nagios as follows:
Now, make use of the a2enmod script to enable the rewrite and cgi modules of apache2.
$ sudo a2enmod cgi
Set the UFW to allow upcoming connections from apache.
Enable and reload the firewall as follows.
$ sudo ufw reload
After doing the changes, restart the apache service via the following command.
Step 7: Create a new Nagios user as we did here. The below-mentioned command creates a user named “linuxhint” and the output will ask you to set a password for “linuxhint” user.
The output shows that the password for the “linuxhint” user has been set as well.
Step 8: It is recommended to install the Nagios plugins as you may not be able to get a smooth web usage. We have to install it manually from the Nagios website.
Firstly, download the tar.gz file with the help of the following command.
Extract the tar.gz file.
Change the working directory to where the plugins are extracted.
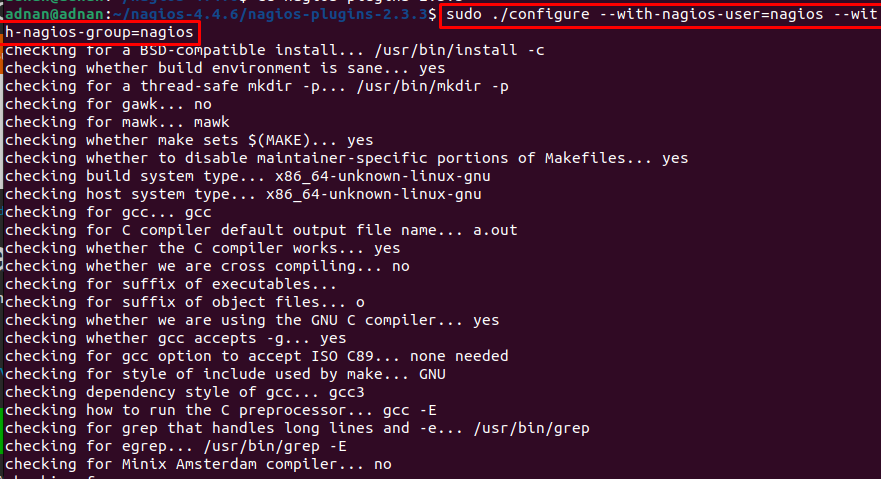
Execute the following command to run the configure script for Nagios user and group.
You can now use the make utility to install nagios plugins by providing the following command.
Finally, the Nagios installed and configured on Ubuntu 22.04.
How to use Nagios on Ubuntu 22.04
In the previous section, you would have learned the installation of the Nagios on Ubuntu 22.04. Here, we have presented the procedure to use Nagios right after the installation phase.
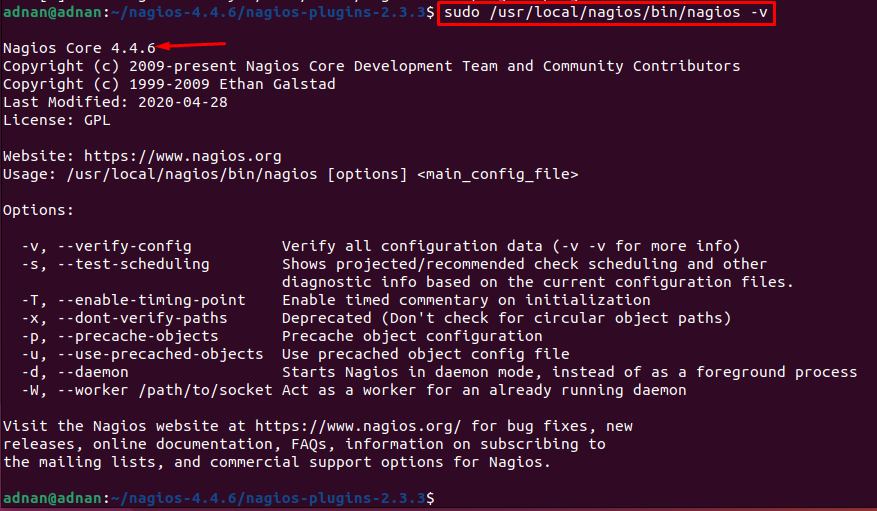
Let’s start with checking the version of installed Nagios as follows.
The output prints the installed version which is 4.4.6.
Conclusion
Nagios is a monitoring tool to enhance the overall performance of the system/network. It can be used to get the system-related information as well. The purpose of the Nagios is to track any bottlenecks or runtime errors in the system. This guide provides an installation guide of Nagios on Ubuntu 22.04. The installation is provided in a step-by-step procedural manner. We have provided the necessary configuration steps of Nagios on Ubuntu 22.04 as well.

