
MongoDB’s powerful querying capabilities and horizontal scaling make it a top choice for modern, data-intensive applications. It makes the development more accessible and provides powerful data management tools.
You will learn how to install and configure MongoDB on Ubuntu in this post. We’ll go over the installation procedures and access security for MongoDB.
Prerequisites:
Before we proceed, make sure that you installed Ubuntu 22.04 or the most recent edition with sudo privileges. Additionally, use the following command to verify that your system is up-to-date:
The “update” command refreshes the local catalog of available software packages.
Output:
This command refreshes and updates all the software packages on the machine. GnuPG is a free, open-source software suite that encrypts and signs your data, protecting your privacy and authenticity.
Output:

MongoDB Installation in Ubuntu
MongoDB installation on Ubuntu is a simple process. Either the Ubuntu package manager can be used to install it, or you can download it straight from the MongoDB website.
The official MongoDB PPA will be installed and configured on your Ubuntu system using the following steps:
Step 1: Import the GPG Key for MongoDB
The public GPG key for MongoDB must first be imported from MongoDB.
Output:
![]()
The action should result in an “OK” status.
This command imports the GPG key which is used to verify the authenticity of the repository’s packages.
Step 2: Create a MongoDB List File
Now, let’s create the list file for our version of Ubuntu at “/etc/apt/sources.list.d/mongodb-org-6.0.list”.
Select the proper tab for your Ubuntu version. If you’re unsure of what version of Ubuntu is installed on the host, the following command helps you to verify it:
Output:
![]()
For example, the following procedure is to install MongoDB in Ubuntu 22.04.
Create the list file on your Ubuntu system:
Output:
![]()
The system’s list of repositories will be expanded by this command to include the MongoDB repository.
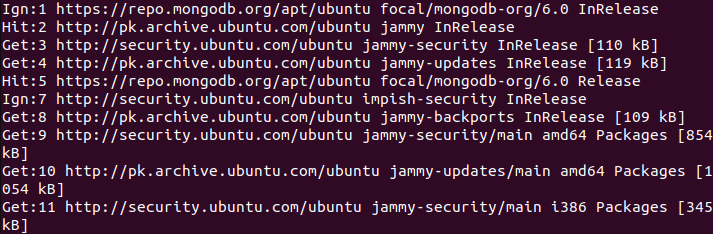
Step 3: Update the Software Package List
We reload the locally installed packages using the following terminal command:
Output:
This command updates the system’s package list to include the MongoDB packages.
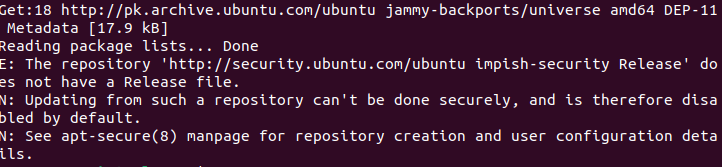
Step 4: Install the MongoDB Package
You can install any version of MongoDB. But for now, we install the most recent stable version. The most recent stable version should be installed through the following command:
Output:
Although you can pick any currently available MongoDB version, the “apt-get” command automatically upgrades the packages if a newer version is released.
Alternative Method:
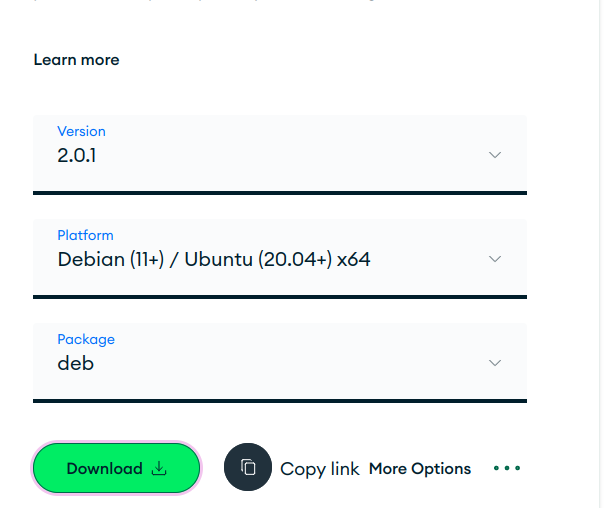
You can download MongoDB directly from your web browser if the previous method doesn’t work.
- Open your browser and visit https://www.mongodb.com/try/download/community.
- From the “Community server” download page, select the MongoDB version to download and press the download button.
- Open your Linux terminal. Then, open the directory in which your download file is located.
- Execute your downloaded MongoDB file using this command:
Step 5: Activate the MongoDB Service
Now that MongoDB has been installed on our Ubuntu operating system, you must start the MongoDB service. The MongoDB server can be launched using the following command line:
Output:

Next, the MongoDB database must then be authenticated. The database should only be accessible to authorized users using a “db” username and password. Anyone with server access without authentication can view and edit the database’s data.
Setting a Password to Protect MongoDB
To access the database, MongoDB does not, by default, request a password. To protect the database and stop an unwanted access, it is suggested that a password is specified.
To set a password for MongoDB, follow the given steps:
Step 1: Download the MongoDB Shell (If Not Installed)
1.Download the MongoDB shell by visiting “https://www.mongodb.com/try/download/shell”.
Step 2: Install the Downloaded Package
Step 3: Establish a Connection to the MongoDB Shell
This command allows us to access the MongoDB shell and connect with the database.
![]()
This command switches the users to the admin database which allows us to manage the users and roles.
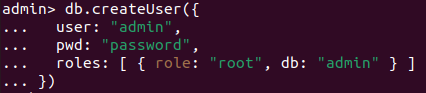
Change “Admin” and “password” to your new, preferred username and password. The “root” role will be assigned to a new user that is created by this command in the “admin” database. All database functions and resources are fully accessible to the root role.
Step 4: Close the MongoDB Shell
![]()
Enabling an Authentication
MongoDB doesn’t require any authentication to access the database by default. Enabling an authentication is advised to protect the database and prevent an unauthorized access.
Follow the given steps for MongoDB to support the authentication:
Step 1: Modify the MongoDB config file.
Output:
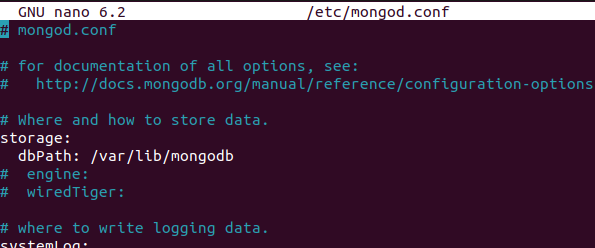
With this command, the Nano text editor will open the “config” file.
Step 2: Insert the following line in the configuration file’s security section.
![]()
Users must input their username and password to access the database after enabling the MongoDB authentication. Save your work and then exit the editor.
Step 3: Restart MongoDB.
The MongoDB service will be restarted, and the configuration is updated.
Restricting IPs to Access MongoDB
Any IP address may connect to MongoDB by default. To increase its security, it is suggested that the access to the database be limited to a set of IP addresses or ranges.
Use these steps to limit the access to MongoDB:
Step 1: Make changes to the Config file.
With this command, the GNU Nano opens the MongoDB’s config file.

Step 2: Change 127.0.0.1 or add the allowed IP addresses. By doing this, only the IP addresses or IP ranges that are listed can access the database. Once you save your alterations or changes, exit the editor.
![]()
Step 3: Restart MongoDB.
Conclusion
This article explained how to install and secure MongoDB on Ubuntu 22.04. It discussed about installing MongoDB, choosing a password, turning the authentication on, and limiting the access to particular IP addresses or ranges. We hope that this post has helped you learn how to secure your MongoDB installation and restrict the access to the authorized users only.