Apache Maven eases the project management process and is designed especially for software development projects based on Java. You can also use Maven to manage the projects that are written in other languages like C, C#, Ruby, and more.
Maven includes features like project documenting, compilation, testing, dependency management, application packaging, etc. It streamlines the application publishing process, whether you want to publish on a website or produce copies for distribution.
All these features make it a must-have application for software developers. However, many Linux beginners don’t know how to install and use Maven. So, this blog is all about the easiest method to install Maven on Linux.
How to Install Maven on Linux
Maven is a vast, rapidly growing repository of user libraries, but it solely relies on Java to run which makes Java a prerequisite for its installation. Hence, the first step of the process is downloading the Java Development Kit (JDK) and Java Runtime Environment (JRE).
Download JRE and JDK
Open the terminal and enter the following commands:
sudo apt-get install default-jre
sudo apt-get install default-jdk -y
You have now successfully installed JRE and JDK in your Linux system. The next step is to download Maven’s installation package from the web.
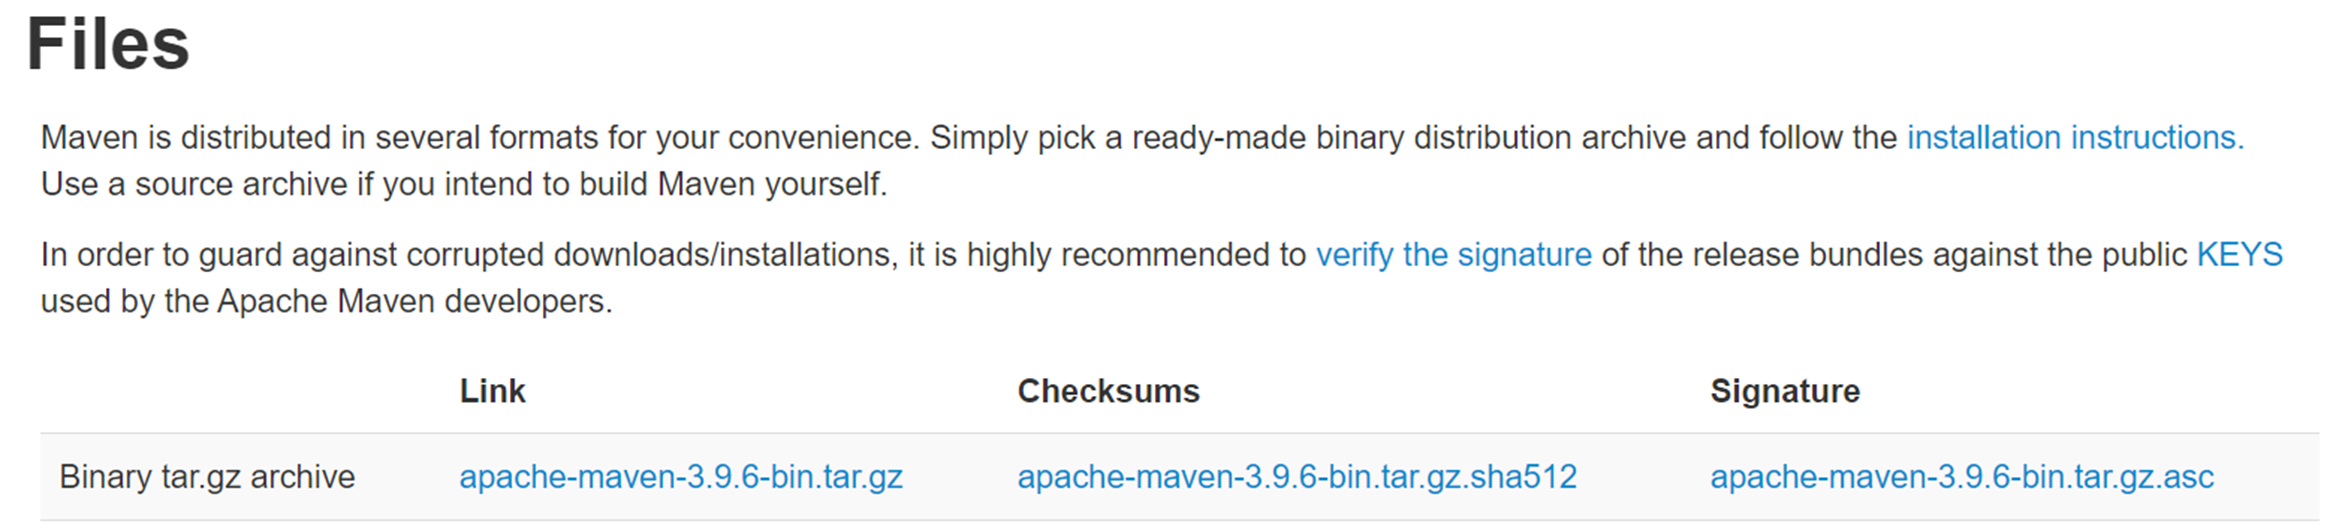
Open a browser, go to Apache’s official website, and copy the link to the latest “Binary tar.gz archive” file in the “Files” section as shown in the following image:
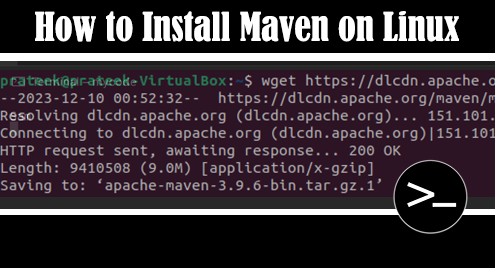
Now, open the terminal again and enter the “wget” command along with the link.
For example, we use the following command:

In this step, let’s extract Maven from the downloaded package. We create a new directory named “maven” for its installation, though you can extract it anywhere you want using the following command:

The “tar –zxvf” command is used to extract the files, but replace “apache-maven-3.9.6-bin.tar.gz.1” with your file’s name.
After that, it is time to move the extracted file to a folder that we created.

Enter the password and move to the next step by setting up the environment variable.
Finally, it is time to configure the environment variable of Maven. After setting up this variable, you can access all its features using the command line. Since this is the most crucial part of the installation, go through the following steps thoroughly to avoid any unintended issues:
In the terminal, open the Bash shell’s configuration file using the following command:
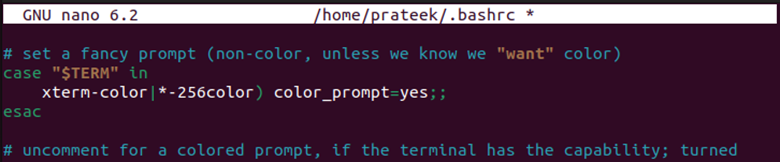
A new text file will open. It contains many terms that you might not know, but do not get overwhelmed. Proceed to enter the following expressions at the end line of the file:
PATH="$M2_HOME/bin:$PATH"
export PATH
Maven is now successfully installed in your Linux system. You can verify it using the following command:

Conclusion
Maven is a powerful and robust project management tool developed by Apache. While Maven runs on Java, it lets us manage the projects that are written in various languages like C#, Ruby, etc. In this blog, we explained the simple way to install Maven on the Linux systems. It starts with JRE and JDK installation. Then, we download Maven’s zip package. Furthermore, we extracted the package using the “tar” command in the command line. The process ends by configuring its environment variable.