
To interact with the system, whether remote or on-premises, we need some interface. There are two different types of interfaces to interact with the system, command-line interface (CLI) and graphical user interface (GUI). For beginners, a graphical user interface is much easier to use. The graphical user interface comes with different types of desktop environments like GNOME, KDE Plasma, MATE, Budgie, Xfce, Cinnamon, etc.
A Desktop Environment is the collection of components like icons, files, folders, etc. Different desktop environments provide different types of components like icons, files, and folders, etc. These environments determine what your operating system looks like and how you can interact with your operating system. Without a desktop environment, your operating system is just a terminal, and you can interact with your system using only commands.
MATE Desktop Environment is free and open-source software specially built for Linux and UNIX-like operating systems. The MATE project was forked and continued from GNOME2. In this article, we will set up the MATE Desktop Environment on our EC2 instance.
Connect to Instance over SSH
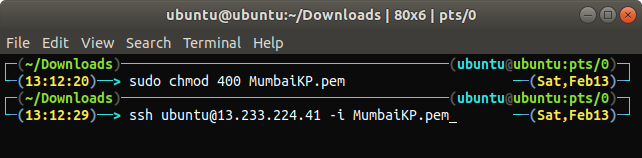
When you launch an EC2 instance on the cloud, it usually comes with a command-line interface only. So you have to connect to the instance over SSH to configure the Desktop Environment. Before connecting to the instance over SSH, change the permission of the private key pair.
ubuntu@ubuntu:~$ ssh ubuntu@<ip address> -i <private key pair>
Installing MATE Desktop Environment
After connecting to the instance, now it is time to set up MATE Desktop Environment on our EC2 instance. Update the packages and repositories on EC2.
ubuntu@ubuntu:~$ sudo apt-get upgrade -y
After updating the packages and repositories, we will now add apt-repositories of MATE Desktop Environment to Ubuntu.
ubuntu@ubuntu:~$ sudo apt-add-repository ppa:ubuntu-mate-dev/mate
ubuntu@ubuntu:~$ sudo apt-add-repository ppa:ubuntu-mate-dev/trusty-mate
Update the local repositories of Ubuntu again after adding the above repositories.
Install xrdp and MATE Desktop Environment.
ubuntu@ubuntu:~$ sudo apt-get install mate-core mate-desktop-environment mate-notification-daemon
ubuntu@ubuntu:~$ sudo apt-get install xrdp
We have installed the MATE desktop environment, but the default desktop environment for most of the EC2 instances is GNOME. So after installing the MATE desktop environment, we have to make it the default desktop environment for xrdp sessions.
ubuntu@ubuntu:~$ sudo cp /home/ubuntu/.xsession /etc/skel

After making the MATE desktop environment default, restart the xrdp service to apply the changes.

Whenever you connect to your EC2 instance over RDP, it will use the MATE desktop environment by default.
Update the Password
To connect to the EC2 instance over RDP, we need to set up a user password. By default, EC2 instances allow connection over SSH only, and the default user does not have any password. Set up a password for the default EC2 user.

Testing the MATE Desktop Environment
Now we have set up the MATE desktop environment on our EC2 instance, and it is time to test it. We will connect to our instance over RDP. Before connecting to the instance, make sure you are not blocking port 3389 from any firewall or security group on the cloud because, by default, RDP creates a connection over port 3389. On your Linux machine, open remmina, a remote desktop client for UNIX and Linux-like operating systems.
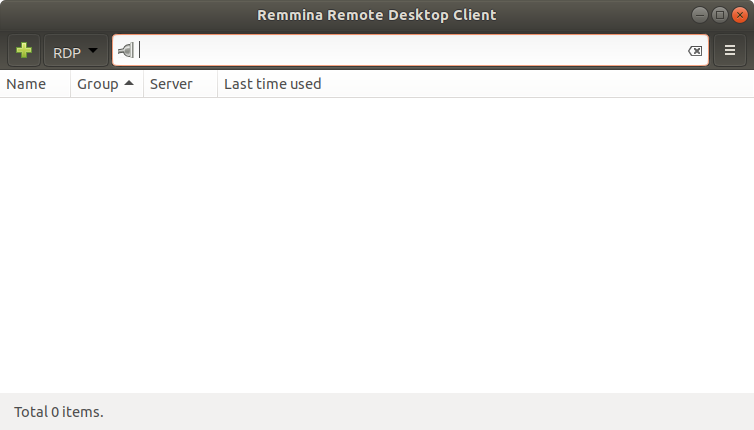
Add a new RDP connection.

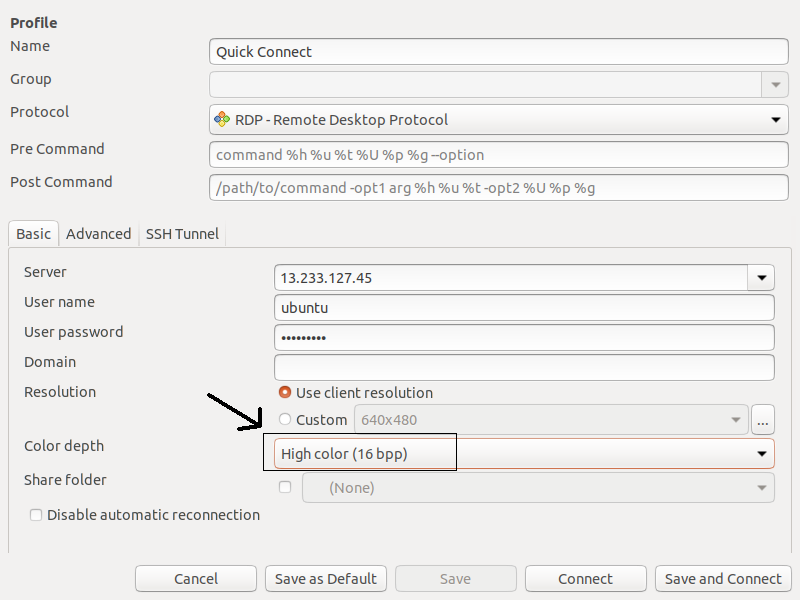
Sometimes while creating a connection over RDP, you get an error due to color depth settings, as shown in the following figure.

We can resolve the above error by specifying the correct color depth for the connection, which is ‘high color 16bpp’.
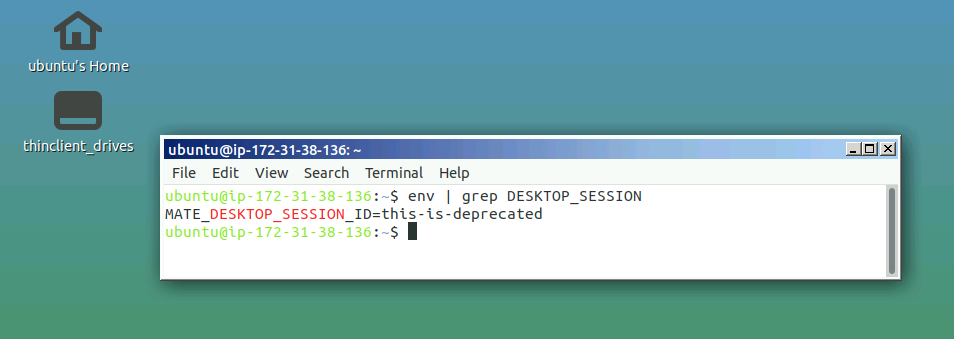
After specifying the correct color depth, you will access your instance with MATE Desktop Environment setup over RDP.

You can confirm the Desktop Environment by checking the DESKTOP_SESSION.
MATE Applications
As discussed earlier, the MATE desktop environment was forked and continued from GNOME2, so to avoid the conflict with GNOME applications, the MATE applications have been renamed. Following are the names of some important applications you need to know before using the MATE desktop environment.
Caja
Caja is the file manager of the MATE desktop environment. You can browse directories and files as well as launch applications using Caja. Caja is a fork of Nautilus and is responsible for the icons on the MATE desktop. It can be used on local and remote filesystems.

MATE Terminal
MATE Terminal is a simple terminal application for the MATE desktop. It is a fork of the GNOME terminal and can open multiple terminal tabs in a single window. It can be used to launch applications that are designed to run on VT102 and VT220.

Atril
Atril is a document viewer in the MATE desktop environment and can be used to open EPS (Encapsulated PostScript), PDF (Portable Document Format), XPS DJVU, and PS (PostScript) files. It also supports the text search in the document.
Pluma
Pluma is a simple text editor for the MATE desktop just like gedit in GNOME. It supports the editing of multiple files in a single window. It is the fork of gedit.
Eye of MATE
Eye of MATE (eom) is a simple image viewer in the MATE desktop environment. It can zoom in and zoom out the image and can deal with larger images. Eye of MATE is the fork of the eye of GNOME (eog).

Conclusion
The desktop environment of an operating system defines the graphical user interface of the operating system. Having a lightweight and efficient desktop environment like MATE puts less pressure on your cloud resources like RAM and processors, making it ideal for handling your cloud operating systems.