The ”make” command in Linux is used to compile and manage a collection of applications and files from source code. It allows developers to use the terminal to install and collect a variety of programs. It also manages and reduces the amount of time that is required for the compilation. The make command’s primary goal is to break down a huge program into smaller pieces and assess whether or not it needs to be recompiled. It also gives the essential instructions for recompiling them.
The make command is used to execute the makefile which is a unique file that includes the shell commands we write to keep the project running. It includes executable targets and instructions and is not permitted to generate several makefiles. It’s best if you make a separate directory for it. It maintains track of recently updated files, so only update those that are needed. As a result, this article will show you how to install the make package on Ubuntu.
How to install the Make package on Ubuntu
Before installing the make package, it is better to update your already installed packages; otherwise, you may find compatibility issues with some software. You can do that by typing.
This command will provide you with the information of all outdated packages that can be upgraded to the newer version, so this is highly recommended before installing any new package. Make package comes in default in the Ubuntu OS, so you should verify if it is already installed before considering installing it. You can verify it by typing the below-mentioned command in the terminal.

If the make package is not installed in Ubuntu due to any reason, you will get the error as shown below.

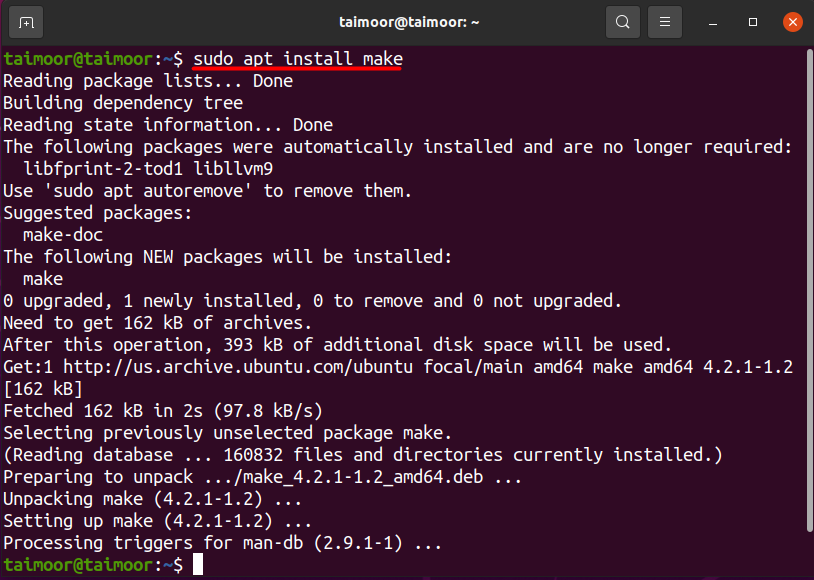
You can install the make package by typing.
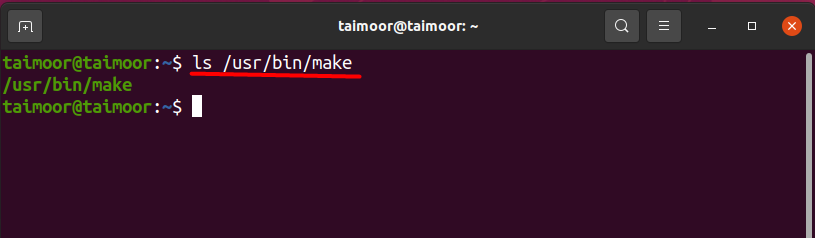
Your system should have a make directory; otherwise, you cannot use the make package. You can verify that by typing.

If the directory is available then you can use the “make” utility; if it displays an error as shown below then there is a way to solve this problem as well:

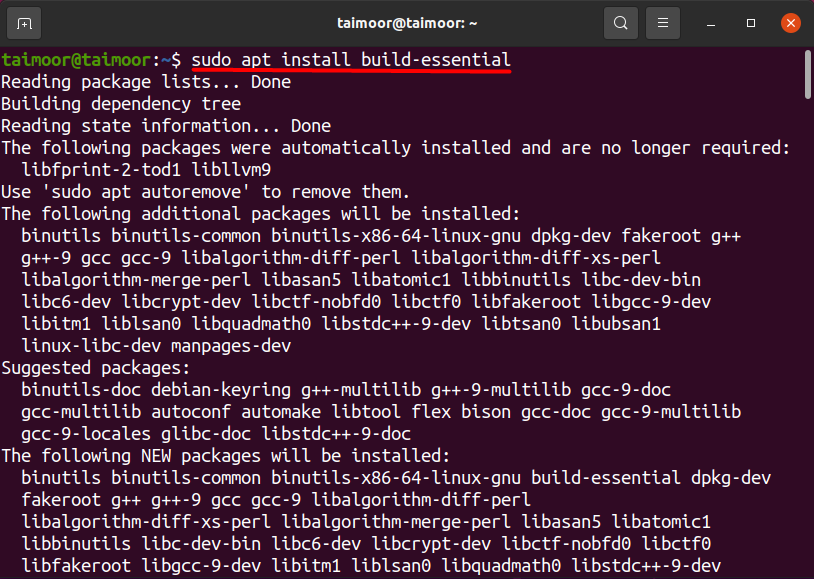
By installing the build-essential package you get rid of this error. It is also known as a meta-package, and you can use it to install a make package and several other packages as well. Many packages are dependent and linked with this package, and you can’t install them without installing the meta-package first. For its installation, you need to type the following command in the terminal.
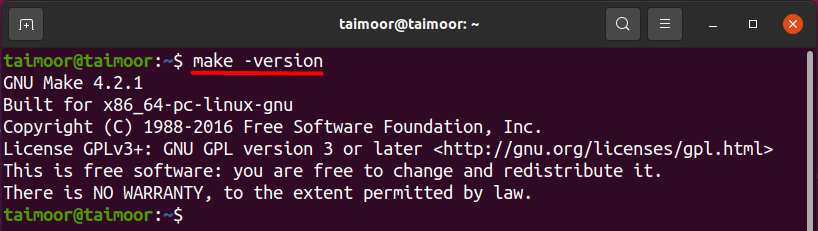
After its installation, you should check the make version to verify if it is properly installed or not. You can also verify the make directory that you won’t see if it is not working correctly before. You can check the version as discussed before by typing the command.
And you can check the make directory, use:
As of now, you can see both the version and the directory, the make package is now correctly installed, and you can use it as per your requirement.
Conclusion
The make command in Linux is used to compile and manage a collection of applications and files from source code. It allows developers to use the terminal to install and collect a variety of programs. It also manages and reduces the time that is required for the compilation process for large projects. In this article, we have shown you how you can install the make package, and some of the solutions have also been discussed if you are not able to install this package