
Nowadays, it is even compared with Microsoft Office, and several users argue it is better. Nonetheless, it has won the vote of the majority of Linux users. One of its versatile applications comes under the branch of network management. This application is none other than LibreNMS.
LibreNMS acts as an indicator for problems regarding components that may have halted before the problem becomes worse. These applications identify potential anomalies so that they can be checked and rectified on time before causing further issues. LibreNMS is based on PHP and MySQL, which uses the SNMP protocol. It supports a wide range of hardware and operating systems from Hp to Foundry alongside several others.
Now that we have an idea of what LibreNMS is, we move on to its installation process for Ubuntu.
The first step is to update the system so that all drives and required dependencies are at the latest patch. This will prevent any issues down the road that may arise due to outdated versions.
$ sudo apt upgrade
Next, we enable our webserver software, namely Apache. If you don’t have Apache on your system, you may use the following 2 commands provided below.
$ systemctl start apache2
$ systemctl enable apache2
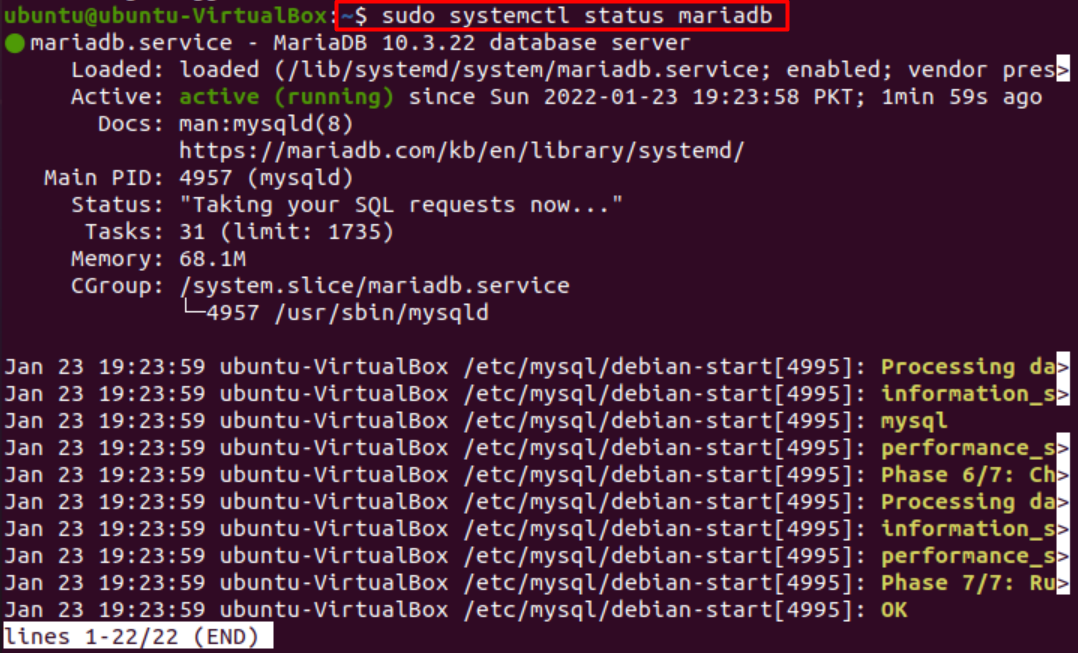
The next step is to configure MariaDB. If you don’t have MariaDB installed, you must type in the following command first.

Afterwards, you can check its status with the following.
And enable it.
$ systemctl enable mysql
Now, we move to the configuration part. To configure the MariaDB type the command.
And add following lines under segment [mysqld]
innodb_file_per_table=1
sql-mode=””
lower_case_table_names=0

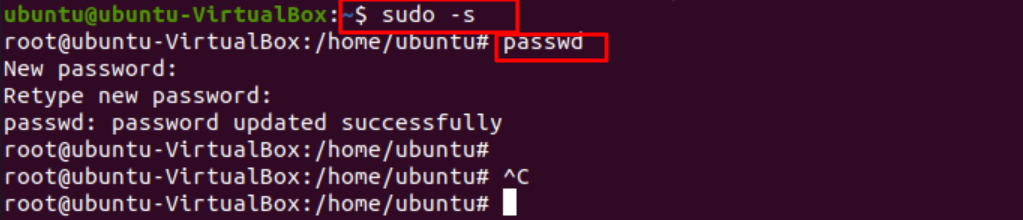
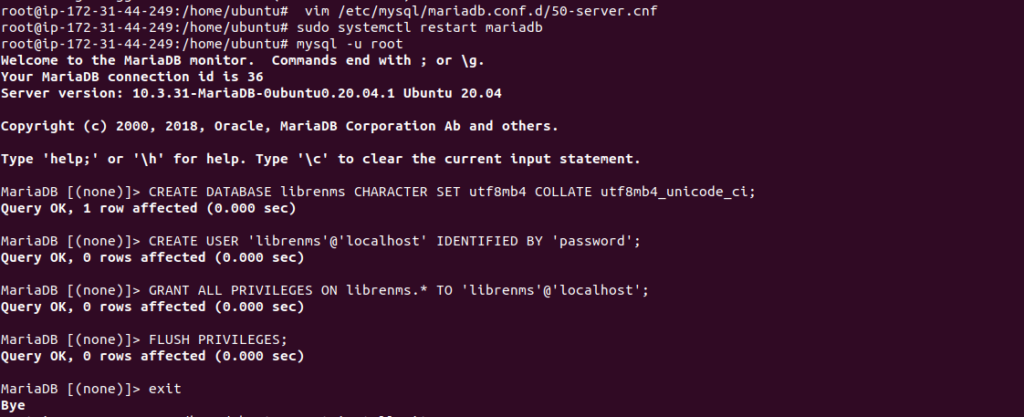
Once that is done, we start building our database and user for MariaDB. To log in to the server, we type.
Next, we create a database and user by providing the local host password. This is a crucial step, so make sure you have successfully made the localhost as it will be used in all stages to come from here on out.
Another step is to grant all privileges on the database to the user.
To which you get the output:
Now that we have configured MariaDB, we proceed to our next step which is the installation of PHP. First, we add the php repository (in case it was not added already) by using the command.
Then install required php packages.
$ apt-get install php-cli php-mysql php8.0-common php8.0-opcache php-cgi php-bcmath php-imap php-json

Once done, you can check the php version using.
The output looks like.

Now, we configure the php file.
$ vim /etc/php/8.0/cli/php.ini
Next, add the following lines in the php config file under the [date] section.
[Date]
; Defines the default timezone used by the date functions
; http://php.net/date.timezone
date.timezone = Etc/UTC
This ensures there are no inconsistencies in the time zones of various files we have downloaded so far.
Once done, restart php fpm using.
Once done, we can finally start with the downloading of LibreNMS. This requires installing git using.
And add user
$ getent passwd librenms
next, we add a user to www-data
Once done, we update the system again and install the packages shown below.
$ apt install rrdtool whois fping imagemagick graphviz mtr-tiny nmap python3 python3-pip python3-mysqldb snmp snmpd python3-memcache mtr-tiny composer acl unzip python3-pymysql python3-dotenv python3-redis python3-setuptools python3-systemd
Now download LibreNMS using.
and output is.

Having done that, we move downloaded add-ons to /opt directory and configure snmpd
$ vim /etc/snmp/snmpd.conf
And now add a community string as shown below.
Next, download the distro and restart snmpd.
$ chmod +x distro
$ mv distro /usr/bin/distro
And configure php-FPM after restarting it
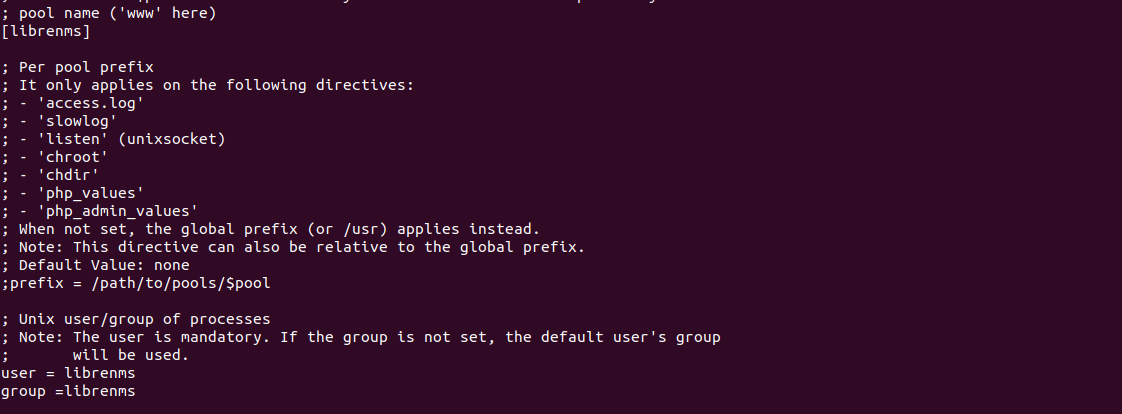
We now open the config file for LibreNMS.
And add the lines as shown:
Change [www] to [librenms]
Change user and group to “librenms”
listen = /run/php-fpm-librenms.sock
The output should look like this.
CronJob is created in the next step and the file is copied.
$ cp /opt/librenms/misc/librenms.logrotate /etc/logrotate.d/librenms
Net we provide certain permissions to run the Librenms command
$ setfacl -d -m g::rwx /opt/librenms/rrd /opt/librenms/logs /opt/librenms/bootstrap/cache/ /opt/librenms/storage/
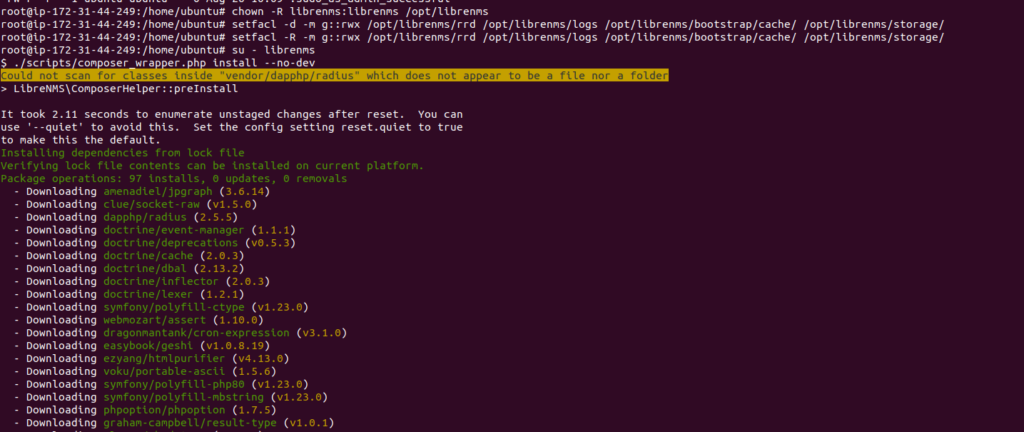
$ setfacl -R -m g::rwx /opt/librenms/rrd /opt/librenms/logs /opt/librenms/bootstrap/cache/ /opt/librenms/storage/su - librenms
./scripts/composer_wrapper.php install --no-dev
exit
The output looks as shown below.
Next, we enable the command of lnms and configure the apache2; we will also add the following lines.
Enable lnms:
$ cp /opt/librenms/misc/lnms-completion.bash /etc/bash_completion.d/
Apache2 config:
Addition lines:
DocumentRoot /opt/librenms/html/
ServerName librenms.example.com
AllowEncodedSlashes NoDecode
<Directory "/opt/librenms/html/">
Require all granted
AllowOverride All
Options FollowSymLinks MultiViews
</Directory>
# Enable http authorization headers
<IfModule setenvif_module>
SetEnvIfNoCase ^Authorization$ "(.+)" HTTP_AUTHORIZATION=$1
</IfModule>
<FilesMatch ".+\.php$">
SetHandler "proxy:unix:/run/php-fpm-librenms.sock|fcgi://localhost"
</FilesMatch>
</VirtualHost>
Following is the final step required to run and start NMS.
Disabling the file: 000-default and running rewrite command
$ a2enmod proxy_fcgi setenvif rewrite
Enabling the new configuration file.
Restart the php-fpm and apachhe2
$ systemctl restart apache2
Now we can successfully access the LibreNMS interfacing.
http://server-ip
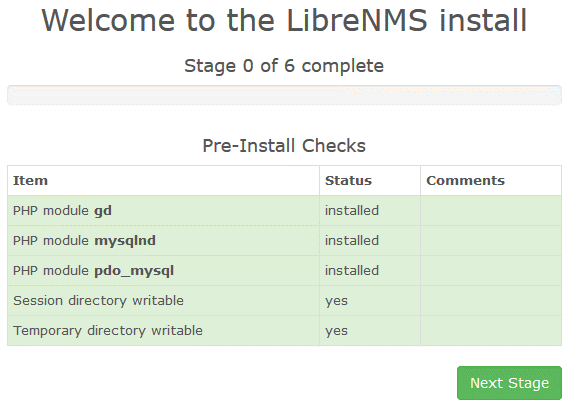
And we can see all required files are installed.
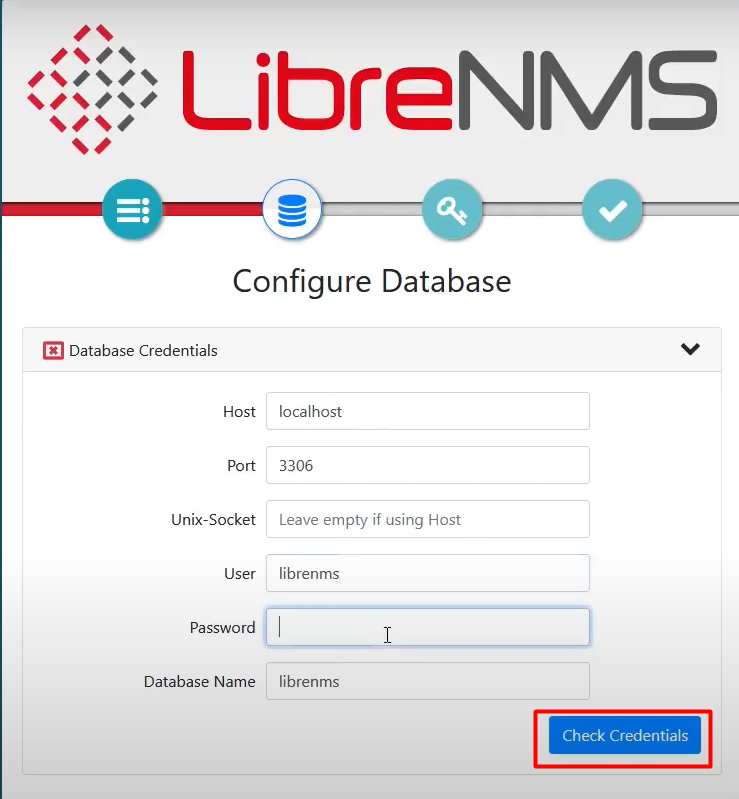
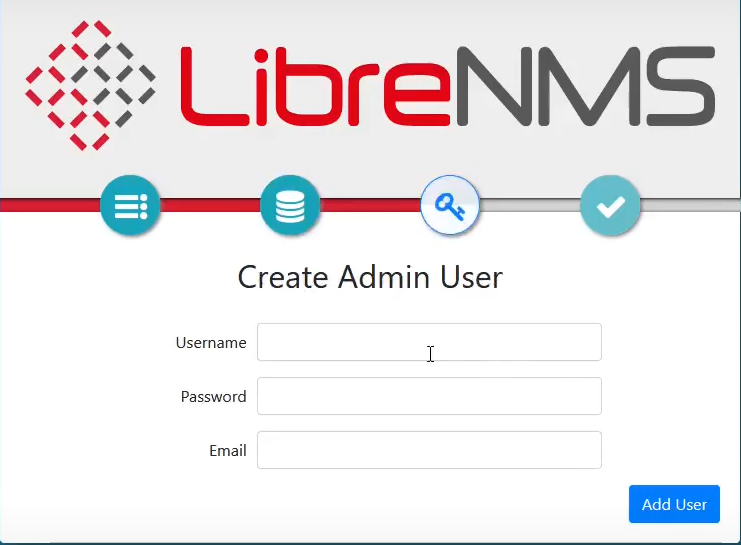
Next, we provide the asked credentials and make a user before accessing LibreNMS.
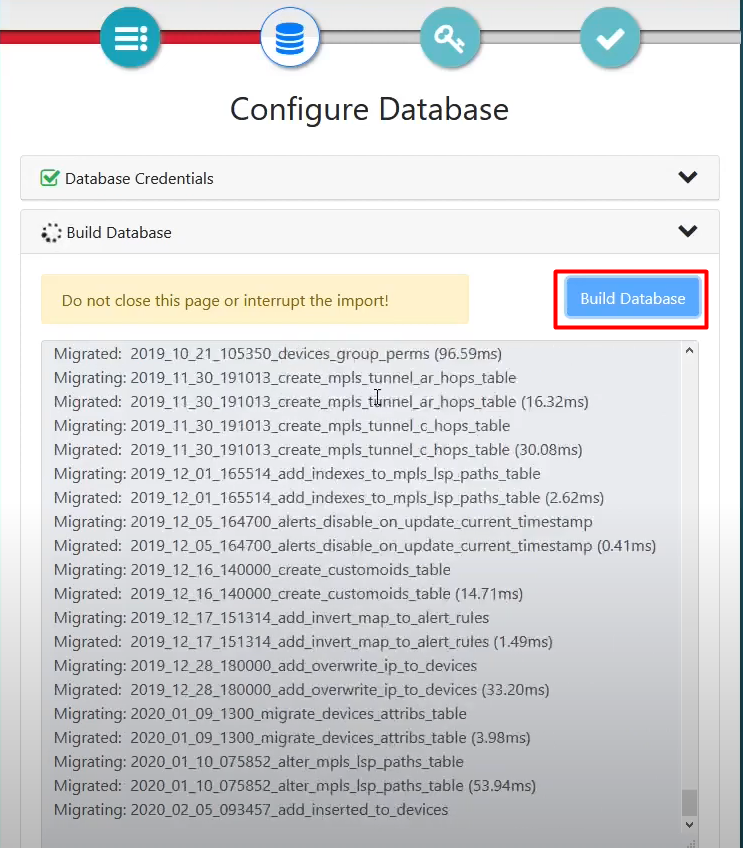
Afterwards, you’ll have to click on the ‘Build Database’ button.
Now, log in using the credentials you used before.
Conclusion
In this article, we went over the process of installing the Libre Network Monitoring System. This tool helps overlook the status of your devices and ensures you are up to date regarding the stats of the device under observation. We hope any confusion you faced regarding the installation of LibreNMS on Your Linux system has subsided after going through this article.