
In this article, we will show you how to install the latest version of CUDA on Ubuntu 22.04 LTS. We will also show you how to write, compile, and run your very first CUDA program on Ubuntu 22.04 LTS.
Topic of Contents:
- Prerequisites
- Installing the Latest NVIDIA Drivers on Ubuntu
- Updating the APT Package Repository Cache
- Installing GCC and Other Build Tools
- Checking If the Installed NVIDIA Drivers Support the Latest Version of CUDA
- Adding the Official NVIDIA CUDA Repository on Ubuntu
- Installing the Latest Version of CUDA on Ubuntu
- Adding CUDA and CUDA Libraries to the Path.
- Allowing the CUDA Binaries to Run with Superuser Privileges
- Testing If the Latest Version of CUDA Is Installed on Ubuntu
- Writing, Compiling, and Running a Simple CUDA Program
- Conclusion
- References
Prerequisites:
For you to install the latest version of CUDA, compile the CUDA programs, and run the CUDA programs on Ubuntu 22.04 LTS operating system, you need the following:
i) Installed NVIDIA GPU on your computer.
ii) The latest version of NVIDIA GPU drivers installed on your Ubuntu operating system.
Installing the Latest NVIDIA Drivers on Ubuntu
You must have the latest version of NVIDIA GPU drivers installed on your Ubuntu operating system for the latest version of CUDA to work. If you haven’t yet installed the NVIDIA GPU drivers on your Ubuntu machine and if you need any assistance in that, read the article on how to install the NVIDIA Drivers on Ubuntu 22.04 LTS.
If you already have the NVIDIA drivers installed on your Ubuntu 22.04 LTS machine, make sure it’s up to date. If you need any assistance in updating the NVIDIA drivers on your Ubuntu 22.04 LTS operating system, read the article on How to Update the NVIDIA Drivers on Ubuntu 22.04 LTS.
Updating the APT Package Repository Cache
Once you install the latest version of NVIDIA drivers on Ubuntu, update the APT package repository cache with the following command:

The APT package repository cache of Ubuntu should be updated.

Installing GCC and Other Build Tools
To compile the CUDA programs, you need to have GCC, Linux kernel headers, and some other build tools installed on your Ubuntu machine.
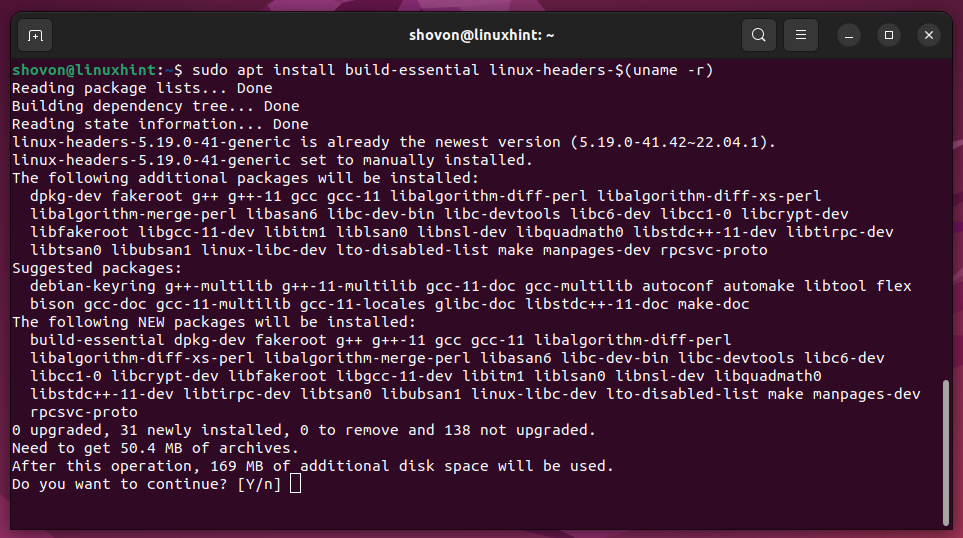
To install the GCC compiler, Linux kernel headers, and the required build tools on Ubuntu, run the following command:

To confirm the installation, press Y and then press <Enter>.
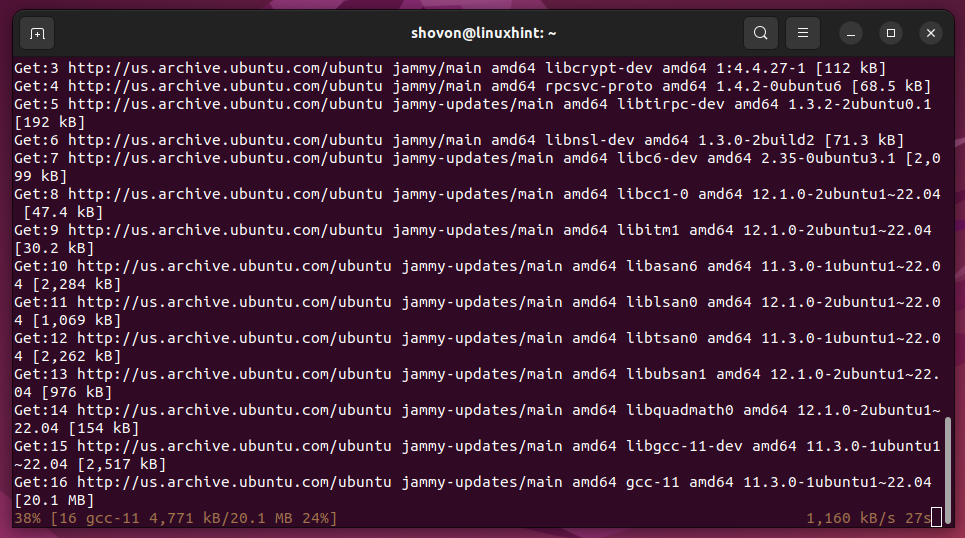
GCC, Linux kernel headers, and the required packages are being downloaded. It takes a while to complete.
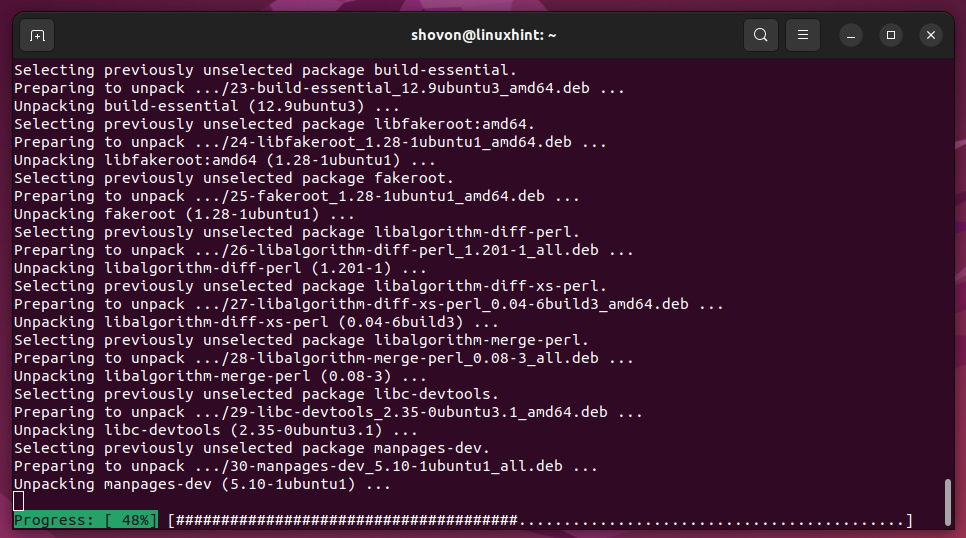
GCC, Linux kernel heaers, and the required packages are being installed. It takes a while to complete.
GCC, Linux kernel headers, and the required build tools for CUDA to work should be installed at this point.

To check whether you can access the GCC C and C++ compilers, run the following commands:
$ g++ --version

Checking If the Installed NVIDIA Drivers Support the Latest Version of CUDA
To check the maximum CUDA version that the installed NVIDIA GPU drivers support, run the following command:

As you can see, the NVIDIA GPU drivers version 530.41.03[1] supports the CUDA version 12.1 or earlier[2]. At the time of this writing, CUDA 12.1 is the latest version of CUDA. So, the installed NVIDIA GPU drivers should support it.
NOTE: At the time you’re reading this article, new versions of CUDA may be released. To check if a newer version of CUDA is released, check the official CUDA downloads page.

Adding the Official NVIDIA CUDA Repository on Ubuntu
In this section, we will show you how to add the official NVIDIA CUDA repository on Ubuntu 22.04 LTS.
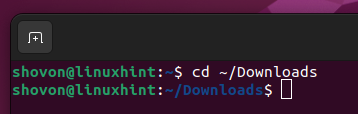
First, open a Terminal app and navigate to the ~/Downloads directory (or any other directory of your choice) as follows:
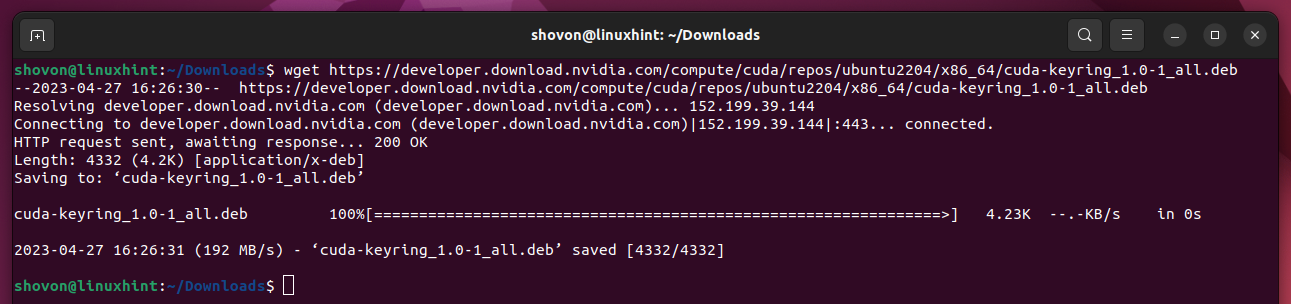
To download the official NVIDIA CUDA repository installer, run the following command:

The official NVIDIA CUDA repository installer should be downloaded.
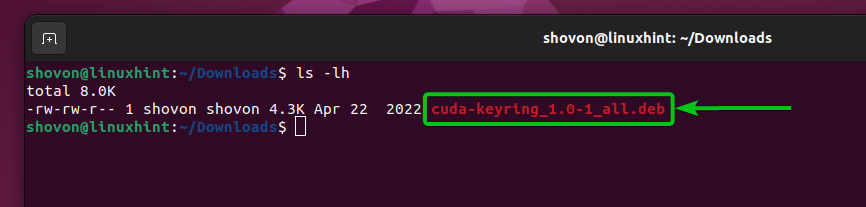
The official NVIDIA CUDA repository installer is a DEB package file as you can see in the following screenshot:
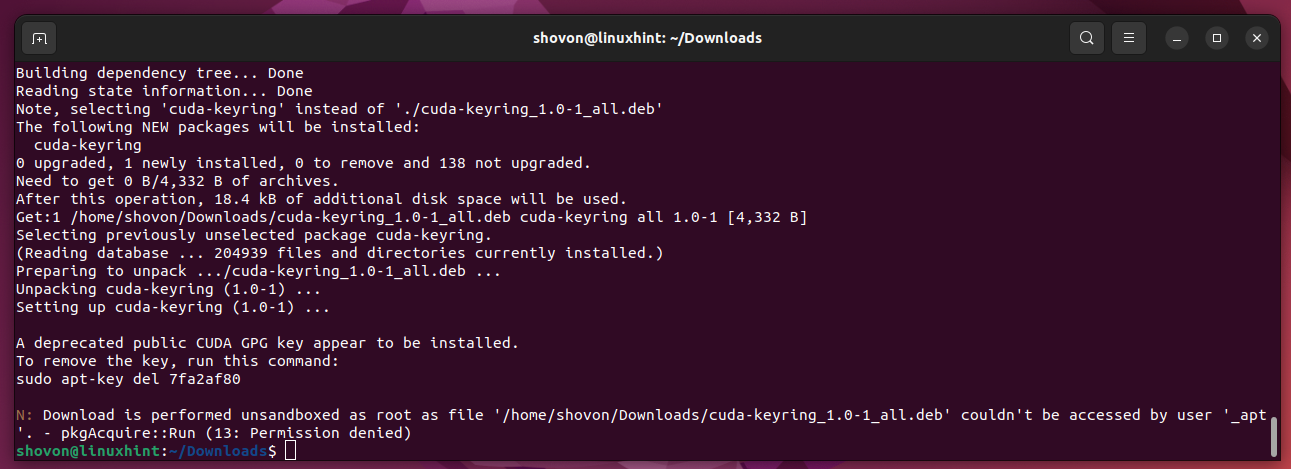
To install the official NVIDIA CUDA repository package, run the following command:

The official NVIDIA CUDA repository package should be installed and the official NVIDIA CUDA repository should be enabled.
For the changes to take effect, update the APT package repository cache with the following command:

Installing the Latest Version of CUDA on Ubuntu
To install the latest version of CUDA on Ubuntu 22.04 LTS, run the following command:

To confirm the installation, press Y and then press <Enter>.

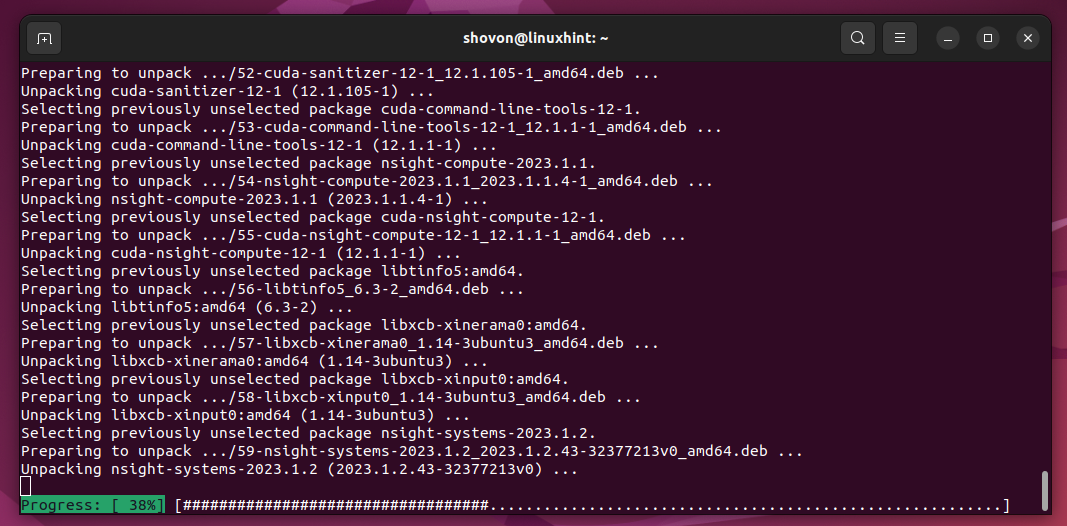
The NVIDIA CUDA and the required dependency packages/libraries are being downloaded. It takes a while to complete.

The NVIDIA CUDA and the required dependency packages/libraries are being installed. It takes a while to complete.
At this point, the NVIDIA CUDA should be installed.

Adding CUDA and CUDA Libraries to the Path
Once you installed the latest version of CUDA on Ubuntu 22.04 LTS, you have to add the CUDA binaries and libraries to the path of your Ubuntu 22.04 LTS operating system.
To do that, create a new file /etc/profile.d/cuda.sh and open it with the nano text editor as follows:

Type in the following lines in the /etc/profile.d/cuda.sh file.
export PATH="${CUDA_HOME}/bin${PATH:+:${PATH}}"
export LD_LIBRARY_PATH="${CUDA_HOME}/lib64${LD_LIBRARY_PATH:+:${LD_LIBRARY_PATH}}"
Once you’re done, press <Ctrl> + X followed by Y and <Enter> to save the /etc/profile.d/cuda.sh file.

For the changes to take effect, restart your Ubuntu machine with the following command:

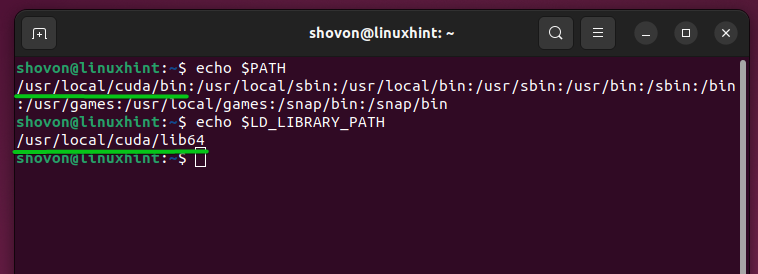
Once your Ubuntu machine boots, print the values of the PATH and LD_LIBRARY_PATH variables using the following commands to verify that the CUDA binaries and CUDA libraries are in the path of your Ubuntu machine:
$ echo $LD_LIBRARY_PATH
Allowing the CUDA Binaries to Run with Superuser Privileges
At times, you may need to run some CUDA tools with superuser privileges. To run the CUDA tools with superuser privileges (via sudo), you must add the CUDA directory /usr/local/cuda/bin (where the latest version of CUDA is installed) to the /etc/sudoers file.
First, open the /etc/sudoers configuration file to edit with the following command:

Add the text :/usr/local/cuda/bin at the end of the secure_path of the sudoers file as marked in the following screenshot.
Once you’re done, press <Ctrl> + X followed by Y and <Enter> to save the /etc/sudoers file.

Testing If the Latest Version of CUDA Is Installed on Ubuntu
To check whether the latest version of CUDA is installed successfully on Ubuntu, run the following command:

As you can see, CUDA version 12.1 (the latest version of CUDA at the time of this writing) is installed on our Ubuntu machine.

Writing, Compiling, and Running a Simple CUDA Program
Now that you installed the latest version of CUDA on your Ubuntu 22.04 LTS machine, we will show you how to write, compile, and run a very simple CUDA hello world program.
First, create a new file “hello.cu” (in the ~/codes directory if you want to follow along). Then, open it with a code editor of your choice and type in the following lines of codes:
NOTE: CUDA source files end with the “.cu” extension.
Once you’re done, save the “hello.cu” file.

To compile the “hello.cu” CUDA program, open a Terminal and navigate to the ~/codes directory (or the directory where you saved the “hello.cu” file).

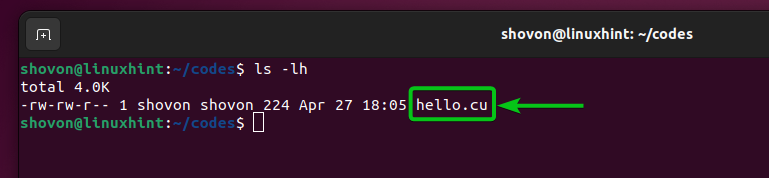
The “hello.cu” CUDA program should be in this directory.
To compile the “hello.cu” CUDA program with the nvcc CUDA compiler and create an executable hello, run the following command:

The “hello.cu” CUDA program should be compiled without any errors and a new executable/binary hello file should be created as you can see in the following screenshot:

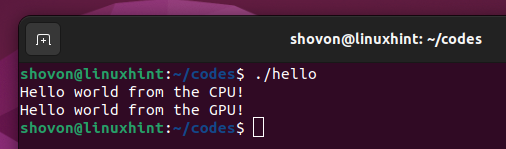
You can run the compiled hello CUDA program as follows:

If you see the following output, CUDA is working just fine on your Ubuntu machine. You should have no problems in compiling and running the CUDA programs.
Conclusion
We showed you how to install the latest version of CUDA on Ubuntu 22.04 LTS from the official NVIDIA CUDA repository. We also showed you how to write a simple CUDA program, compile it with the latest version of CUDA, and run it on Ubuntu 22.04 LTS.