
In this article, we will show you how to install Jupyter Hub on Ubuntu 22.04 LTS and how to access it from a web browser. We will also show you how to create/upload your first Jupyter Notebook on Jupyter Lab.
Topic of Contents:
- Updating the APT Package Database Cache
- Installing Jupyter Hub on Ubuntu 22.04 LTS
- Configuring the External Access for Jupyter Hub on Ubuntu 22.04 LTS
- Restarting the Jupyter Hub Service on Ubuntu 22.04 LTS
- Accessing Jupyter Hub from the Web Browser
- Creating/Uploading a Jupyter Notebook from Jupyter Hub Web Interface
- Conclusion
Updating the APT Package Database Cache
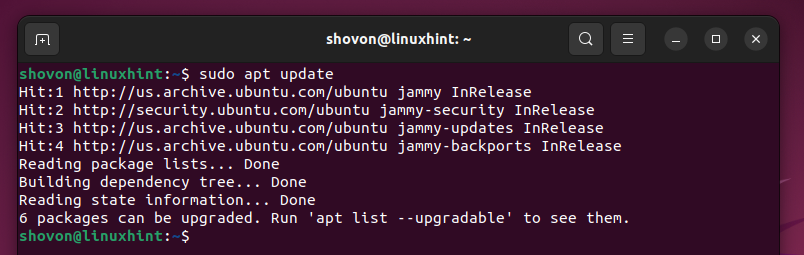
First, update the APT package database cache with the following command:
The APT package database cache should be updated.
Installing Jupyter Hub on Ubuntu 22.04 LTS
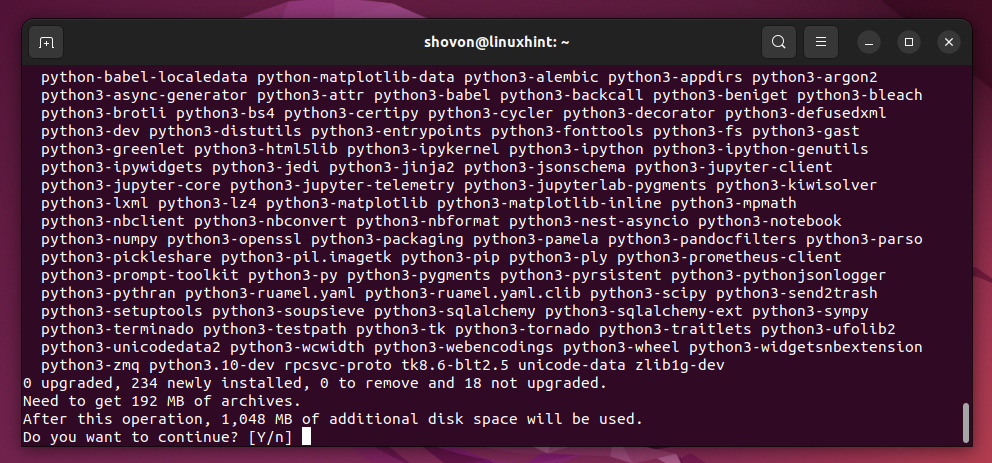
To install Jupyter Hub along with Python 3 PIP (so that the Jupyter Hub users can install the Python packages as they need from Jupyter Notebooks) on Ubuntu 22.04 LTS, run the following command:
To confirm the installation, press “Y” and then press <Enter>.
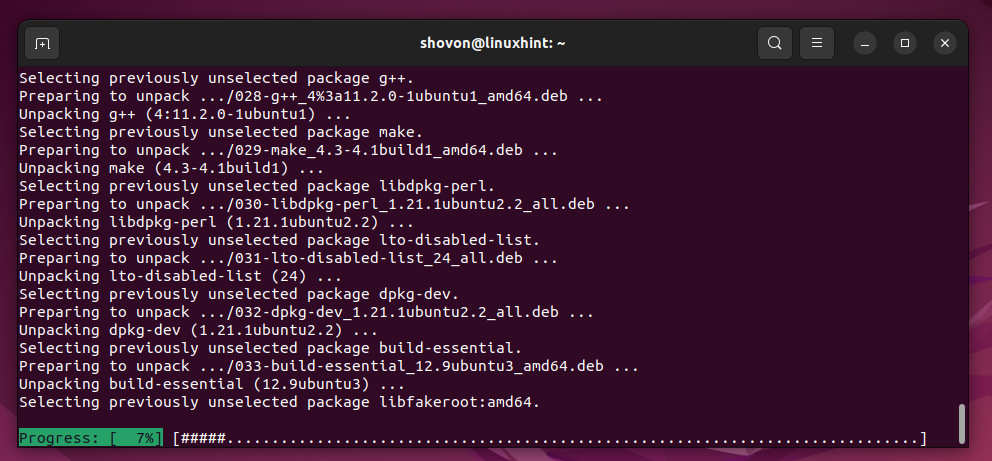
Jupyter Hub, Python 3 PIP, and the required dependency packages are being downloaded from the internet. It takes a while to complete.

Jupyter Hub, Python 3 PIP, and the required dependency packages are being installed. It takes a while to complete.
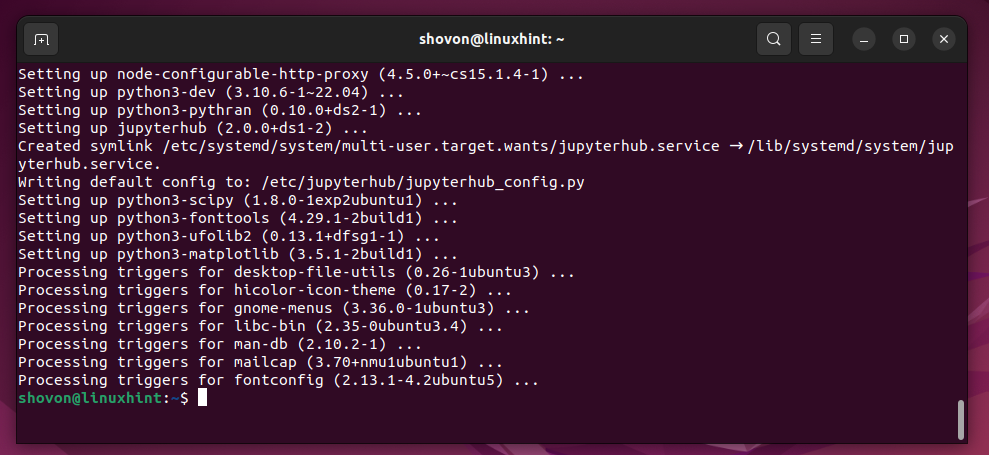
Jupyter Hub and Python 3 PIP should be installed at this point.
Configuring the External Access for Jupyter Hub on Ubuntu 22.04 LTS
By default, the external access is disabled for Jupyter Hub. So, you won’t be able to access Jupyter Hub from other computers on the network. To be able to access Jupyter Hub from all the computers connected to the network, you have to configure the external access for Jupyter Hub.
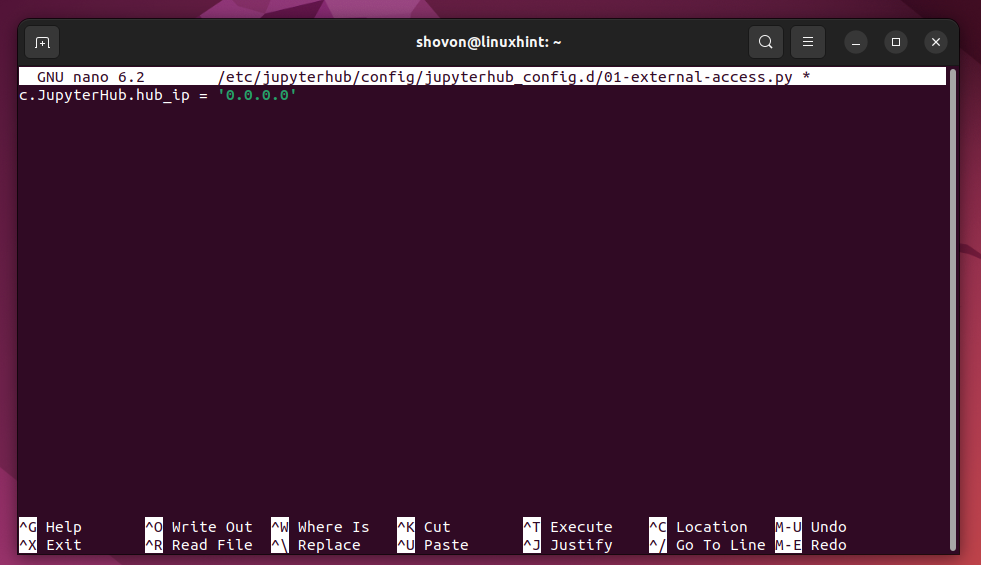
First, create a new Jupyter Hub configuration file like “01-external-access.py” in the “/etc/jupyterhub/config/jupyterhub_config.d/ directory” with the following command:
Once the new configuration file “01-external-access.py” is created and opened with the nano text editor, type in the following line of code and press <Ctrl> + X followed by “Y” and <Enter> to save the file:
Restarting the Jupyter Hub Service on Ubuntu 22.04 LTS
For the changes to take effect, restart the Jupyter Hub “systemd” service with the following command:
To check the status of the Jupyter Hub “systemd” service, run the following command:
As you can see, the Jupyter Hub “systemd” service is running[1] and it’s configured to automatically start when your Ubuntu 22.04 LTS machine boots[2].
Accessing Jupyter Hub from the Web Browser
To access Jupyter Hub from other computers on the network, you need to know the IP address or DNS name of your Ubuntu 22.04 LTS system where you have Jupyter Hub installed.
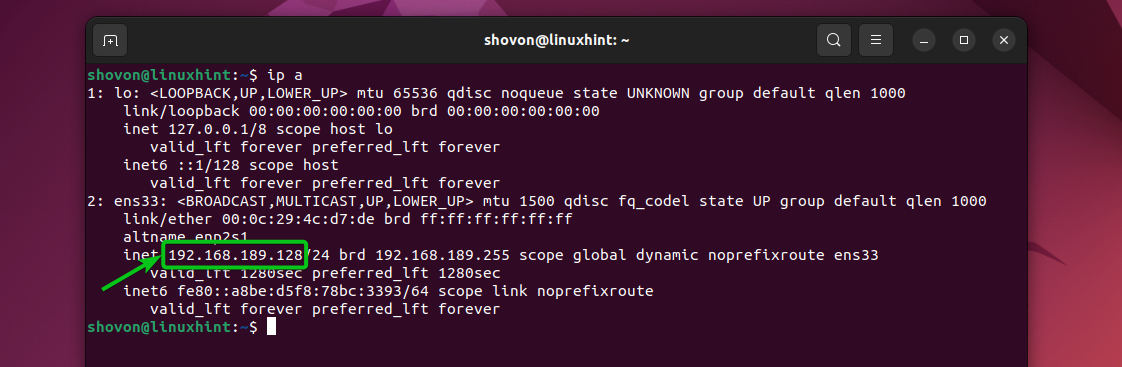
To find the IP address of your Ubuntu 22.04 LTS machine, run the following command:
In our case, the IP address of our Ubuntu 22.04 LTS machine is 192.168.189.128. It will be different for you, so make sure to replace it with yours from now on.
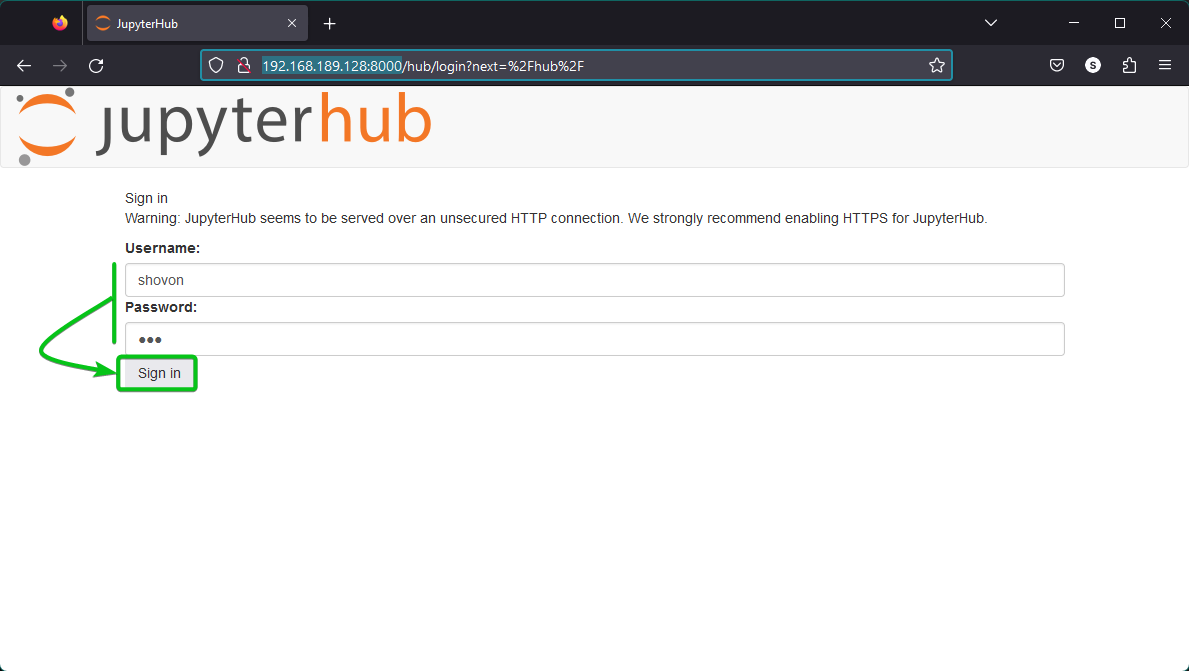
Jupyter Hub listens on HTTP port 8000. To access Jupyter Hub from a web browser, visit http://192.168.189.128:8000
Here, 192.168.189.128 is the IP address of our Ubuntu 22.04 LTS machine where we installed Jupyter Hub. Replace it with the IP address of your Ubuntu machine.
Once you see the Jupyter Hub login page, type in the login username and password of your Ubuntu machine and click on “Sign In”.
NOTE: You can log in with any user account of your Ubuntu machine and each user will have their own isolated Jupyter Hub environment. To create a new Jupyter Hub account, just create a new user on your Ubuntu 22.04 LTS machine.
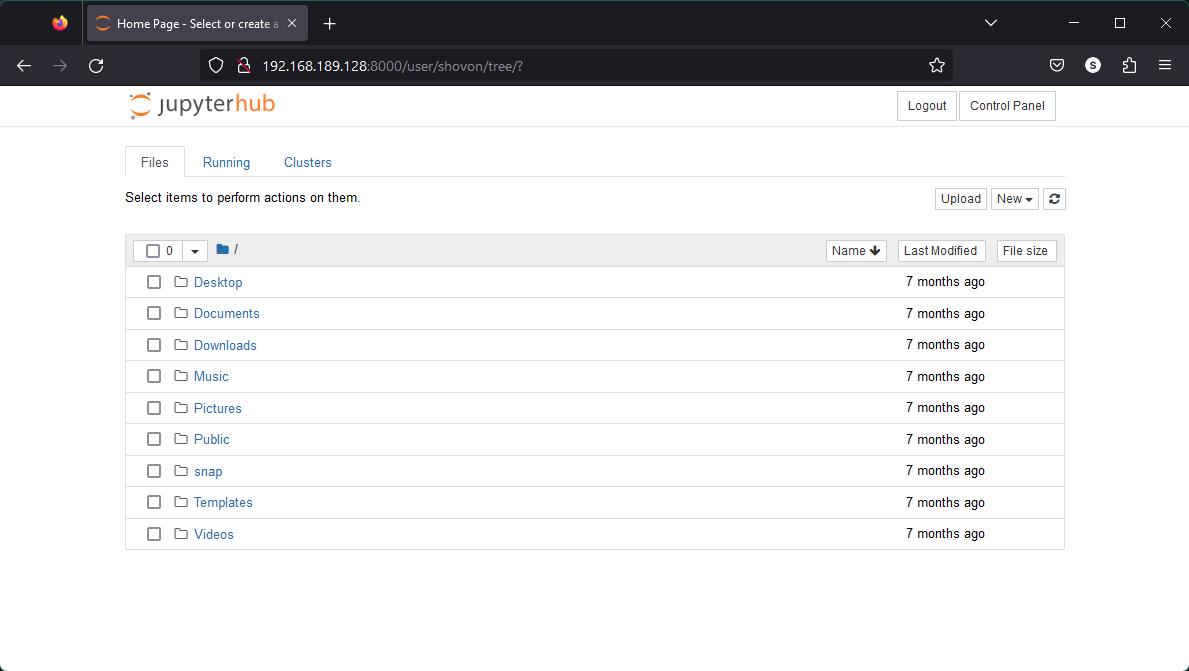
Once you’re logged in, you should see the HOME directory of your login user. You can create, delete, or rename the directories or files in your HOME directory from Jupyter Hub and keep your projects organized the way you want.
Creating/Uploading a Jupyter Notebook from Jupyter Hub Web Interface
To keep the files of your project organized, it’s a good idea to store each project in a separate directory/folder.
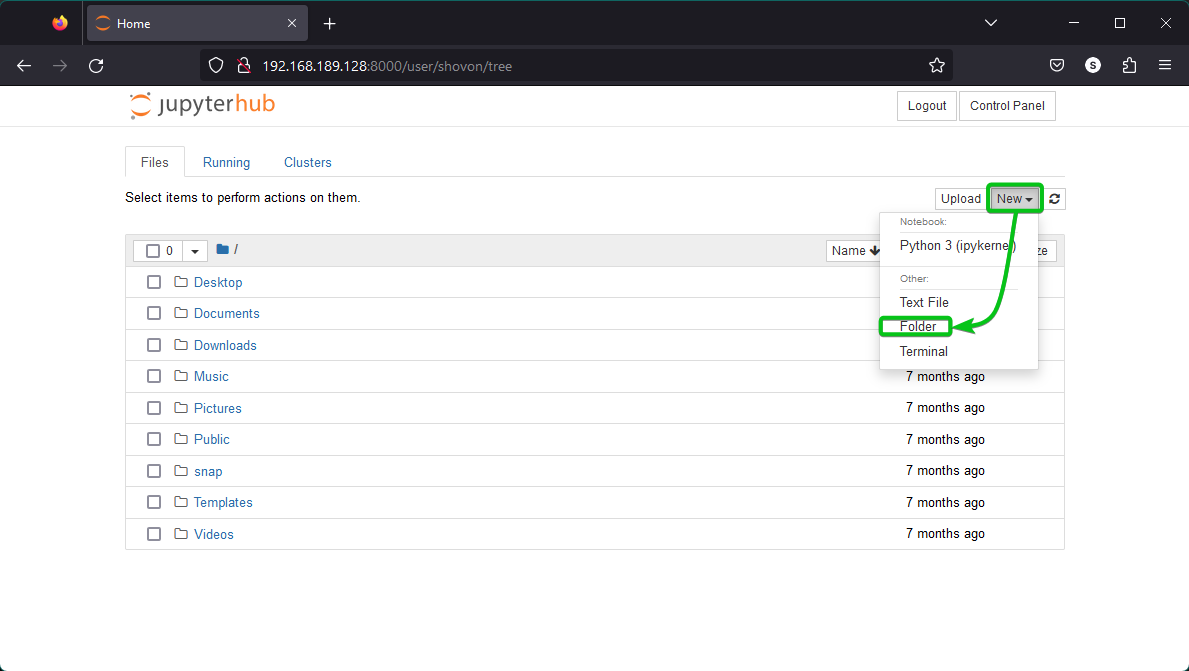
To create a new directory/folder from the Jupyter Hub web UI, click on New > Folder as marked in the following screenshot:
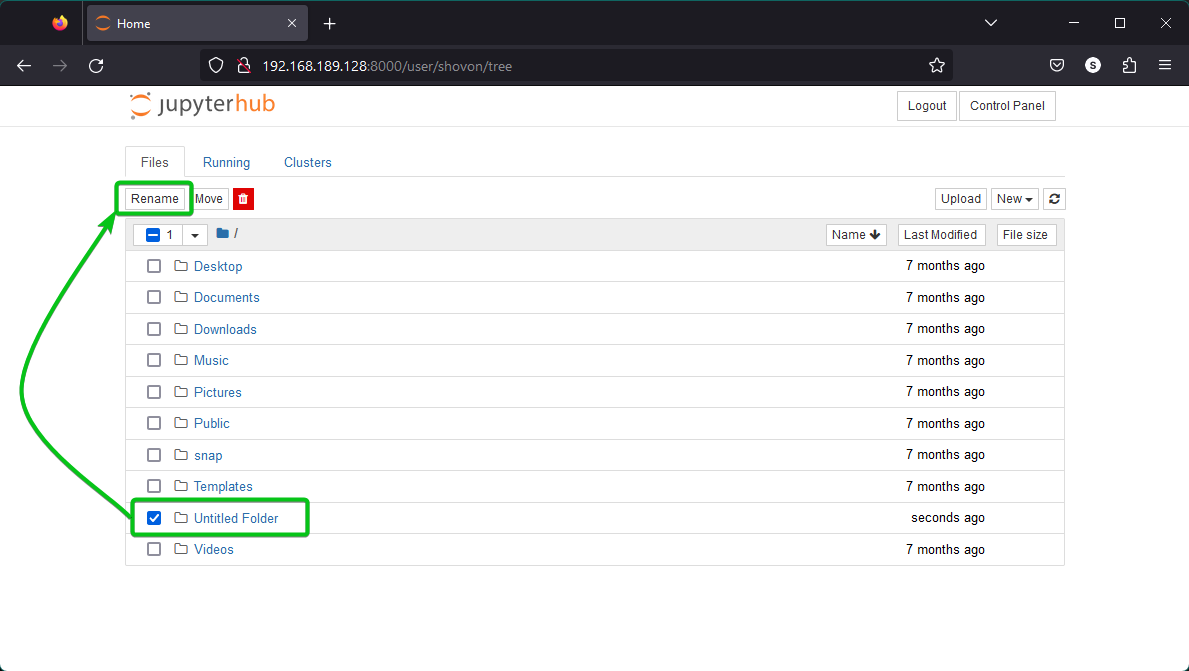
A new “Untitled Folder” directory/folder should be created. To rename the newly created directory/folder, select it and click on “Rename” as marked in the following screenshot:
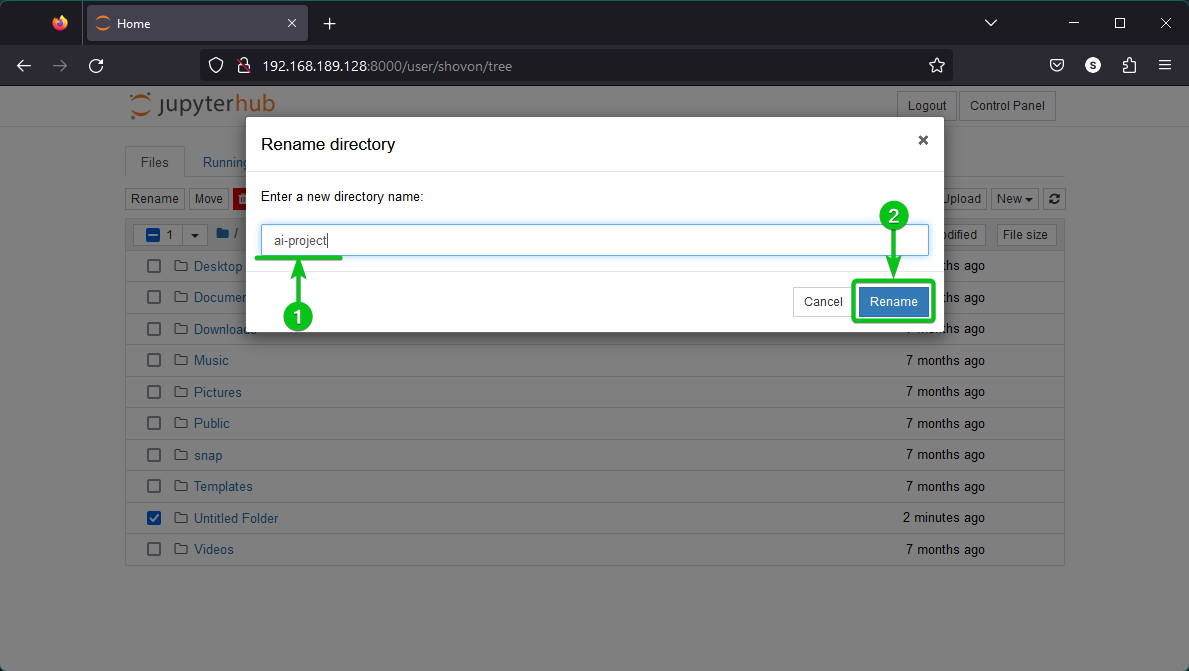
Type in a new name for the directory/folder[1] and click on “Rename” to save the changes[2].
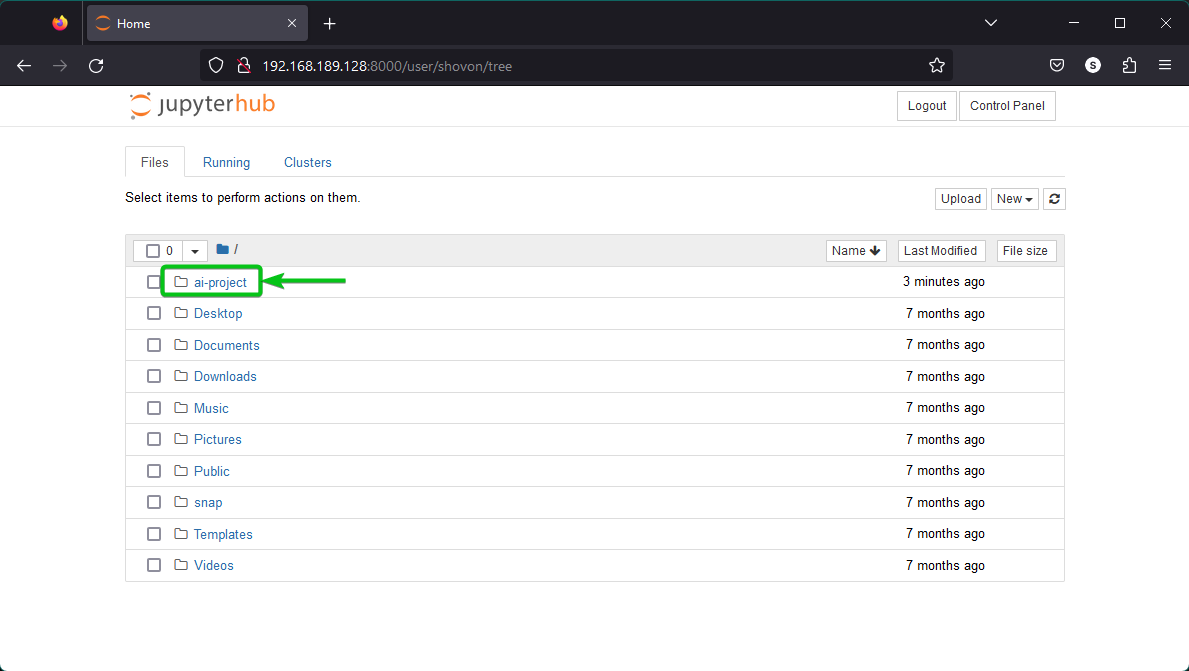
The directory/folder should be renamed.
Click on it to navigate to the new directory/folder.
If you already have a Jupyter Notebook file and you want to work on that, click on “Upload” to upload it to Jupyter Hub.
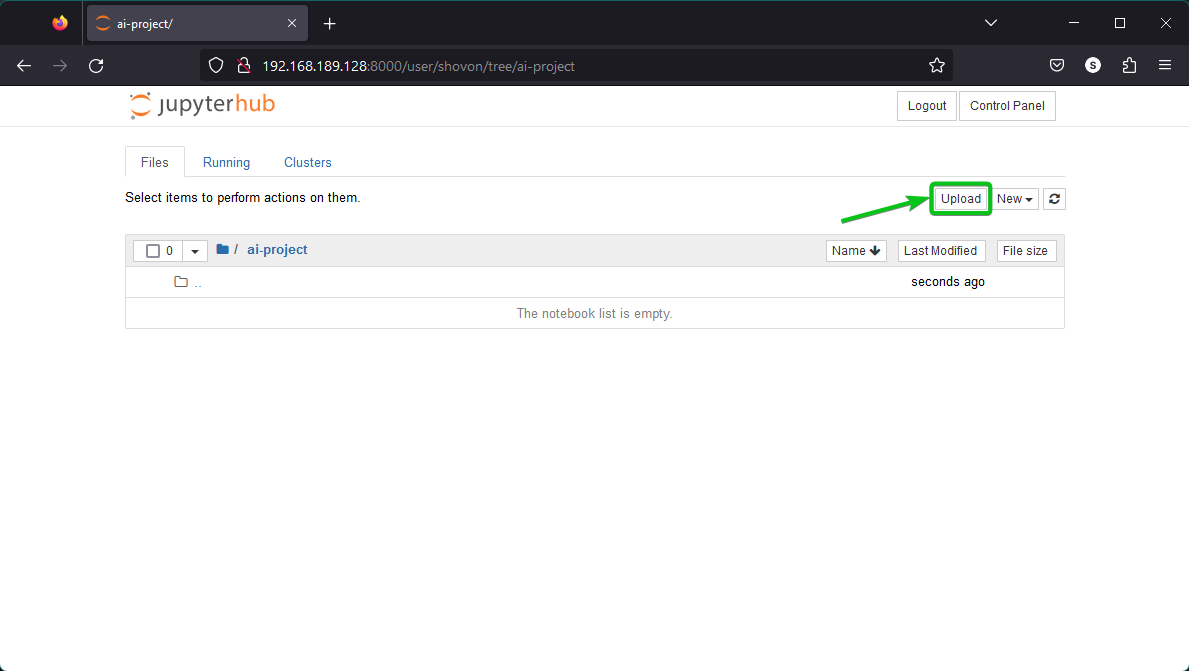
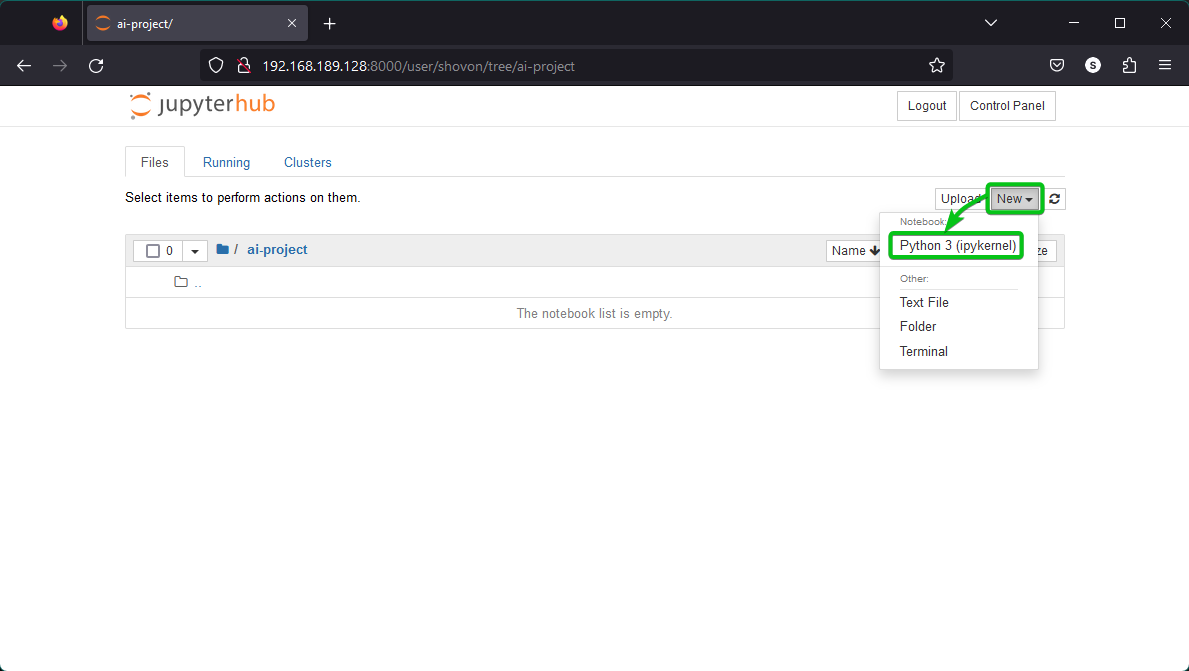
If you don’t have a Jupyter Notebook file and you want to create one, click on New > Python 3 (ipykernel) as marked in the following screenshot:
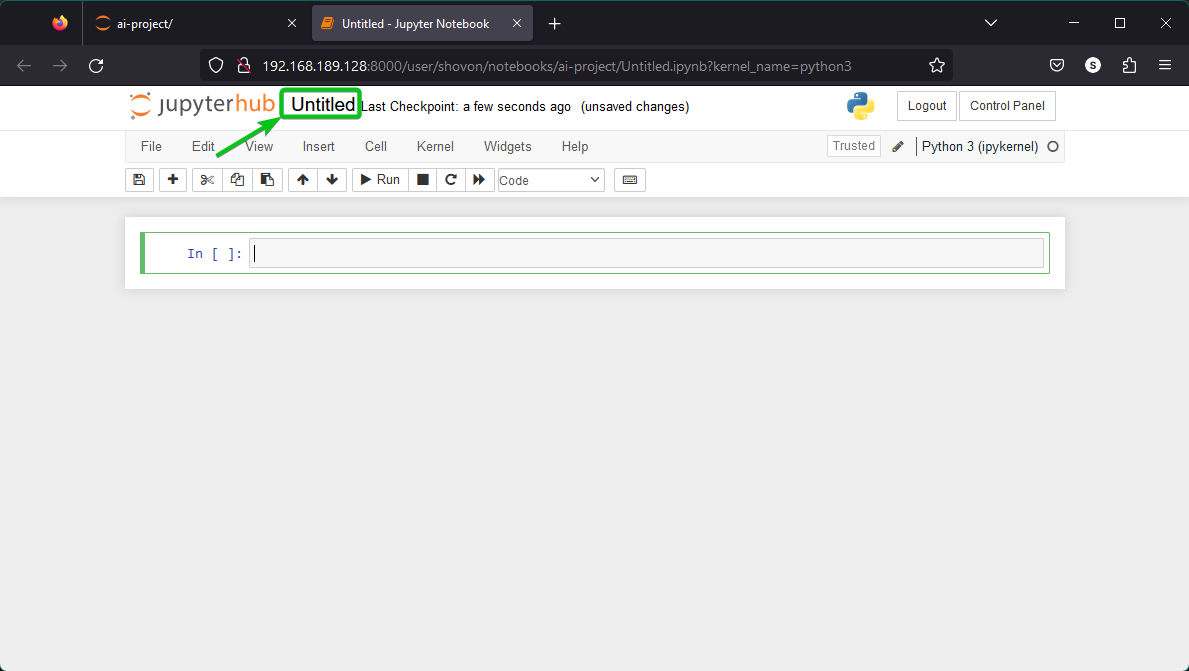
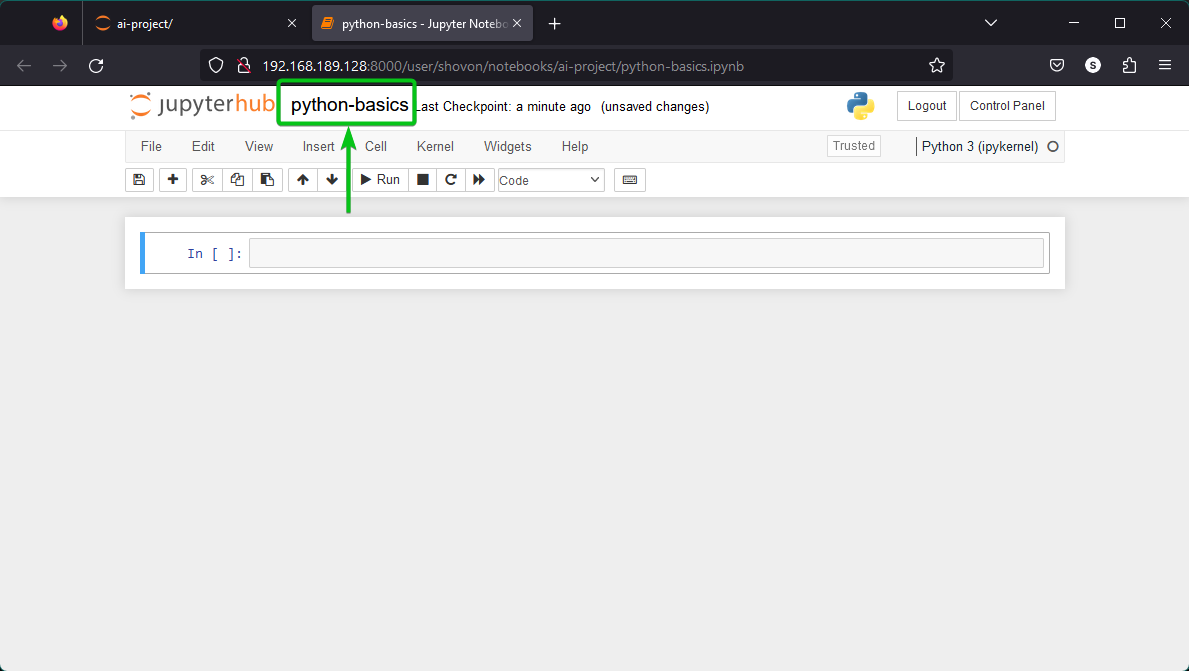
A new untilted Jupyter Notebook should be created. To rename the Jupyter Notebook, click on “Untitled” as marked in the following screenshot:
Type in a new name for the Jupyter Notebook and click on “Rename” to save the changes.
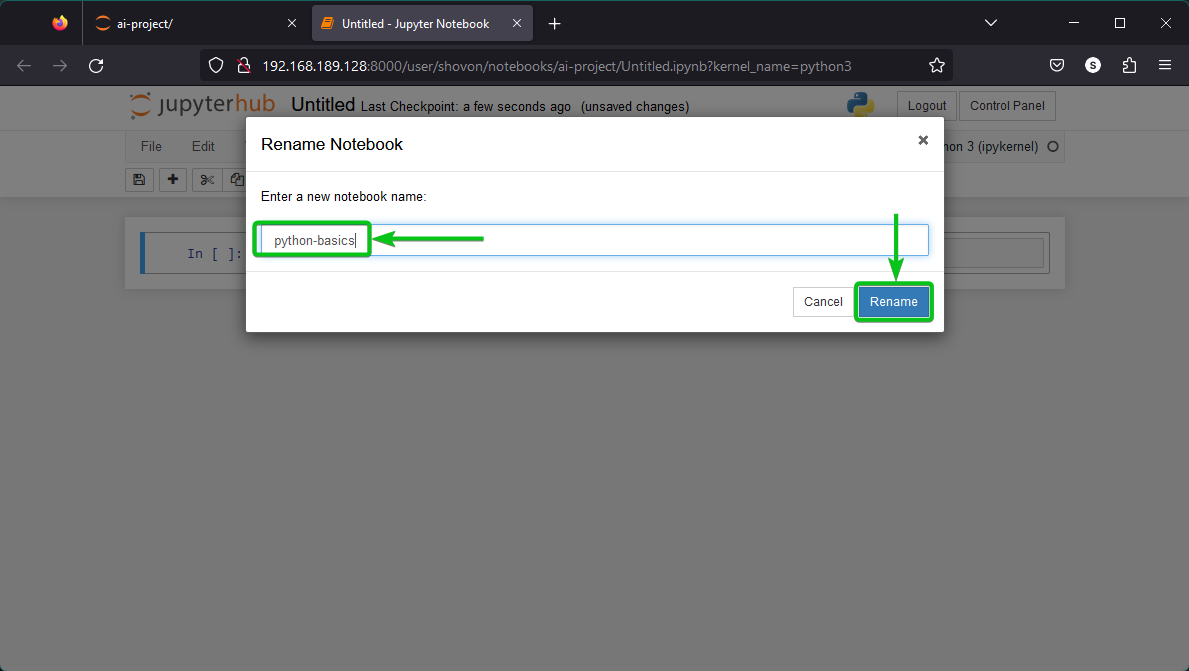
The Jupyter Notebook should be renamed.
You can use Jupyter Notebook to learn to program or try out new ideas as you usually do with Jupyter Notebooks elsewhere.

Conclusion
In this article, we showed you how to install Jupyter Hub on Ubuntu 22.04 LTS. We also showed you how to configure the external access to Jupyter Hub on Ubuntu 22.04 LTS so that the other computers on the network can access it. Finally, we showed you how to access Jupyter Hub from a web browser and how to create your first Jupyter Notebook on Jupyter Hub.