JDK, or the Java Development Kit, provides an environment for the user to develop certain Java applications. Apart from development, JDK is sometimes necessary to run the applications on the local machine, such as the Apache Tomcat Server. Suppose the user is working with Amazon Linux on the EC2 virtual machine and wants to run a specific application that requires Java. In that case, the user must manually install JDK into the Amazon Linux EC2 instance.
This post will teach how to install JDK in the EC2 instance running Amazon Linux.
Step 1: Creating an EC2 Amazon Linux Instance
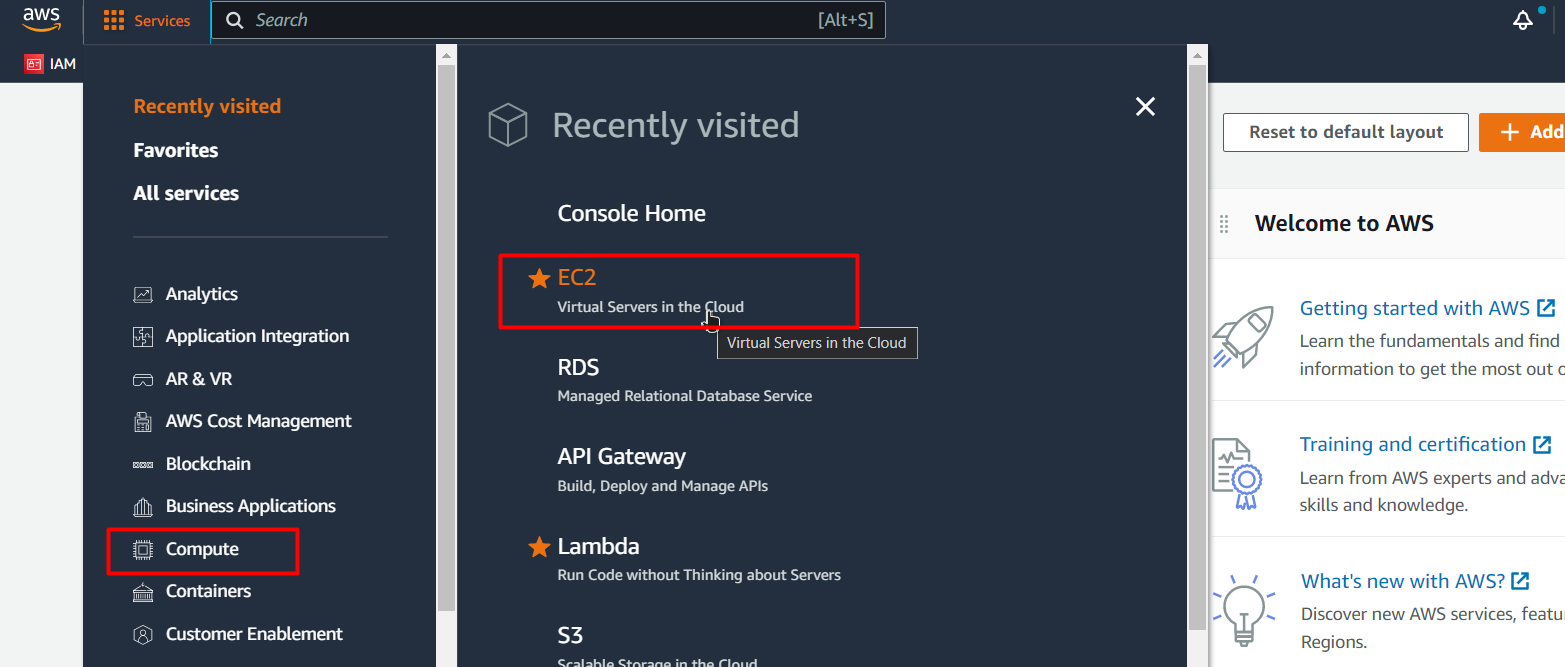
Simply head on over to the AWS Console and then head inside the EC2 Management Console:
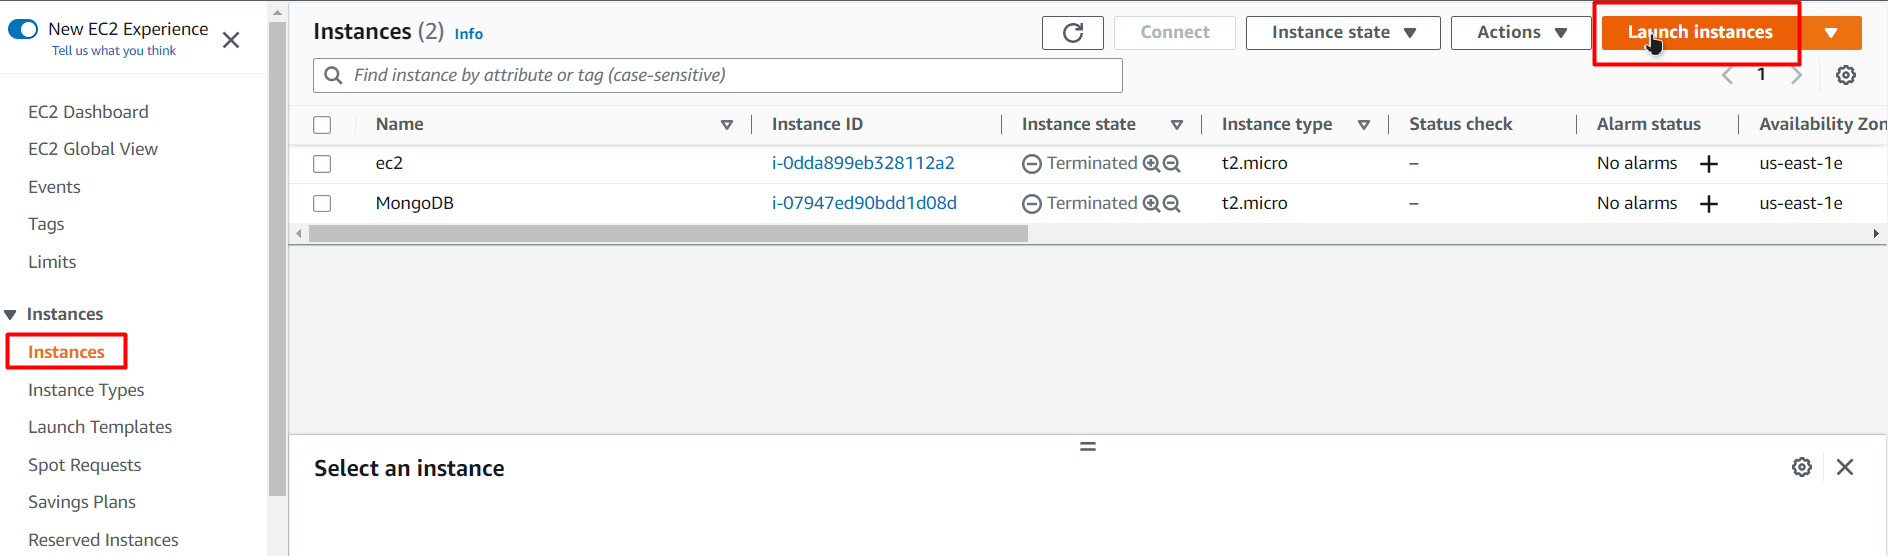
Launch a new instance by clicking the “launch Instance” button from the Instances console:
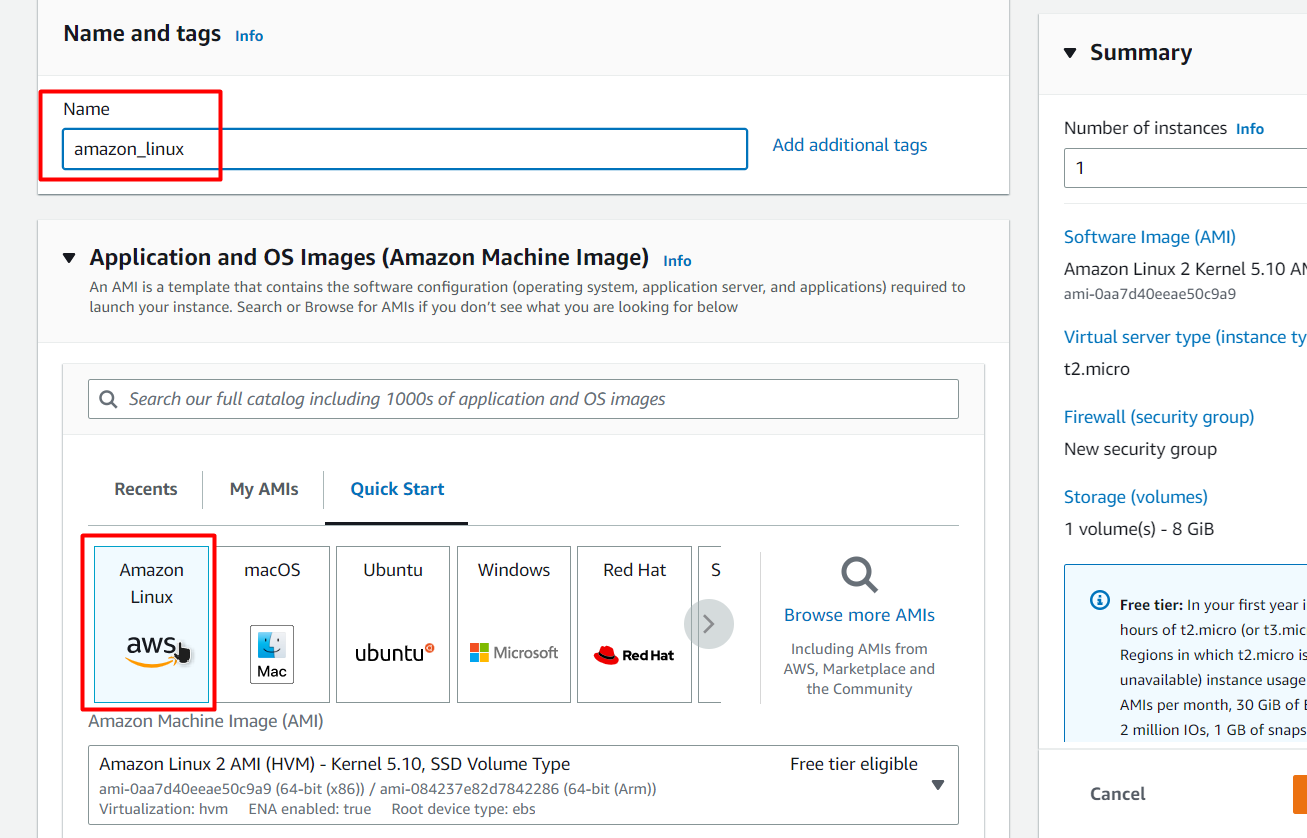
In the launch Wizard, provide a name to your EC2 instance, and then choose the AMI to “Amazon Linux”:
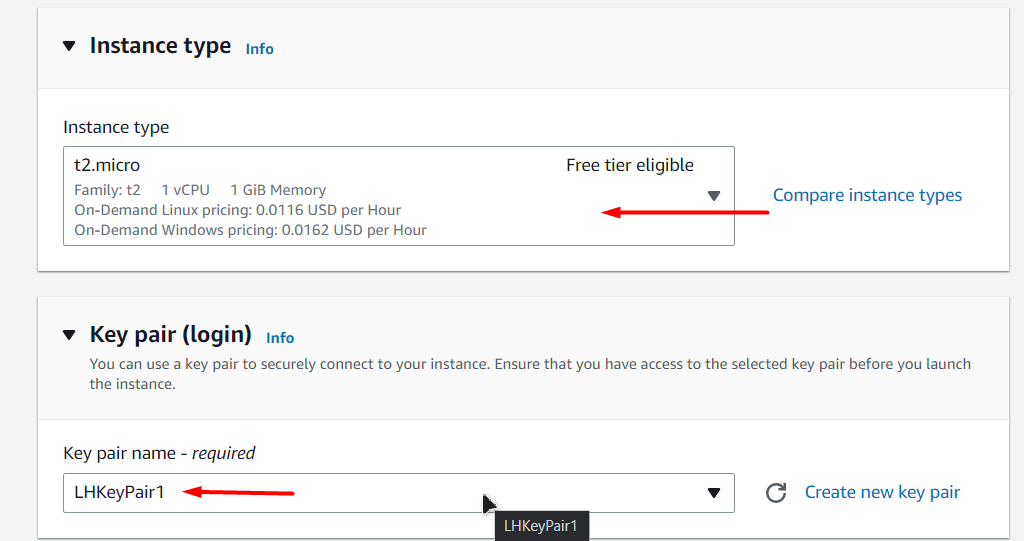
Scroll down and choose the Instance types according to your requirements and also select a key pair by using an already existing one (Make sure it is available on your local pc) or by creating a new one:
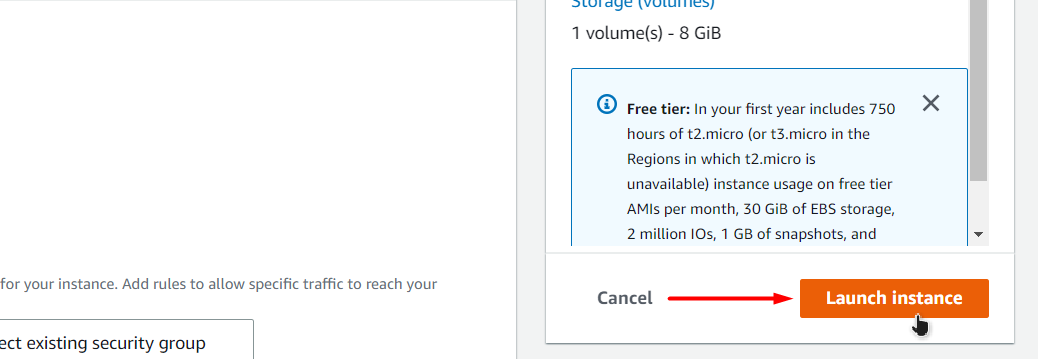
After that, click on the “Launch Instance” button at the bottom of the page:
After the launching process is done, you will be able to see the instance in the List of Instances on the EC2 instance dashboard:
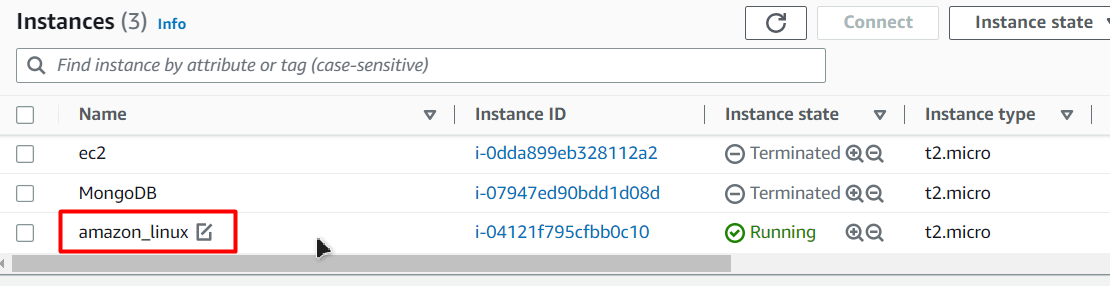
You have created an EC2 instance.
Step 2: Connect to the EC2 Amazon Linux Instance
Click on the name of the EC2 and then click on the connect button:

Copy the last command on the SSH client tab:

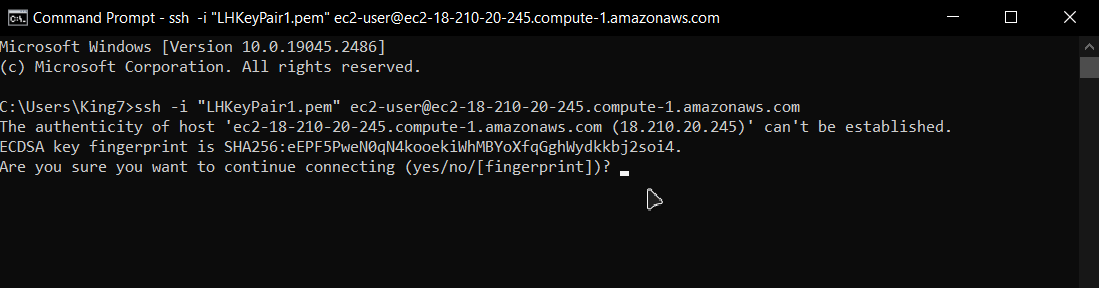
Replace the key pair name (“LHKeyPair1 for this post”) with the complete path of the key pair on your local machine, and then paste the command inside a Command Prompt and press “Enter”. If you are prompted about the connection, simply type “yes” and hit “Enter” again:
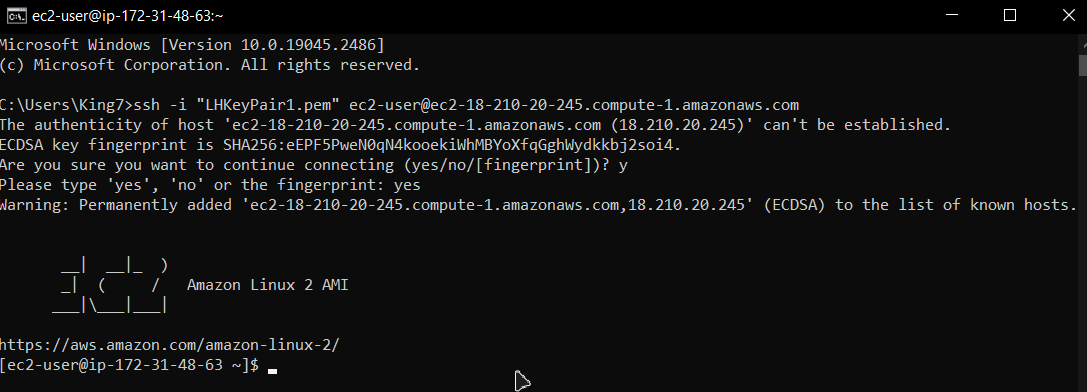
Wait for a couple of seconds, and you will be connected to the EC2 instance:
Step 3: Install JDK on Amazon Linux
To install the OpenJDK version 11 on your Linux Virtual Machine, use the following command in the SSH terminal:
This command will install the JDK from the Amazon Linux Extras package:

When prompted about the download, type “y” and press the “Enter” key:
After that wait for the download and installation process to fully complete and once it is done, you can check the version of the Installed JDK using the following command:
The output will look like this:

You have successfully installed JDK 11 on Amazon Linux.
Optional: Installing Complete JDK 8 on Amazon Linux
The JDK installed from Amazon’s extra package doesn’t contain the libraries and all the packages. In case you want to work with something that requires all packages, or if running an application causes JDK errors, you need to install the complete package.
To install complete JDK 8 on Amazon Linux, use the following command inside the SSH terminal:
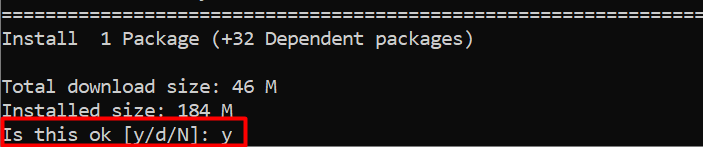
Executing this command will initiate the downloading process, and when you are prompted about the remaining downloads, type “y” and press the “Enter” key:

After the downloading and the installation process is done, you will get the following output on the terminal:
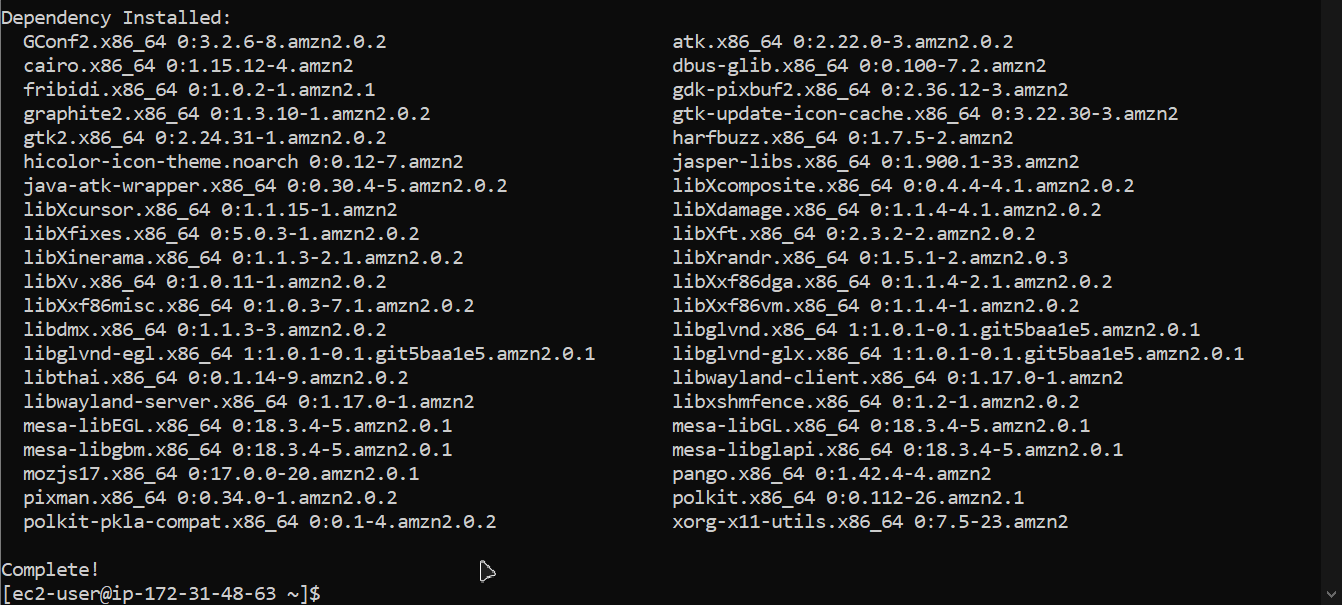
This shows all of the dependencies that are now installed in your Amazon Linux. To verify the JDK installation use the command:
You will get the following output on the SSH terminal:
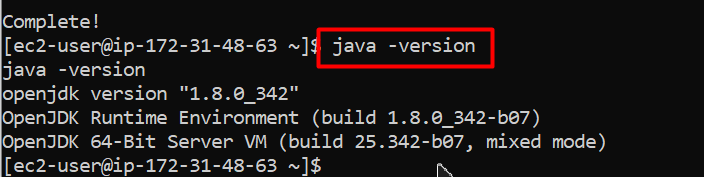
You have successfully installed Java 8 on your Amazon Linux EC2 VM.
Optional: Choosing the JDK version to Use
If Amazon Linux Contains different versions of JDK installed, then you can choose which version is supposed to be used by the OS. For that, simply use the following command:
Executing this command will show the List of installed JDK on the SSH terminal, and the user will be asked about which version to use:

Provide the number of the selection that you to make:
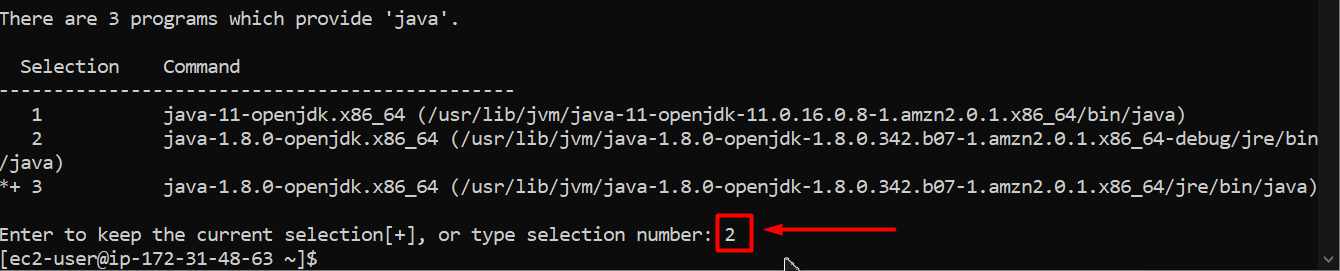
You have configured the alternative or the version of the JDK to be used in the Amazon Linux.
Conclusion
The JDK can easily be downloaded and installed inside the Amazon Linux EC2 instance by either using Amazon Linux’s extra package or from the yum package manager. This post has shown both methods in detail and the way to select the JDK version to be used in case of multiple installations of JDK in Amazon Linux.